
Fotoxx is open-source software for basic image editing in Linux. It can be utilized to organize and manage extensive collections of images, optimize photos in several ways, including color brightness adjustment on individual photos’ specifics, and perform effective batch operations at a go! This software is ideally an image management and editing program emphasizing a simple and fast process.
Fotoxx also has application menus on the app’s left side, providing options such as pointing out specific files like a dime, viewing all captured media discs, and much more. Professional photographers can use this photo editor to edit the raw images and save the files in different formats like PNG and JPEG. Perspectively, distorted images such as wide-angle views can be corrected with this program. Shadows and red eyes can also be cleared from the pictures.
This tool encompasses major photo editor scalability like image resizing, enhancement or reduction of image sharpness, image cropping, and text addition to the photos. Due to its open nature, anyone can freely access the application to edit their images on Linux OS. This article will show how you can install Fotoxx on Ubuntu, specifically on version 22.04 LTS. The tutorial should also work on older Ubuntu versions.
Installing Fotoxx on Ubuntu
Let us look at some of the features that come with this photo editor:
Features
- Custom keyboard shortcuts.
- 360-degree panorama images view.
- Can quickly arrange and manage a vast collection of pictures.
- Plugin support for to use of other applications.
- Raw file conversion in multiple or single formats and save with 8 or 16 bits color.
- Metadata image modification like dates, tags, titles, and geotags.
Fotoxx also has special functions like burning a CD or DVD, adjustable image preview(thumbnail), histogram, recording location geocoding, full-screen slideshow with keyboard navigation, sending photos via email, viewing and editing metadata(Exif, IPTC, e.t.c), printing in several standard formats (custom size is also achieved), batch features: Rename, shrink, export, tag, RAW import, create your tag(evaluation, image description), unlimited undo/redo steps and fast and flexible image editing before and after preview, search by metadata, description, rating, filename, and date.
This article will explain how to install Fotoxx in the Ubuntu system using five methods:
- Using apt-get.
- Using apt.
- Using aptitude.
- Using a binary package.
- Using AppImage.
Let us get started!
Method 1: How to install Fotoxx in Ubuntu using apt-get
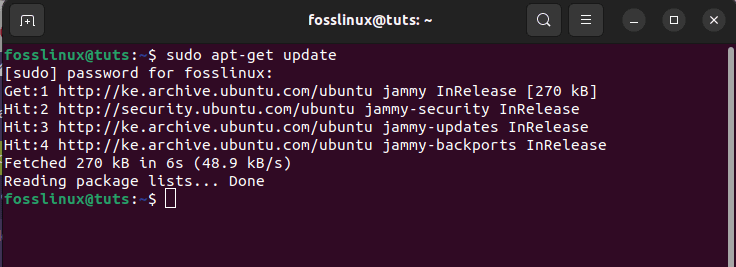
Step 1: Update the system
The primary step is to update the apt database using the apt-get command as shown below:
sudo apt-get update
Apt-get update system
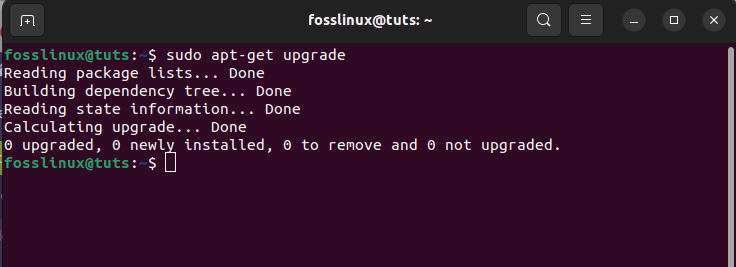
Step 2: Upgrade the system
Once the apt database is updated, you may be alerted that there are packages that need to be upgraded; if that is the event, proceed and run the following command. However, you can skip this step in case you run the update command and there are no packages that need an upgrade:
sudo apt-get upgrade
Apt-get upgrade system
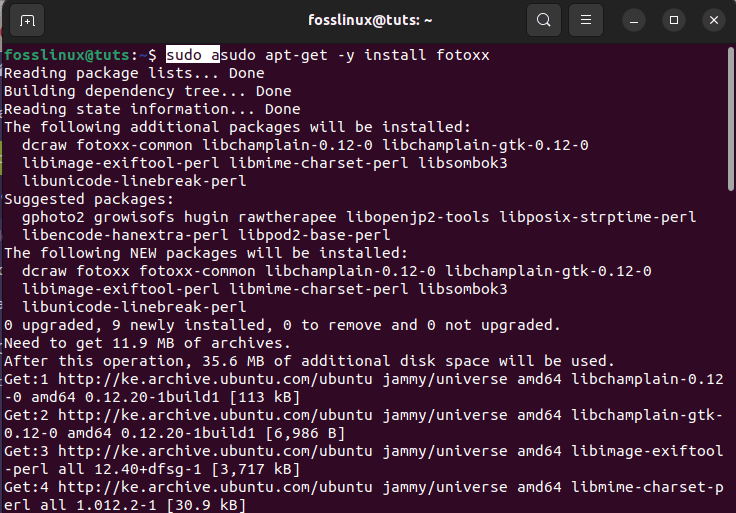
Step 3: Install fotoxx
After the update and upgrade, we can proceed to the final step, installing Fotoxx. To do this, run the following command:
sudo apt-get -y install fotoxx
Apt-get install fotoxx
Let us see how we can do the same process using apt.
Method 2: How to install Fotoxx in Ubuntu using apt
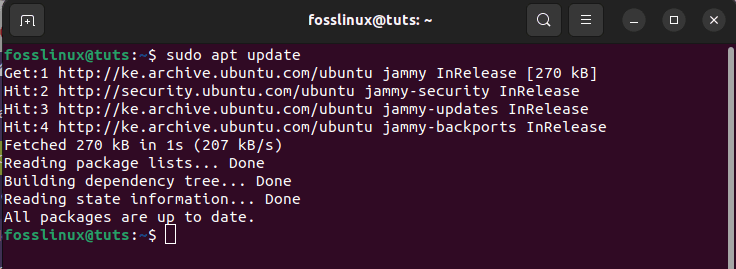
Step 1: Update the system
Since the package Fotoxx whips with the default repo of Ubuntu, we will first have to update all the available packages of Ubuntu using the following apt command:
sudo apt update
apt update
Step 2: Upgrade the system
Now, the update command will show you whether there are packages to be upgraded. If there are, then issue the following command, but if that is not the case, proceed to the next step:
sudo apt upgrade
apt-upgrade command
Step 3: Install fotoxx
With the aid of the apt package manager now, we will install Fotoxx on our Ubuntu system as shown below:
sudo apt install Fotoxx -y
Apt install fotoxx
Note: The “-y” flag in the command is used to tell the Linux terminal system to proceed with the installation process without asking you to affirm whether or not you want to proceed with the installation.
Next, let us switch our focus and look at how we can Install Fotoxx using aptitude.
Method 3: How to install Fotoxx in Ubuntu 22.04 using aptitude
Step 1: Install aptitude
If you want this method to be effective, you may need to set up aptitude first, as it does not usually come pre-installed by default in Ubuntu. As such, run the following command first to install aptitude.
sudo apt install aptitude
install aptitude
Step 2: Update the database
After that, you can now utilize the aptitude command to update the apt database as shown below:
sudo aptitude update
aptitude update
Step 3: Install Fotoxx using aptitude
Now install Fotoxx using aptitude as shown below:
sudo aptitude -y install fotoxx
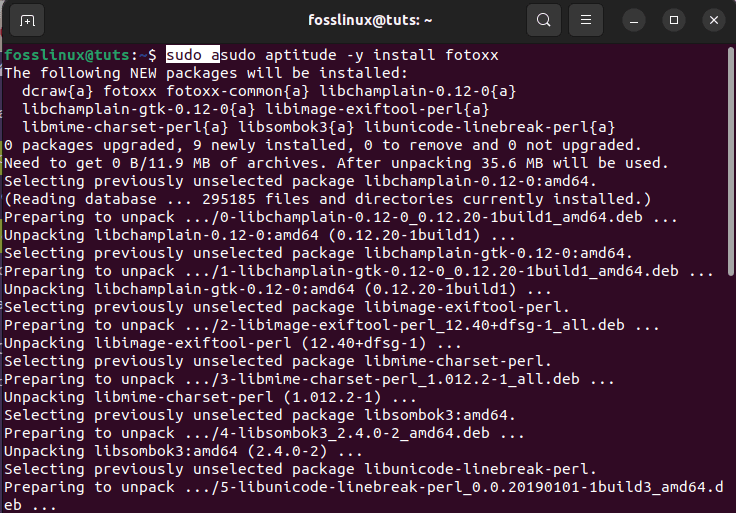
aptitude install fotoxx
Let us now consider how we can install Fotoxx from the binary package for all major Linux distros.
Method 4: How to install Fotoxx in Ubuntu 22.04 using binary package
Fotoxx also gives a binary package for Ubuntu versions 20.04, 21.10, 22.04LTS, Debian 10,11, Fedora 36, 35, and other distros like Void Linux, among others. So let’s show you how to grab the respective binary packages from pkgs.prg
Step 1: Download the fotoxx
It is sometimes challenging to get the download link, but here is a breakdown of what to do. First, go to Download Fotoxx, and once the page loads, click on the distro name, like in our case, Ubuntu, and select the correct architecture per your machine’s hardware.
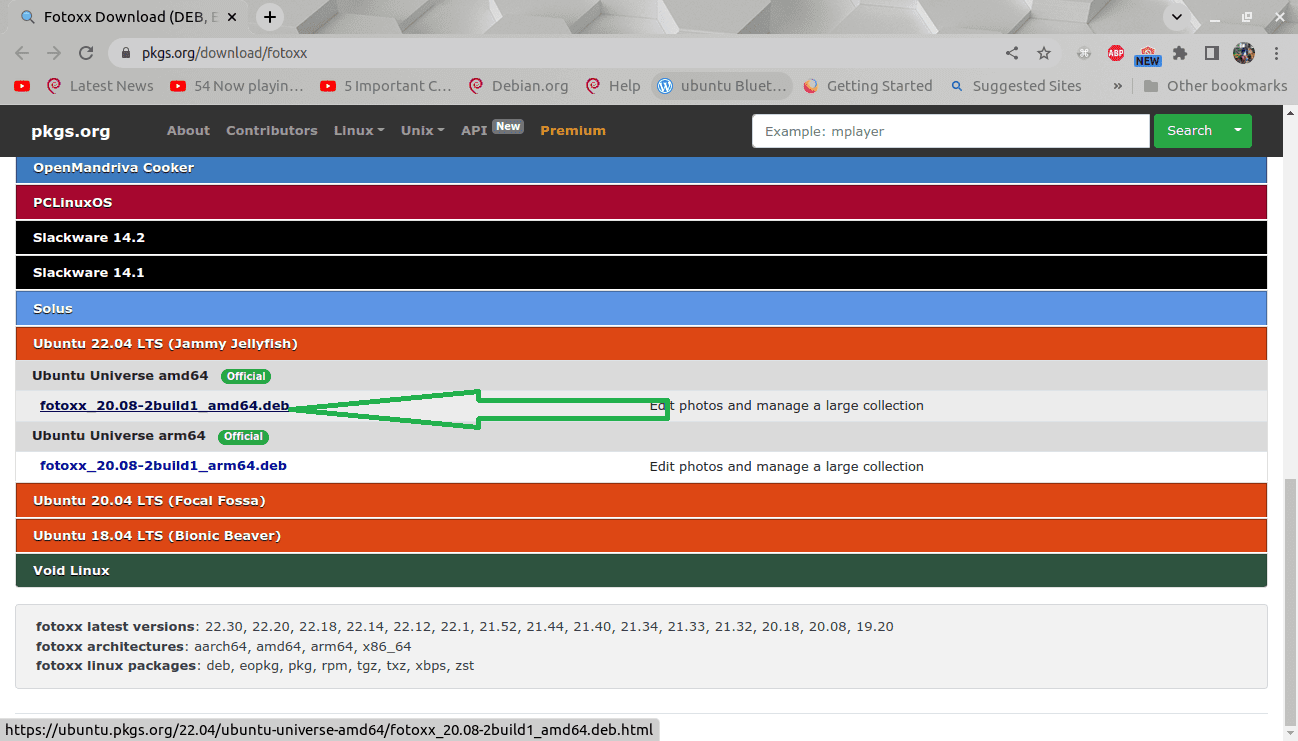
select ubuntu 22.04
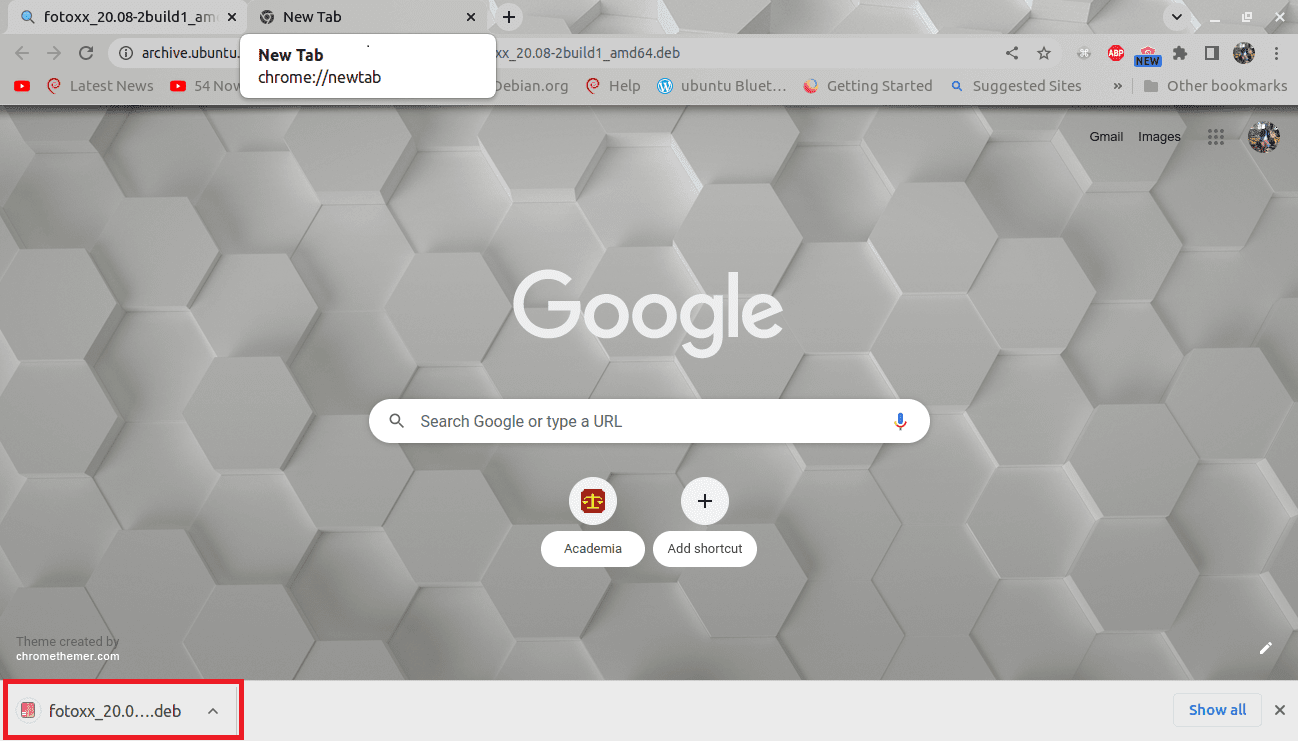
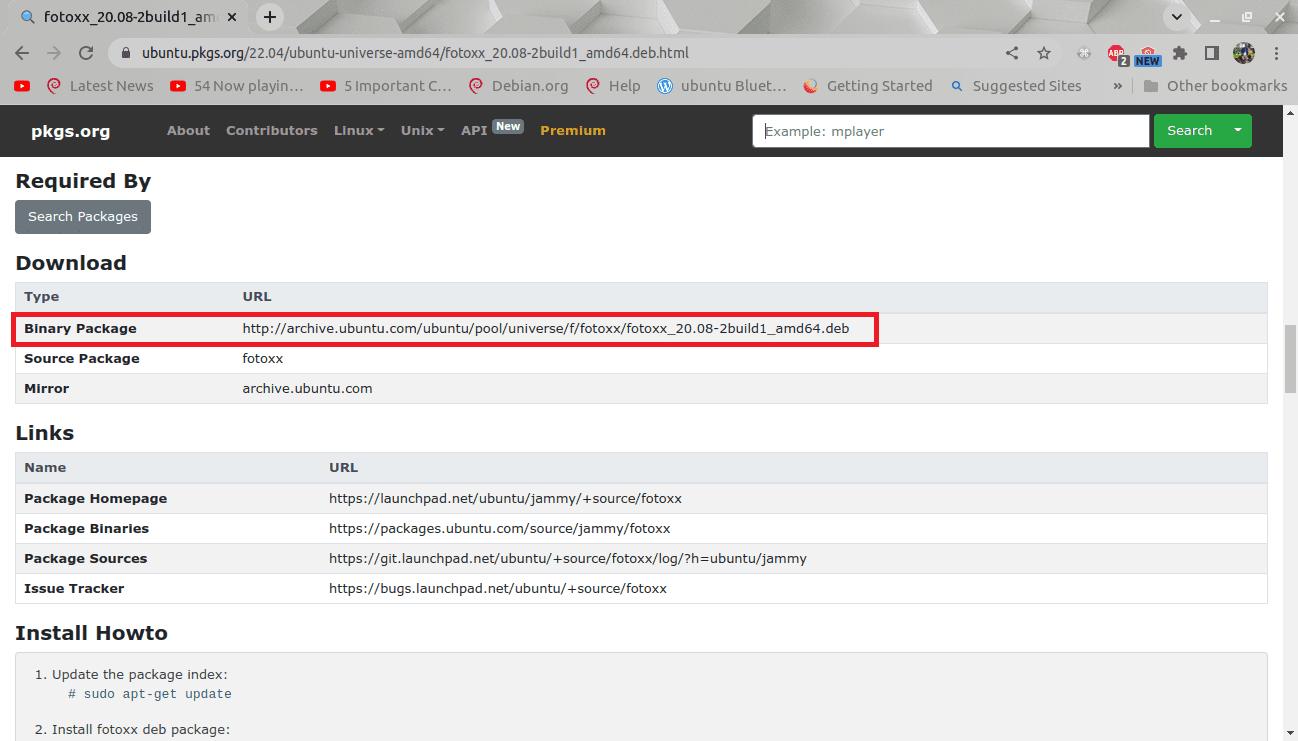
Step 2: Search for Binary package
After that, scroll down and look for “Binary package.” You should see the URL on the right-hand side. To institute the download process, copy and paste the URL into a fresh new tab, as shown in the image below:
Download file
Alternatively, you can utilize the wget command to initiate the download as shown below:
wget http://archive.ubuntu.com/ubuntu/pool/universe/f/Fotoxx/fotoxx_20.08-2build1_amd64.deb
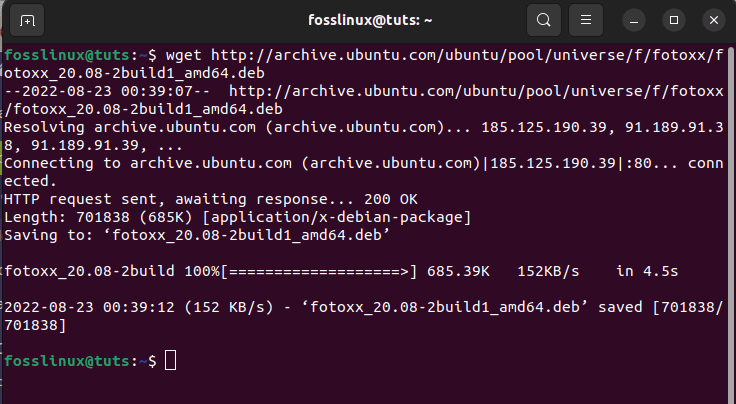
Download Fotoxx using terminal
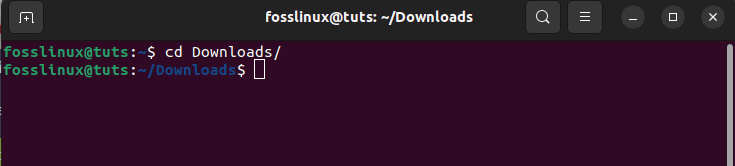
Step 3: Navigate to the Downloads folder
After the file is downloaded, open up your terminal using the “Ctrl+Alt+T” key shortcuts and traverse to the directory where the file is located; by default, it should be in the “Downloads” folder:
cd Downloads
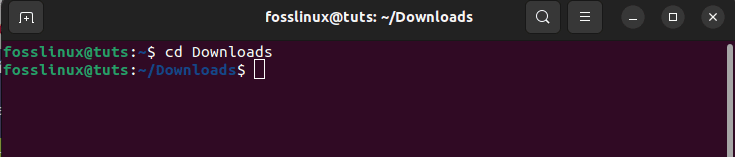
Navigate to the Downloads folder
Step 4: Install command
After that, issue the following command to install Fotoxx:
sudo dpkg -i fotoxx_20.08-2build1_amd64.deb
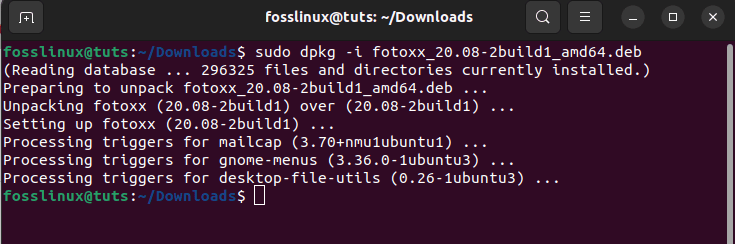
Install Fotoxx using binary
And that is it!
Here is another exciting way of installing Fotoxx. Let us dig right into it.
Method 5: How to install Fotoxx using AppImage
The only issue with this formula is that you cannot find the latest release of Fotoxx. But, more significantly, you can install AppImage on every major Linus distro without building Fotoxx from the source.
To acquire the AppImage, click on the Download button below:
Afterward, go to the AppImage packages and click “Fotoxx-22.30-appimage” to initiate the download.
Search binary package
Once the download file is done, go to the “Downloads” folder using the following command:
cd Downloads
Go to Downloads
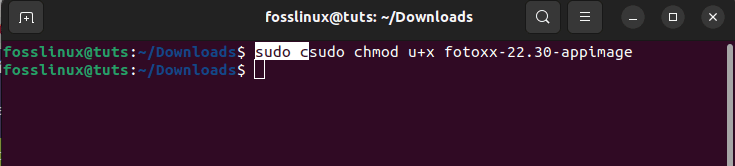
After that, make the file executable by issuing the following command and ensure you replace the filename with the correct one:
sudo chmod u+x Fotoxx-22.30-appimage
Make the file executable
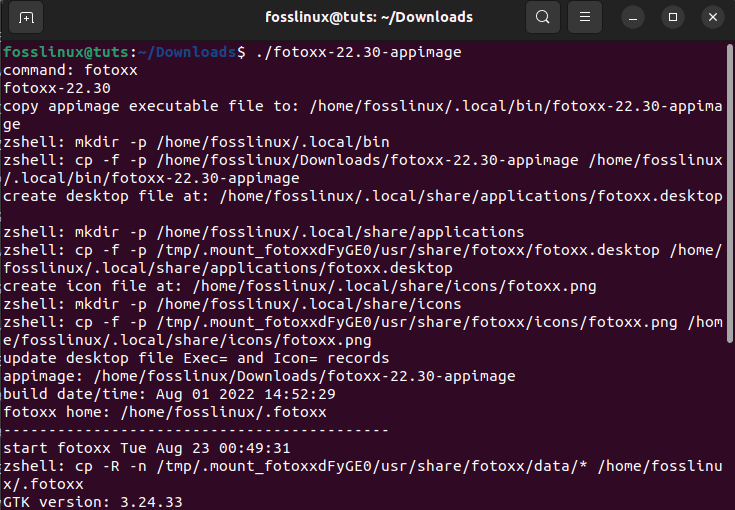
Then run this command to fire up Fotoxx:
./Fotoxx-22.30-appimage
run fotoxx
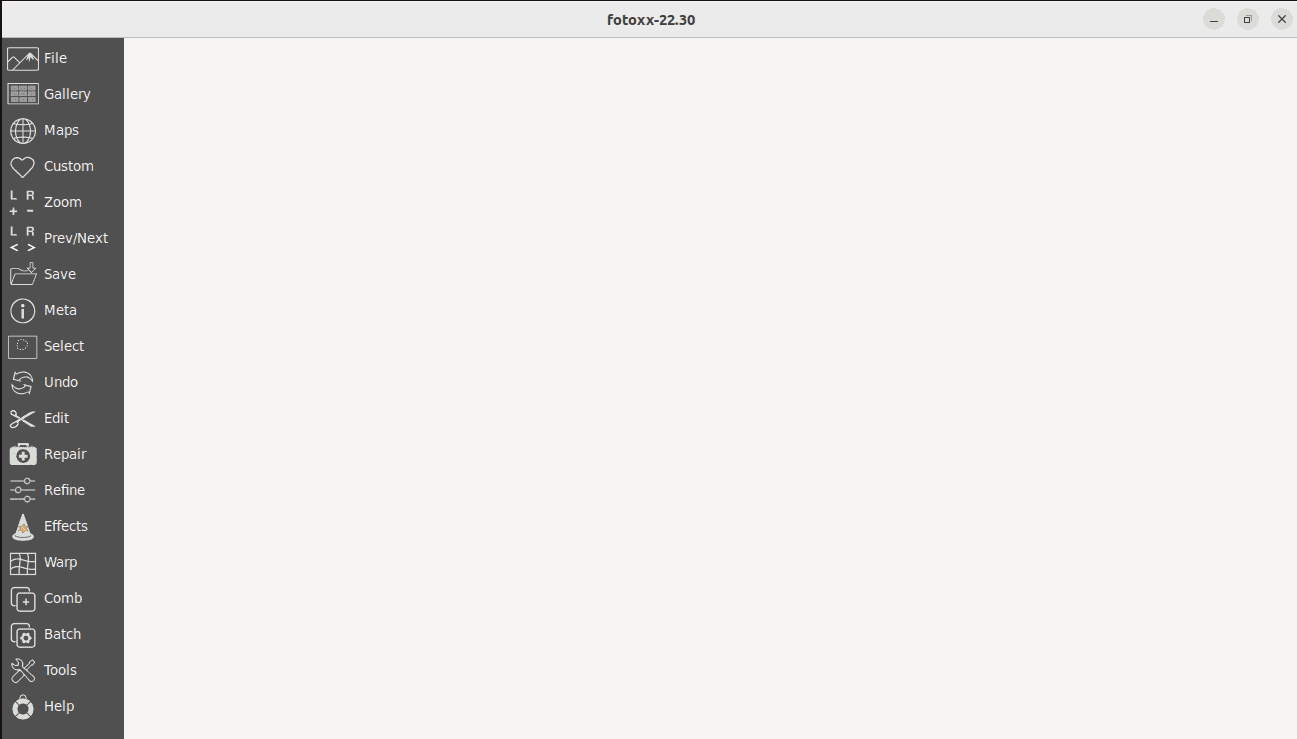
The window is up and running, ready for editing:
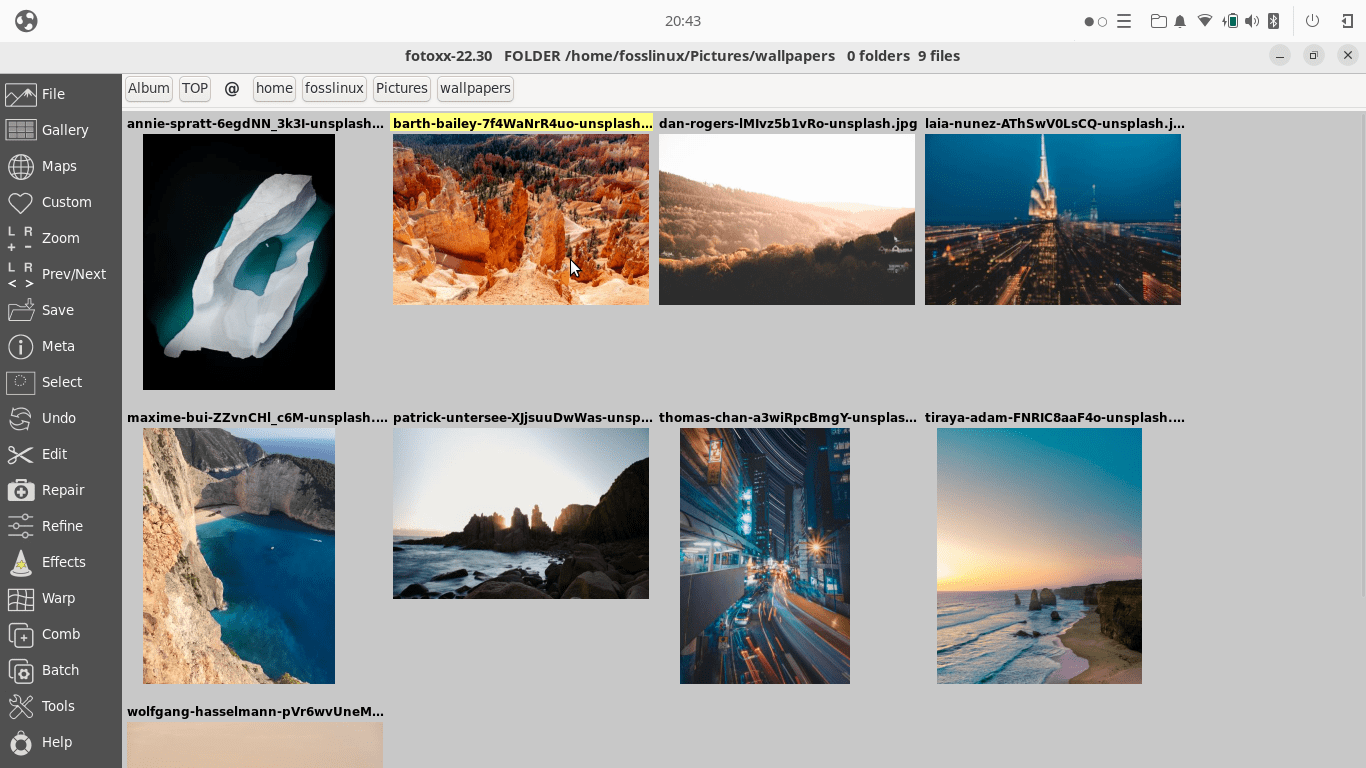
Fotoxx user interface
No installation is needed from here; you only need to move the file to a safe location where you cannot accidentally delete it. There are several ways to start the application. The first is typing in the above command. Next, you can use other fotoxx commands or the GUI method by searching for “Fotoxx” in your app manager, which will later be covered in the guide. Now let’s see whether or not the application is installed in our system.
Check the version
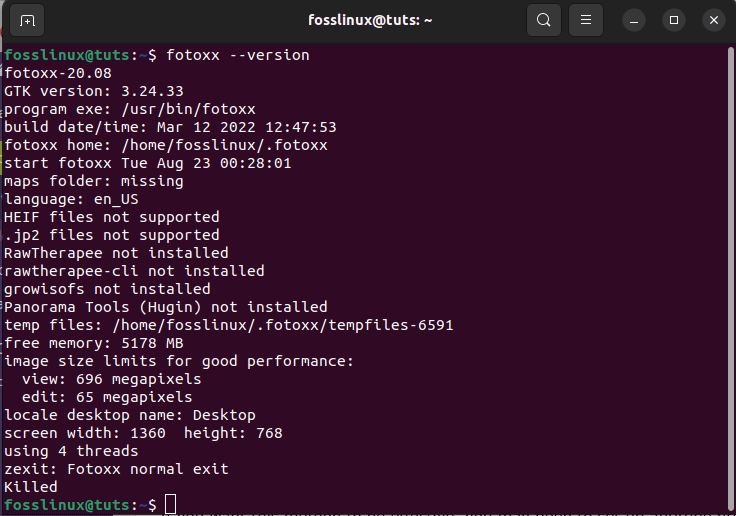
Now, let us run the version command to ascertain whether the installation was successful or not:
fotoxx --version
check version
And that sums up the installation methods of Fotoxx. The following section will cover the approaches we can use to launch the application.
Now that we have covered several software installation methods, launching can also be done in a few ways, which we will cover exhaustively. First, let us begin with how we can launch the software using the command line.
How to launch Fotoxx using the command line
To launch Fotoxx using the terminal, issue the following command:
fotoxx
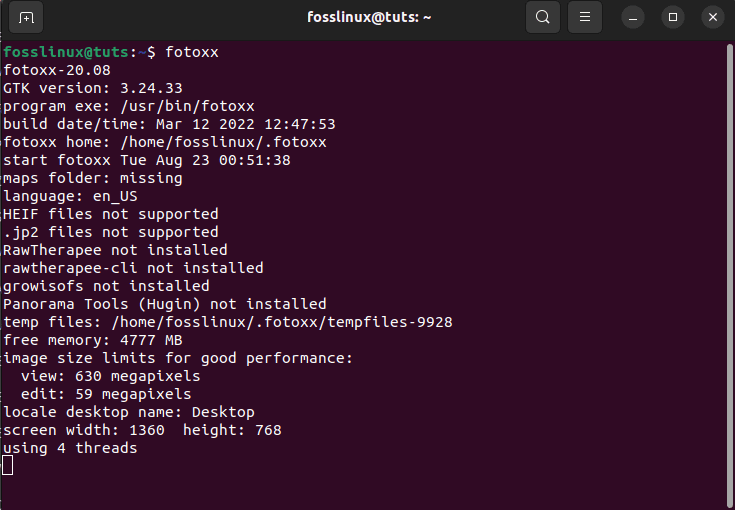
launch fotoxx
If you would like to launch and also utilize the terminal at the same time, send it to the background using the following command:
fotoxx &
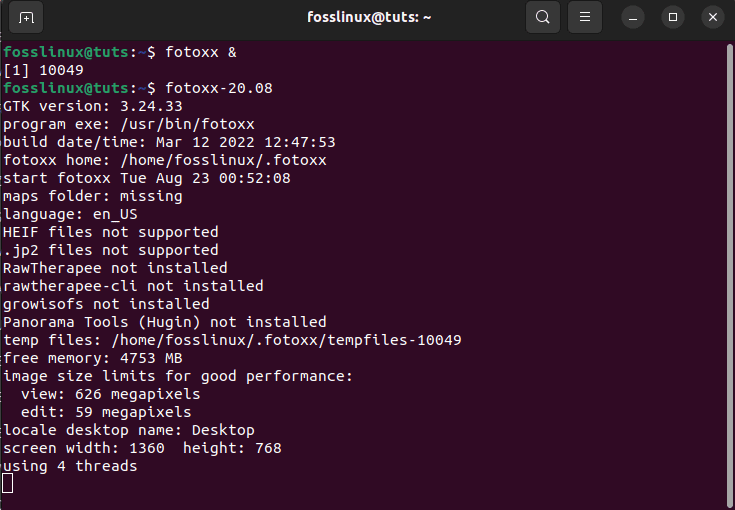
launch fotoxx
This may, however, not be practical for desktop users, and, as such, here is the graphical approach to launching Fotoxx in your ubuntu 22.04 system.
How to launch Fotoxx photo editor on Ubuntu 22.04 using GUI
To launch this application, click on the “Activities” menu on the left side of the desktop, as shown below:
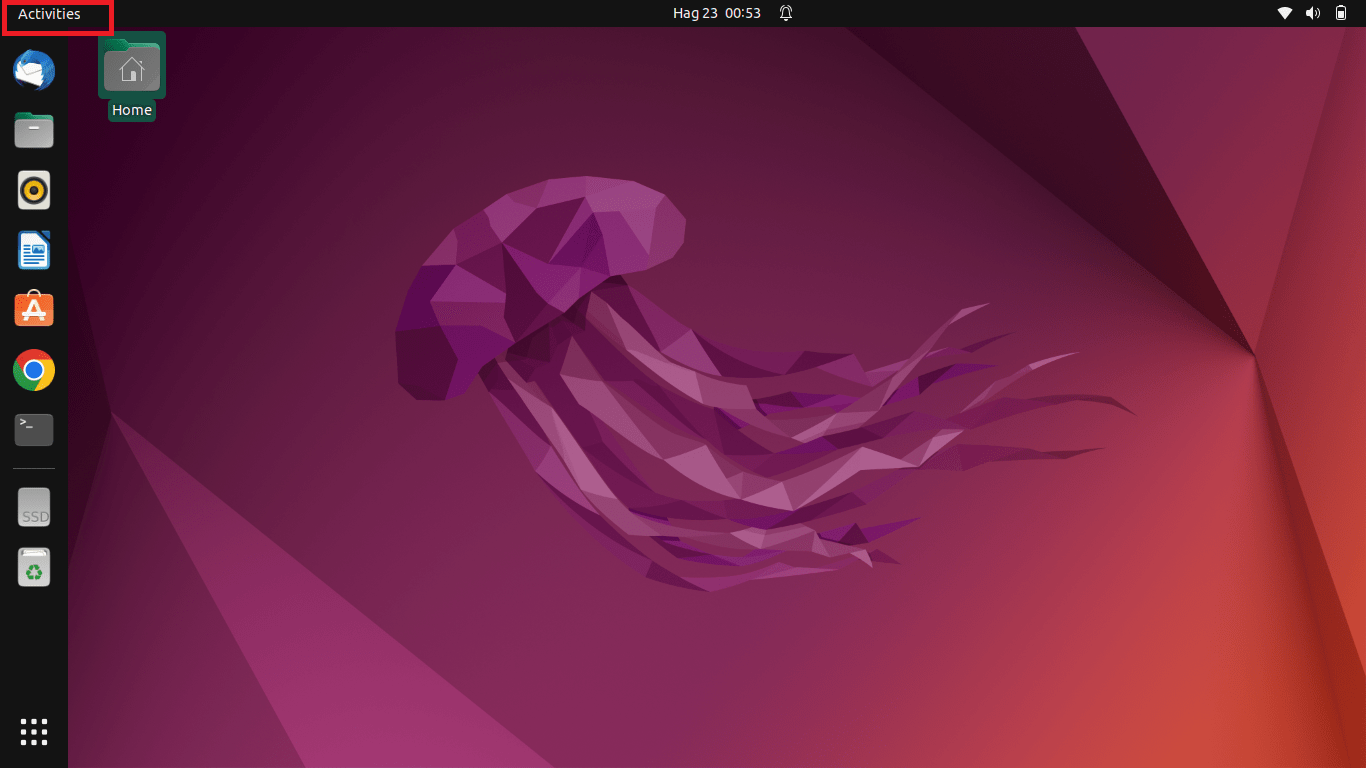
Click on activities
After that, type in “Fotoxx” in the search bar, and such an icon will appear, click on it to open:
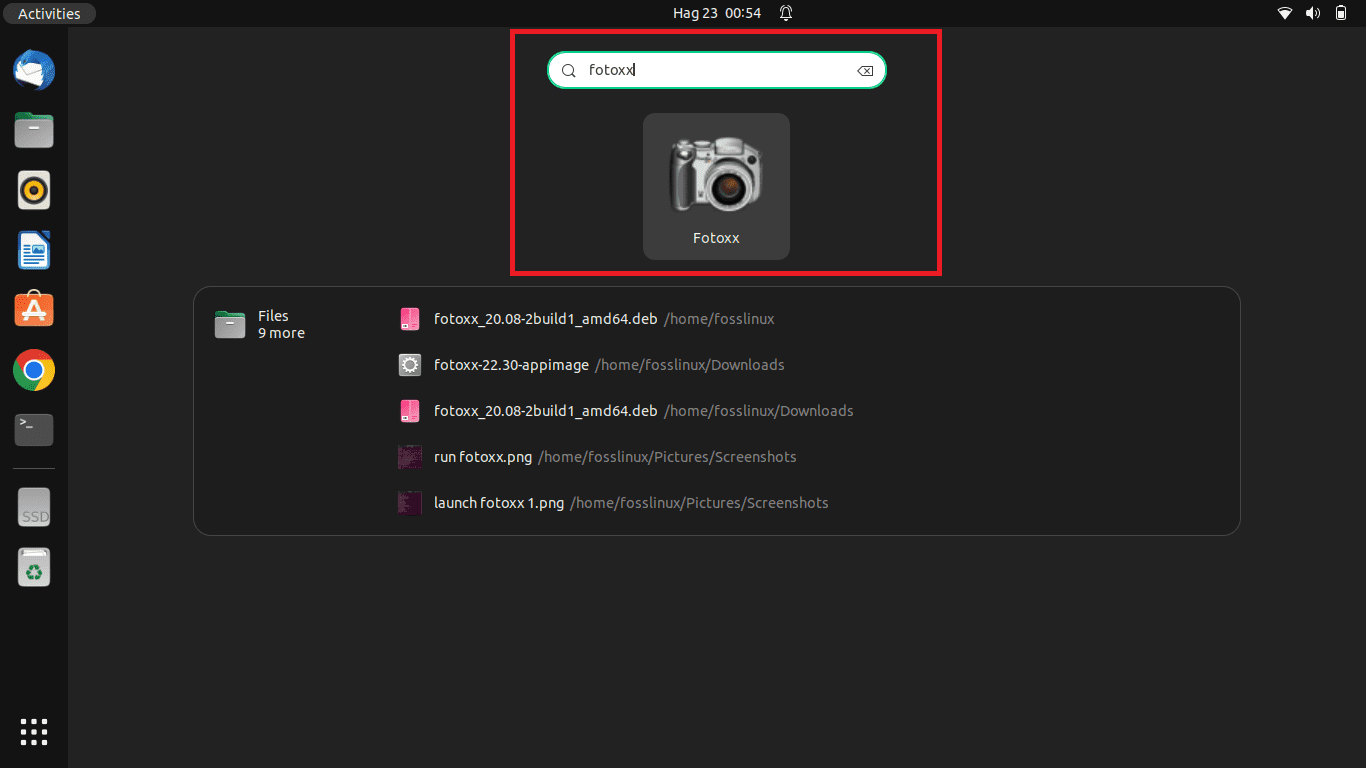
Search for fotoxx
The snapshot below indicates that Fotoxx’s user interface is open for use:
fotoxx window up
Once you arrive at the default screen, as shown above, you will be prompted to index your images or defer the scan depending on the available timeframe and the vast size of your collection; click on “proceed.”
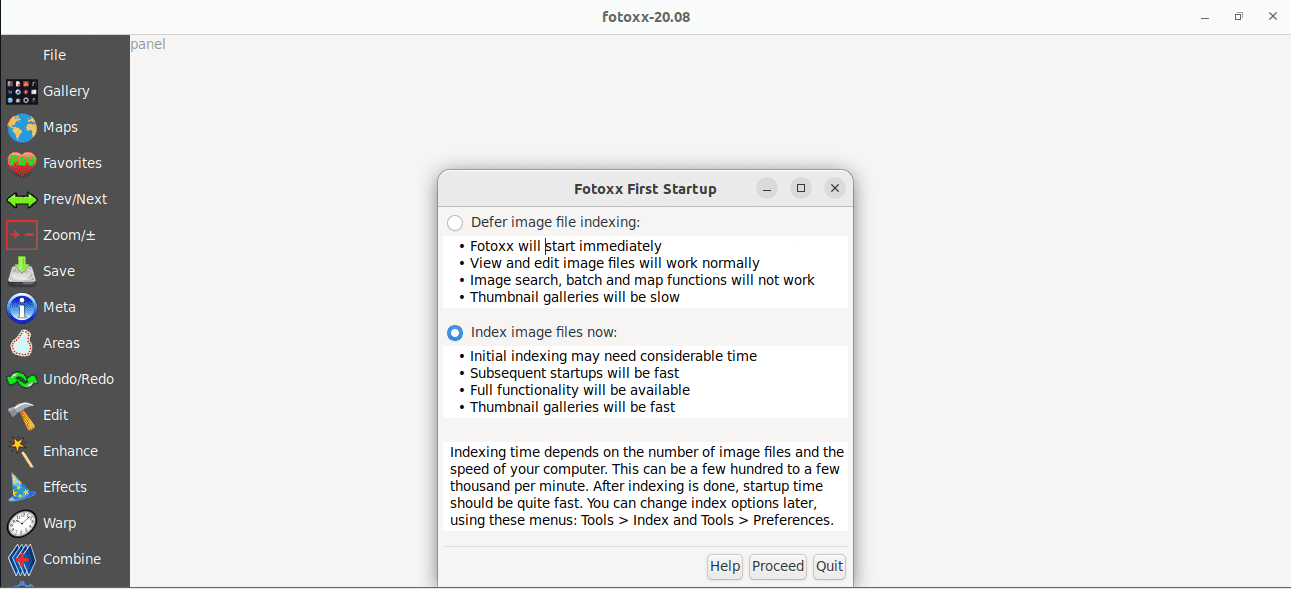
prompt
Then, navigate to the location of your images, and all your image folders will be displayed in such a window:
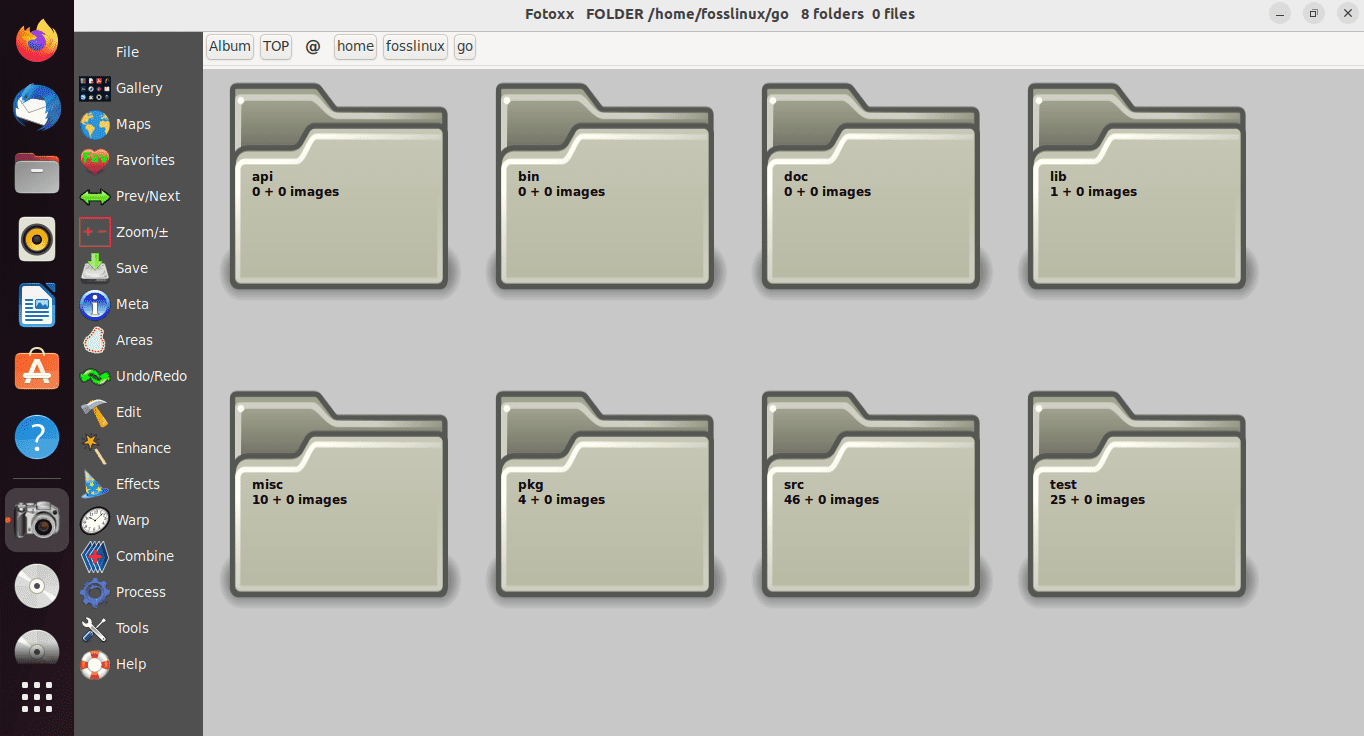
folders display
You can then maneuver to the exact folder that contains the images you want to edit and open it. From there, you can load up the particular image you wish to edit with this superb editor.
The loaded FOSSLinux image on the application is ready for editing:
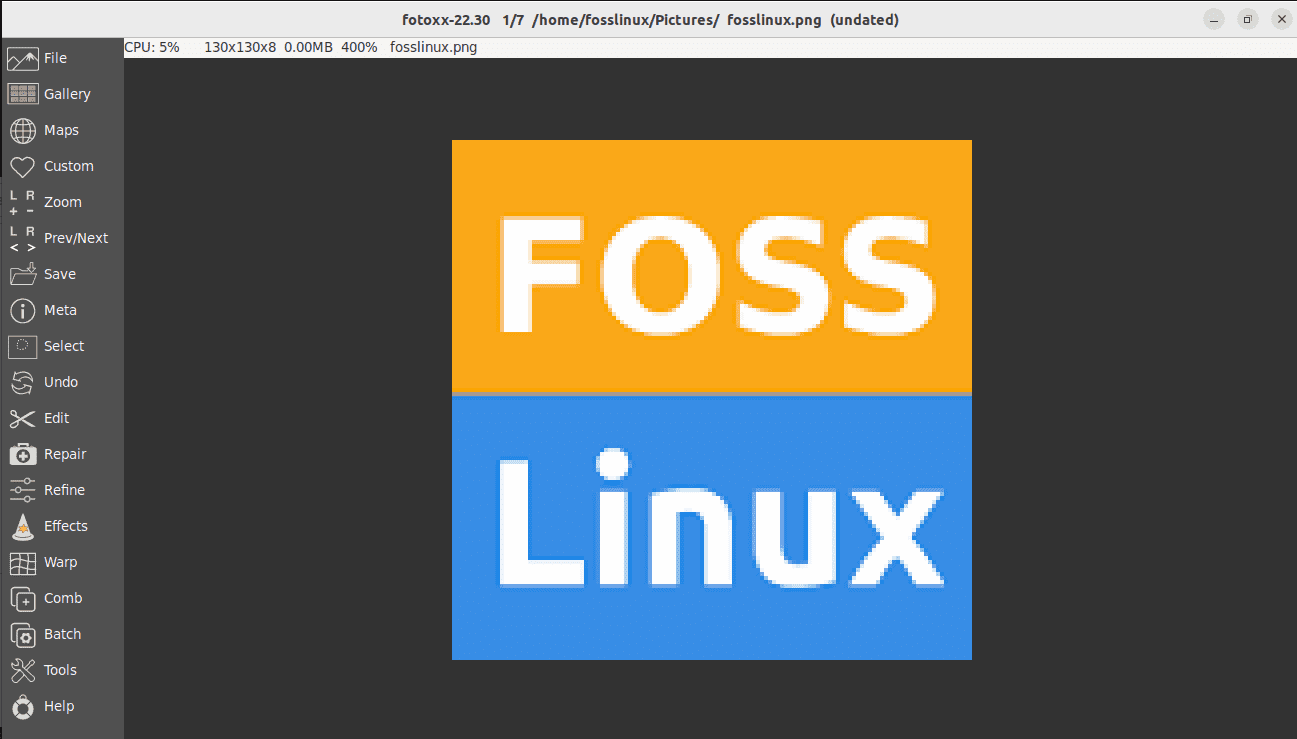
Ready for edit
How to update/upgrade Fotoxx
Updates should spontaneously be handled with your standard system updates when prompted. Those of you who are fascinated with checking the releases more often may use the following command to update and upgrade Fotoxx on your terminal:
sudo apt update && sudo apt upgrade
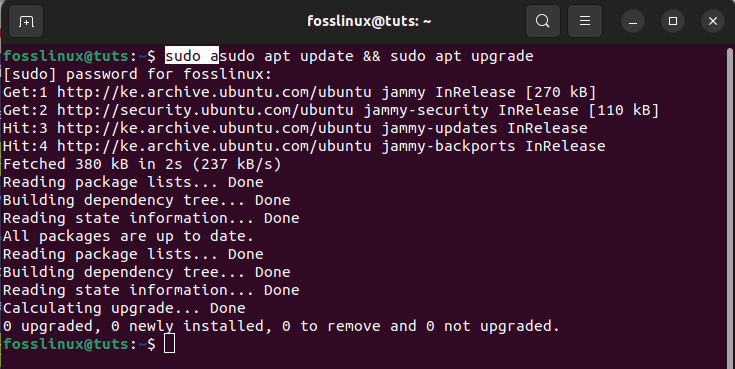
Update and upgrade fotoxx
Let us look at the last section: How to remove the software from our Ubuntu system.
How to uninstall Fotoxx from Ubuntu
To only uninstall the Fotoxx package, use the following command:
sudo apt-get remove fotoxx

Only uninstall fotoxx
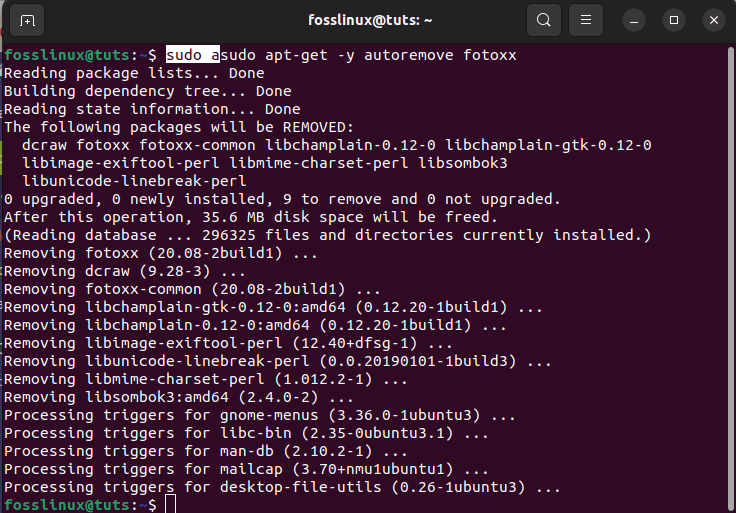
How to uninstall Fotoxx and its dependencies
To uninstall Fotoxx and its dependencies which are automatically not needed anymore by Ubuntu 22.04, use the following command:
sudo apt-get -y autoremove fotoxx
Uninstall Fotoxx and its dependencies
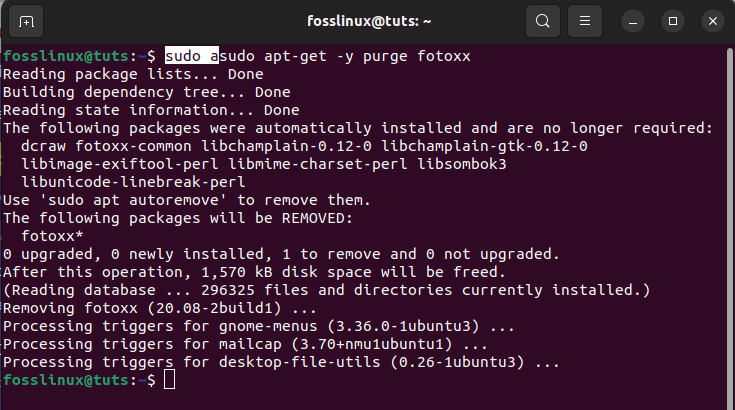
How to remove Fotoxx configurations and data
To do away with Fotoxx configurations and data from our Ubuntu 22.04 system, use the following command:
sudo apt-get -y purge fotoxx
Remove Fotoxx configuration and data
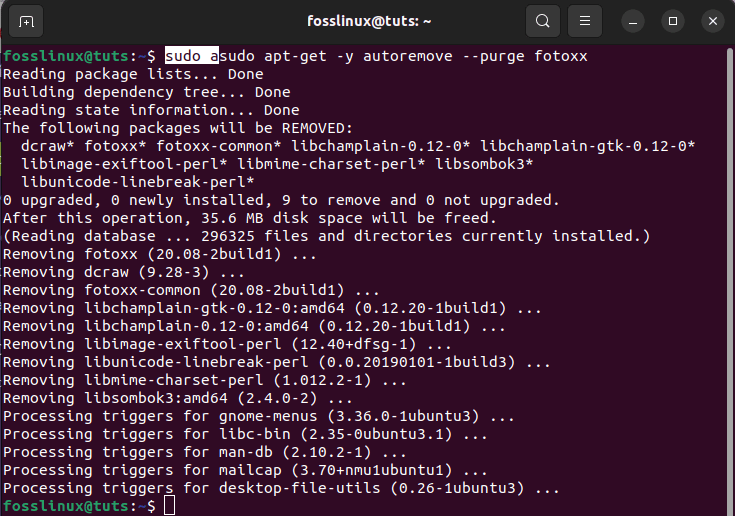
How to remove configuration, data, and all of its dependencies
We can utilize the subsequent command to clear Fotoxx configuration, data, and all of its dependencies by running the following command:
sudo apt-get -y autoremove --purge fotoxx
Remove data configuration and all its dependencies
Final Thoughts
Fotoxx is a robust photo editor installed on several Linux distros. However, we have solely based this article on installing the application on Ubuntu version 22.04. This guide has exhaustively covered how to install Fotoxx on Ubuntu 22.04 using apt-get, apt, aptitude, binary package, and AppImage, which you should be well versed with. After that, we stretched the article further and showed how to launch the application using the graphical user interface and terminal formats.
We also covered how to update and upgrade the software when needed. Finally, we looked at how we can uninstall the Fotoxx packages, how to uninstall Fotoxx and its dependencies, how to remove Fotoxx configurations and data, and how to remove configurations, data, and all of Fotoxx’s dependencies.
1 comment
The appimage release of Fotoxx on the author’s web site (kornelix.net) is always the latest version of Fotoxx.