
OpenVAS is a quite popular and highly advanced open-source vulnerability scanner and manager for servers and network tools. OpenVAS includes several services and tools. Here are a few most prominent features that are vital for any server.
- Greenbone Security Assistant, a graphical interface that allows you to manage vulnerability scans from a web application
- A database that stores results and configurations
- Regularly updated feed of NVTs (Network Vulnerability Tests)
- Scanner, which runs the NVTs
Install OpenVAS 9 on Ubuntu 18.04 LTS
Before we go to the installation part, we need to add the PPA repository to the system.
Step 1 – Add PPA Repository
Execute all commands in root user.
sudo add-apt-repository ppa:mrazavi/openvas
Step 2 – Update System
sudo apt-get update
Now we will install needed packages.
Step 3 – Install SQLite
SQLite is a C-language library that is the most used database engine in the world.
sudo apt install sqlite3
Step 4 – Install OpenVAS 9
Now is the time to install OpenVAS 9.
sudo apt install openvas9
It will ask to configure Redis Unix socket. Then select yes and continue.
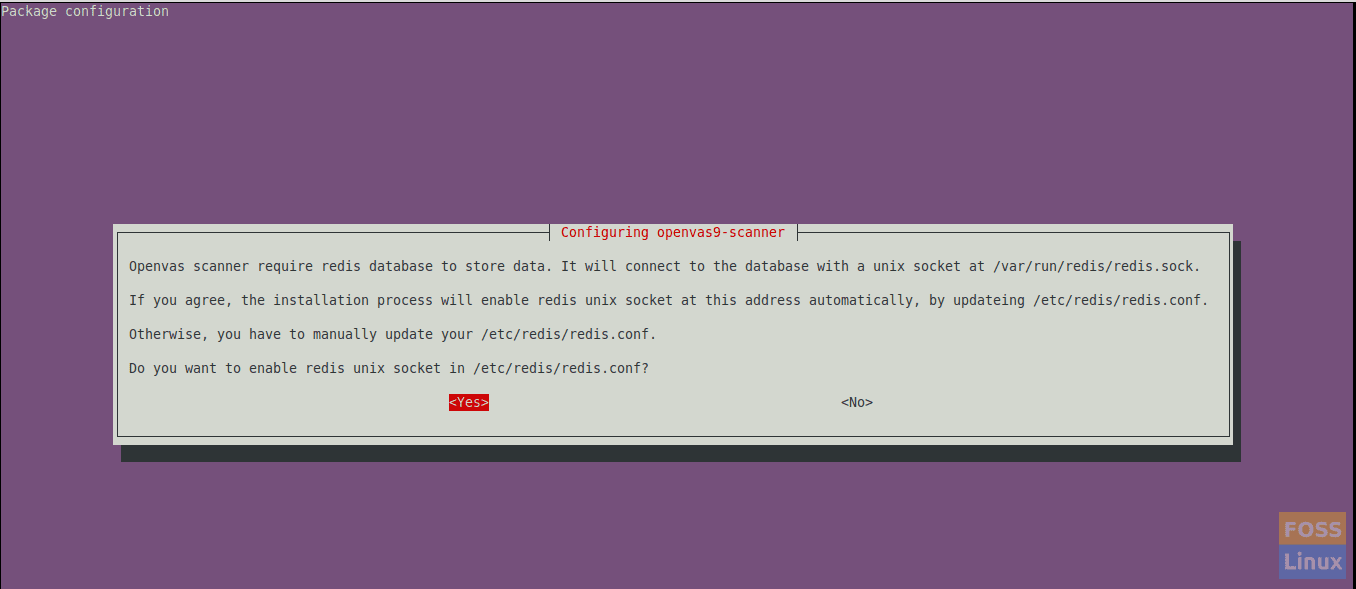
Redis Configuration
After the installation is done, you have to configure some packages.
Step 5 – Install other needed packages
For PDF reporting, we have to install some packages for it.
sudo apt install texlive-latex-extra --no-install-recommends
sudo apt install texlive-fonts-recommended
We need the “openvas-nasl” utility which is provided by the “libopenvas9-dev” package to run OpenVAS NASL scripts against a target or sometimes troubleshoot and check NASL scripts for errors.
You can install it using the following command:
sudo apt install libopenvas9-dev
We will add the vulnerability data to the database by syncing with the feeds. It can be done using the following commands.
greenbone-nvt-sync
greenbone-scapdata-sync
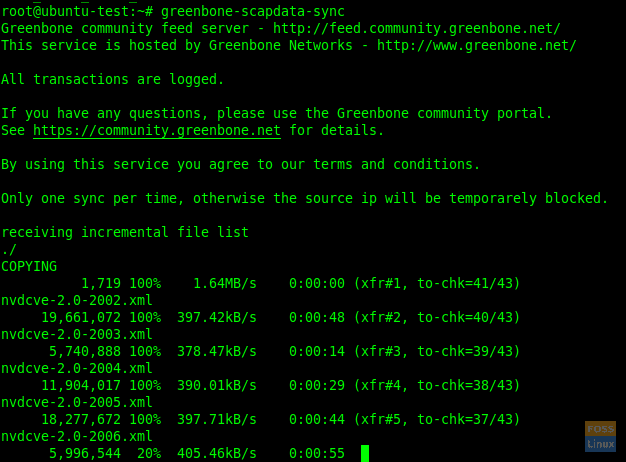
Data Sync
greenbone-certdata-sync
These syncs will get some time to update.
After the update is done, we can restart services.
Step 6 – Restart OpenVAS Services
Restart the OpenVAS scanner.
systemctl restart openvas-scanner
Restart the OpenVAS manager.
systemctl restart openvas-manager
Restart the Greenbone security assistant.
systemctl restart openvas-gsa
Then enable restarted services on system boot.
systemctl enable openvas-scanner
systemctl enable openvas-manager
systemctl enable openvas-gsa
Step 7 – Check OpenVAS processes
ps -aux | grep openvas

Openvas Processes
Rebuild the NVTs cache and all synced feed will be loaded into the manager.
openvasmd --rebuild --progress
Step 8 – Verify Installation
Here we are going to use openvas-check-setup tool for checking the state of OpenVAS installation.
Download and copy it to your path:
wget --no-check-certificate https://svn.wald.intevation.org/svn/openvas/branches/tools-attic/openvas-check-setup -P /usr/local/bin/
Give execute permission.
chmod +x /usr/local/bin/openvas-check-setup
Now verify installation.
openvas-check-setup --v9
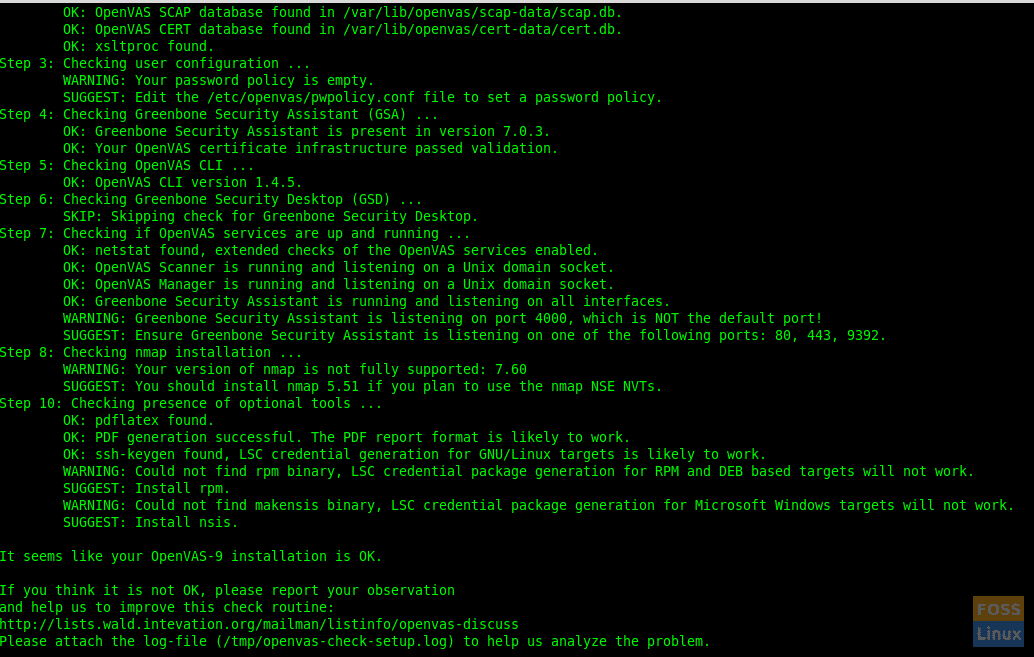
Verify Installation
Step 9 – Test Installation
Now everything is ok. We can browse the web interface. Open a browser and use the following URL.
https://Server-Ip:4000
The login default username and password is “admin”
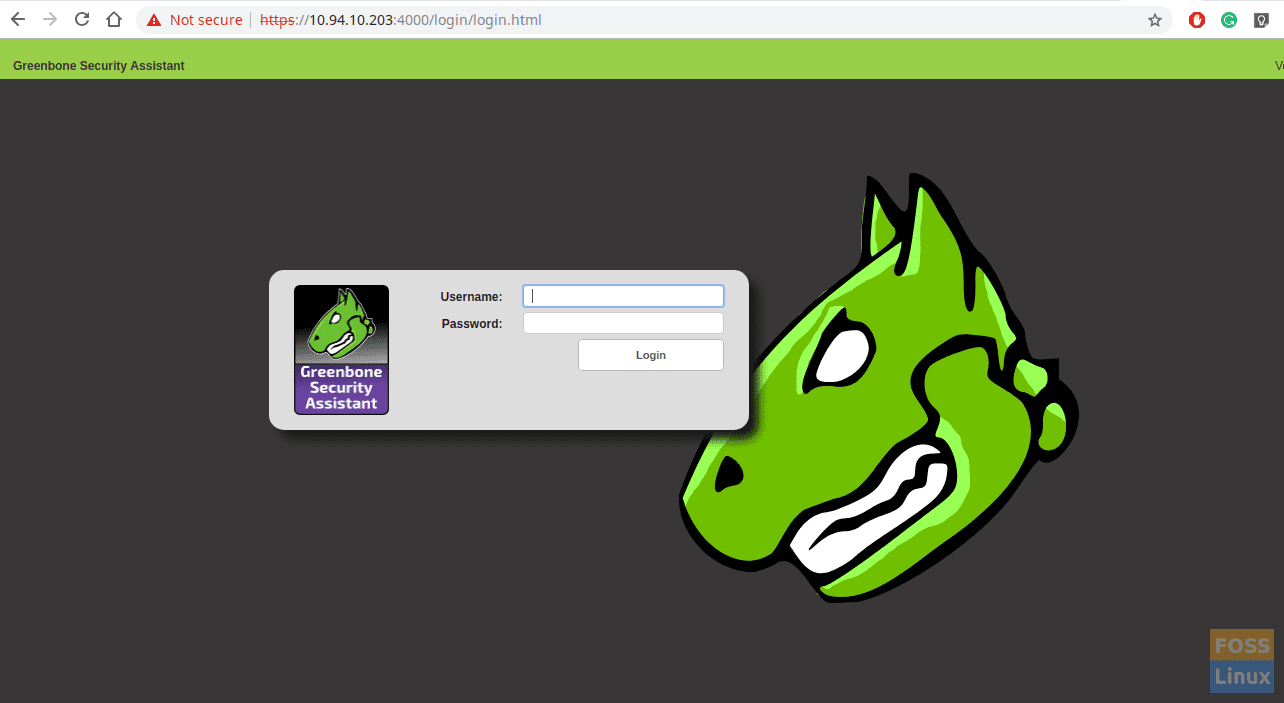
Web Interface Login
After login, you can see the Dashboard.
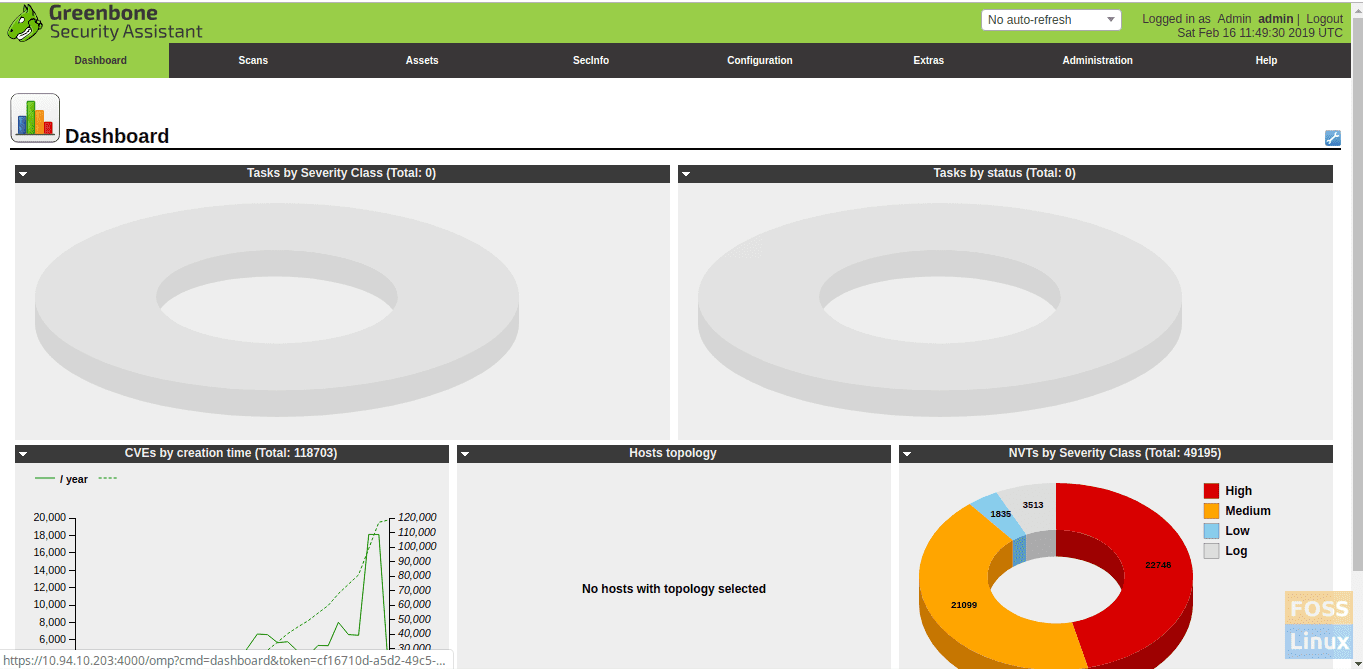
DashBoard
Now we will add a scan target. So click on Scan-> Task. Then you will get the following window.
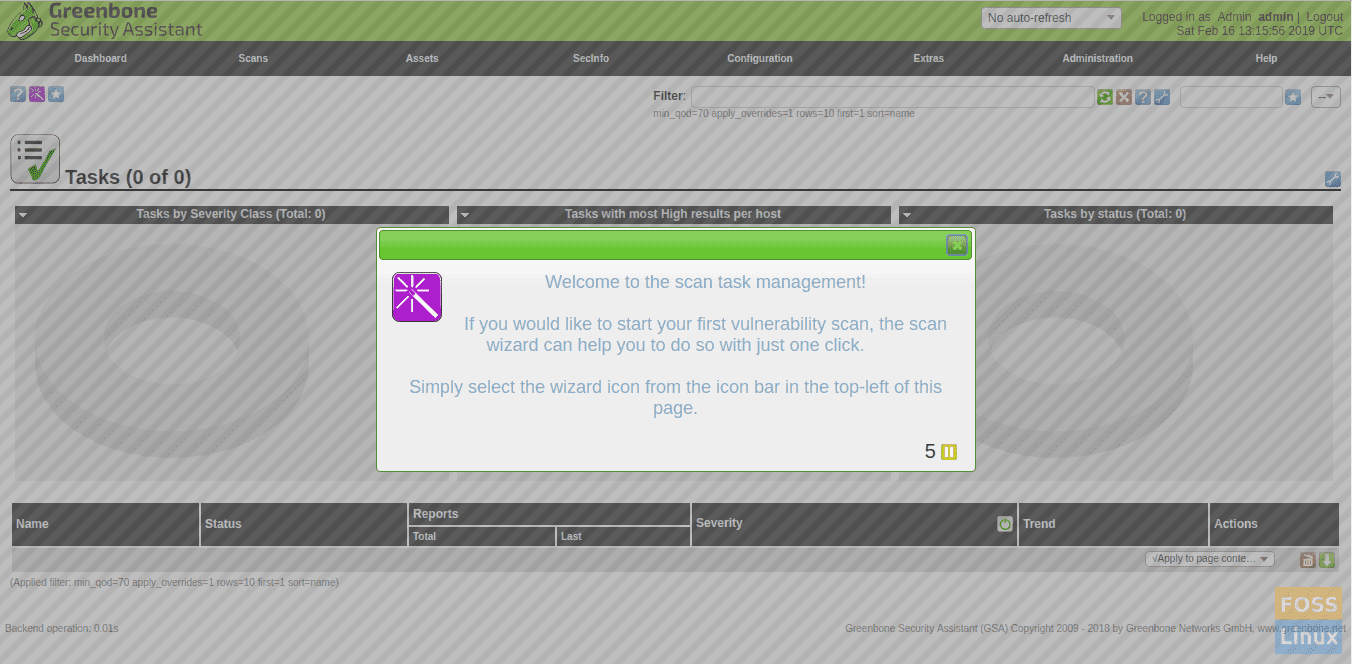
Scan Task
Add target.
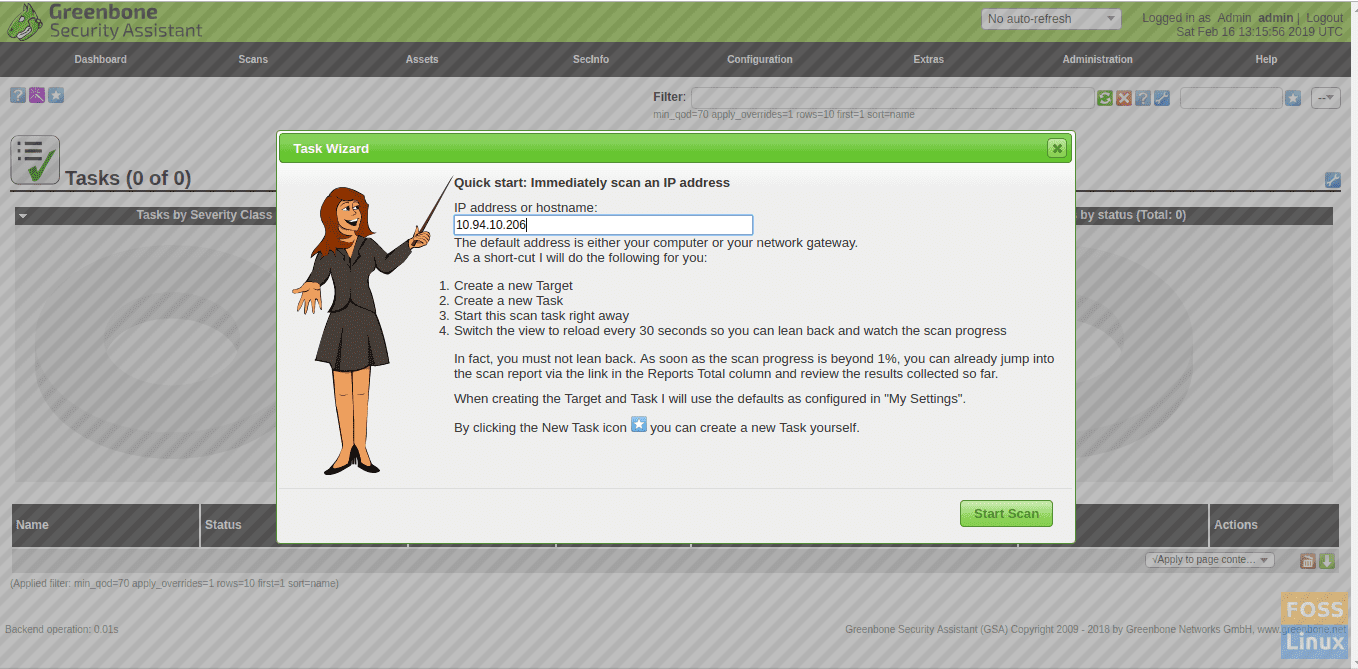
Add Target
Then start the scan and you will see scan is running.
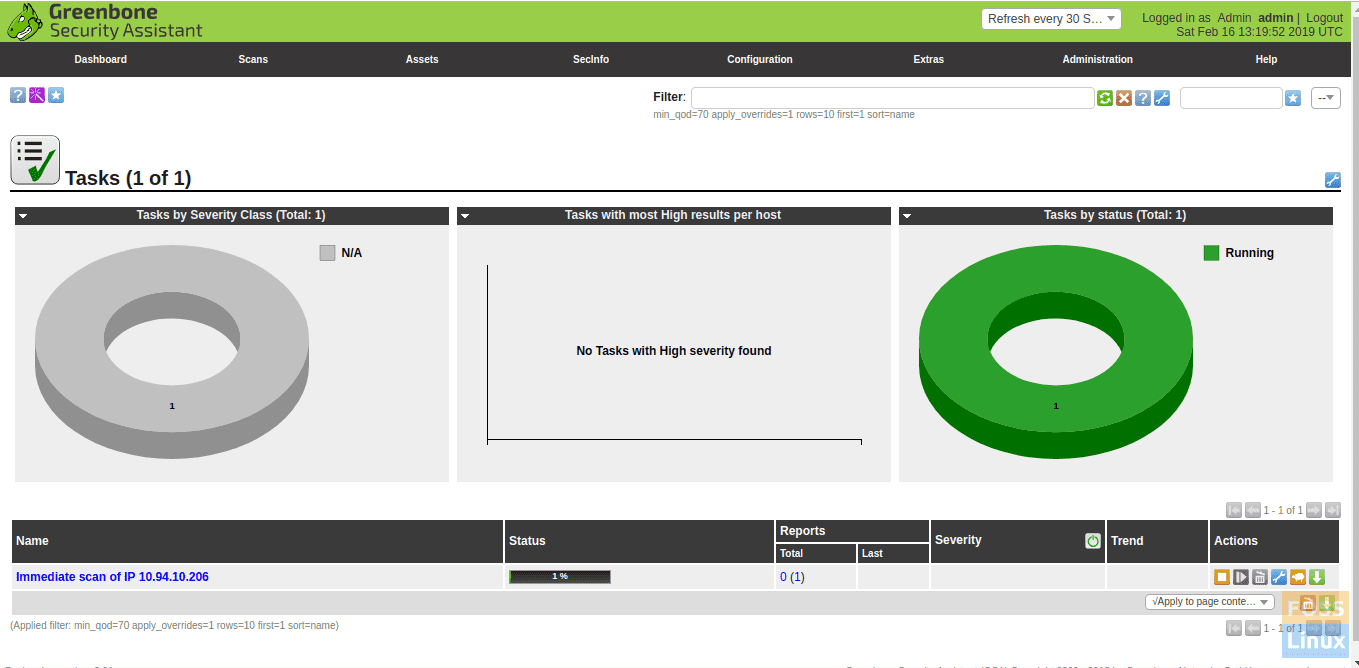
Scan In Progress
After the scan is completed, you can download reports in PDF format.
We successfully installed and configured Openvas9 on Ubuntu 18.04 LTS and added a target to scan. If you have any issue with the installation, feel free to discuss in the comments section below.
14 comments
This is a very good step-by-step procedure which I appreciate, however step 8 (verification) is no longer valid as the tool is no longer available and/or maintained.
Just the link has been changed. Use wget –no-check-certificate https://svn.wald.intevation.org/openvas/branches/tools-attic/openvas-check-setup -P / usr / local / bin /
Thank you for this guide which made it really easy to install OpenVAS. It fails to scan public IPs behind firewalls but Nmap does. Any advice on modification that could be made to resolve it?
I too have the same problem! Have you been able to find any solution?
I’m having precisely the same issue. Have you found a solution?
Hi,
thank you for the guide. I surely will give it a try but one question: Did you try the command line tools e.g. omp and its successor?
I tried another guide that worked fine but provided no working access to the scanner via command line.
Everything is working fine except step no. 8. Please update the step 8.
I have an issue on ubuntu 18.04 where it will get stuck at rebuilding NVTs
Prime generation might be too slow. To make it faster it is a good idea to perform some other action (type on the keyboard, move the mouse, utilize the disks).
User created with password XXXXXXXXXXXXXXXXXXXXXXx
Rebuilding NVT cache… –
Any recommendations?
I have installed all steps correctly and verified the installation as well but can’t access the dashboard it says “This site can’t be reached”.
Well done, thanks!
I just made the mistake to install as apt install openvas instead of how you do it here.
It took me a while to realise, better to follow your step-by-step
Thank you, OpenVAS has installed correctly.
“After the scan is completed, you can download reports in PDF format.” – I can’t find the PDF format to export to. After scanning a host in Action section I can select only .XML format to export. Although in Configuration-> Report formats I can see .PDF also.
What should I do to export in . PDF format?
How do i undo all the above? I didn’t finish the installation, Steps 8 failed and some bits of step 7. want to return my system to the state it was before Step 1.Thanks
I followed the steps above
I am getting the following message while using
URL: https://IP-address:4000The request contained an unknown or invalid Host header. If you are trying to access GSA via its hostname or a proxy, make sure GSA is set up to allow it.
Could you provide any solutions fo
I have run the command on step 1 “add-apt-repository ppa:mrazavi/openvas”, but I got this error message “Err:11 http://ppa.launchpad.net/mrazavi/openvas/ubuntu focal Release 404 Not Found [IP: 91.189.95.85 80]”. Do you have any solutions?