
Backing up data is one of the most critical duties for a system admin. As such, one must be well-versed in software that can ease data backing up. Not only must an admin be aware of data backing, but also, as an individual, you must be able to back up your data without struggle. One of the most renowned backup tools that will help you do this is Duplicity.
Duplicity is a flexible local and remote backup program that uses several transfer protocols and third-party storage solutions. Ideally, it is a command-line backup app that permits you to back up directories by creating encrypted and password-protected tar-format versions of the volumes you can post to a remote or local file server.
It is very efficient, using Rsync to store only the parts of files that have been modified while still permitting you to restore files at any date. It supports storing files on vast backends, including Azure, Google Docs, IMAP, WebDAV, Azure, Google Drive, Swift, Rsync, Mega, Amazon Drive, SSH, and Dropbox. The backup archives are encoded and signed using the GnuPG, protecting them from unauthorized access or modification.
As usual, there are various apps available to back up Ubuntu. Each with its weaknesses and strengths. Some are designed for enterprise environments where it is necessary to back up many PCs quickly and efficiently. Others are designed for home surroundings and ship with a straightforward wizard-driven GUI interface. Still, others need to be accessed via the command line.
Apart from the interfaces of several backup apps, these apps have diverse functions. For instance, a specific app can back up to one or many DVDs, FTP sites, CDs, SMB drives, CDs, and other media, or they may not back up to one or more of the mentioned things. As varied as these programs are, so are the needs of the users who use them.
Duplicity’s latest release ships with the following bug fixes:
- HTML output by rman to website.
- It does not set any parameters if stat() returns null.
- All signatures and deltas used are in GNU file format.
- The non-interactive operations are now enabled via gpg2.
- 40 character sign key problem is solved in this release.
- Inputting a URL with space will result in an error, but that is not a problem anymore, as the URL spontaneously clears any spaces.
- Produces signatures upon command.
- It does not require an account and backs up the data to a Google Drive.
- The default volume is boosted to 200MB.
- The gpg2 key no longer causes any issues for Yakety and Zesty.
- Copy symlink contents are now appended to -copy-links.
- Par2-options no longer generate a PAR2 archive when executed.
With that covered, let us look at the approaches we can deploy to get this software up and running on our Ubuntu system.
Installing Duplicity on Ubuntu
Method 1: How to install Duplicity on Ubuntu using apt
Step 1: Update the apt-cache repo
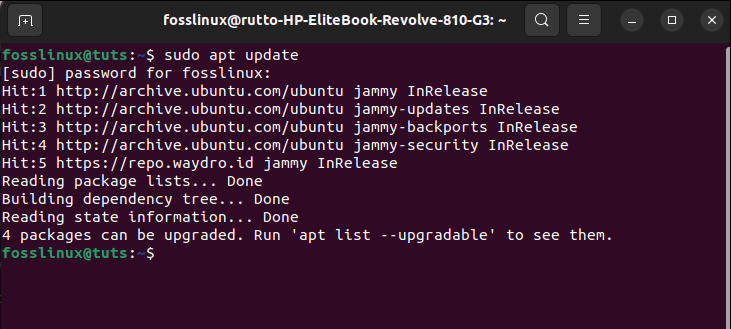
Before installing any app in Linux, it is recommended to update all your system cache-repo. You can quickly do this by issuing the following command:
sudo apt update
Update system
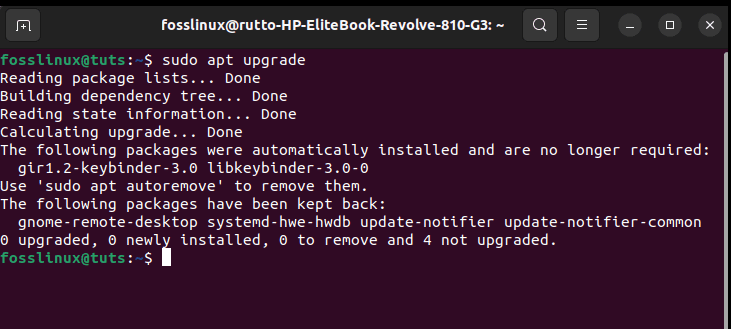
Note: Ensure you type “Y/y” whenever prompted to continue with the update process. After the update process, you might be presented with several packages that need an upgrade. In case you get it, run this command to upgrade the mentioned packages:
sudo apt upgrade
Upgrade system
Step 2: Install Duplicity with apt-get
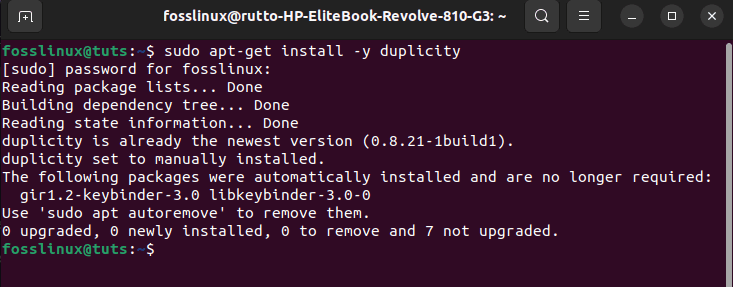
Once the update and upgrade process is done, we can proceed with the installation process. In this section, we will deploy the installation via Advanced Package Tool(APT), a command line tool for interacting with the library, letting you search for, install, manage, update, and remove the software. To install Duplicity, copy and paste this command on your terminal:
sudo apt-get install -y duplicity
Install Duplicity
Note: The “-y” in the above command tells the system to proceed with the installation without asking for your affirmation of the process.
Step 3: Verify the setup
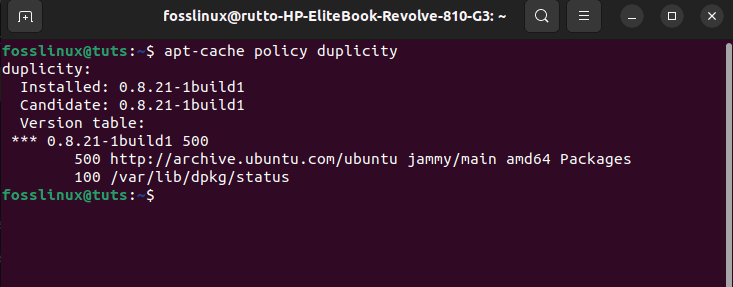
To confirm whether or not our system has successfully set up the application, run this command:
apt-cache policy duplicity
Verify installation
The output should indicate whether or not the installation was successful.
Let us look at the alternative method of doing this.
Method 2: How to install Duplicity on Ubuntu using snaps
Snaps are apps packaged with all their dependencies to run on all major Linux distros from a single build. They automatically update and roll back gracefully.
Snaps are found and installable from the Snap Store, an app with a vast audience of over a million.
Enable snaps
Suppose you are using any version of Ubuntu above Ubuntu 16.04 LTS (Xenial Xerus) or later, including Ubuntu 18.04 LTS (Bionic Beaver) and Ubuntu 20.04 LTS (Focal Fossa). In that case, you don’t need to do anything because Snap is already installed.
For versions of Ubuntu between 14.04 LTS (Trusty Tahr) and 15.10 (Willy Werewolf), as well as Ubuntu flavors that don’t include Snap by default can install the software using the following commands:
sudo apt install snapd
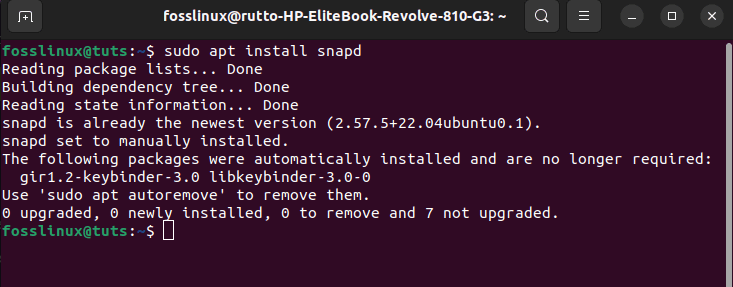
Install snapd
You can then log out and back in again or reboot your PC to ensure Snap’s paths are correctly updated.
Install Duplicity
To set up Duplicity, run this command:
sudo snap install duplicity --classic
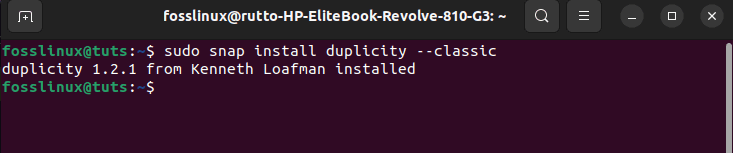
Install Duplicity
Now that we are done with the installation phase, let us look at another aspect of this application.
Create SSH and GPG keys
Our configuration of Duplicity will deploy two different kinds of keys to attain a nice intersection between convenience and security.
We will use the SSH keys to securely authenticate with the remote system without having to authorize using a password. We will also use GPG to encode the data before we transfer it to the backup location.
Create SSH keys
We will create an RSA-encoded SSH key for our root user to let password-less logins to the machine that will host the backups.
If you haven’t done so, ensure you have a root password configured on the machine to which you will be transferring the data. You can attain this by logging into the machine as root (via SSH or the Console Access button on the droplets page if this is a VPS (Virtual Private Server)) and executing this command:
passwd
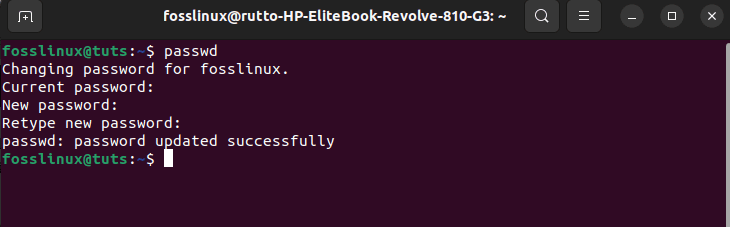
Root user password creation
Back in the droplet with Duplicity, we will generate a key pair with the subsequent command:
ssh-keygen -t rsa
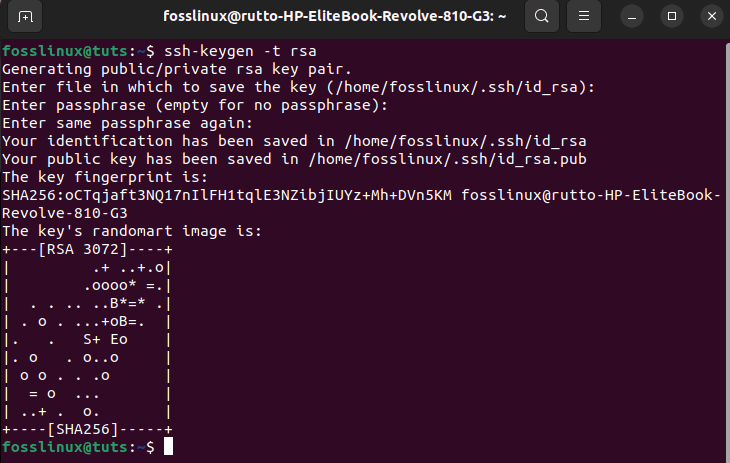
Generate key pair
At the prompts to create a password-less SSH key with the default setting, press “Enter.”
You should successfully be logged in without having to authenticate any other credentials.
When done, exit back out into your duplicity droplet:
exit
Create GPG keys
For extra security and encoding, we will be using GPG. The commands will store our keys in a hidden directory at “/root/.gnupg/”:
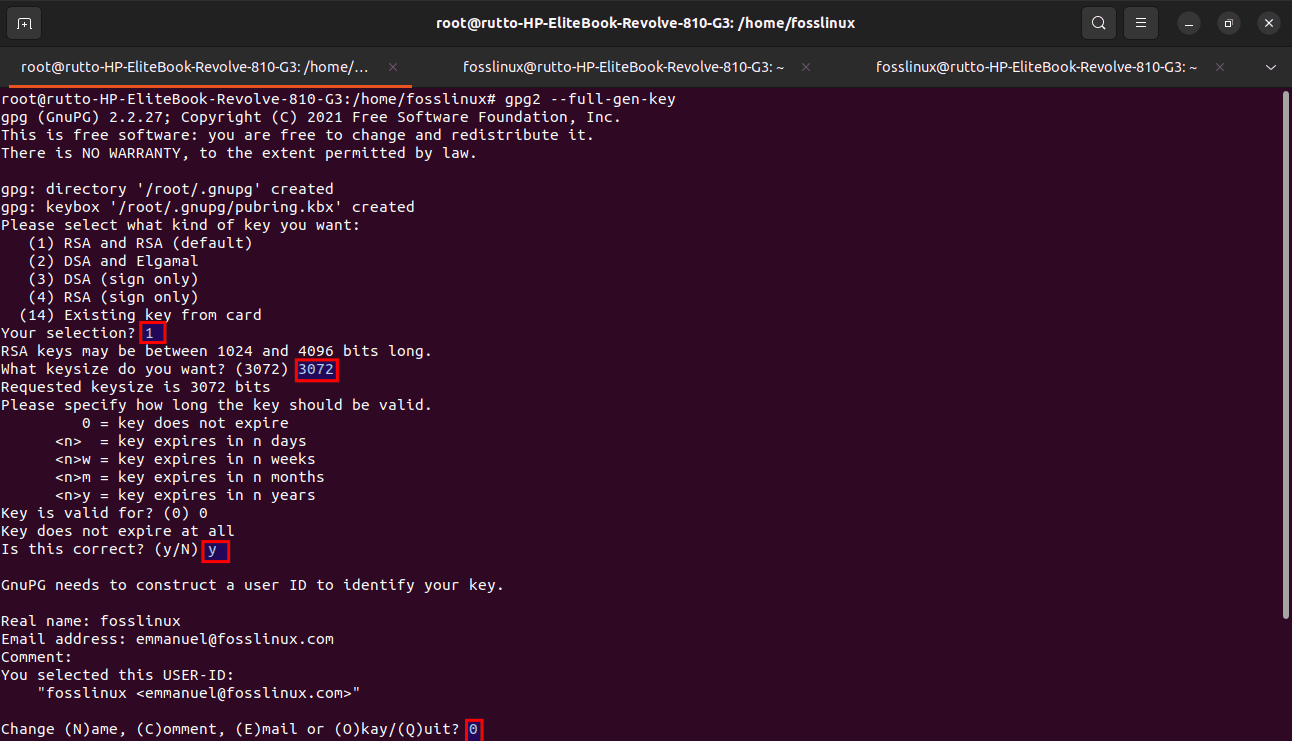
gpg2 --full-gen-key
You will be asked a few questions that will configure the parameters of the key pair.
- Type of key.
- Key size.
- How long should the key be valid?
- A passphrase.
Questions
Input the name, email address, and, optionally, a comment that will be linked with this key—type “0” to confirm your details.
Next, you will configure a passphrase to use with GPG. Unlike with the SSH keys, where we defaulted to no passphrase to allow Duplicity to operate in the background, you should give a passphrase for this step to permit secure encoding and decoding of your data.
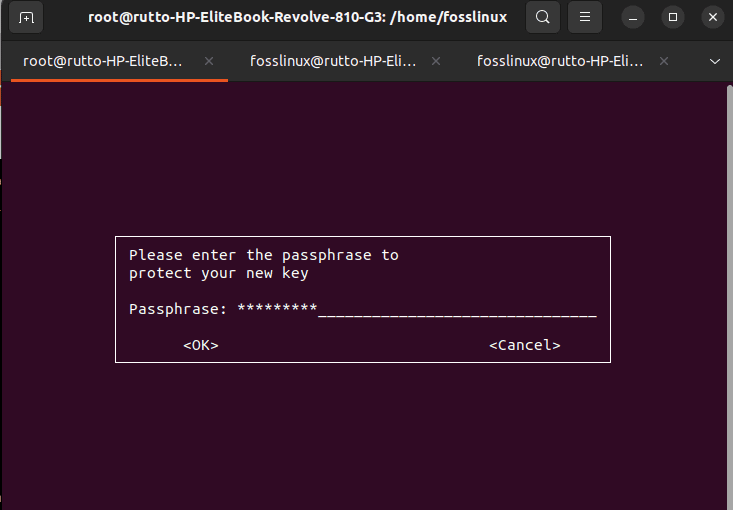
Enter phrase
Your key will be created when you generate enough random pieces of information.
If you forget to write down your public key ID, you can get it again by querying the gpg keyring:
gpg --list-keys
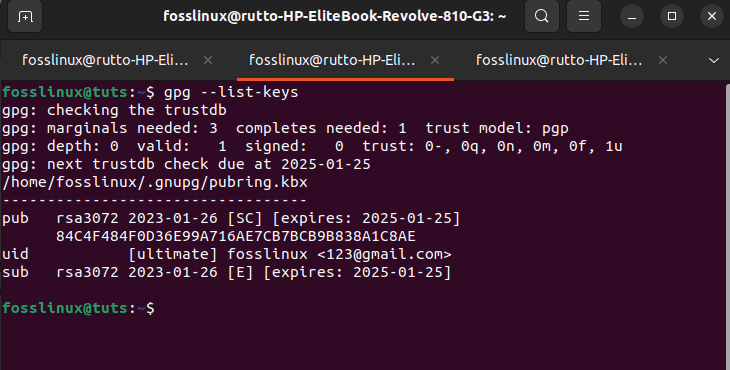
List keys
We should, at this point, have all the necessary components in place to back up using Duplicity securely.
Let us now take you to another critical phase of Duplicity.
How to use Duplicity
Run the first test
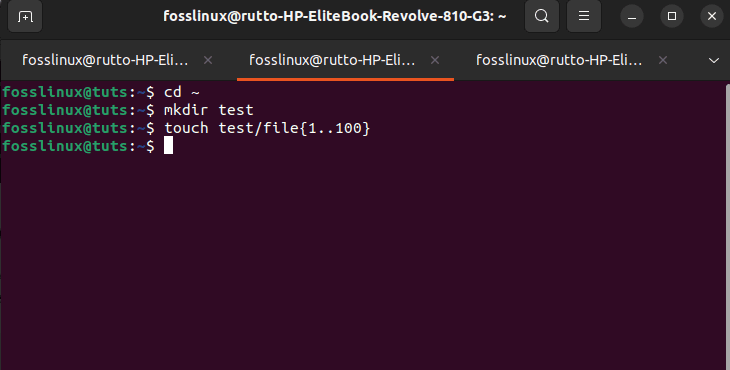
We will run an initial test on our duplicity system by generating a folder of dummy files to back up. To do this, run the following commands as listed:
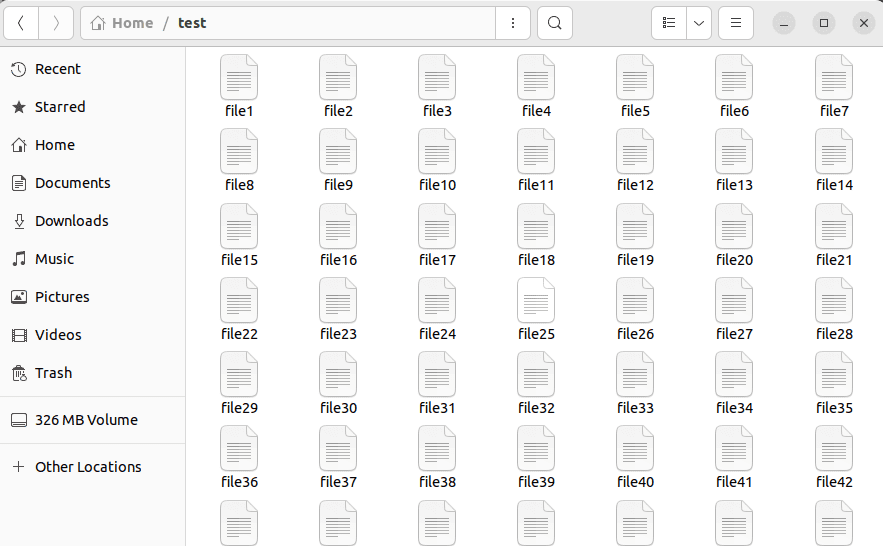
cd ~
mkdir test
touch test/file{1..100}
First test
The above commands will create a ” test ” directory in the root home directory. It then adds the directory with files numbered 1-100:
Files created
These files have the backup info. Since this was just a test, you can delete them by issuing this command:
rm duplicity*
Exit back into the duplicity droplet using the:
exit
We can now do away with the test directory and all of its contents using the following:
rm -r /root/test
And you should now be able to start backing up your data using Duplicity.
Launch the backup tool
You can use the Ubuntu app interface search bar to look for the keyword “backups.” Then, from the search results, select the “Backups app,” as shown below:
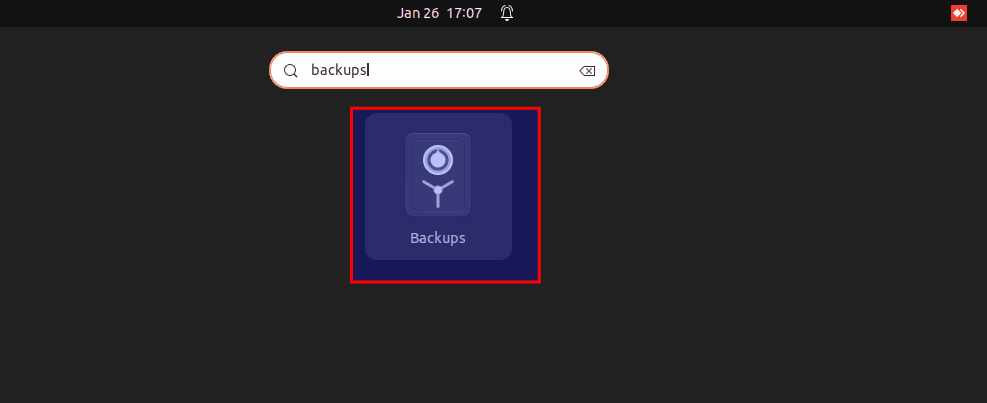
Search for backups
The following window will be displayed when the app is launched. This will let you see the app’s current state. Click the [+] button, as seen in the following sample, to add particular files and directories for backup.
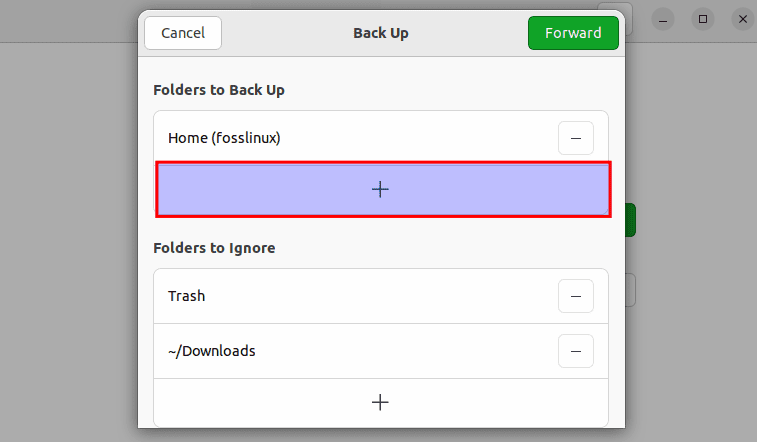
Click +
This will bring a new window. You can go to the folders you intend to back up from that screen. Then tap the “Add” button after you have selected the specific folder:
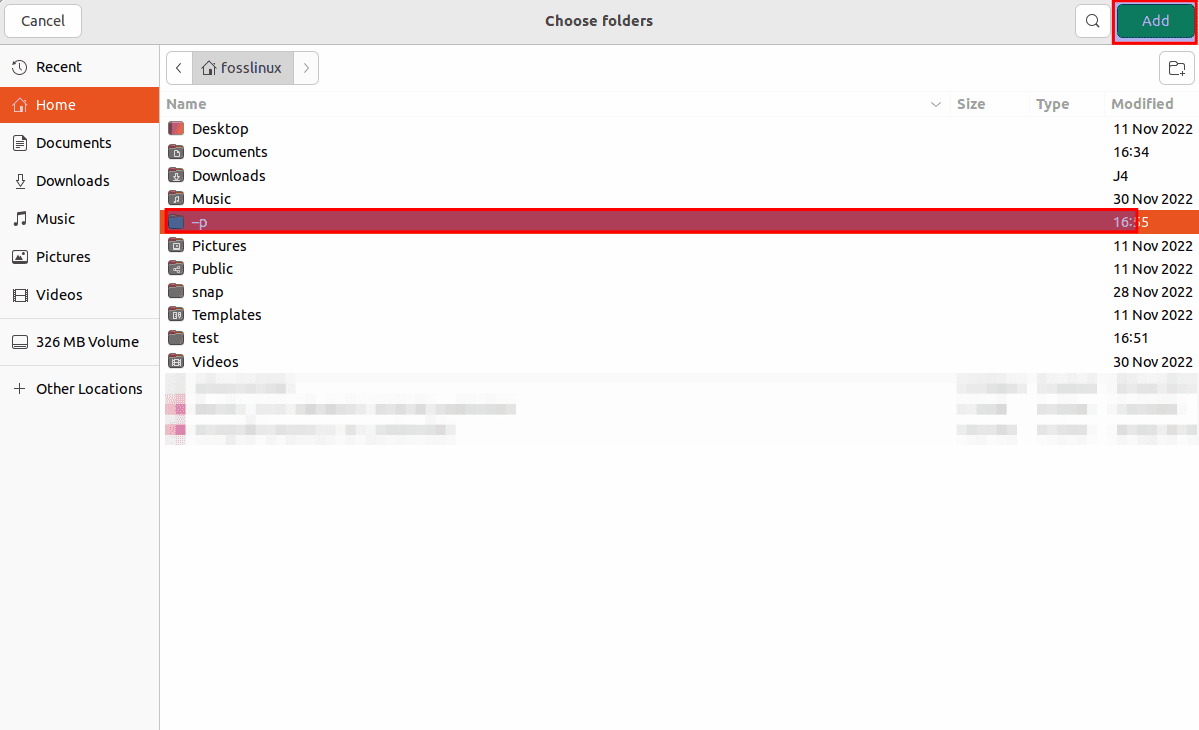
Next, select the file and click “Add.”
You will see them displayed in the Folders in the backup menu once you have appended them:

Folder uploaded
Remove folders that will not back up
If you have selected to back up an entire directory, including some folders, you don’t intend to back up since they possess unimportant info. It is possible to do away with them. From the right side of the backup tool, click on the hamburger menu and select preferences:
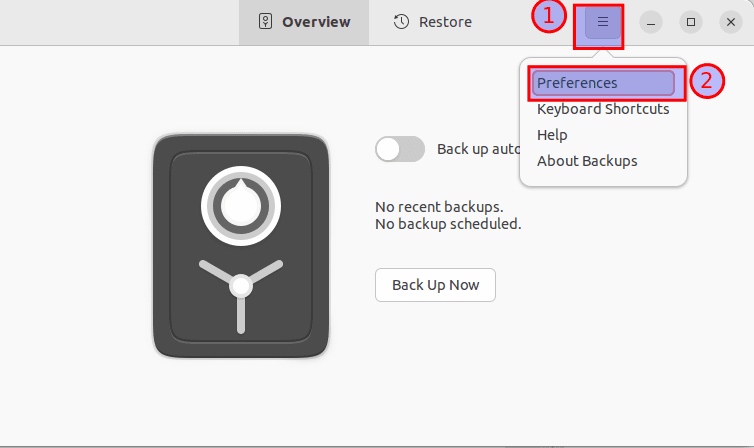
Click on preferences
Then select the “Folders tab,” and you should see the folders to ignore:
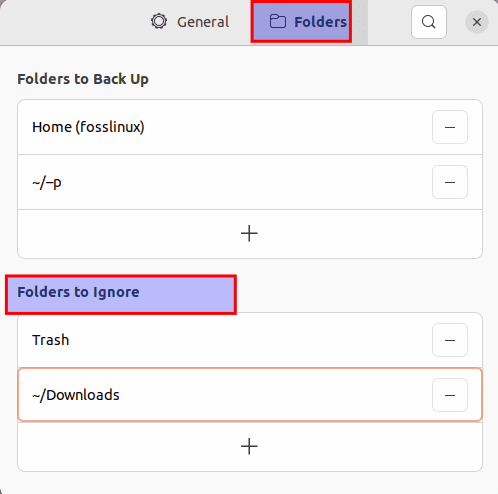
Folders to ignore
Select backup location
After you have chosen the data you intend to back up, click on the “General tab” and the Storage menu, and select the “location,” as highlighted below:

Select Location
This will pop the storage options for you; you can go with an option that suits you better:
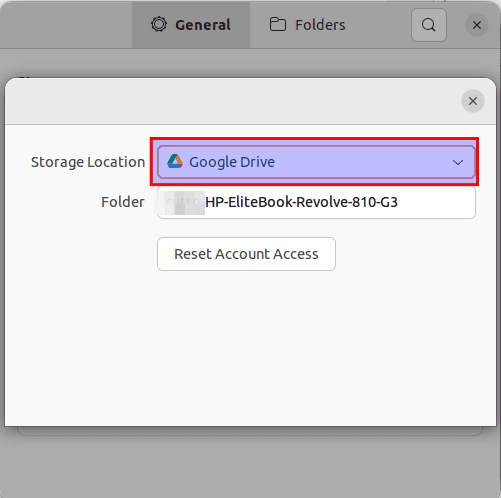
Locate
In the Overview tab, select the “Back up now” option to initialize the backup process:
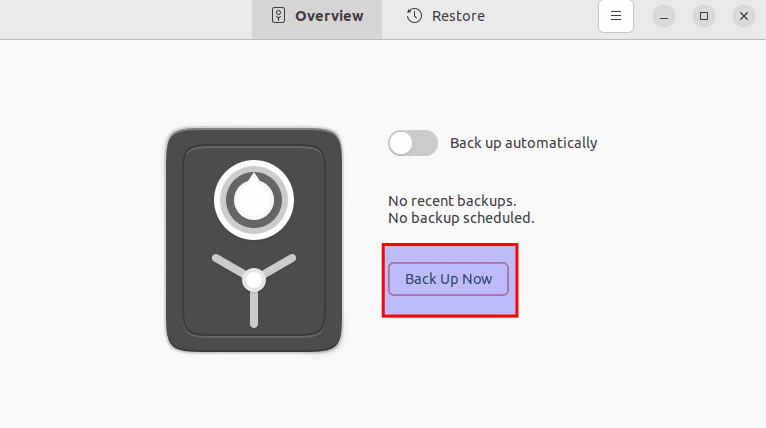
Select backup now
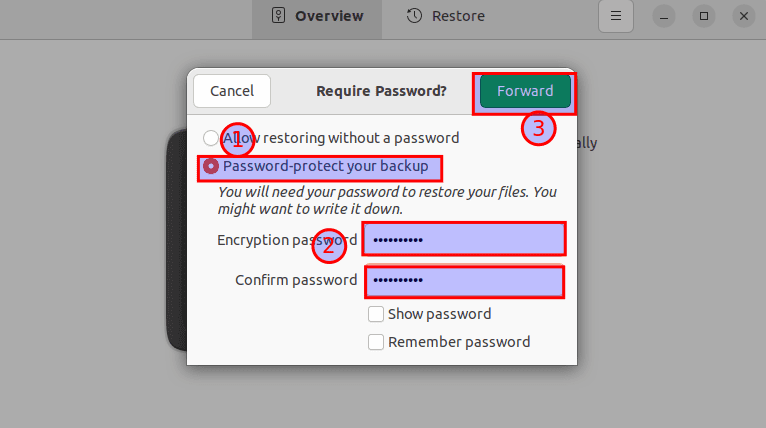
An encryption window will appear. If you want to password-protect your files, type a password and tap “Forward.” If you select this option, the password will be necessary whenever you want to restore your data.
Password-protect
On the other hand, if you select “Allow restoring without a password,” you can skip the encryption section and select “Forward,” and your system will begin a scan of the files in the folder to be backed up and then start backing them:
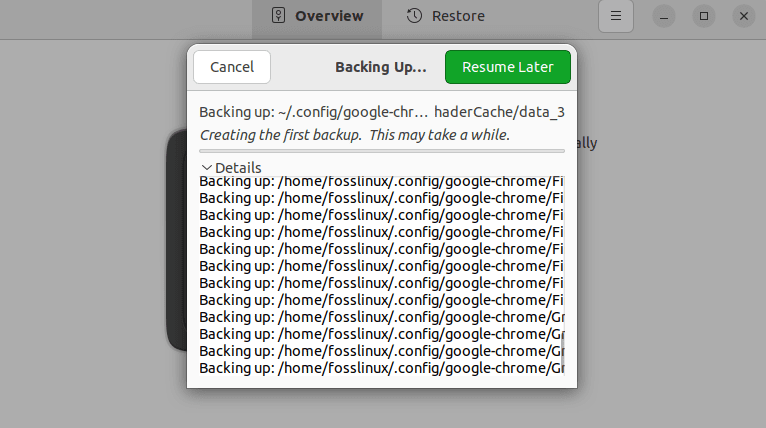
Backing up
Final Thoughts
In summary, backing up data creates a copy of data you can look up in the event of a primary data failure. Despite not being a frequent issue, primary data failures can result from hardware or software malfunction, human-caused events, like malicious attacks, data corruption, or accidental deletion of data. Ubuntu has a couple of software that can help you do this.
However, this article focused more on Duplicity. We covered the installation phase using two different methods. We also showed some configuration steps to get the software running on your Ubuntu machine. Also, we showed some GUI backup tools in Ubuntu and how to use it.
Now, we believe that, at this point, you should have a fully functional and operational backup solution in place. Also, ensure you frequently validate your backups to avoid falling victim to a false security alarm.
There are loads of backup programs, but Duplicity is a flexible and straightforward solution we can recommend, as it will fulfill your needs.