
Are you tired of the same old look on your Linux Mint system? Want to add a personal touch and make it truly your own? Look no further! This comprehensive guide will show you how to install and use custom themes on Linux Mint, elevating the visual appearance of your desktop and making your experience more enjoyable. Follow the step-by-step instructions, and you’ll have a fully customized system in no time. So, let’s get started!
Ways of changing themes on Linux Mint
On Linux Mint, there are several methods to change the look and feel of your system. Firstly, you can choose a pre-installed theme and personalize it according to your preferences. Secondly, you can browse and install new themes from Linux Mint’s official theme repository. Finally, you can download themes from external sources and integrate them into your Linux Mint setup.
Listed below are the procedures for changing themes using each of these methods.
Method 1: Customizing a Default Theme
This approach involves selecting a theme from the default selection on your Linux Mint system and modifying it to your liking.
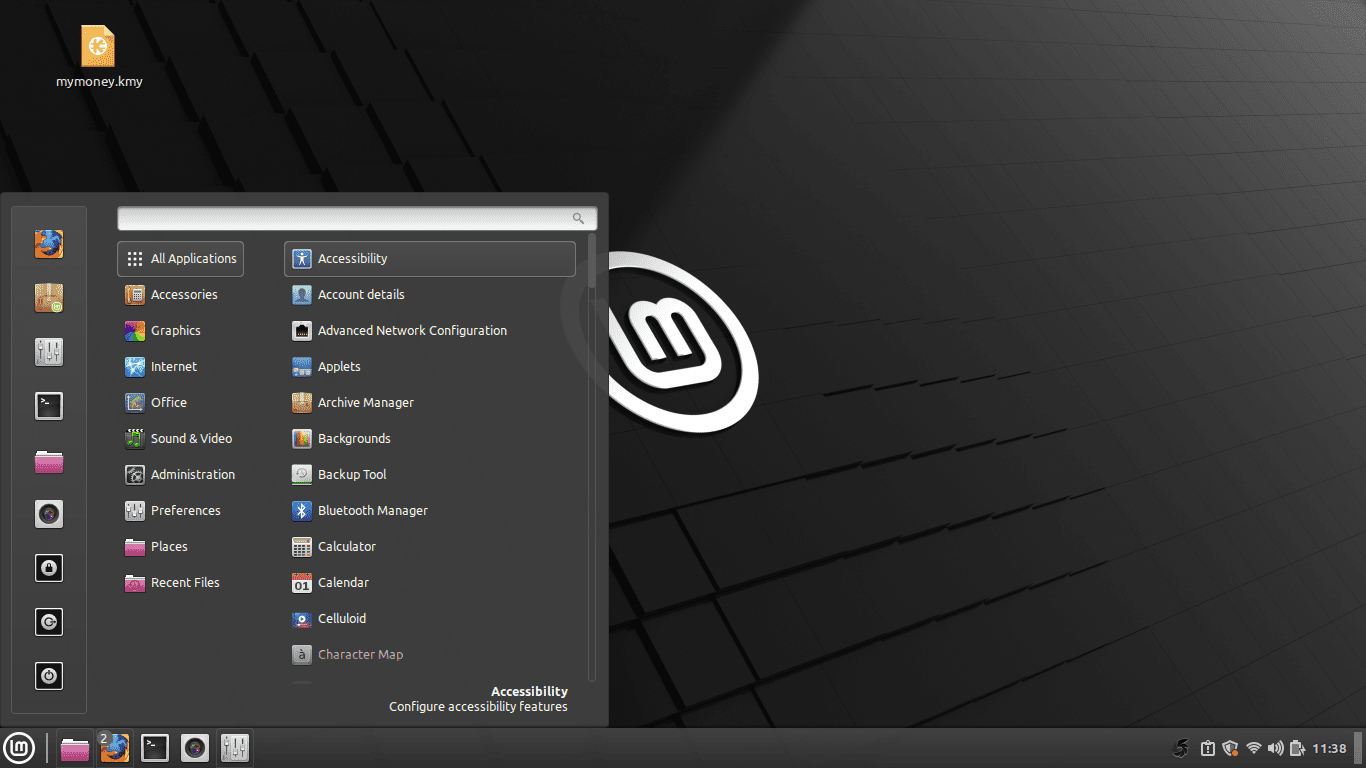
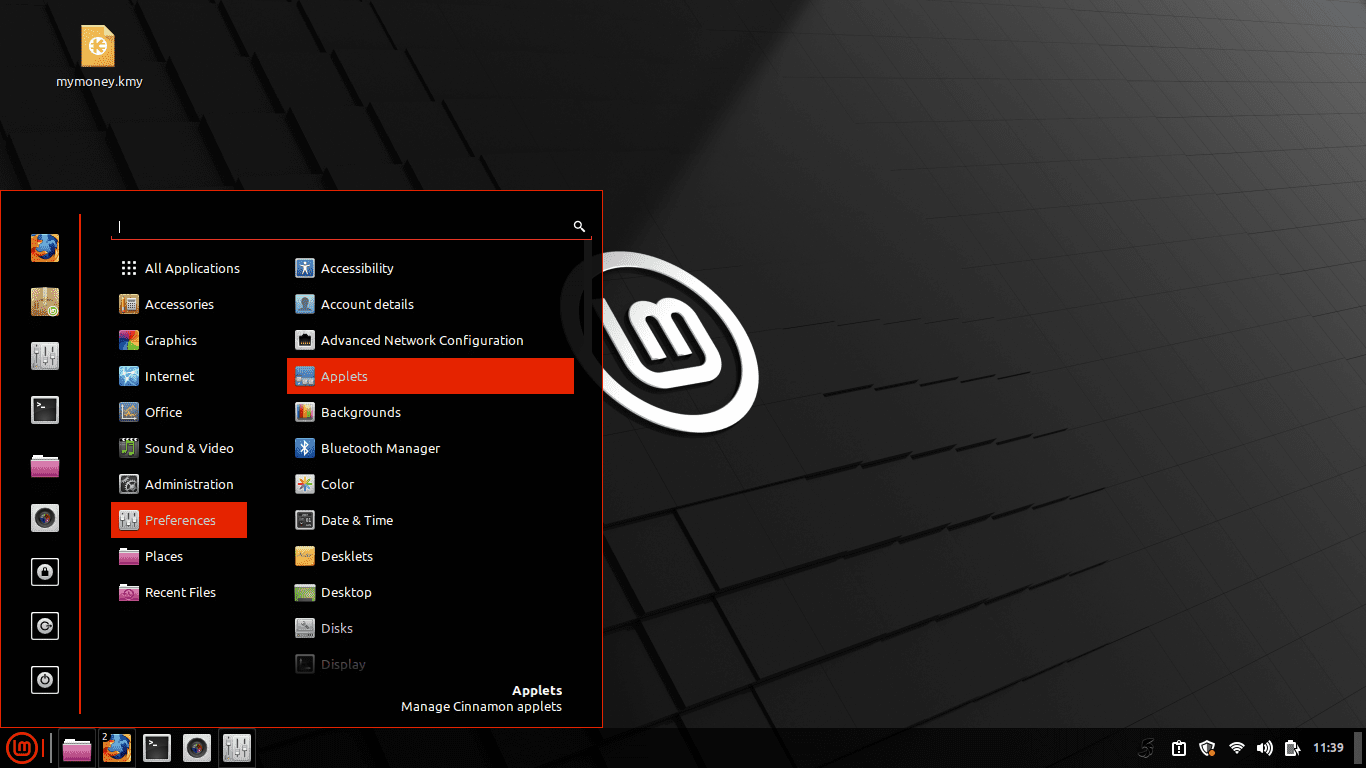
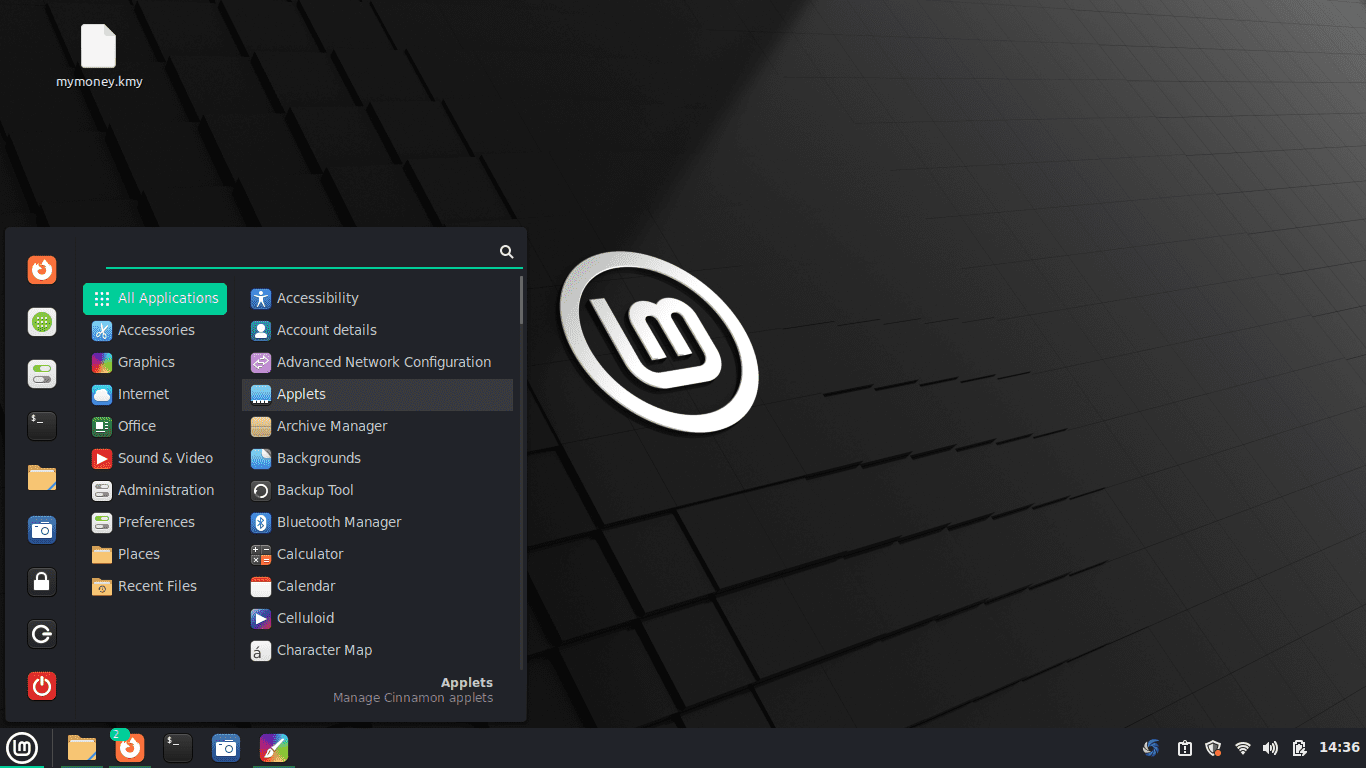
To get these themes, click the “Start Menu” to pop the apps menu. After that, search for “system settings” and click on the appropriate result to launch the System settings window:
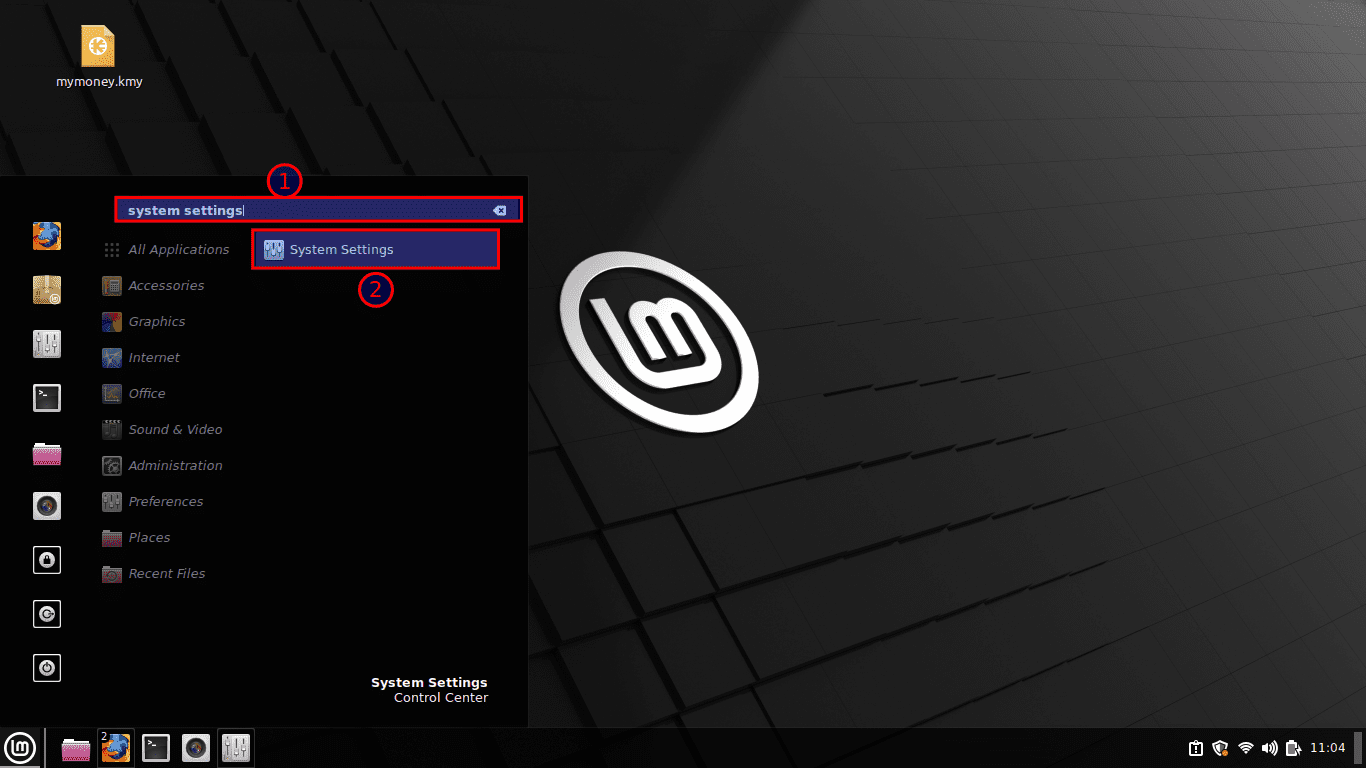
Search for system settings
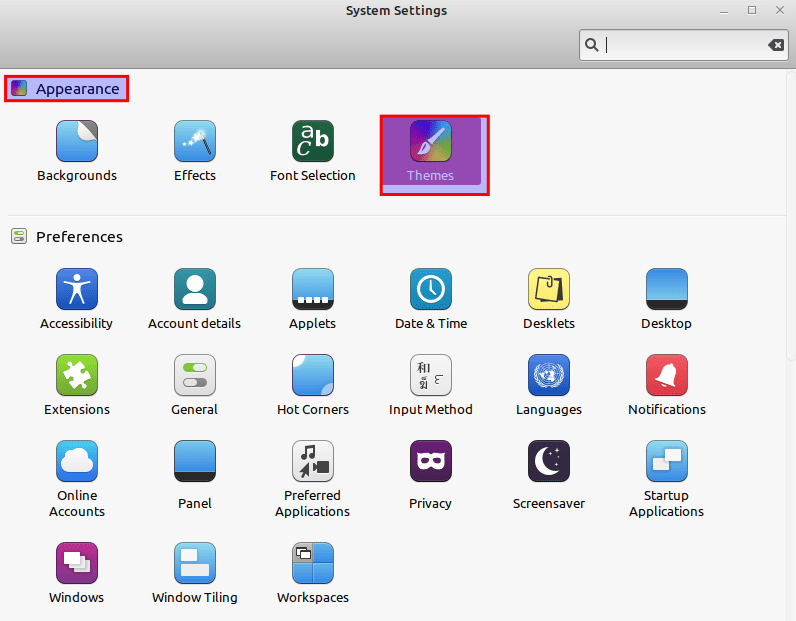
After that, you should see an Appearance tab as shown below:
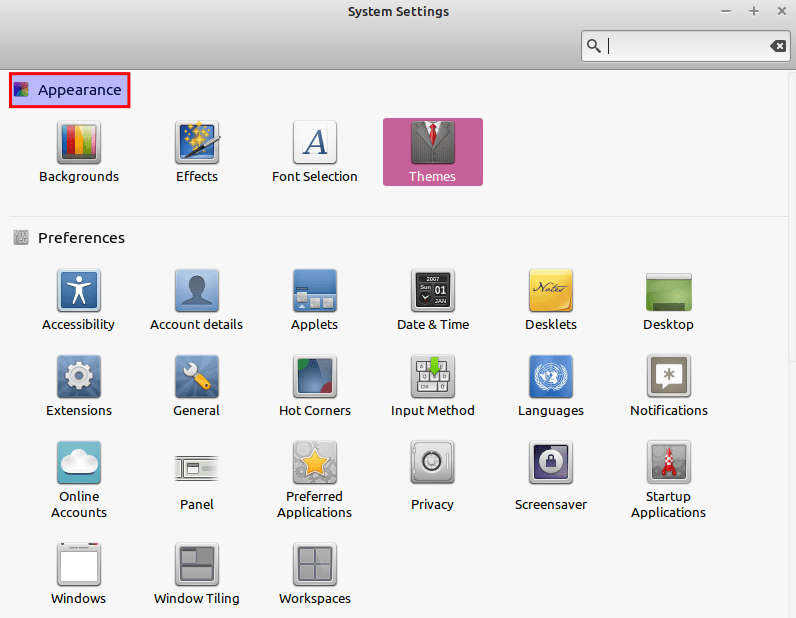
Appearance tab
Select “Theme,” as highlighted below:
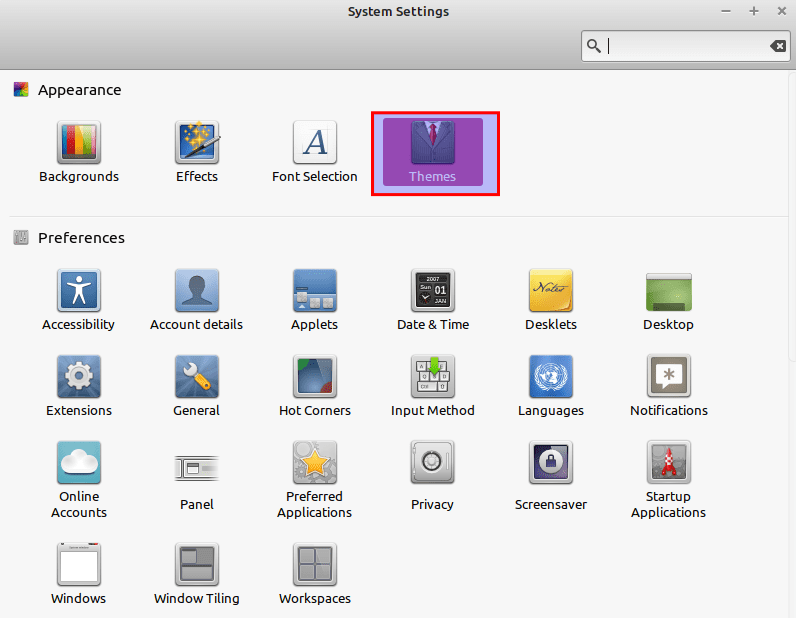
Select Themes
This should open the Themes applet for you:
Themes Applet
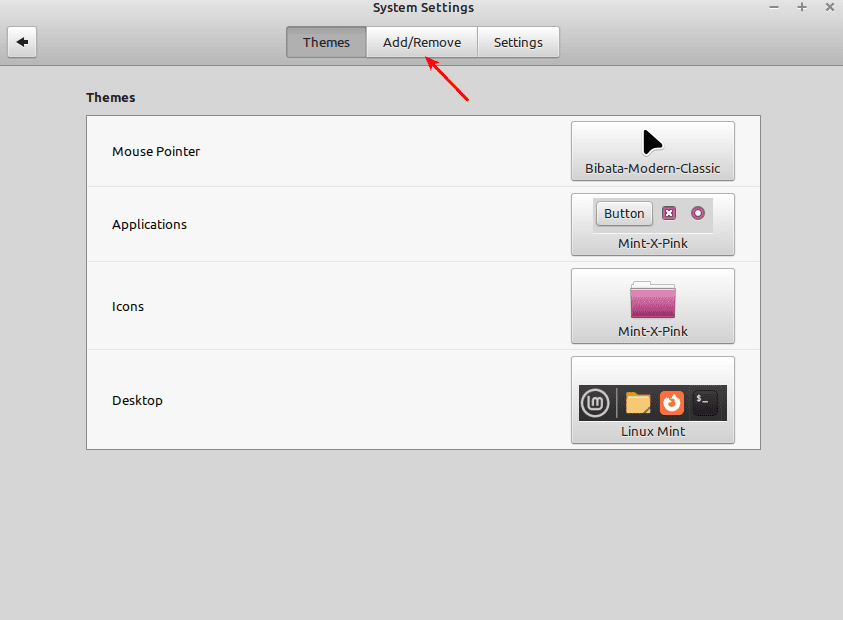
At the applet theme, there is a “Add/Remove” button; pretty easy, huh? And, clicking on it, you can see Cinnamon Spices (Cinnamon’s official add-ons repo) themes ordered first by popularity:
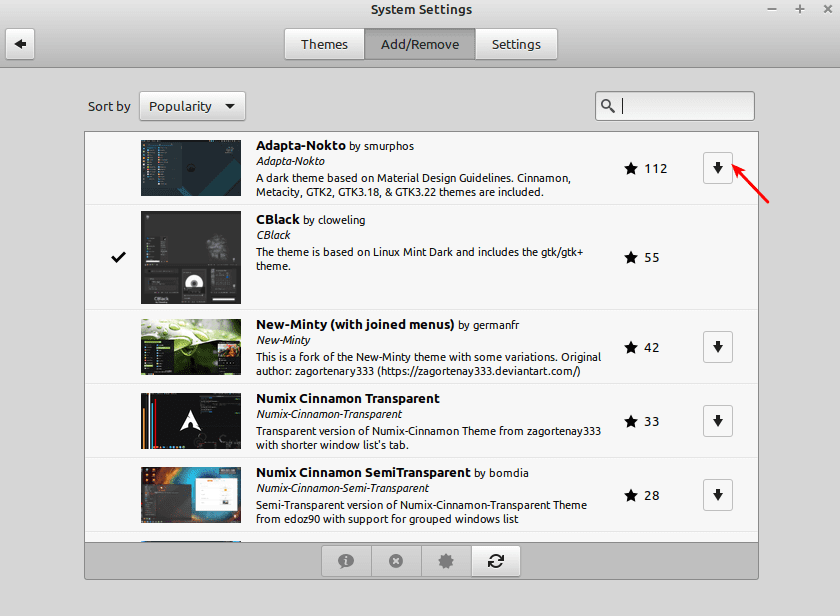
Cinnamon spices
To set up one, all you need to do is click on your preferred theme download icon, as highlighted in the snapshot above and give it some seconds or minutes, depending on your Internet’s speed to download. After that, the theme will be available at the “Desktop” option on the applet’s first page. Then, Double-click on your just-downloaded themes to start using them:
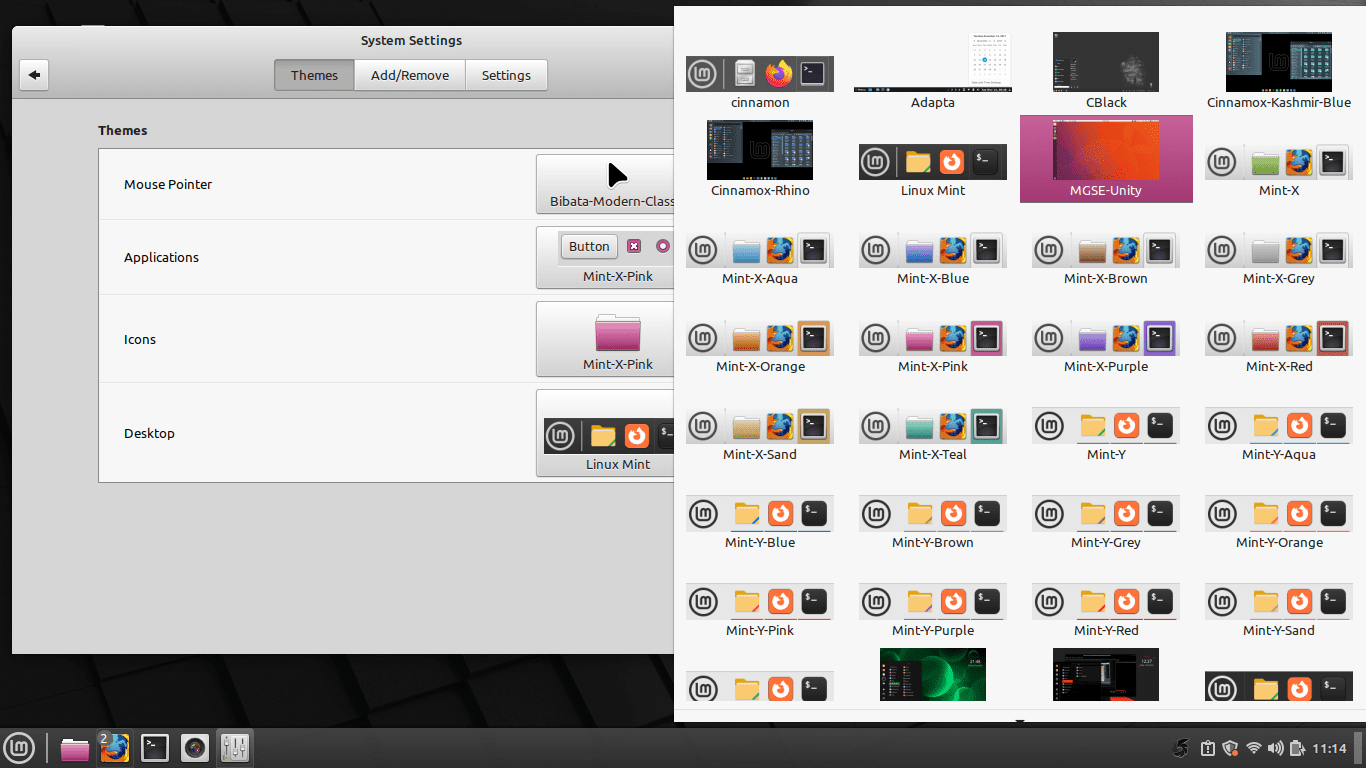
Change theme
Here is the default Linux mint display:
Default Linux Mint Theme
And this is the new look after changing the theme:
After changing theme
If one of these themes resonates with you generally, and you’d like to change a few of its components, click on the mouse pointer, applications, and icons customization options and modify them to your preference:
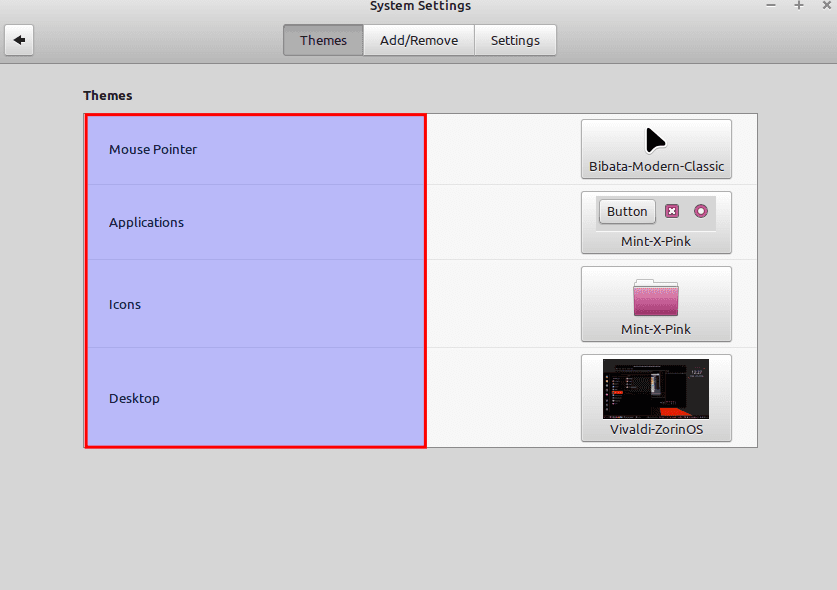
Customization options
‘After theme customization, click “Close” to save your changes.
This gives way to a more personalized experience. You can now mix the styles for all the different system elements across diverse themes to generate a customized theme for Mint that suits your style.
Method 2. Installing Themes from the Mint Library
In this approach, you can browse and install new themes from Linux Mint’s official library of themes, offering a wide range of options to choose from.
But before downloading these themes, you first need to set up “ocs-url,” a program helper that permits you to install theme files directly from Pling.
To do this, visit opendesktop.org, where ocs-url is hosted. Here, you can click the “Download” button on the screen’s right side and pick the “ocs-url” file ending in the .deb extension from the drop-down menu:
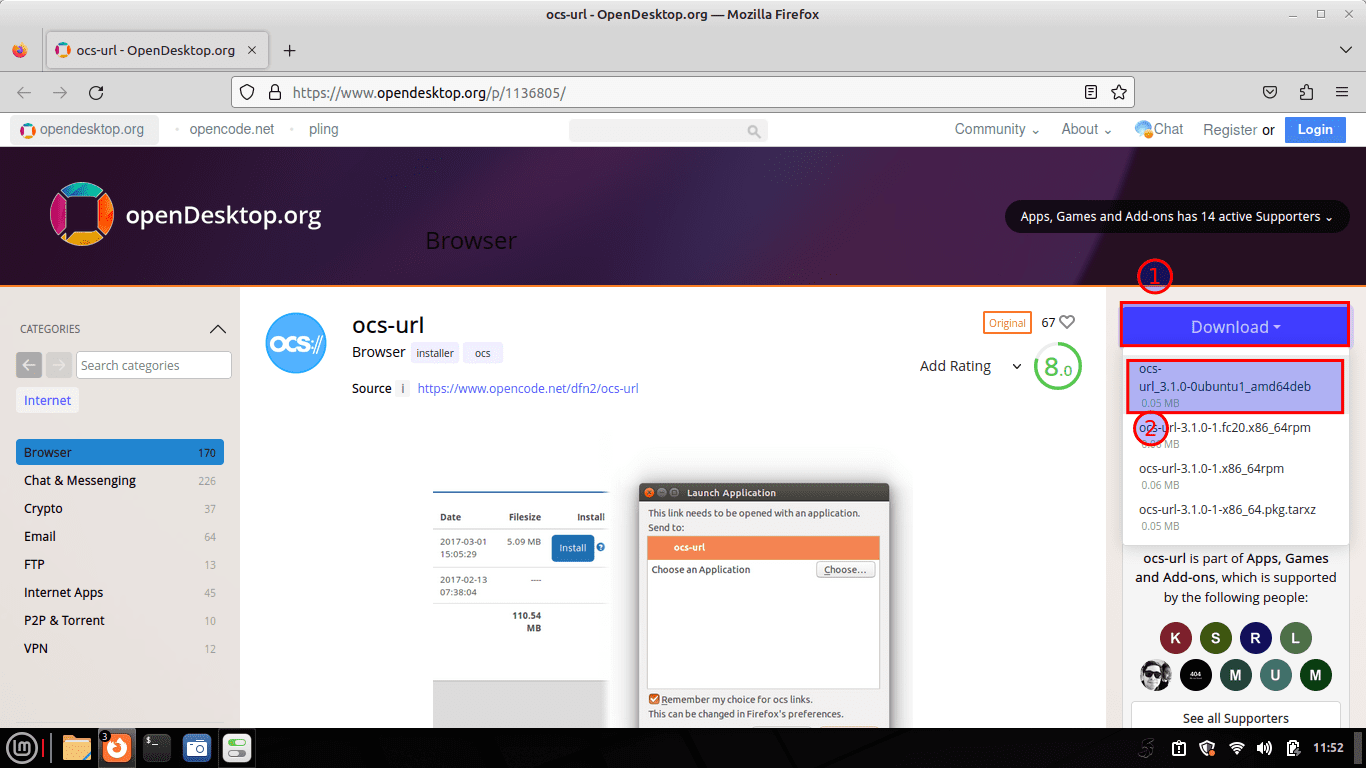
click Download
After hitting the download button, the file will start downloading. After the download process, navigate to the “Downloads folder.” Right-click on the file and select “Open with G Debi Package Installer” to install it:
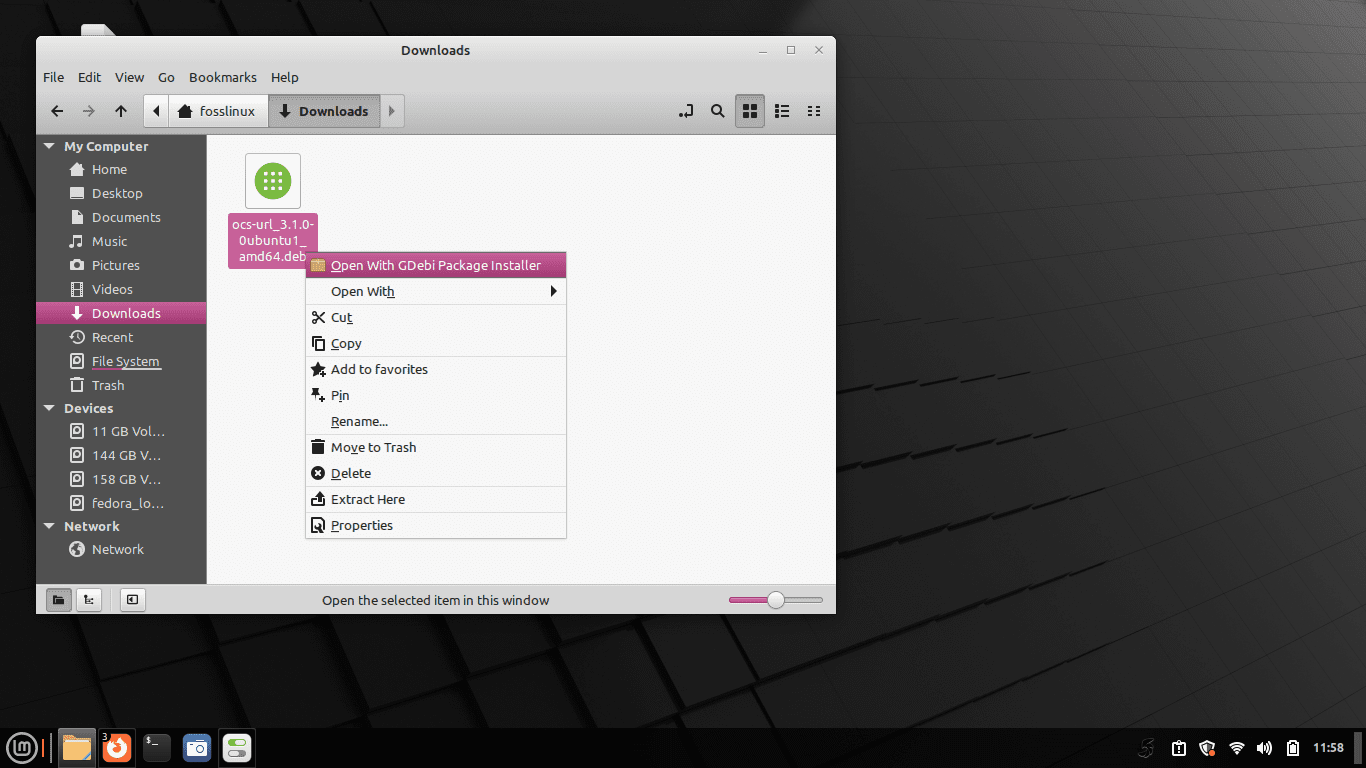
Select open with Gdebi
This will open up the Gdebi package manager. At the right side of the window, you should see an install button; click on it to initiate the installation phase as highlighted below:
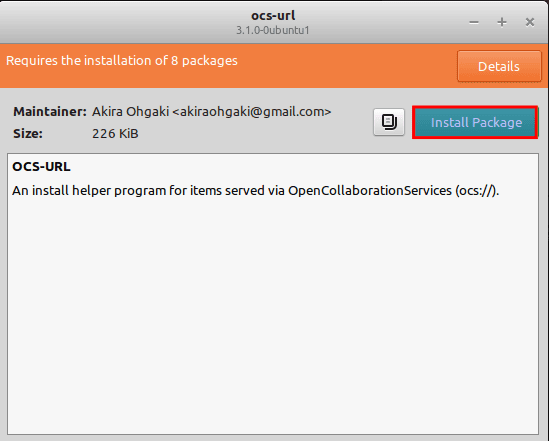
Select Install
Upon clicking install, an Authentication window will appear; type in your PCs password and click on “Authenticate” as shown below:
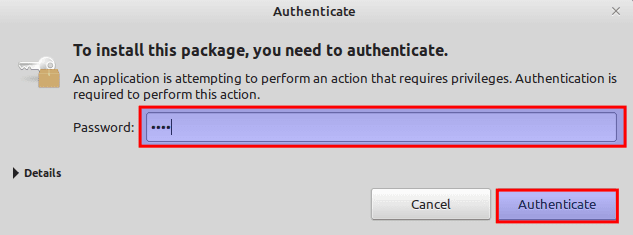
Authentication window
You will then be asked to allow an additional software installation; click on “Continue”:
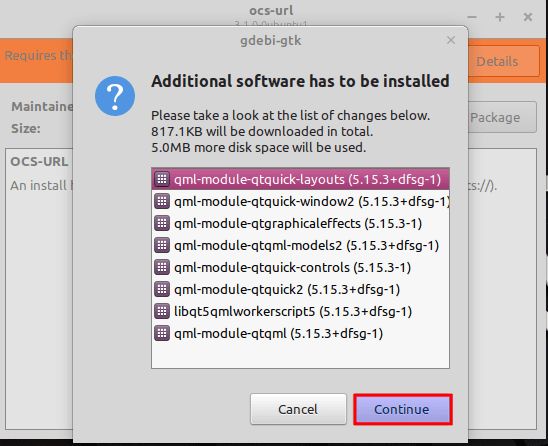
Click on Continue
On the flip side, you can also set up the DEB file via the terminal. This can be achieved by running the command that follows the following syntax on the terminal.
sudo dpkg -i ocs-url_x.x.x-ubuntu1_amd64.deb
Where:
sudo dpkg -i ocs-url_3.1.0-0ubuntu1_amd64.deb
After running the command, type in your password and hit “Enter” on your keyboard:

Install via the command line
With the ocs-url installed on our system, we are now ready to use themes from Pling.
Go to gnome-look.org and search through the library of themes you would love to install on your system. You can alternatively download icons and plank themes.
Select the package you would like to install; there could be diverse versions of the same theme, like light, dark, and more. We selected “GTK 3/GTK 4” themes on the home page. Afterward, we opted for the “Arc-Darkest Complete Desktop [totally rebuilt this update] theme. After selecting your theme, this time around, you will click the “Install” button instead of the download button, as shown below:
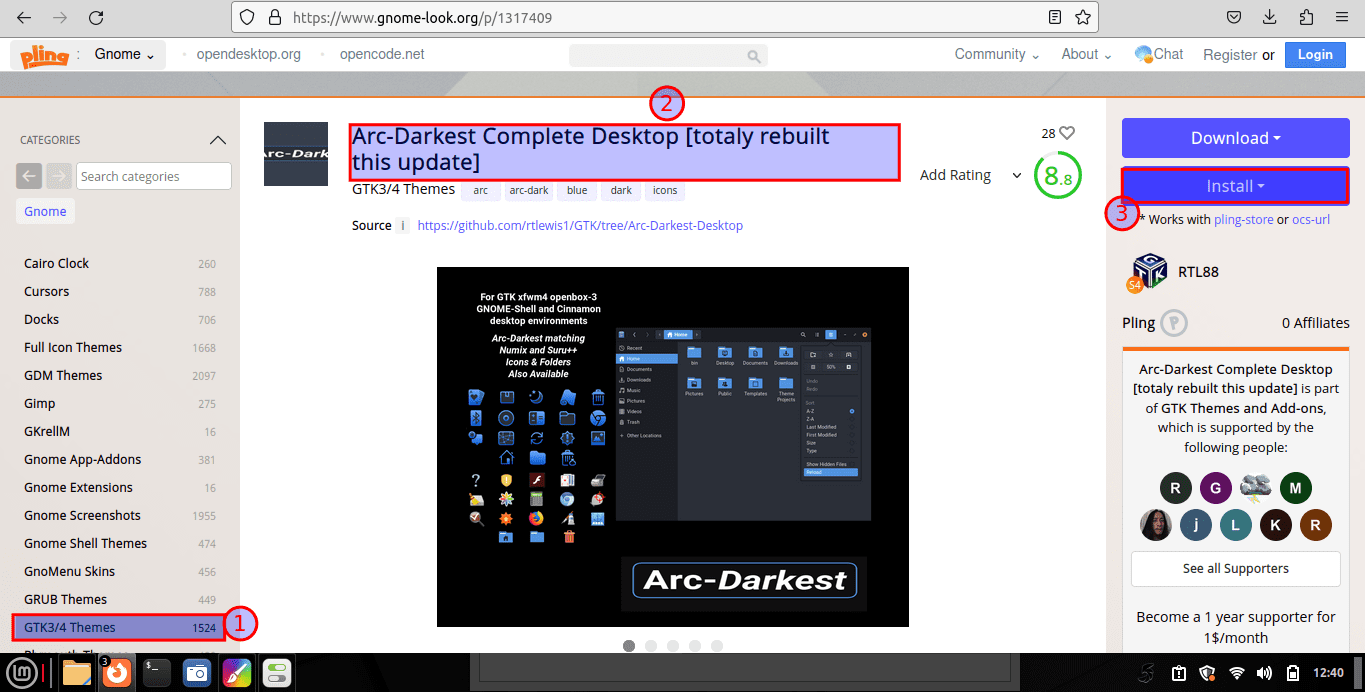
Select install
If a theme is incompatible with cinnamon or faulty, it will not appear under themes in settings. As such, you must ensure that the themes you are downloading work in cinnamon.
When the setup prompt appears, click the “Install” button:
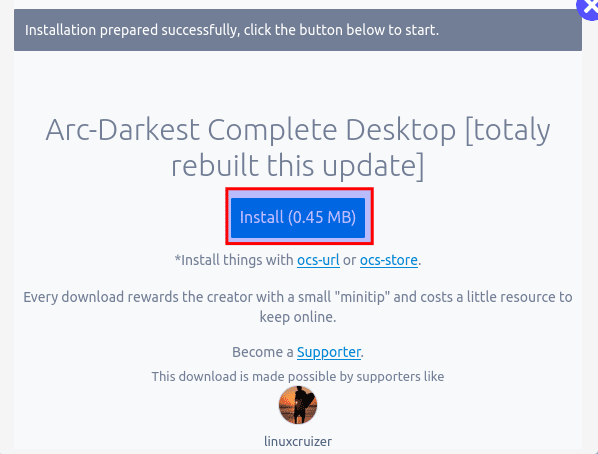
Install
In the prompt that inquires how you would love to open the ocs link, click on “Choose Application.”
Then, select ocs-url from the list, and click “Open Link”:
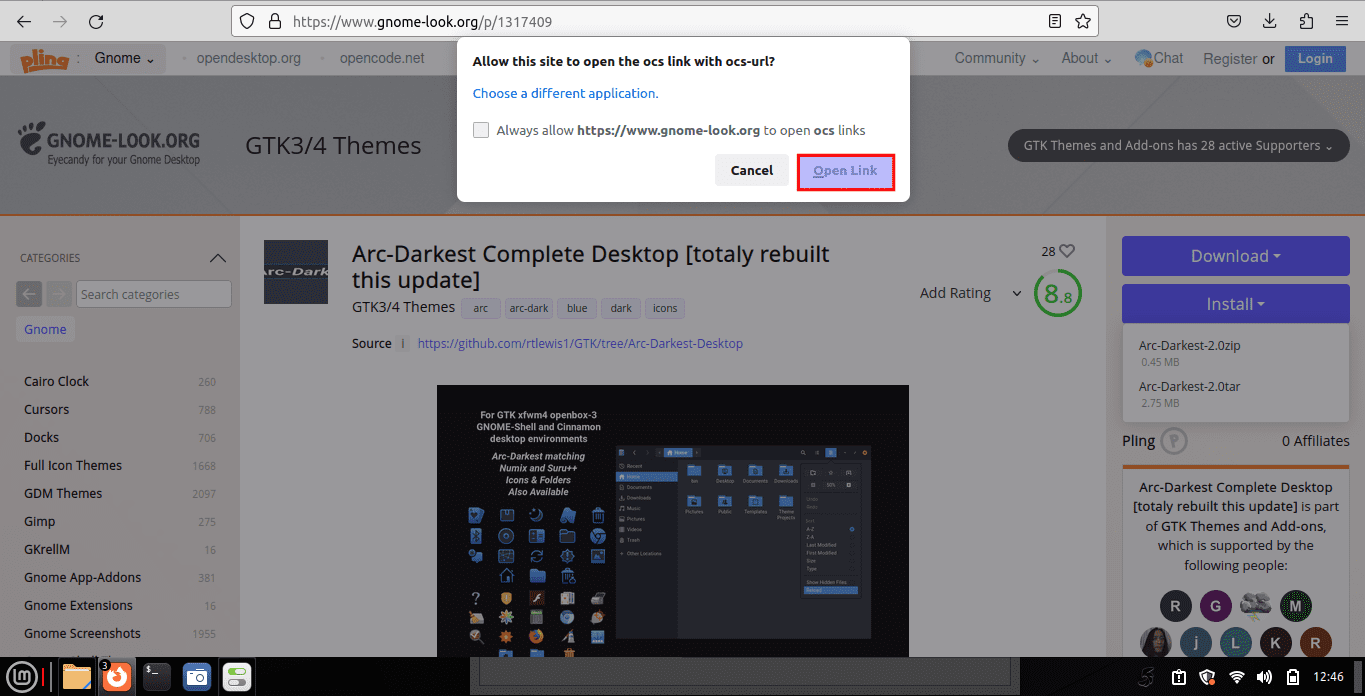
Select open link
Hit “OK” on the confirmation dialog box to download and install the theme.
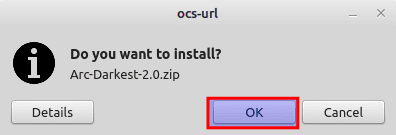
Click on OK to install
You can get additional information linked to this theme under the Details tab.
To apply this theme to your Mint system, open “Appearance” and select the “Theme” tab. After that, click on “Desktop” and scroll through the themes, and you should see the just-installed theme on this screen. Click on it to apply it to your Mint desktop:
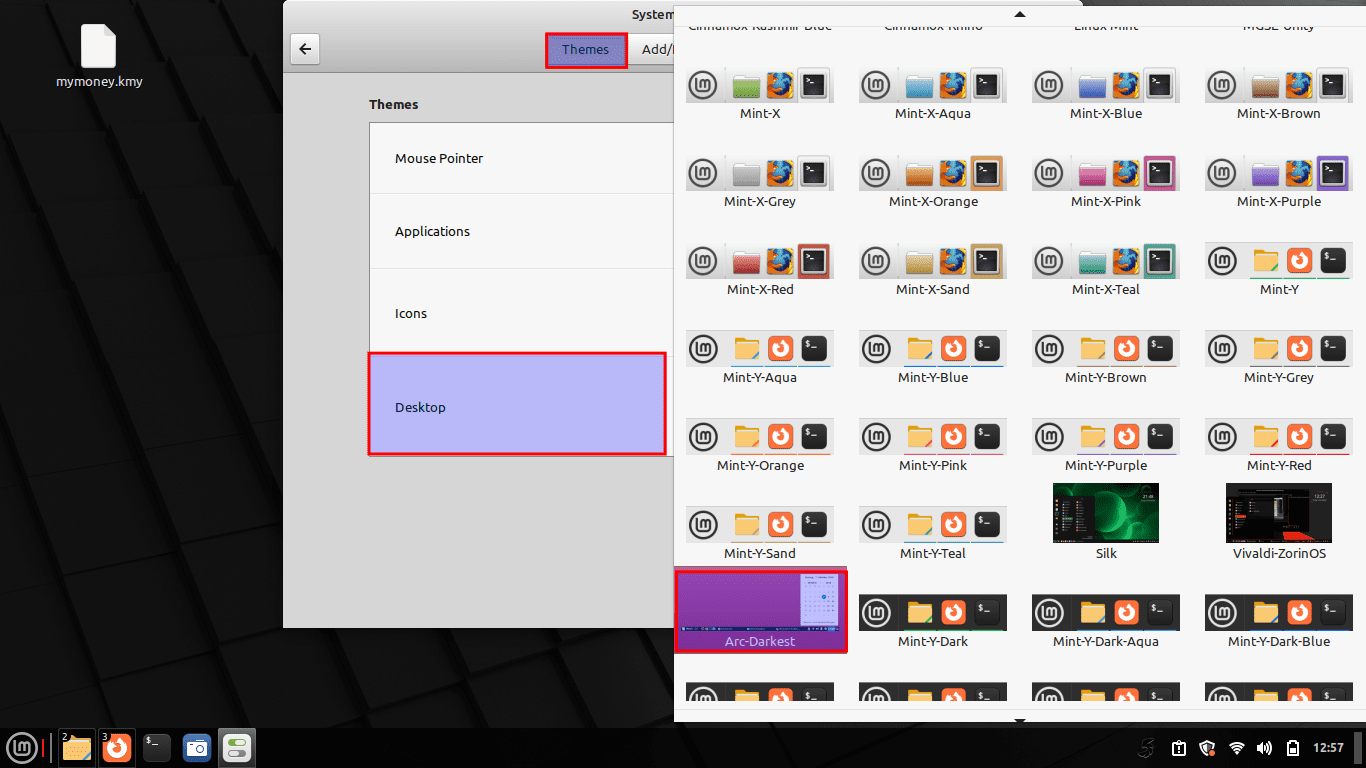
Select theme
If the theme supports your desktop, it will function without any hitch. If not, you will see an error message that the theme is not supported. Sometimes, the theme may not even appear in the “Appearance Preference.”
To remedy this error, you can try closing and re-opening theme settings. If the error persists, the theme is either corrupt or does not support your system. To check if a theme is compatible, you can see if it has a cinnamon folder under the Home>>.Themes:
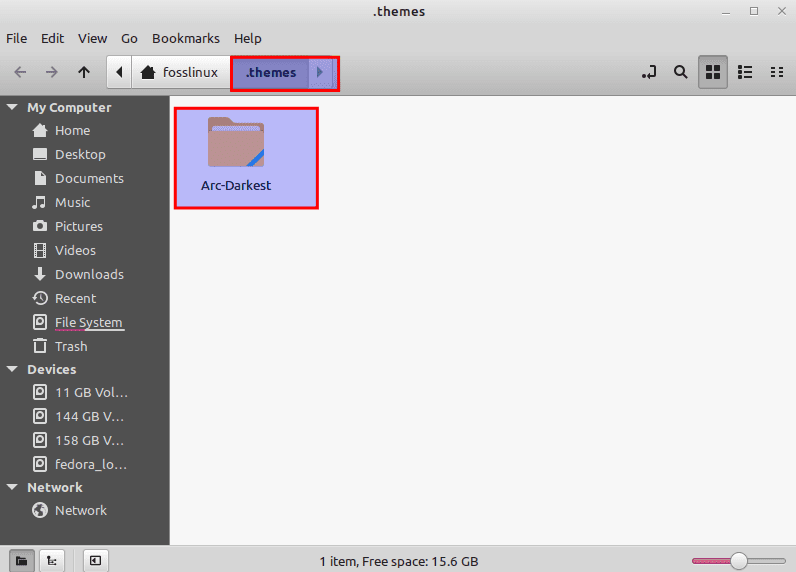
Themes folder
Setting up themes from gnome-look using OCS is the surest way to install themes on Mint, as you can install them directly to your systems instead of manually.
Method 3: Installing Themes from Online Sources
This approach involves downloading themes from other online sources and setting them up on your Linux Mint system, allowing you to access a vast array of themes beyond the default and library offerings.
You can download theme files from GitHub or another source and then directly set them up on your desktop.
For example, we are installing Canta-blue-dark-compact, which you can also download from here.
After downloading the file, go to the directory you saved/downloaded the theme and unzip the archive by right-clicking on the file and choosing Extract here:
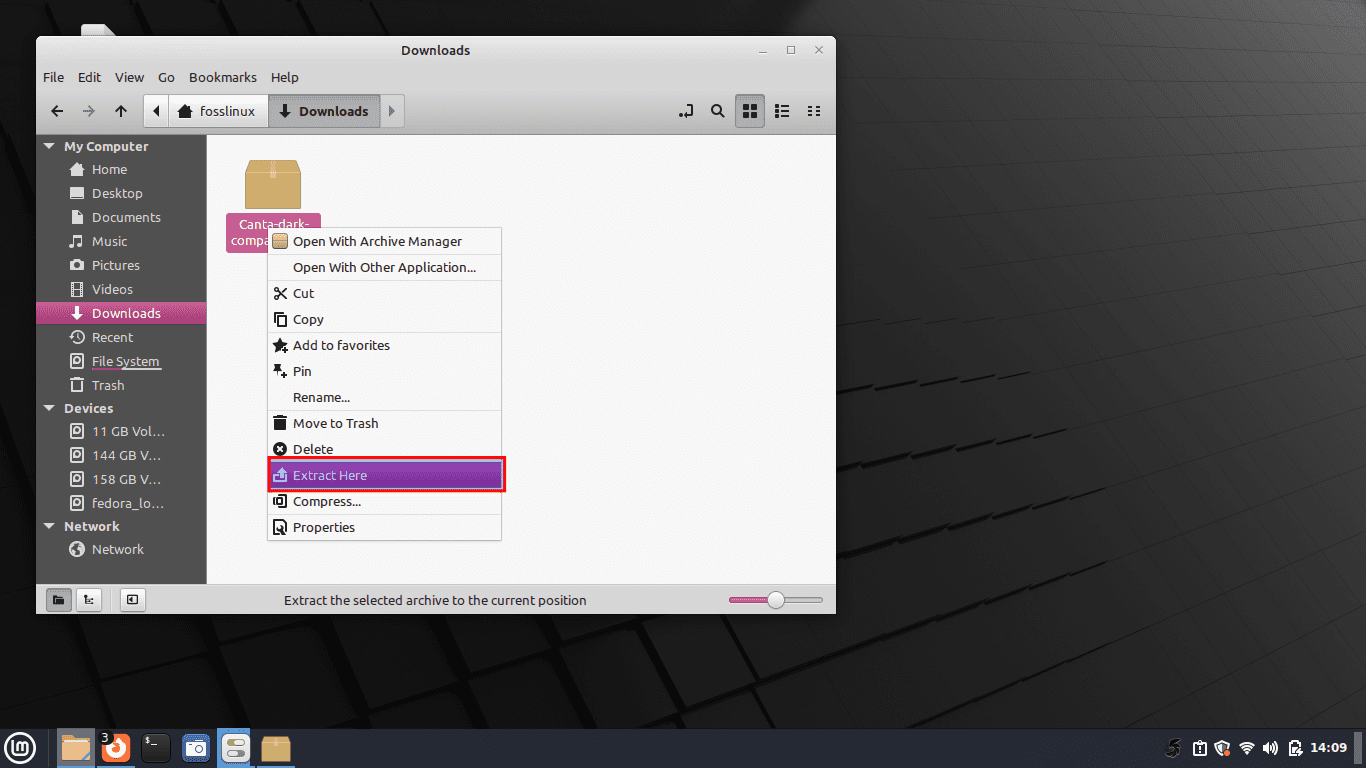
Select Extract here
Extracted folder:
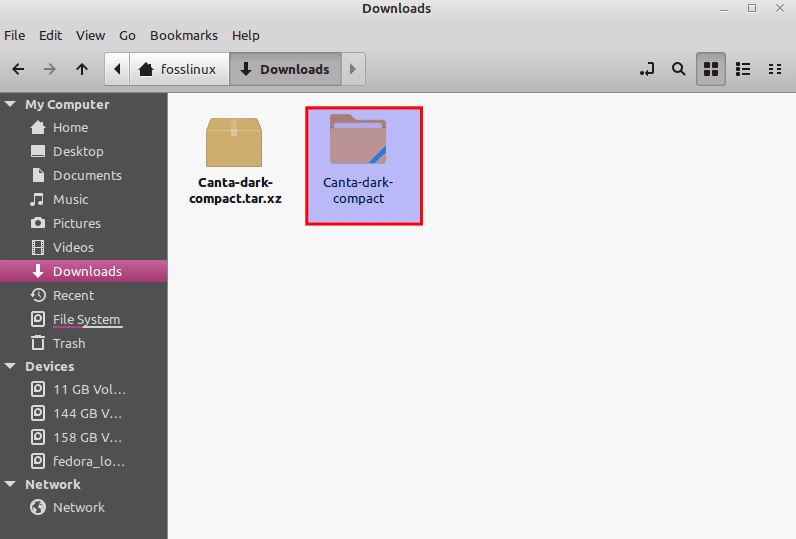
Files extracted
Then copy this extracted folder and navigate to the Home directory on your PC, Right-click, then click “Show Hidden Files”:
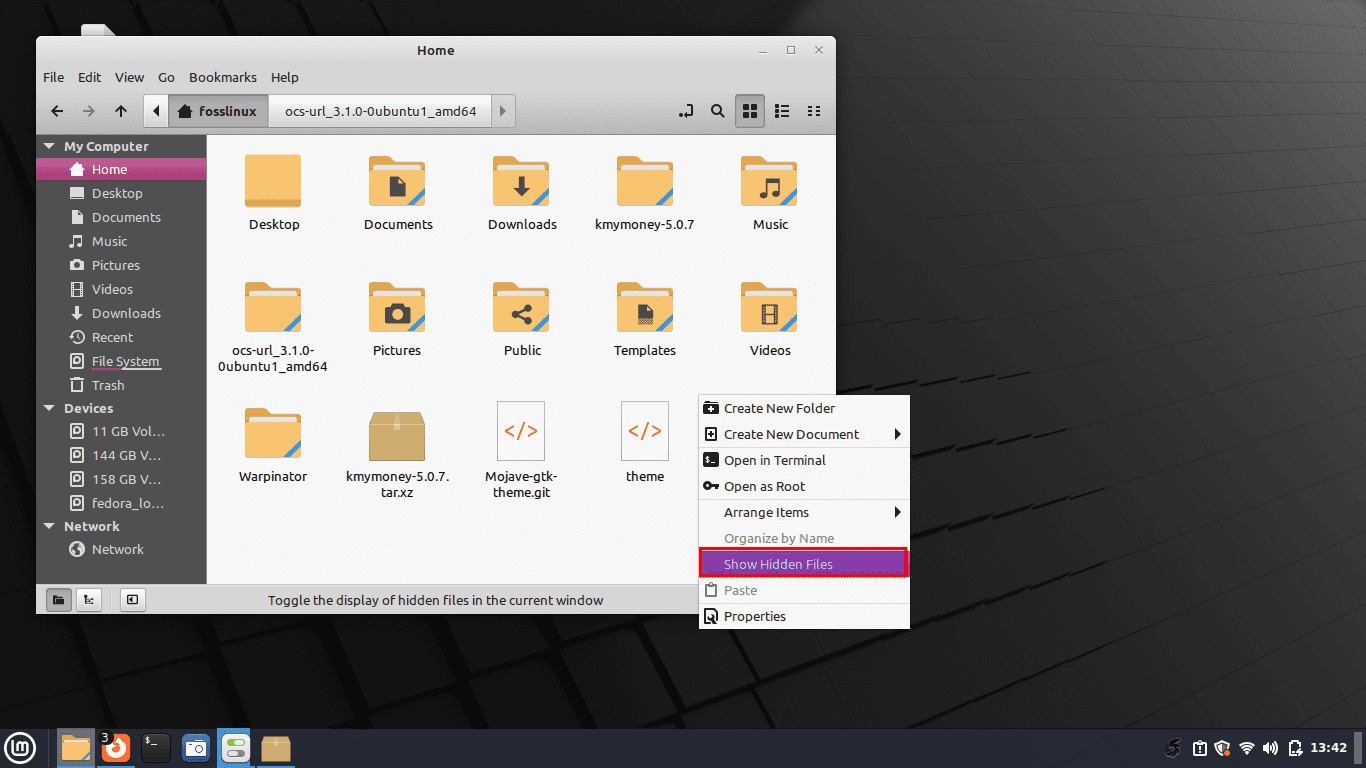
Show hidden files
This should display all the hidden files and folders inside your Home directory.
Look for the .themes directory and paste the themes folder you copied to this folder. On the same note, if your theme has icons, go back to the theme directory, copy the icon folder, and paste it into the .icons directory inside Home:
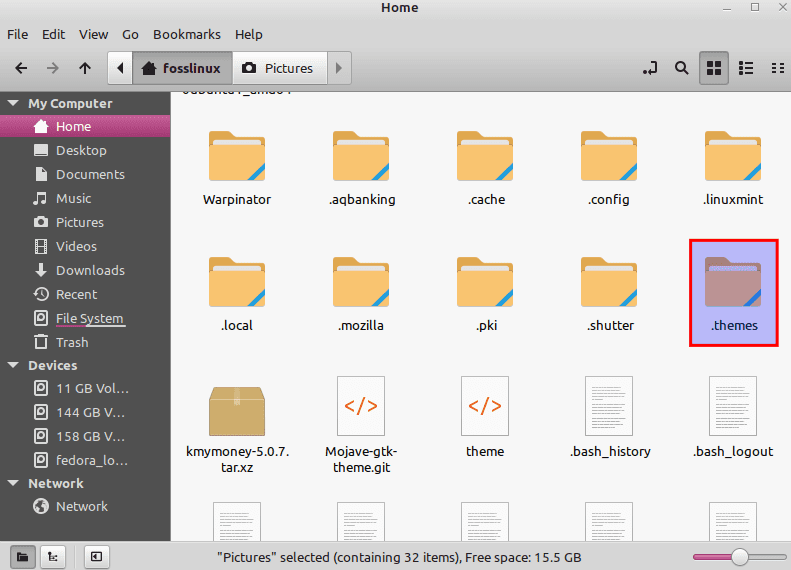
Themes folder
Files pasted to the .themes folder:
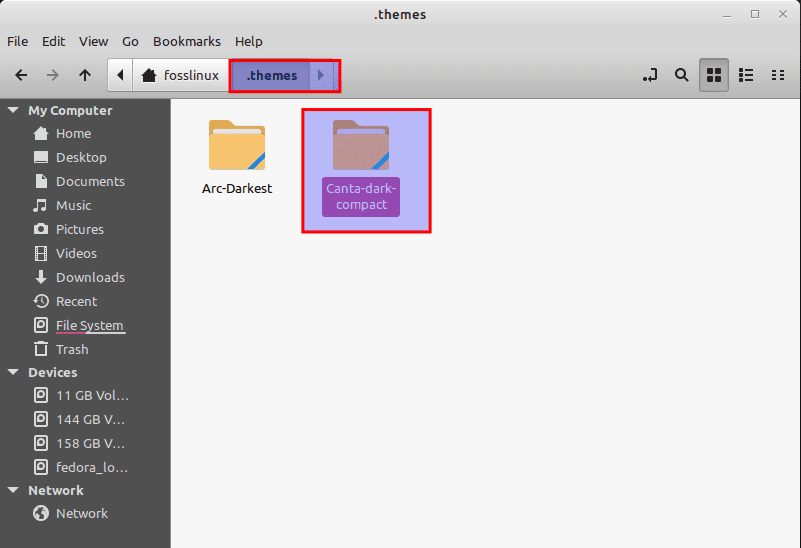
Paste to the themes folder
In the end, open “Appearance” and switch to “Theme” in “Appearance Preferences”:
Appearance>themes
You should see the theme you just moved to the .themes directory. Just click on it to apply it as the default theme for your system. This will immediately switch your theme:

file uploaded
If the theme does not appear, it could likely be an incompatibility issue with your desktop environment.
This is what our desktop looks like after installing the theme:
After changing theme
Changing a theme will also change the look of your file manager and menu.
Final Thoughts
Customizing your Linux Mint system with themes is a simple and easy process. With three different approaches to choose from, you can pick the method that works best for you. Whether selecting a theme from the default options, finding and installing a new theme from Mint’s official library, or downloading a theme from an online source, you can quickly transform the look and feel of your Linux Mint system to suit your personal preferences.