
The Secure Shell (SSH) protocol allows for encrypted remote system management and file transfers across untrusted networks. SSH protects the connection between a server and a client by employing several encryption techniques, protecting the users’ instructions, authentication, and output from unwanted access and assaults. SSH is widely utilized in data centers and by nearly every organization operating on UNIX variations.
“Iptables” is a command-line tool that serves as the Netfilter firewall’s standard administration interface in Linux kernels. It allows you to build and alter rules that regulate packet filtering and redirection. Iptables require root (superuser) capabilities. Regarding security measures, it is critical to layer and combine them rather than relying just on one.
Iptables and its updated version, nftables, are two common ways to use the netfilter packet filtering suite. While not the most user-friendly, its userspace tools offer the most complete and consistent method of establishing firewall rules.
Securing SSH with Iptables
This article will demonstrate how to restrict a system’s traffic to exclusively the SSH protocol. First, we’ll review remote access and why SSH is typically the preferred option. Following that, we’ll look at how to isolate a machine except for SSH completely.
Remote control
It is unusual for systems to spawn autonomously due to innovations such as virtualization, containerization, and cloud service providers. As a result, we require a predetermined method of entering them. For example, we usually have SSH access after a new Linux system is up and running.
Naturally, the method through which we acquire access to a remote environment is crucial to its security. As with any actual place, we need at least one entry and one exit in the form of a door. In computer words, we must accept traffic through at least one port number.
While there are other options for gaining access, administrators favor the SSH protocol for its security and adaptability. In truth, secure shell connections may be used for more than just interactive shell access.
SSH’s default port is 22, and its transport-layer protocol is TCP. This is critical when restricting the scope of packets entering and exiting a system. Importantly, we can utilize SSH to change further filtering criteria for a specific system, implying that it may safely be the only approved remote access protocol.
After exploring the reasons for doing so, we may set up exclusive remote access using the secure shell protocol. When dealing with iptables, we must remember that a single incorrect command might lock us out of the system. Even yet, if we are diligent and follow the rules in the correct order, we can configure everything over an already-established SSH connection.
Check existing iptables rules
We shall kickstart this section by checking for existing iptables rules. To do so, we shall execute the following line of code:
sudo iptables -L
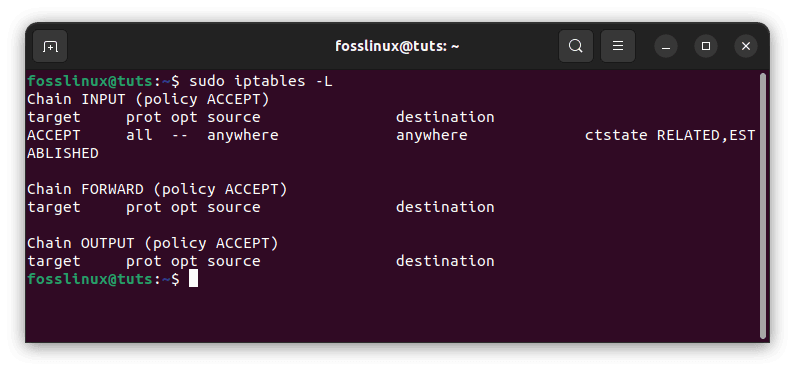
List current iptables rules
From the output above, we can see that there is no pre-set filtering in our iptables rule set.
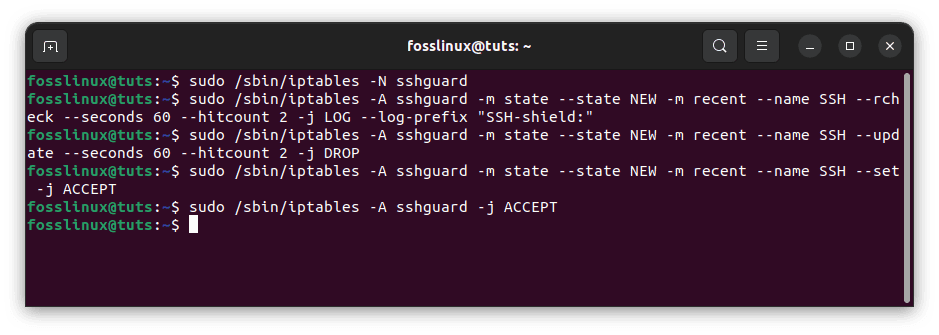
Limitation on the number of connections
To prevent brute force attacks, limit the number of connections on port 22 to a few times per minute for one IP address, then prohibit attempts to connect for that IP.
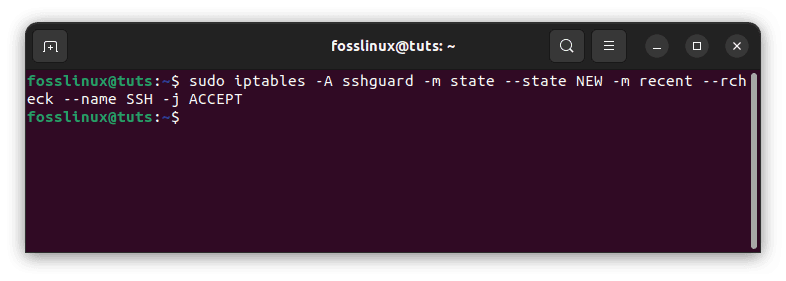
Creating a sshguard rule chain
Permit a maximum of two new connections per minute per IP address.
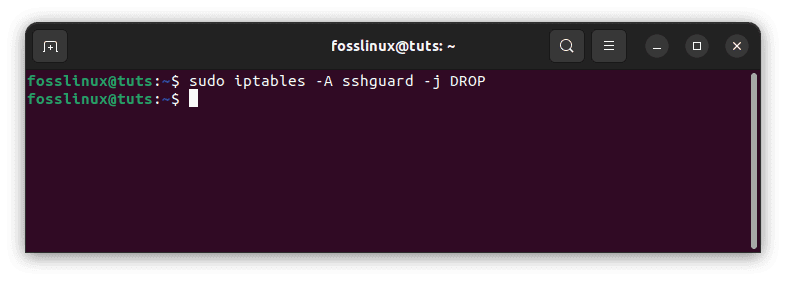
sudo /sbin/iptables -N sshguard

# Include log whenever you like

sudo /sbin/iptables -A sshguard -m state --state NEW -m recent --name SSH --rcheck --seconds 60 --hitcount 2 -j LOG --log-prefix "SSH-shield:"

sudo /sbin/iptables -A sshguard -m state --state NEW -m recent --name SSH --update --seconds 60 --hitcount 2 -j DROP

sudo /sbin/iptables -A sshguard -m state --state NEW -m recent --name SSH --set -j ACCEPT

sudo /sbin/iptables -A sshguard -j ACCEPT
Create an SSH guard rule chain
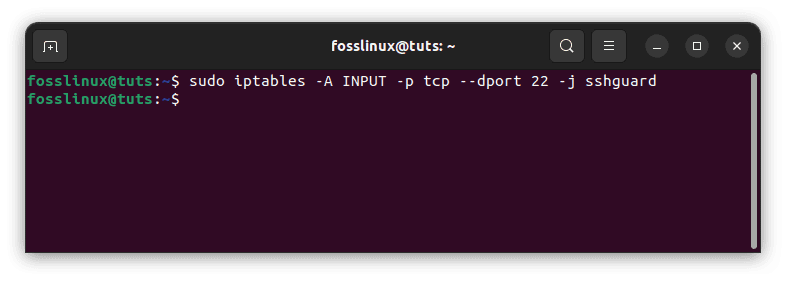
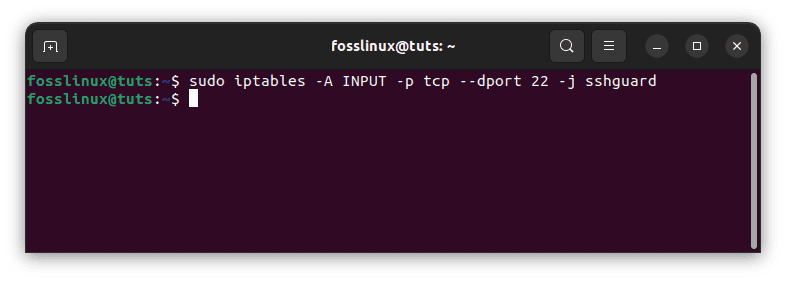
For ssh traffic, use the sshguard chain.
sudo /sbin/iptables -A INPUT -p tcp --dport 22 -j sshguard
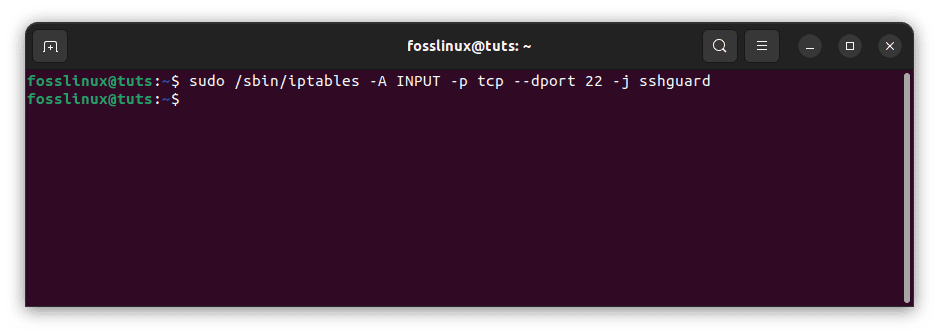
SSH guard chain
Code breakdown:
- recent – is a kernel component (Core Netfilter Configuration) that permits you to construct dynamic IP address lists recently released. The module supports a variety of settings.
- —name – the name of the program’s list. The list’s default name is DEFAULT.
- —rcheck – this option checks to see if the address of the packet’s sender is in the list. If the address is not found in the list, a false is returned.
- —update – this option checks to see if the packet’s sender address is in the list. If the address is present, the entry for that address will be updated. If there are no addresses in the list, the function returns false.
- —hitcount – the counter satisfies the condition if the address is in the list and the amount of packets received from it is more than or equal to the supplied value when combined with rcheck or update
- seconds– it defines the period (beginning with the address’s inclusion in the list) for which the address may remain.
- —set – adds the sender’s address to the list. If this address already exists on the list, it will be updated.
- –Drop -The address is removed from the list with the -Drop command. If the address cannot be located, the function will return false.
Allow Local Traffic
Many programs rely on localhost communication transmitted over a loopback network interface such as lo.
We may declare an exception for this traffic because it should not represent a security risk to our full access permissions:
sudo iptables -A INPUT -i lo -j ACCEPT

sudo iptables -A OUTPUT -o lo -j ACCEPT
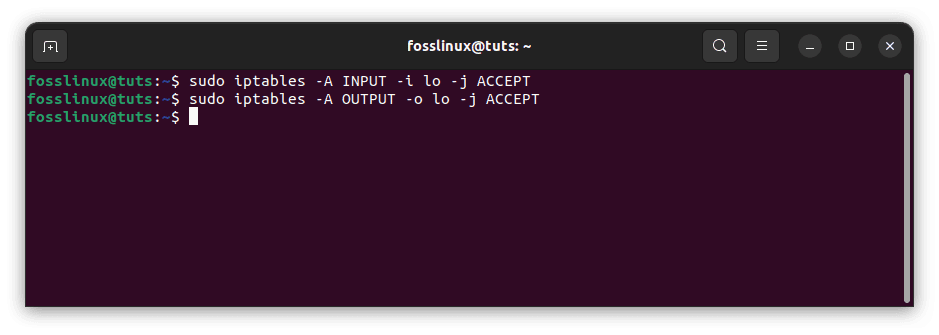
Permit local traffic
In this scenario, we add (-A, -append) rules to both the OUTPUT and INPUT chains to ACCEPT (-j ACCEPT, -jump ACCEPT) traffic on the lo channel as both the start point (-o, -out-interface) and the endpoint (-o, -out-interface) (-i, –in-interface).
Allow SSH
We are now ready to allow SSH traffic into our system. We use the standard port 22, although SSH may run on several ports.
The iptables instructions for allowing SSH introduces numerous new concepts:
sudo iptables -A INPUT -p tcp -m tcp --dport 22 -j ACCEPT

sudo iptables -A OUTPUT -p tcp --sport 22 -m state --state ESTABLISHED -j ACCEPT
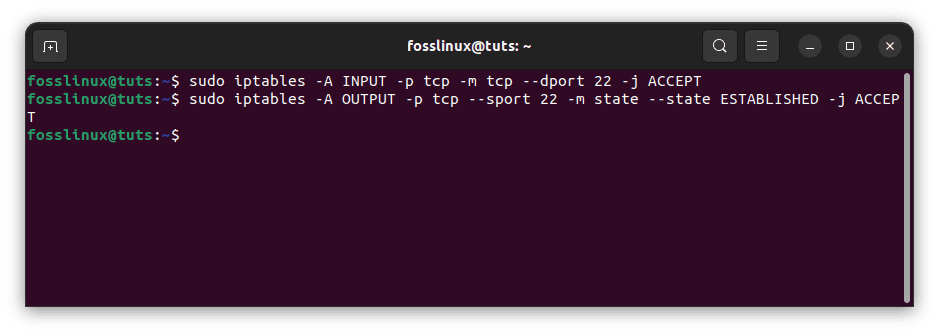
Allow SSH
We append rules to the OUTPUT and INPUT chains once again. Only TCP (-p tcp, -protocol tcp) communication from (-sport, -source-port) and to (-dport or -destination-port) port 22 is accepted.
Furthermore, we employ extension modules to match (-m, -match) and verify the following:
- Incoming material as TCP
- Outgoing data with the status ESTABLISHED (–state)
This indicates that we only accept outbound communication from the designated source port over an already-established TCP connection.
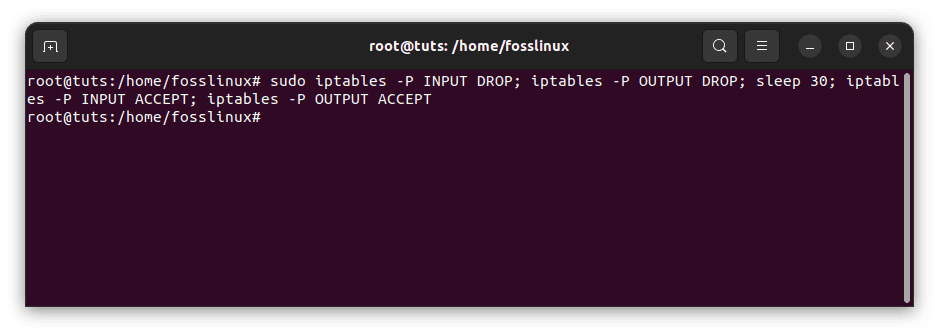
Create a main policy
Before proceeding with the final configurations, we must guarantee the following:
- SSH access is functional.
- In the event of an error, we have a method for restoring access.
As a general rule, the INPUT chain should be set to DROP by default. In this scenario, we’re even more limiting by applying the same policy (-P, -policy) on OUTPUT traffic.
To be safe, we may put everything on a single line and reset it after a timeout period, ensuring that our connection does not go down permanently:
sudo iptables -P INPUT DROP; iptables -P OUTPUT DROP; sleep 30; iptables -P INPUT ACCEPT; iptables -P OUTPUT ACCEPT
Create a main policy
This gives us 30 seconds to ensure SSH access (still) works as expected despite the changed policy. If it doesn’t, we can come back in. Otherwise, we can make the following policies permanent:
sudo iptables -P INPUT DROP

sudo iptables -P OUTPUT DROP
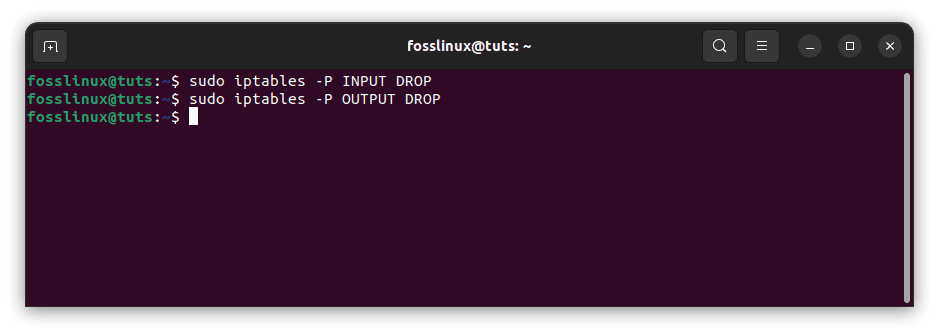
Drop the created main policy
When configured in this manner, iptables forbids any data from entering or exiting the system on all interfaces by default unless it matches a rule that permits it.
Dynamic ssh port open/close
A little iptables rule will assist you in avoiding leaving ports open needlessly.
To gain shell access, you must first knock on the 1500 port:
For instance, telnet:
telnet server 1500
Alternatively, if you are using a browser, execute the following line of code:
http://192.168.0.2:1500
As a result, if you try to knock on port 1498, the port will be closed and inaccessible.
sudo iptables -N sshguard
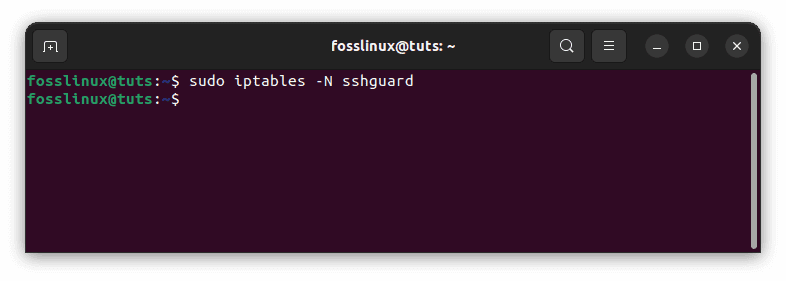
SSHguard
Connection is permitted if the address is on the list
sudo iptables -A sshguard -m state --state NEW -m recent --rcheck --name SSH -j ACCEPT
Permit connection
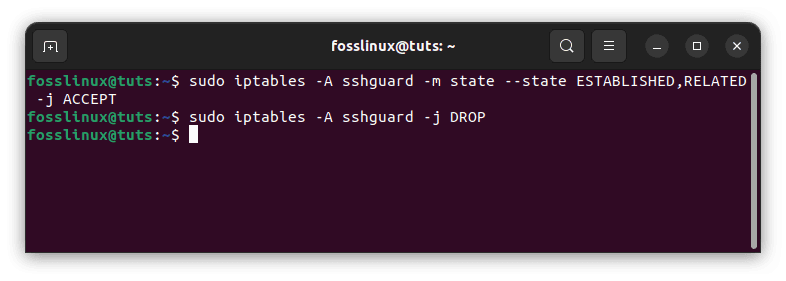
Allow packets for pre-existing connections
sudo iptables -A sshguard -m state --state ESTABLISHED,RELATED -j ACCEPT
sudo iptables -A sshguard -j DROP
Allow packets for existing connections
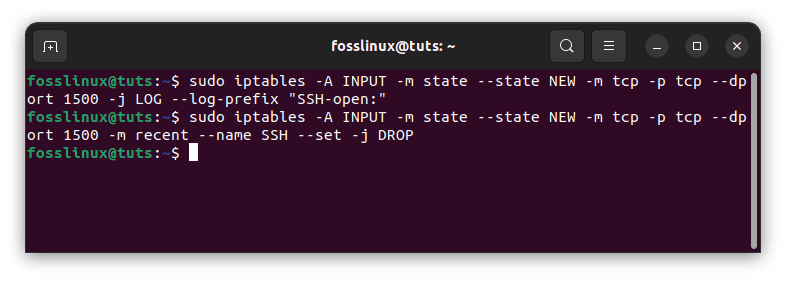
Append the address to the existing list
sudo iptables -A INPUT -m state --state NEW -m tcp -p tcp --dport 1500 -j LOG --log-prefix "SSH-open:"

sudo iptables -A INPUT -m state --state NEW -m tcp -p tcp --dport 1500 -m recent --name SSH --set -j DROP
Append the address to the existing list
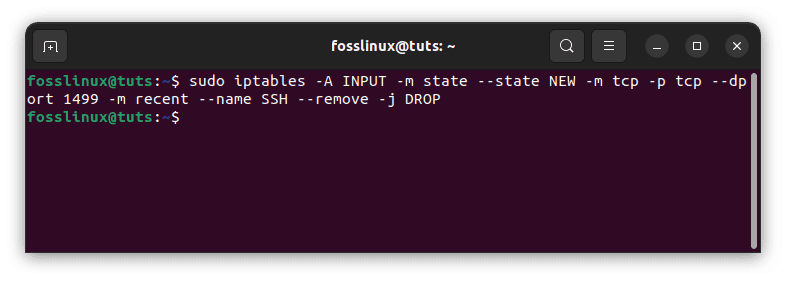
Remove the existing address from the list
sudo iptables -A INPUT -m state --state NEW -m tcp -p tcp --dport 1499 -m recent --name SSH --remove -j DROP
Remove existing address from the list
For ssh traffic, utilize the sshguard chain.
sudo iptables -A INPUT -p tcp --dport 22 -j sshguard
Utilize the sshguard chain
Note: The port is only accessible to the IP address from which it was opened.
For a specified amount of time, open the ssh port.
Another example shows how to open an ssh port for a specified IP address at a specific time.
Determine the chain for SSH traffic
sudo iptables -N sshguard

sudo iptables -F sshguard
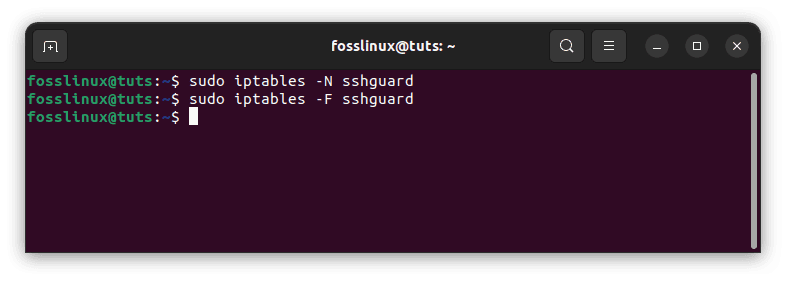
Determine chain for ssh traffic
Allow the connection if the IP address is displayed and the last connection was made within 108000 seconds (30 hours)
sudo iptables -A sshguard -m state --state NEW -m recent --update --seconds 108000 --name SSH -j ACCEPT
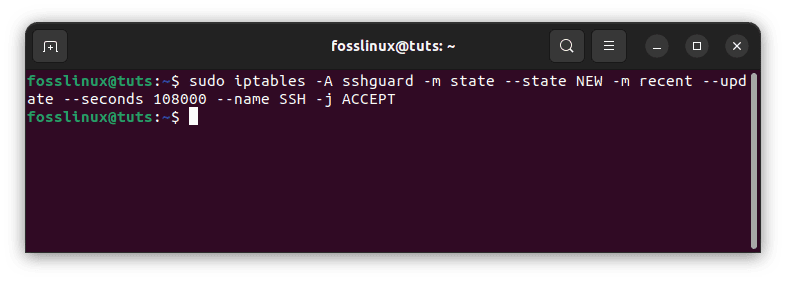
Allow IP connection
Allow packets for pre-existing connections
sudo iptables -A sshguard -m state --state ESTABLISHED,RELATED -j ACCEPT
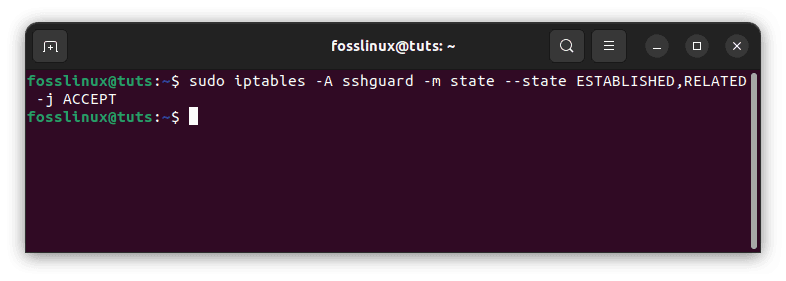
Allow packets for pre-existing connections
Block an IP address not present on the list
sudo iptables -A sshguard -j DROP
Block an IP address not present in the list
Launch SSH
sudo iptables -A INPUT -m state --state NEW -p tcp --dport 222 -m recent -name SSH --set
Use the sshguard chain to filter the ssh traffic.
sudo iptables -A INPUT -p tcp --dport 22 -j sshguard
Filter SSH traffic
To gain ssh access, you must first ping port 22, as seen below:
ssh user@server.name -p 22
After executing that line of code, your IP connection to port 22 will be granted for the stated duration, and each subsequent ssh connection will extend to that time. If you do not intend to extend the duration, use –rcheck instead of –update –seconds 108000. The port is only open for the IP address from when it was opened.
It is also possible to determine which IP addresses are permitted to ssh by executing the following line of code:
cat /proc/net/ipt_recent/SSH
Conclusion
This article reviewed how to secure SSH with iptables. All connections are encrypted and authenticated via SSH. SSH offers IT and information security (infosec) experts a secure way to remotely manage SSH clients. SSH authenticates the devices rather than requiring password protection to establish a connection between an SSH server and a client. Securing SSH with iptables is key since it aids in beefing up your security system. System administrators use iptables to create tables that include chains of rules for packet processing. Each table corresponds to a specific type of packet processing. Packets are processed by traversing the rules in chains sequentially. I hope this article was helpful. If yes, please leave a remark in the comments section below.