
Do you often work on the command line? Do you find yourself constantly opening and closing terminals, running multiple commands at once, and losing track of your progress? If so, you might want to consider using Tmux. Tmux is a terminal multiplexer that allows you to run multiple terminals within a single window, detach and reattach sessions, and share sessions with other users. This article will explore the essential commands to start using Tmux and how they can improve your productivity and efficiency.
Getting Started with Tmux: Essential Commands for Terminal Multiplexing
What is Tmux?
Tmux stands for “terminal multiplexer.”This command-line toolt allows you to create and manage multiple terminal sessions within a single window. Tmux is especially useful for remote sessions, where you must keep your sessions running even if your connection is interrupted. With Tmux, you can detach and reattach sessions, so you can start a session on one machine, detach it, and then reattach it on another machine.
Tmux is similar to GNU Screen, another terminal multiplexer. However, Tmux is more modern and provides more features, such as support for multiple panes within a single window and a client-server architecture that allows multiple users to share a session.
Installing Tmux
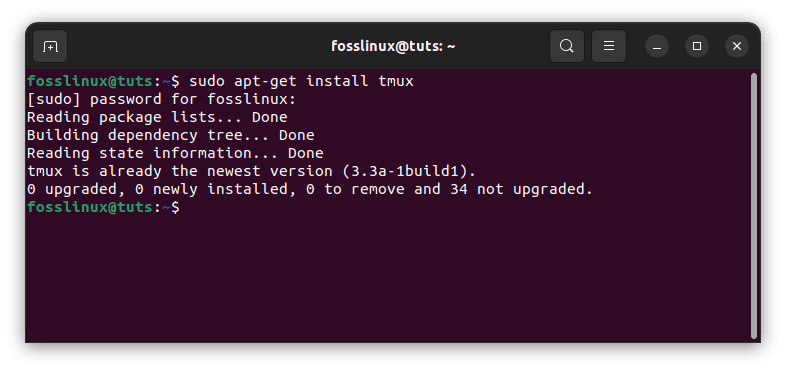
Before we dive into the essential commands, let’s first install Tmux. Tmux is available on most Linux distributions and can be installed using the package manager. For example, on Ubuntu or Debian-based distributions, you can install Tmux by running the following line of code:
sudo apt-get install tmux
Install tmux
On Fedora or Red Hat-based distributions, you can install Tmux by running this command:
sudo dnf install tmux
If you’re using macOS, you can install Tmux using Homebrew by running this line of code:
brew install tmux
Once Tmux is installed, you can start using it by running the ‘tmux’ command.
Sessions
Tmux sessions are a feature of the tmux terminal multiplexer that allows you to create and manage multiple terminal sessions within a single window. A session is an assortment of windows containing one or more panes. Sessions can be detached and reattached, so you can leave long-running tasks running in the background while you switch to another session or shut down your computer.
In other words, a tmux session is like a container that holds multiple windows, which in turn hold one or more panes. It allows you to switch between different tasks or projects in the same terminal window without having to open multiple windows or tabs. This can be especially useful for developers, system administrators, or anyone who spends a lot of time working in the command line interface.
Creating a New Tmux Session
The first command you’ll need to know is the command needed to create a new Tmux session. To create a new session, simply type:
tmux new -s session-name
This will create a new session with the name “session-name.” You can also use the command below to achieve the same result:
tmux new-session -s session-name
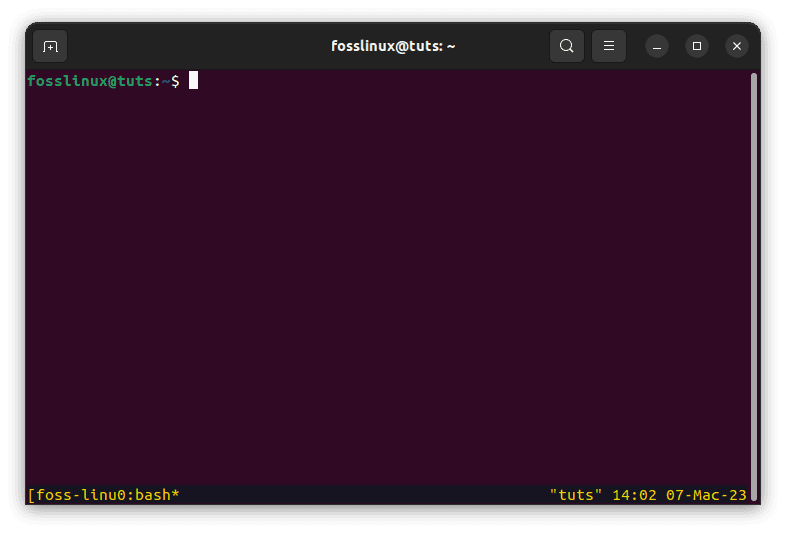
Note: You can replace “session-name” with any name you like. If you don’t specify a name, Tmux will generate a name for you. For instance, our session will be called ‘foss-linux.’ Therefore, to create a session with the name ‘foss-linux,’ we shall run the following line of code:
tmux new -s foss-linux
You’ll see a terminal window in the new session with a green status bar at the bottom (if there is a different colour than green, then it means the status bar has been customized. For instance my status bar is yellow as shown in the image below). The status bar displays the session’s name, the machine’s hostname, the date and time, and the current working directory.
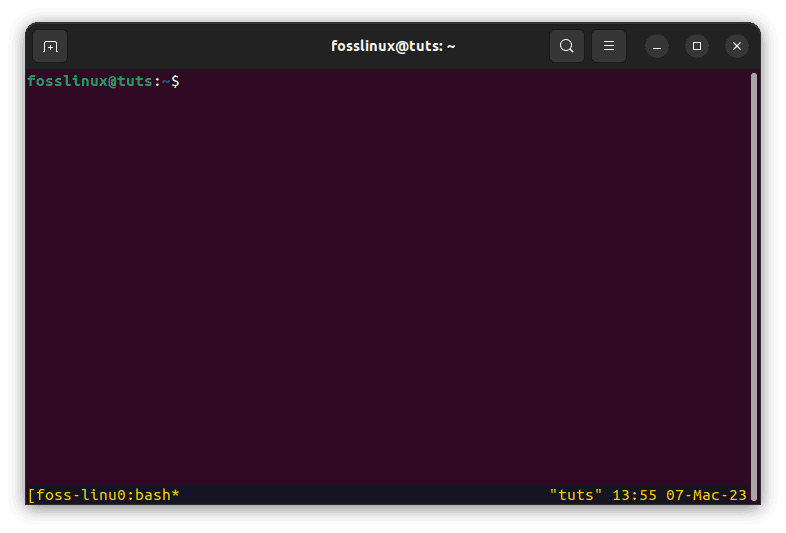
Create foss-linux tmux session
Switching between Tmux sessions
To switch between Tmux sessions, use the command:
tmux switch -t session-name
This will switch to the session with the name session-name.
Example:
To switch to our “foss-linux” session, we shall execute the following line of code:
tmux switch -t foss-linux
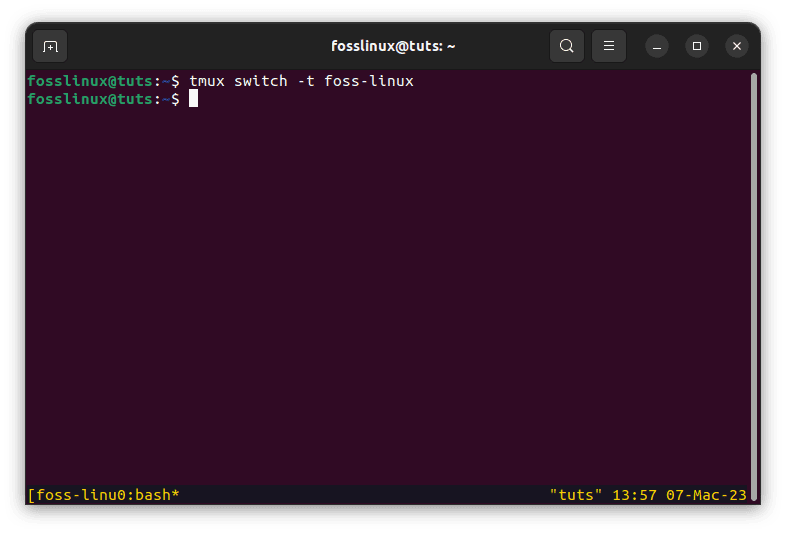
Switch between tmux sessions
You can also use the command below to switch to the next session:
tmux switch-client -n
Switch to next session
The above line of code will switch to a session named ‘session-name’ as seen from the status bar. Alternatively, you can use this line of code to switch to the previous session which in our case will be the ‘foss-linux’ session:
tmux switch-client -p
Switch to previous session
Detaching and Reattaching a Tmux Session
One of the most powerful features of Tmux is the ability to detach and reattach sessions. Detaching a session allows you to leave it running in the background while you work on other tasks. To detach a session, simply type:
tmux detach
This will detach the current session and return you to your shell/terminal prompt.

Detach from foss-linux session
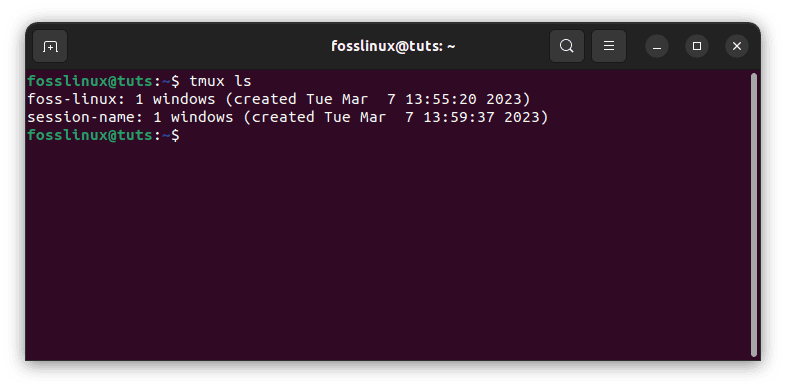
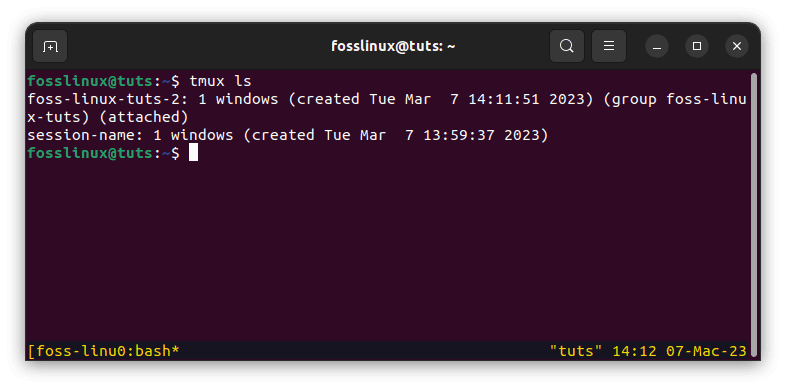
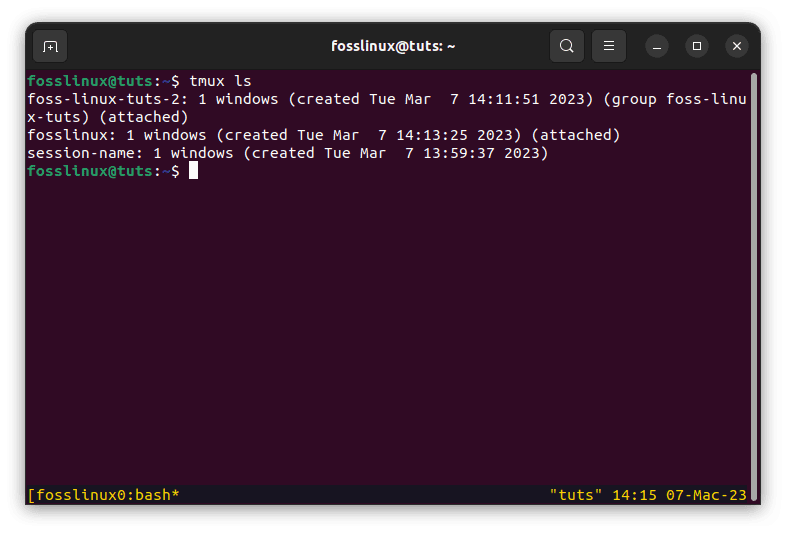
To reattach a session, you’ll need to know the name of the session. You can list all your Tmux sessions by running this line of code:
tmux ls
This will display a list of all your Tmux sessions and their names and status.
List all available sessions
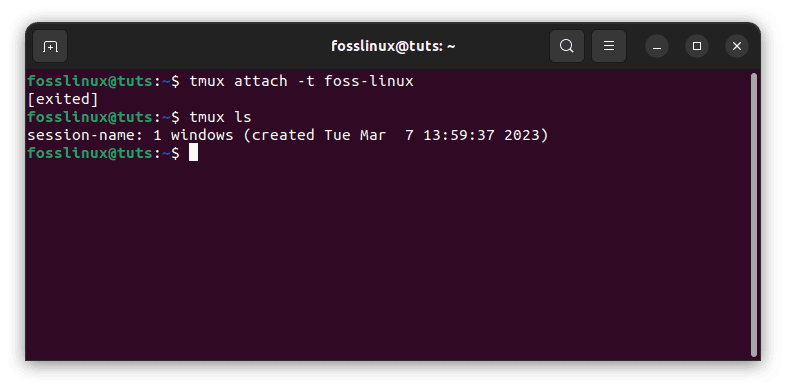
To reattach a session, simply type:
tmux attach -t session-name
This command will reattach the session with the name “session-name.” If you have multiple sessions running, you can switch between them by using the following command:
tmux switch -t session-name
In our case, we shall execute this line of code to reattach the “foss-linux” tmux session:
tmux attach -t foss-linux
Attach foss-linux session
Renaming Tmux Sessions
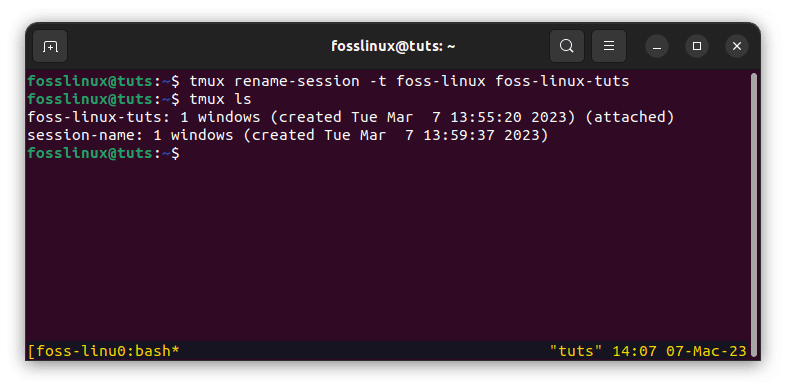
To rename a Tmux session, use the command below:
tmux rename-session -t old-name new-name
This will rename the session with the name old-name to new-name. For example, to rename the ‘foss-linux’ session to ‘foss-linux-tuts,’ we shall execute the following line of code:
tmux rename-session -t foss-linux foss-linux-tuts
That’s it. The tmux session has been successfully renamed.
Rename foss-linux session to foss-linux-tuts
Listing Tmux Sessions
To list all the Tmux sessions, use the command provided herein:
tmux list-sessions
This will display a list of all the active sessions. You can also use “tmux ls” as a shortcut command to list all active tmux sessions.
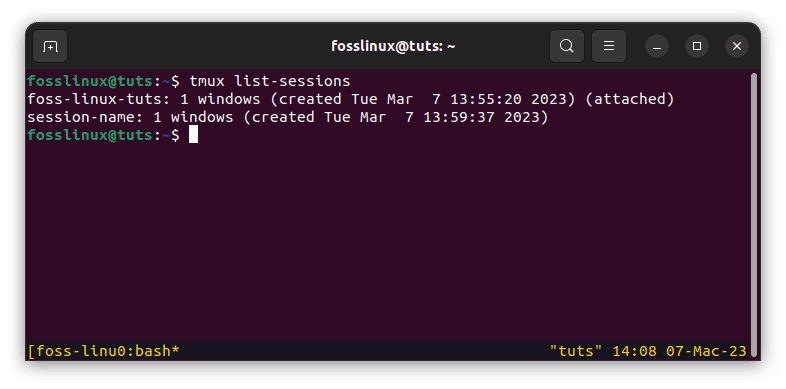
List all tmux sessions
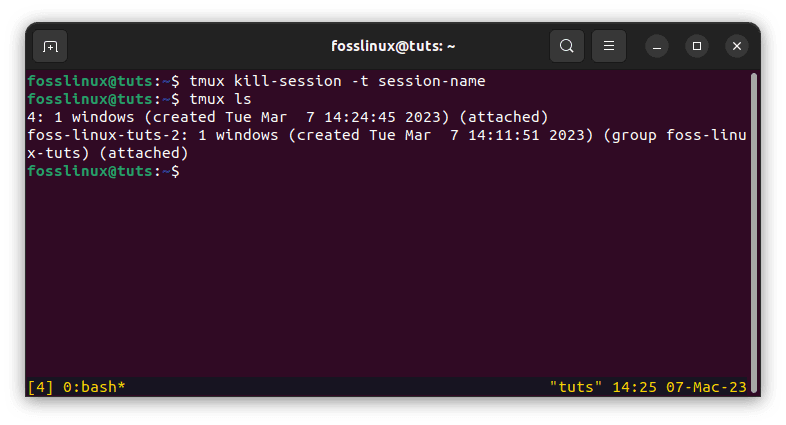
Killing Tmux Sessions
To kill a Tmux session, use the command:
tmux kill-session -t session-name
This will kill the session with the name “session-name.” For instance, to kill the foss-linux-tuts session, we shall execute the following line of code:
tmux kill-session -t foss-linux-tuts
Kill foss-linux-tuts session
You can also use the command below to kill all the sessions:
tmux kill-session -a
Creating a Tmux Session from another Terminal
If you want to create a new Tmux session from another terminal, you can use the command:
tmux new -t foss-linux-tuts
This will create a new session with the name foss-linux-tuts and attach you to it.
Create new tmux session in a new terminal and attach to it
Sharing a Tmux Session
One of the unique features of Tmux is the ability to share a session with other users. This can be useful for pair programming or for giving remote assistance to a colleague. To share a session, you’ll need to start a Tmux server by running the following:
tmux new-session -s fosslinux -d
This will start a new Tmux session in detached mode with the name “fosslinux.”
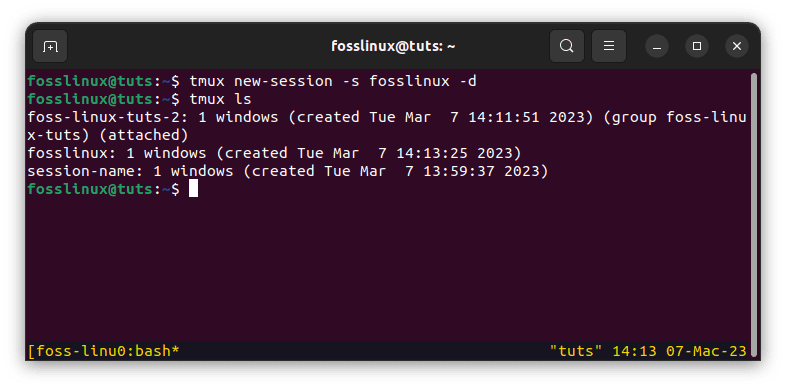
Create a new tmux session in detached mode
You can then share the session by giving another user the session’s name and the machine’s hostname. The other user can then connect to the session by running the following:
tmux attach -t fosslinux
This will attach the other user to the Tmux session, and both of you can work on the same shell.
Attach to fosslinux session
Windows
In Tmux, windows are similar to tabs in a web browser or text editor. You can create multiple windows within a single session, and each window can have its own shell, allowing you to work on multiple tasks at once. Here’s how to create and switch between windows in Tmux:
Creating a Window
To create a new window, press “Ctrl-b c.”
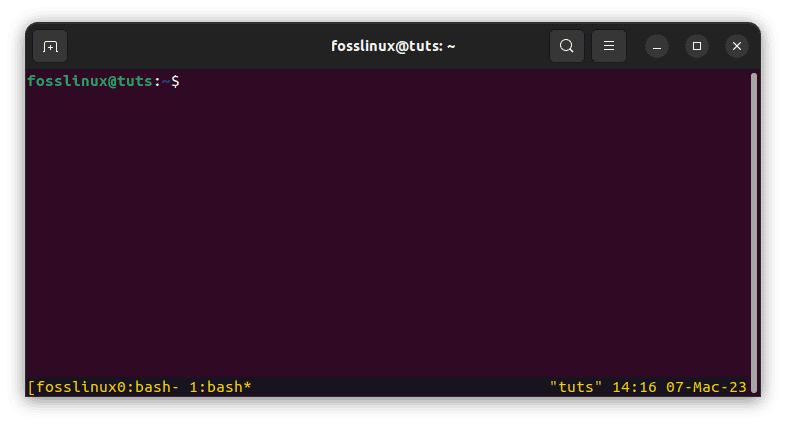
Create new window
This will create a new window with a default shell (usually your default shell, such as Bash or Zsh). You can also specify the shell to use by running “tmux new-window -n window-name shell-command,” where “window-name” is the name you want to give the window (optional), and “shell-command” is the shell command you want to run in the new window (optional).
Note: “Ctrl-b” is the default tmux prefix.
Switching between Windows
You can use the “Ctrl-b n” and “Ctrl-b p” commands to switch between windows. “Ctrl-b n” will switch to the next window, and “Ctrl-b p” will switch to the previous window.
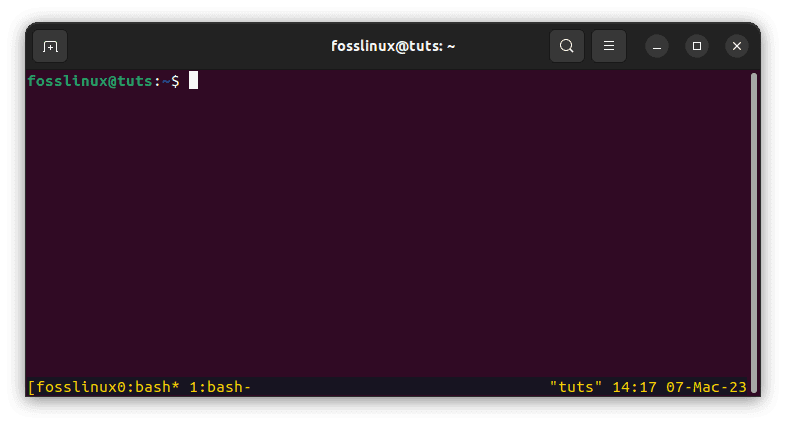
Switch between windows
You can also switch to a specific window by running “Ctrl-b [window-number],” where [window-number] is the number of the window you want to switch to.
Renaming a Window
To rename a window, first switch to the window you want to rename. You can then enter window renaming mode by pressing “Ctrl-b ,” (that’s a comma).
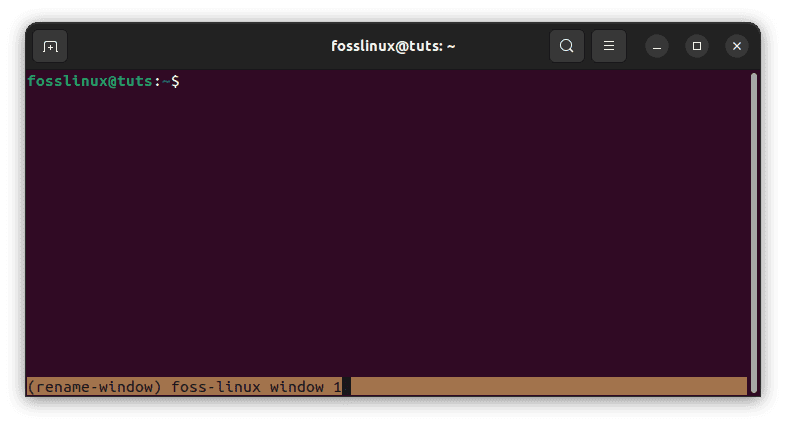
Rename a window
This will allow you to edit the name of the current window. Once you’ve edited the name, press Enter to save the new name.
Closing a Window
To close a window, first, make sure you’re not in the window you want to close. You can switch to a different window using the “Ctrl-b n” or “Ctrl-b p” commands. Once you’re in a different window, you can close the current window by typing “Ctrl-b &.” This will close the current window and any panes within it.

Close window
Closing All Windows
To close all windows in a Tmux session, you can use the following command:
tmux kill-session
This will close all windows and end the session. If you have multiple sessions running, you’ll need to specify which session to kill by running this line of code:
tmux kill-session -t session-name
From the code above, the “session-name” is the name of the session you want to kill.
Kill tmux session
Panes
In Tmux, panes are like split screens within a single window. You can create multiple panes within a single window, and each pane can have its own shell, allowing you to work on multiple tasks within the same window. Here’s how to create and manage panes in Tmux:
Creating a Pane
Create a new pane and press “Ctrl-b %” to split the current pane horizontally as shown in the image below:
Split pane horizontally
Alternatively, press “Ctrl-b “(closing quotation marks)” to split the current pane vertically.
Split window horizontally into panes
This will create a new pane with a default shell (usually your default shell, such as Bash or Zsh). You can also specify the shell to use by running this command:
tmux split-window -h shell-command
Split pane horizontally
The line of code above will split the window horizontally with a specific command. Alternatively, you can execute the following command to split the window vertically with a specific command:
tmux split-window -v shell-command
Split window horizontally into panes
Switching between Panes
You can use the “Ctrl-b arrow key commands” to switch between panes. The “Ctrl-b arrow key” will switch to the next pane in the direction of the arrow key you press. For example, the “Ctrl-b Left arrow key” will switch to the pane on the left of the current pane.
Switch between panes
You can switch to a specific pane by running “Ctrl-b q,” which will display a numbered list of all panes in the current window.
Display numbered panes
Once you see the number of the pane you want to switch to, type the corresponding number and press Enter.
Resizing Panes
You can resize panes in Tmux by pressing the “Ctrl-b arrow key,” and then “Ctrl-b <resize-command>,” where <resize-command> is one of the following:
: followed by resize-pane -U to increase the size of the current pane upwards.
: followed by resize-pane -D to increase the size of the current pane downwards.
: followed by resize-pane -L to increase the size of the current pane to the left.
: followed by resize-pane -R to increase the size of the current pane to the right.
Note: You must start with the (:) colon sign, as shown in the examples above.

Resize pane upwards
Furthermore, you can also specify the size you want to resize the pane to by adding a number after the resize command. For example, “Ctrl-b : resize-pane -U 5” will increase the size of the current pane upwards by 5 rows.
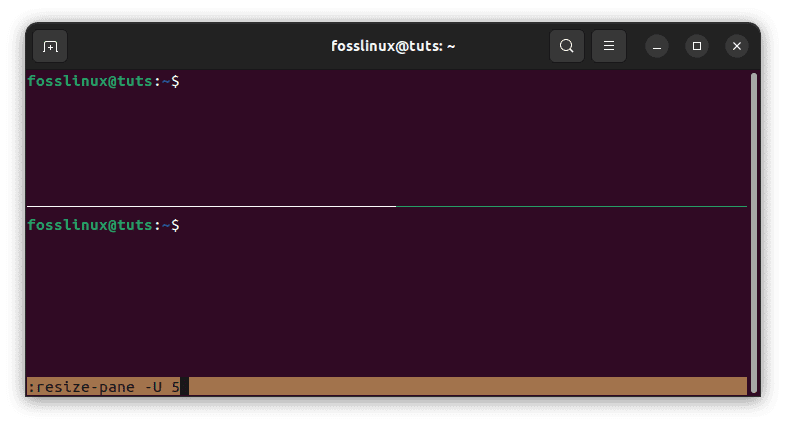
Resize upwards 5 rows
Additionally, if our terminal emulator supports it, you can resize panes by clicking and dragging the border between panes with your mouse.
Moving Panes
You can move panes in Tmux by pressing “Ctrl-b {” to move the current pane to the left or “Ctrl-b }” to move the current pane to the right. Alternatively, you can move a pane to a specific location by pressing “Ctrl-b :” followed by swap-pane -[U|D|L|R] [target-pane], where [target-pane] is the number of the pane you want to swap with.
Closing a Pane
To close a pane, you can press “Ctrl-b x.” This will close the current pane and any processes running within it.

Close pane
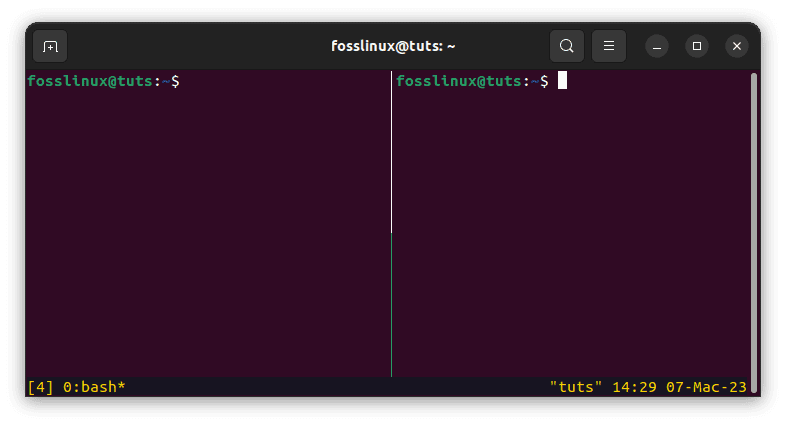
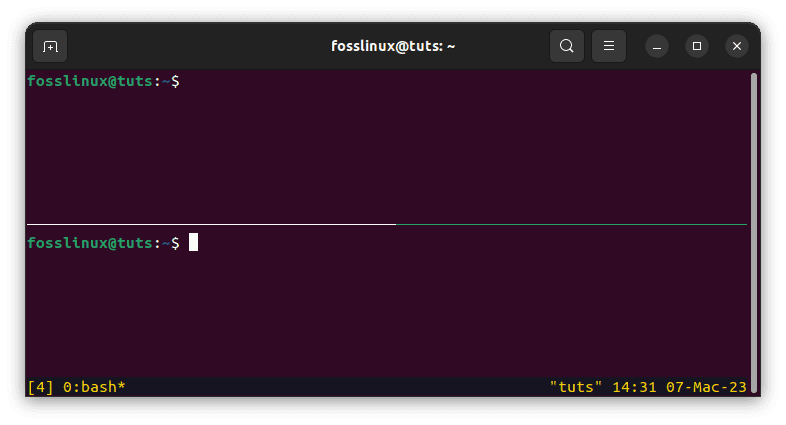
Splitting a Window into Panes
Another powerful feature of Tmux is the ability to split a window into multiple panes, each with its own shell. To split a window horizontally, press “Ctrl-b %.” This will split the current pane into two horizontal panes.
Split pane horizontally
To split a window vertically, press “Ctrl-b “(closing quotation mark).”
Split window horizontally into panes
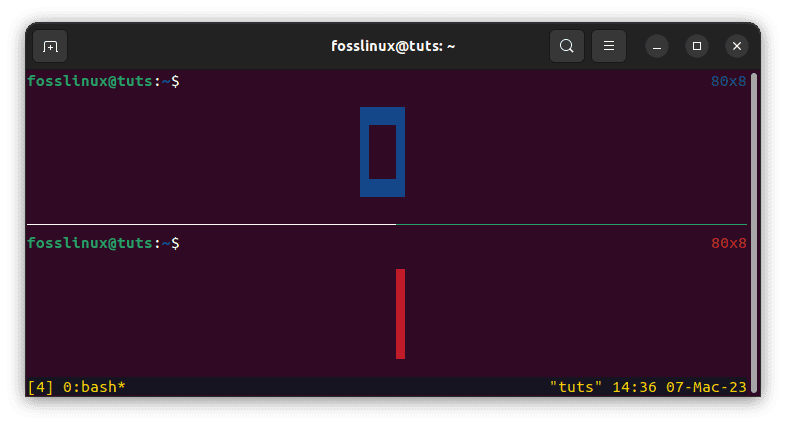
You can move between panes by pressing the Ctrl-b arrow key, where the arrow key is the direction you want to move. For example, the “Ctrl-b left arrow” will move to the pane on the left.
Closing Panes and Windows
To close a pane, simply type “exit” or “Ctrl-d” in the shell running in the pane. This will close the shell and remove the pane from the window.
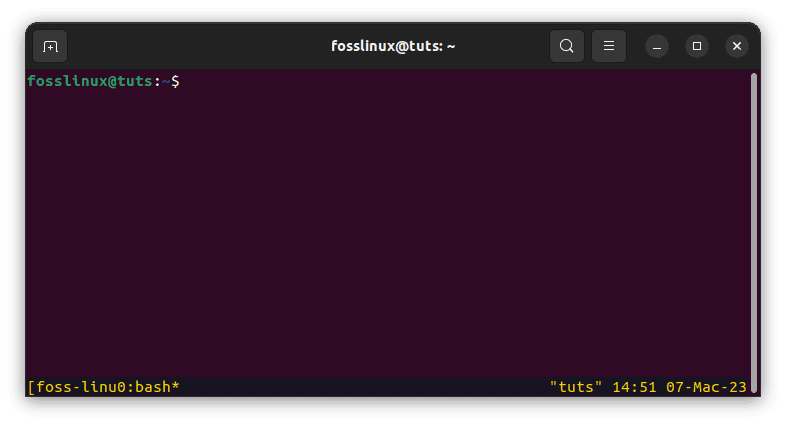
Close the existing vertical pane
To close a window, first, make sure you’re not in the window you want to close. You can switch to a different window using the “Ctrl-b n” or “Ctrl-b p” commands. Once you’re in a different window, you can close the current window by typing “Ctrl-b &.”
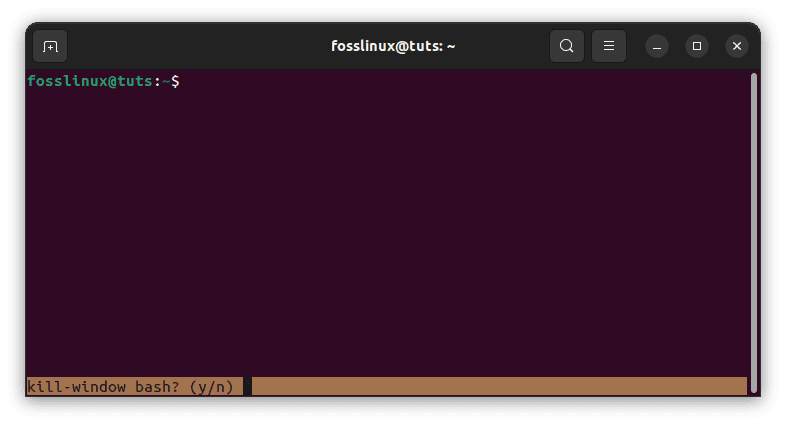
Close window and all existing panes
Conclusion
In this article, we’ve explored the essential commands to start using Tmux. Tmux is a powerful tool that allows you to create and manage multiple terminal sessions within a single window, detach and reattach sessions, share sessions with other users, and more. By learning these essential commands, you’ll be able to improve your productivity and efficiency when working on the command line.
So why not give Tmux a try? Install it on your machine, create a new session, and experiment with the various commands covered in this article. You may find that Tmux becomes an indispensable part of your workflow. Thank you for reading!