
If you’re that person who spends most of his time working on the command line, you know how important it is to have an efficient workflow. One tool that can help you achieve that is Tmux, a terminal multiplexer that allows you to manage multiple terminal sessions and windows within a single Tmux session. Tmux also has a powerful feature called “buffers,” which can help you navigate your workflow more efficiently.
In this article, we will explore how to navigate Tmux buffers. We’ll start by looking at buffers and how they work, then dive into different ways to navigate between buffers. Whether new to Tmux or a seasoned user, this article will help you master the art of navigating Tmux buffers.
What are Tmux Buffers?
Tmux buffers are a feature that allows you to save the output of a command or a series of commands in a buffer. This buffer can then be accessed later and used as input for another command. Think of it as a clipboard for the terminal.
Each Tmux session can have multiple buffers, and each buffer can hold a different output piece. This can be useful if you need to refer to the output of a command you ran earlier or if you need to use the result of one command as input for another.
How to use Tmux Buffers
Before we dive into navigating Tmux buffers, let’s first look at how to use them. There are two ways to create a buffer in Tmux: manually and automatically.
To create a buffer manually, you can use the following command:
tmux save-buffer [-b buffer-name] [fosslinux.txt]

Save buffer
This command saves the current contents of the terminal screen to a buffer. Optionally specify a buffer name with the -b flag, allowing you to save the output to a specific buffer. The outcome will be saved to the default buffer if you don’t specify a buffer name.
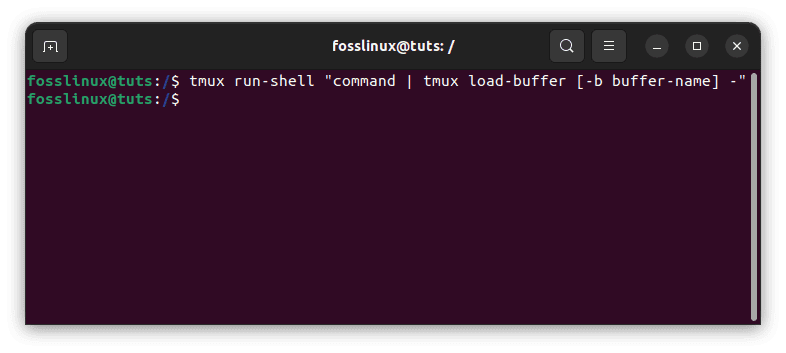
If you want to save the output of a command to a buffer automatically, you can use the following command:
tmux run-shell "command | tmux load-buffer [-b buffer-name] -"
Save to buffer automatically
This command runs the specified command and pipes its output to the load-buffer command, which saves the output to a buffer. Again, you can specify a buffer name with the -b flag.
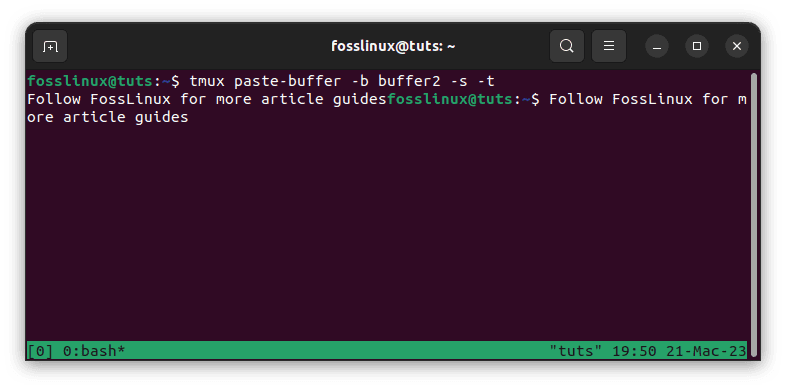
Once you have created a buffer, you can access it using the paste-buffer command:
tmux paste-buffer [-b buffer-name] [-s separator] [-t target-pane]
Paste buffer
This command pastes the contents of the specified buffer to the current cursor position. You can specify a buffer name with the -b flag, a separator string with the -s flag, and a target pane with the -t flag.
Now that we know how to create and access buffers in Tmux, let’s explore how to navigate between them.
Navigating Tmux Buffers
There are several ways to navigate between Tmux buffers. We’ll review some of the most common methods below.
Switching between Buffers by number
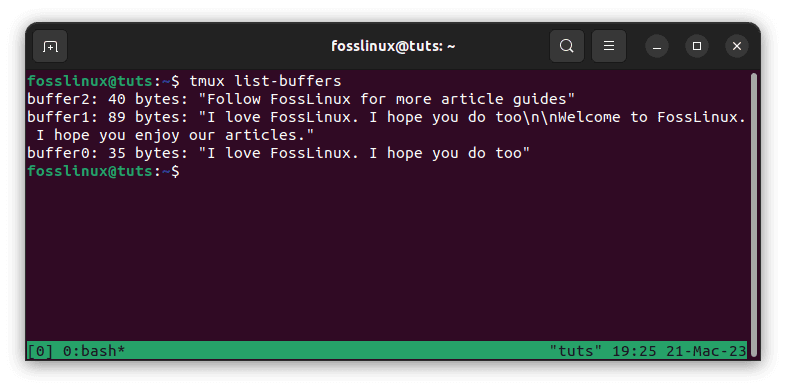
One way to navigate between buffers is to use their numerical index. You can see the index of each buffer by running the following command:
tmux list-buffers
List buffers
This command displays a list of all the buffers in the current Tmux session, along with their index and contents.
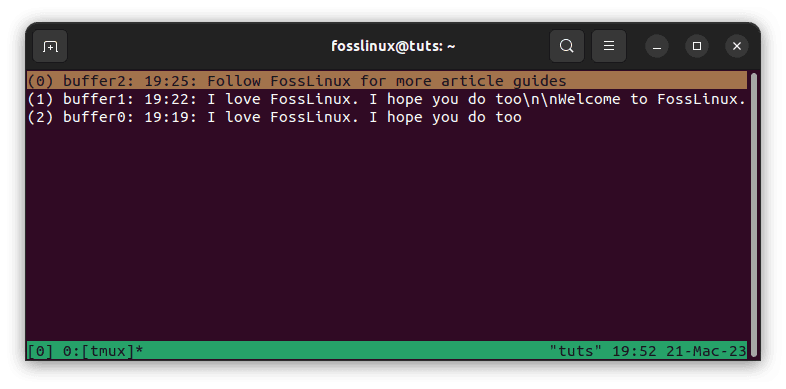
To switch to a specific buffer by index, you can use the following command:
tmux choose-buffer -t <index>
Choose tmux buffer
This command switches to the buffer with the specified index.
Switching between Buffers by name
If you’ve given your buffers descriptive names, you can switch between them by name. To see a list of all the named buffers in the current Tmux session, you can run the following command:
tmux list-buffers | grep -Eo '\[[0-9]+\] [^ ]+' | cut -c 3-
This command lists all the named buffers in the current Tmux session.
To switch to a specific buffer by name, you can use the following command:
tmux choose-buffer -t <name>
Choose tmux buffer
This command switches to the buffer with the specified name.
Switching between Buffers with key bindings
Another way to navigate between buffers is to use key bindings. By default, Tmux comes with several critical bindings for navigating between buffers. Here are the most common ones:
prefix + PgUp - Switch to the previous buffer

prefix + PgDn - Switch to the next buffer

prefix + b - Switch to the last used buffer
You can also create your own key bindings for switching between buffers. To do this, you’ll need to add the following lines to your .tmux.conf file:
# Switch to the previous buffer

bind-key -n C-p run-shell "tmux switch-buffer -n"

# Switch to the next buffer

bind-key -n C-n run-shell "tmux switch-buffer -p"
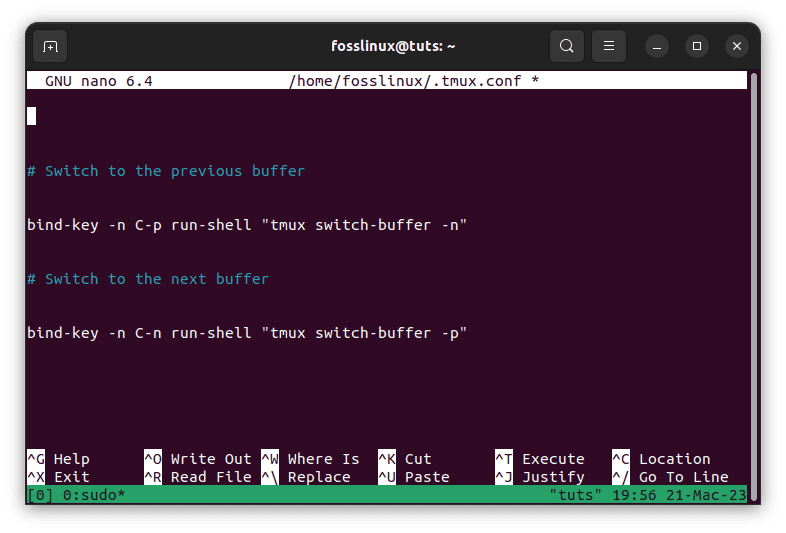
Switch to previous and next buffers
These lines create new key bindings for switching to the previous and next buffers using Ctrl+p and Ctrl+n, respectively.
Renaming Buffers
If you want to give a buffer a more descriptive name, you can rename it using the following command:
tmux set-buffer <new-name>
This command renames the current buffer to the specified name.
You can also rename a buffer with a specific index using the following command:
tmux set-buffer -b <index> <new-name>
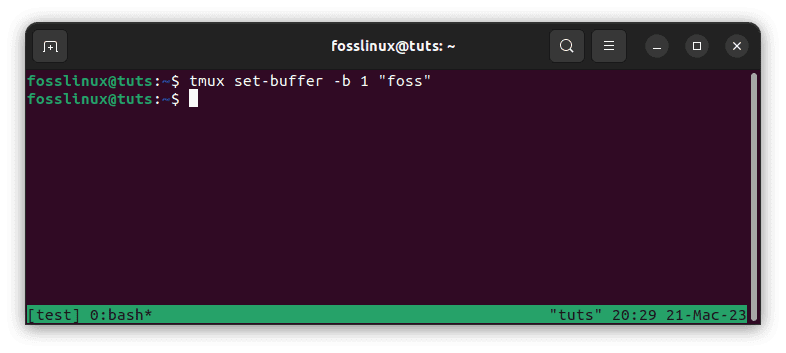
Rename buffer to foss
This command renames the buffer with the specified index to the specified name.
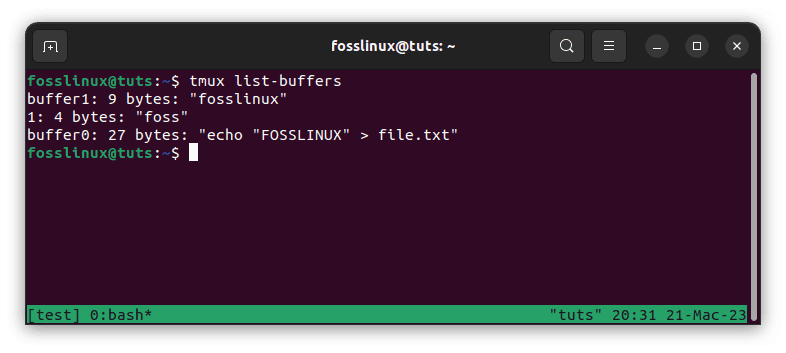
Tmux list showing renamed buffers
Copying and pasting Buffers
In tmux, you can copy and paste buffers using a combination of keyboard shortcuts and commands. Here’s an example of how to do it:
To copy a buffer:
- Enter copy mode by pressing prefix + [ (where prefix is the tmux key binding, which is Ctrl-b by default).
- Use the arrow keys to navigate to the beginning of the text you want to copy.
- Press Space to start the selection.
- Use the arrow keys to highlight the text you want to copy.
- Press Enter to copy the selected text to the tmux clipboard.
To paste a buffer:
- Enter paste mode by pressing prefix + ].
- The tmux clipboard will automatically paste the last copied text.
Here’s an example of copying and pasting a buffer in a tmux session:
$ tmux new-session -s test
$ echo "FOSSLINUX" > file.txt
$ cat file.txt
FOSSLINUX
$ tmux list-buffers
0: bash [20x8] [utf8] 2 panes

$ # Enter copy mode
$ Ctrl-b [

$ # Navigate to the beginning of the line
$ <Up>

$ # Start the selection
$ Space

$ # Navigate to the end of the line
$ <End>

$ # Copy the selection
$ Enter

$ # Exit copy mode
$ Ctrl-c

$ # Paste the buffer
$ Ctrl-b ]

$ # The text "echo "FOSSLINUX" > file.txt" will be pasted

Paste to buffer
We create a new tmux session named “test” in this example. We then create a file called “file.txt” containing the text “hello world” and display the contents of the file using the cat command. We can see that the file contains the text “FOSSLINUX”.
We then use the list-buffers command to display a list of all the buffers in the tmux session. We can see that there is currently one buffer running the Bash shell.
Next, we enter copy mode by pressing Ctrl-b [ and use the arrow keys to navigate to the beginning of the line containing the text “echo “FOSSLINUX” > file.txt”. We then start the selection by pressing Space and using the arrow keys to highlight the entire line. We copy the selection by pressing Enter and exit copy mode by pressing Ctrl-c.
Finally, we paste the buffer by entering paste mode with Ctrl-b ]. The last copied text, which is the line containing the text “echo “hello world” > file.txt”, is automatically pasted into the tmux session.
Deleting Buffers
If you no longer need a buffer, you can delete it using the following command:
tmux delete-buffer -b <buffer-index>
This command deletes the buffer with the specified index.
You can also delete all buffers except for the current one using the following command:
tmux delete-buffer
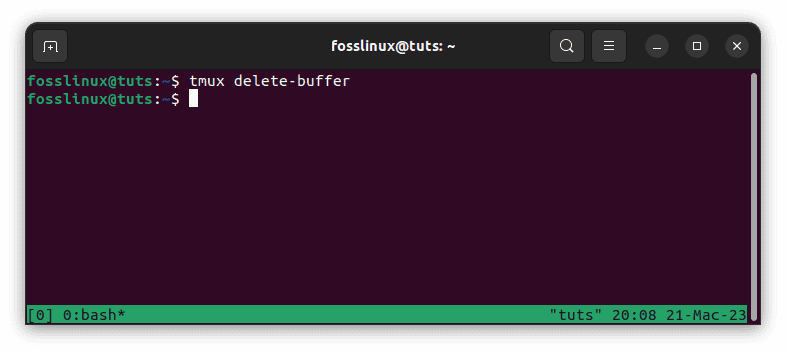
Delete buffer
This command deletes all buffers except for the current one.
Final thoughts
Tmux buffers are a powerful tool for managing your workflow on the command line. By using buffers, you can save and access the output of previous commands, making it easier to work more efficiently and effectively.
In this article, we’ve explored what Tmux buffers are, how to use them, and several tips and tricks for navigating and managing buffers. With this knowledge, you should be able to take your Tmux workflow to the next level and work more efficiently on the command line.
Remember to experiment with different ways of navigating and managing buffers to find the best workflow for you.
With Tmux buffers, you can easily save and access the output of previous commands, allowing you to work more efficiently and effectively. So, next time you’re working on the command line, try Tmux buffers and see how they can help you work more efficiently. Thank you for reading! And, as always, have fun exploring the power of Tmux!
1 comment
Thanks a lot for your article. When I want to create manually a buffer using `tmux save-buffer -b Buffer Buffer.txt`, I’ve got this output: `no buffer Buffer` – Why does your screenshot not show this message?