
Trivial File Transfer Protocol, well known as TFTP, is a simple lockstep File transfer protocol that lets a client get a file from or rather put a file onto a remote host. One of its basic uses is in the early phases of nodes booting from a local area network.
In simple terms, the TFTP server is a depicted protocol that functions on user Datagram Protocol. However, unlike FTP, it does not utilize Transmission Control Protocol (TCP) to transfer data.
Most preeminently, the implementation of the TFTP server protocol is enforced where security and authentication are not mandatory. This is the primary reason it is barely exercised in a computer network as it lacks the required security measures hence rendering it vulnerable over the internet.
For that reason, its application is usually helpful in transferring boot and configuration files among linking PCs in a confined network setup.
Principally, the data transfer in the TFTP server initially begins with port 69. But that does not limit the sender and receiver to select other transfer ports as they can do this once the connection starts.
So that you know, a TFTP server needs a minimal amount of storage for its implementation. This feature becomes a precise and more organized way to boot PCs that don’t possess any storage drives. Then again, making itself a core element of Preboot Execution Environment (PXE) and network boot protocol.
How does TFTP work?
To say, TFTP is the lightweight and more straightforward file transfer protocol that is somewhat similar to FTP. However, it offers fewer features than FTP, hence whips with a smaller footprint. First, let us look at the basic theory of operation and how the TFTP server works.
Like FTP, TFTP also utilizes the same client/server software to connect two PCs. It is an application layer protocol (client-server) with TFTP client software for its clients and TFTP server software meant for TFTP servers.
A point to note is that TFTP utilizes the User Data Protocol (UDP) layer to transport data over the network. A user data protocol is more straightforward than a complicated TCP layer. As such, it needs less code space, making it a flexible option that can even fit inside any small amount of storage location.
A TFTP client has to open the server socket on the server’s IP address on UDP port 69. This is because the server depends on port 69 for connection with the client. Therefore, the client has to set up a UDP connection to the server.
Upon establishing the connection, the client can send the message request to the server. There are several message requests one can send to the server. For instance, the client can send an RRQ (Read Request) to get any file from the server or WRQ (Write Request) to transfer any file over the network.
The TFTP separates the message to be sent in blocks of around 512 bytes. The perceptible part – the last block of each file is always less than 512 bytes. So, the receiver could transcribe that it is the last block from the sender.
Then each block is conveyed as a TFTP data message, and every block is allocated with a TFTP number. Now, each block is carried independently inside a UDP message.
Because not every time the size of the last block would be less (if it’s an exact multiple of 512), then and there the sender sends another block of zero bytes to devolve that the transfer part is complete.
Since the TFTP ensues check and pause protocol, it dispatches each block one at a time in succession. When the sender delivers the first block, it starts a preset block timer at the outset. If a salutation is acquired within the block timer for the sent block, then the second block of the file is dispatched. And if not, the first block of the file is dispatched. And that is the way TFTP achieves its flow control.
After looking at that pivotal piece of info, let us now dig deeper and explain how to set up a TFTP server on Debian 11 and Linux-based distro’s
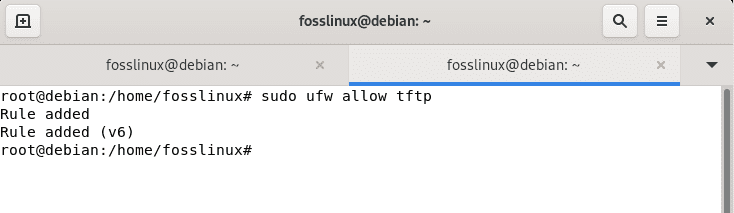
Before proceeding, let us start by opening the TFTP port (69) using UFW (Uncomplicated Firewall), as shown in the following snapshot:
sudo ufw allow tftp
allow ufw
Immediately the port is open; you can now proceed with the TFTP installation.
Installing TFTP server on Debian
Method 1: Installing TFTP server and client using the apt command
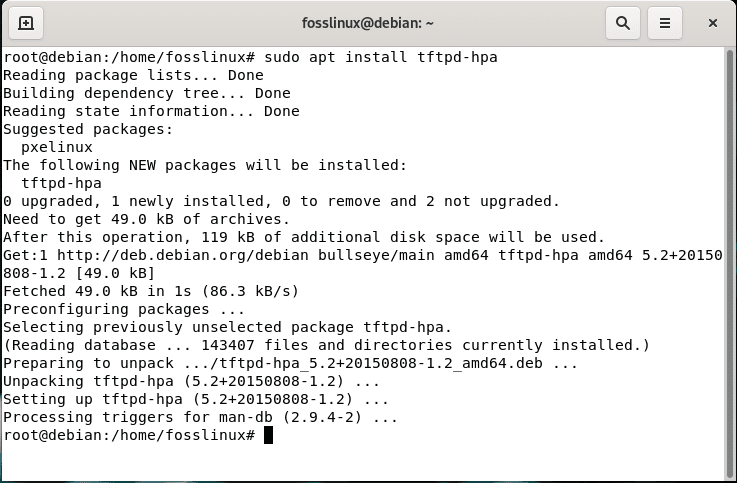
This section will use apt, a command-line utility for updating, installing, removing, and managing Debian-based distro’s packages to install the TFTP services. To attain this, issue the following command:
sudo apt install tftpd-hpa
install TFTP server
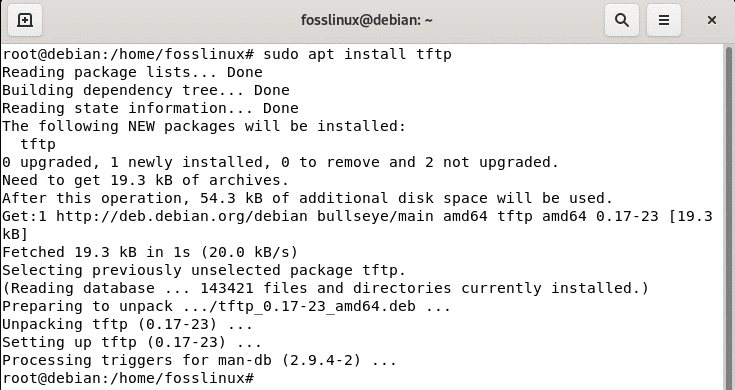
The above command installed the TFTP service, but that is not the end since we need to install the TFTP client using the same apt command. As such, run the following command:
sudo apt install tftp
install TFTP client
Method 2: Installing TFTP using aptitude
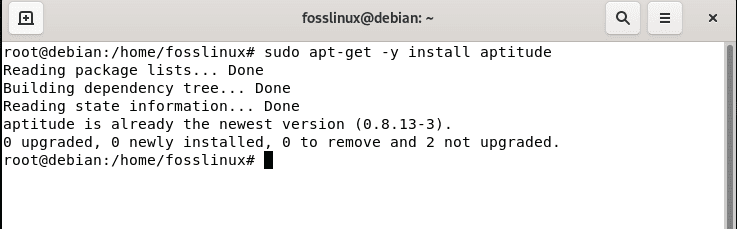
If you want to follow this method, you might need to install aptitude first as it does not pre-installed Debian. To install aptitude, issue the following command:
sudo apt-get -y install aptitude
install aptitude
After installing aptitude, use it to update the entire system as shown below:
sudo aptitude update
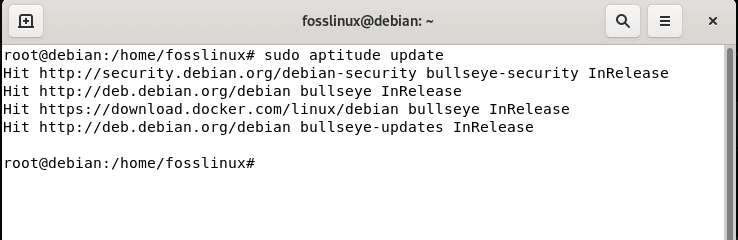
aptitude update
After updating the apt database, now proceed and install TFTP using aptitude by issuing the following command:
sudo aptitude -y install tftpd

aptitude install TFTP
Configuring the TFTP server
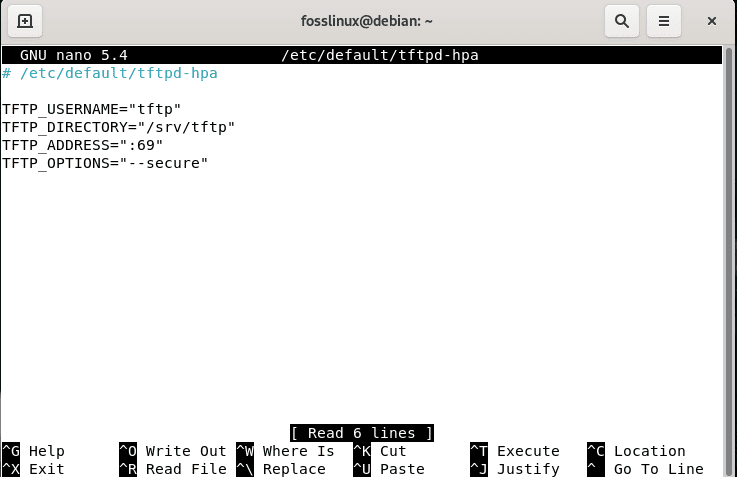
Once you install the TFTP server, you need to run some configurations to enhance the server’s functionality while carrying out tasks. To do this, we will have to edit the tftp config file that is by default located at /etc/default/tftpd-hpa. We suggest you use any of your preferred editors; in our case, we will go with the nano editor, as displayed in the following example. To fire up the nano editor, run the following command:
sudo nano /etc/default/tftpd-hpa
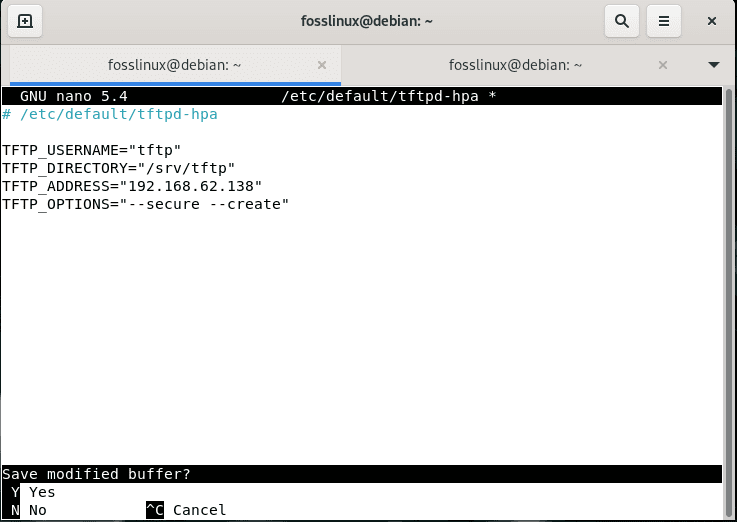
The default config file appears like the image below where:
nano editor
TFTP_USERNAME. You can specify the tftp user in this section, but by default, the user is tftp.
TFTP_DIRECTORY. In this section, you can designate the tftp directory to upload or download files from. First, the directory /srv/tftp is created; you can leave it or define a new one. If you want to generate a new one, you must use the make directory “mkdir” command.
TFTP_ADDRESS. This is the part where you specify the TFTP IP address and port, which by default is port 69 in TFTP.
TFTP_OPTIONS. In this part, you can specify an option or append all the needed options to upload files to the tftp server.
You will edit the given options as follows:
On the TFTP_ADDRESS, you will key in your PC’s address to define the server IP, and on the TFTP_OPTIONS, you will add “–create” at the end to allow uploading files. To get your PC’s IP address run the following command:
hostname -I
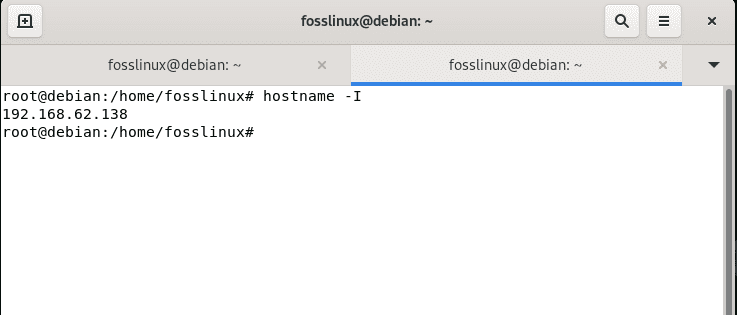
check IP address
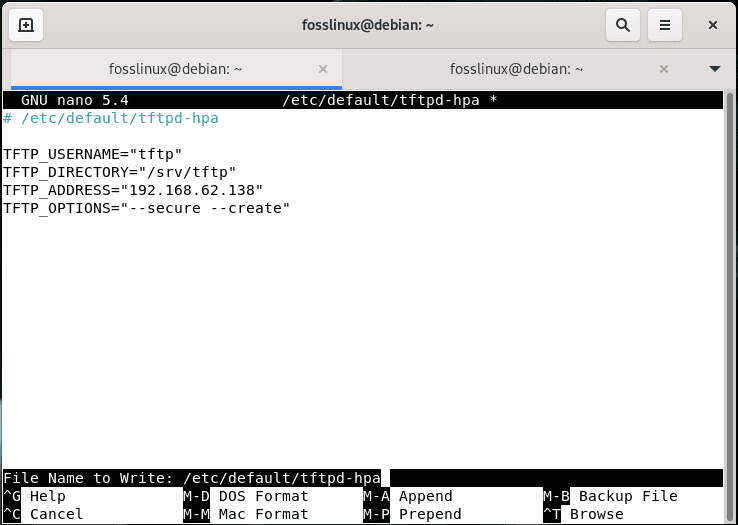
After editing the config file as shown below,
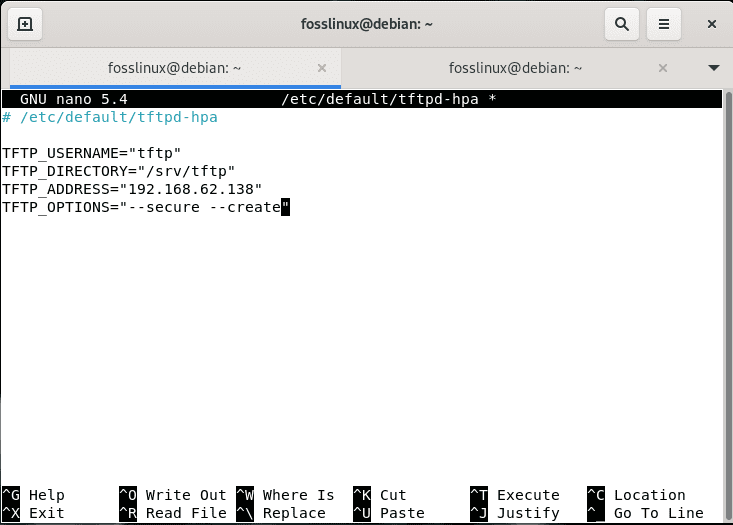
edit the nano editor
press “Ctrl+X”
Ctrl+x
and then “Y” and hit “Enter” to save and exit from the editor:
press y
As you can tell, the default TFTP directory is where files are stored in /srv/tftp/. You need not worry about this file if you are a Debian 11 user, as it is created by default when installing tftp.
Nevertheless, that does not limit you from making a different one if you need it. But you will have to change the user and group ownership to permit the defined user in the config file (by default, the tftp user) to store files inside.
To switch the directory ownership to the tftp user, use the chown command as displayed below:
sudo chown tftp:tftp /srv/tftp
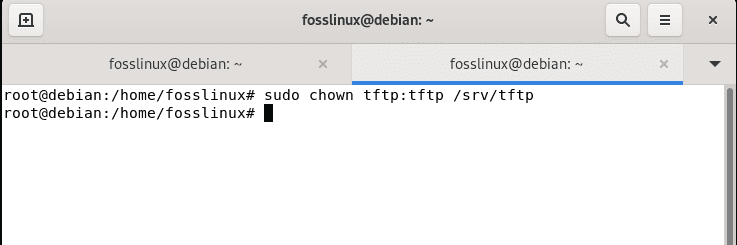
Switch to the tftp user
Once reconfigured, restart the tftp service, using the systemctl as shown below:
sudo systemctl restart tftpd-hpa
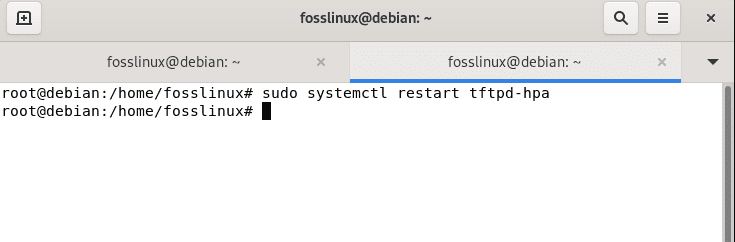
restart service
Upload and download files using TFTP
To connect to a TFTP server, issue tftp followed by the server IP address displayed in the snapshot below. TFTP is used to connect to the server with an IP address. To attain this, use the following syntax:
tftp <Server-IP>
Once connected, you can use the put command followed by the file name to carry out the file upload process. Here is the upload syntax:
put <File>
Take a look at the following sample that uploads a file named fosslinuxfile to the server IP address 192.168.62.138
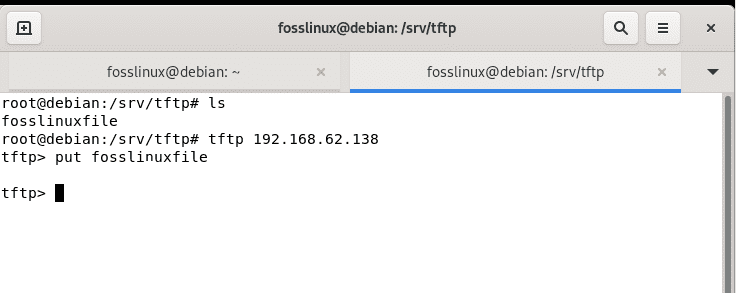
put command
To download files, make use of the get command followed by the file name you want to download as displayed below:
get <File>
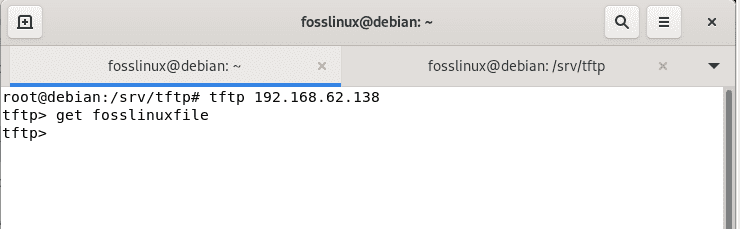
get command
After looking at that, let us take a quick dry run of the difference between TFTP, FTP, and SFTP.
TFTP vs FTP vs SFTP
Unlike FTP and SFTP, TFTP functions under UDP protocol; it is faster but less secure and flexible. TFTP does not permit authentication, and users cannot alter or change files. Even the regular FTP protocol (Port 21) is the most secure alternative. TFTP is primarily used for network boot processes and is mostly unused.
The TFTP server does not allow displaying the TFTP directory content; users must be fully aware of the file name they want to download.
How to uninstall TFTP on Debian 11
In case you want to do away with this server for one reason or the other, you can make use of the following subsequent steps:
To only uninstall the TFTP package without any dependencies, then issue the following command:
sudo apt-get remove tftp
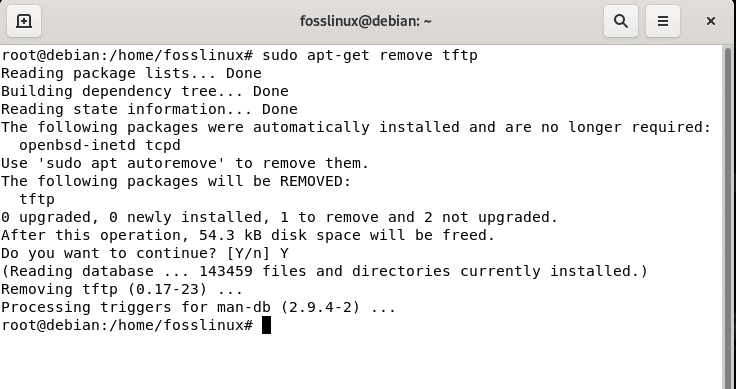
removing TFTP
Uninstall TFTP and its dependencies
To completely uninstall TFTP and its dependencies that Debian11 no longer needs, you can utilize the command below:
sudo apt-get -y autoremove tftp

remove command
Alternatively, you can remove the TFTP configuration, data, and all of its dependencies by issuing the following command:
sudo apt-get -y autoremove --purge tftp
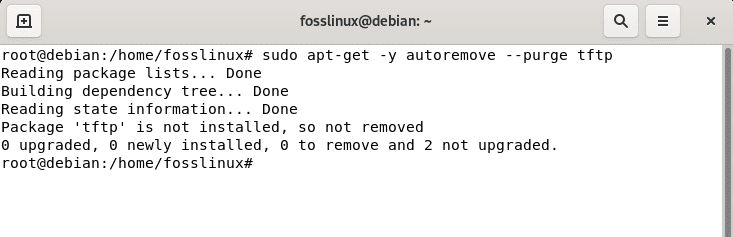
purge command
Final thoughts
As you can depict, the critical advantage of the TFTP protocol is the simplicity of implementing it. As such, any Linux-based user, whether a newbie, intermediary, or guru, can easily set up a TFTP server. It is supreme to consider that TFTP is an unsafe implementation, and SFTP must be considered the chief surrogate for file transfer and filter unwanted access. On the other hand, users must remember to open port 69 to permit TFTP traffic; this can be attained by utilizing Iptables of UFW, as earlier covered in the article.
We hope this article has shed light on installing the TFTP server on Debian 11, and we believe it was informative enough for you. Keep following Foss Linux for additional Linux tutorials and tips.