
In today’s fast-paced digital landscape, collaboration is the cornerstone of innovation and productivity. Software development, in particular, thrives on the seamless integration of teamwork and version control. This is where Git comes into play, revolutionizing how developers collaborate on projects.
This article will explore the intricacies of collaborating on projects using Git within the Pop!_OS environment. Whether you’re a seasoned developer or a newcomer to version control, this guide will walk you through the process of harnessing Git’s power on Pop!_OS.
Understanding Git and Its Significance
Git, developed by Linus Torvalds, is a distributed version control system that permits developers to manage source code revisions, track changes, and collaborate effectively on projects. Unlike traditional centralized systems, Git allows developers to have their own copy of the entire project repository. This decentralized architecture empowers developers to work independently on different features, merge their work seamlessly, and keep track of changes over time.
Pros of Git
- Distributed Architecture: Every contributor has a complete local copy of the repository, reducing dependencies on a centralized server and allowing work to continue offline.
- Efficient Branching: Git makes it effortless to create branches for separate features or bug fixes, facilitating parallel development without interfering with the main codebase.
- Easy Merging: Git’s merging capabilities simplify the process of combining code from different branches, reducing conflicts and ensuring a smooth integration of changes.
- Version Tracking: Developers can quickly revert to previous code versions, making experimenting with new features or configurations safer.
- Collaboration: Git enables effective collaboration among geographically distributed teams by providing a robust framework for sharing and reviewing code changes.
Cons of Git
- Learning Curve: Git’s powerful features can overwhelm beginners, leading to a steep learning curve.
- Complexity: Complex merge conflicts can arise when multiple developers work on the same code concurrently, requiring careful resolution.
- Large Repositories: While Git is efficient, large repositories with extensive histories can consume substantial storage space.
Installing Git on Pop!_OS
Prerequisites
Before we delve into using Git on Pop!_OS, there are a few prerequisites you need to fulfill:
- Pop!_OS Installation: Ensure that Pop!_OS is installed on your system. If not, you can download it from the official System76 website.
- Terminal Knowledge: Basic familiarity with the Linux terminal is beneficial, as Git commands are often executed through the terminal.
- GitHub Account (Optional): While not mandatory, having a GitHub account can enhance collaboration by allowing you to share your projects with others and contribute to open-source projects.
Getting started with Git on your Pop!_OS system is a straightforward process, but there are multiple methods to choose from. This section will delve into each installation method, allowing you to select the one that best suits your preferences and needs.
Method 1. Using Ubuntu Repositories
One of the simplest ways to install Git on Pop!_OS is by utilizing the Ubuntu repositories, as Pop!_OS is based on Ubuntu. This method ensures you get a stable and tested version of Git.
Step 1: Update Package Information
Before installing any software, updating the package information to ensure you’re downloading the most recent versions is good practice.
sudo apt update
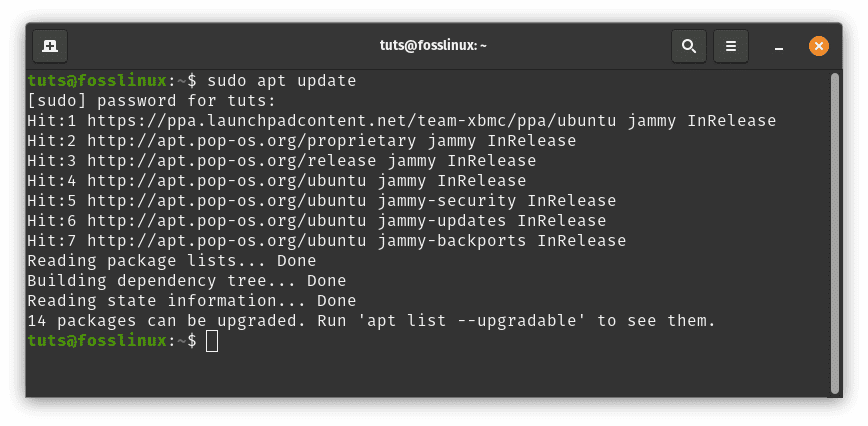
Update system resources
Step 2: Install Git
Once the package information is updated, you can install Git using the following command:
sudo apt install git

Install git via Ubuntu repo
Method 2: Using Official Repositories (System76 PPA)
System76, the creators of Pop!_OS, maintain their own Personal Package Archive (PPA) that contains various software packages, including Git. This repository provides a convenient way to obtain Git while also offering potential improvements and features tailored to Pop!_OS users. Follow the steps highlighted herein to accomplish that:
Step 1: Add the PPA Repository
Start by adding the System76 PPA to your system’s list of repositories:
sudo add-apt-repository ppa:system76/pop
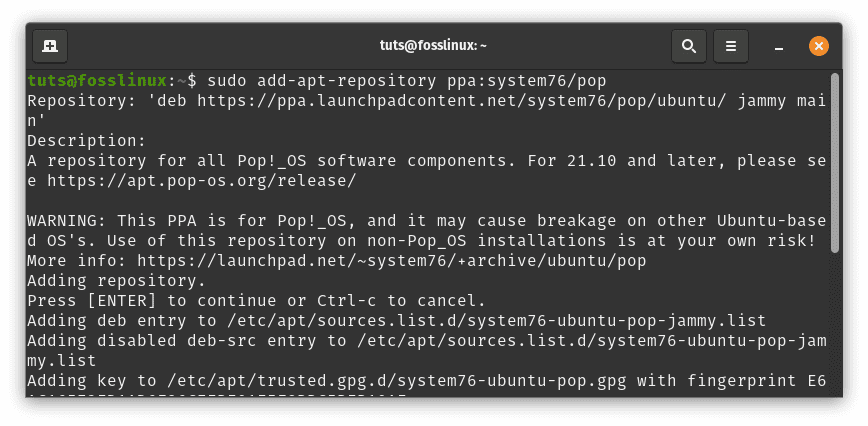
Add system76 PPA
Step 2: Update Package Information
Update the package information after adding the repository:
sudo apt update

Update system resources
Step 3: Install Git
With the repository information updated, install Git using the following command:
sudo apt install git
Install git via PPA repo
Method 3: Installing Git from Source
For advanced users who desire more control over the installation process or who wish to contribute to Git’s development, compiling and installing Git from source code is an option.
Step 1: Install Dependencies
Before compiling Git, make sure you have the necessary dependencies installed. These include build tools, libraries, and development packages that Git relies on. Use the following command to install them:
sudo apt install build-essential libssl-dev libcurl4-gnutls-dev libexpat1-dev gettext cmake
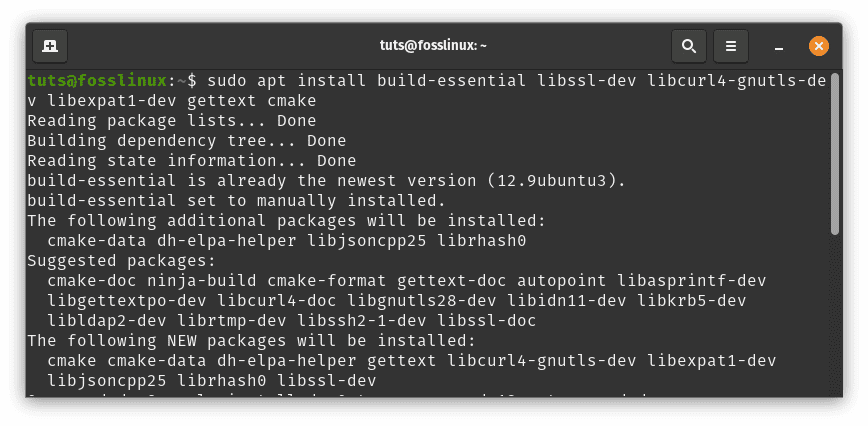
Install dependencies
Step 2: Clone the Git Repository
Clone the Git repository from its official GitHub repository:
git clone https://github.com/git/git.git
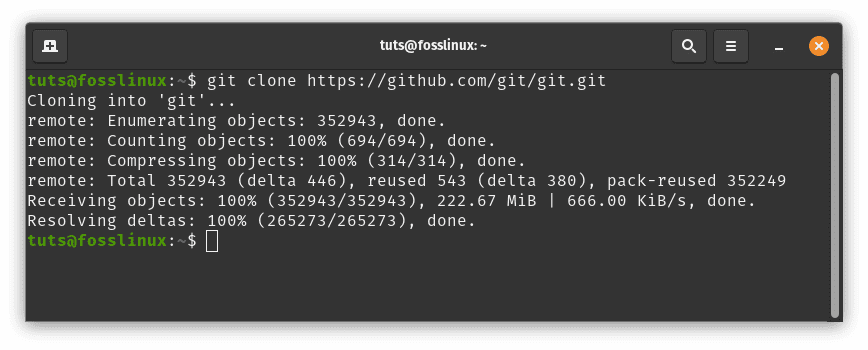
Clone git repo
Step 3: Compile and Install Git
Navigate into the cloned repository and start the compilation process. If desired, you can also specify a custom installation prefix (e.g., /usr/local).
cd git

make prefix=/usr/local all

sudo make prefix=/usr/local install
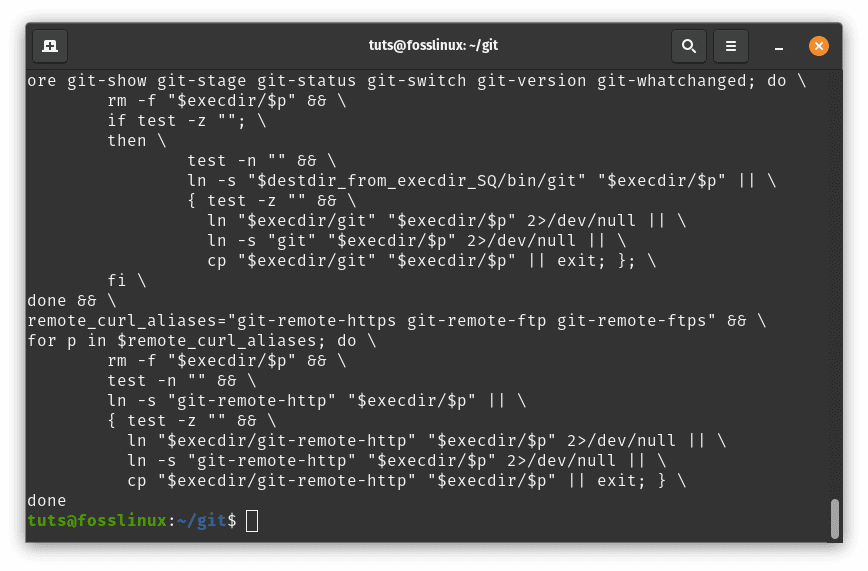
Install git
By providing these diverse installation methods, Pop!_OS users can choose the one that aligns best with their expertise and preferences. Whether you opt for the simplicity of Ubuntu repositories, the tailored features of the System76 PPA, or the control of compiling from source, Git’s power will soon be at your fingertips on your Pop!_OS system.
Using and Configuring Git on Pop!_OS
Now that you have Git installed on your Pop!_OS system, it’s time to dive into the practical usage and configuration of Git. Mastering these essential commands will empower you to effectively collaborate on projects, manage changes, and maintain a structured codebase.
1. Initializing a Repository
Before you can start tracking changes in your project, you need to set up a Git repository. Navigate to your project’s directory using the terminal and run the following command:
git init
This creates a hidden .git directory within your project, which will store all the information needed for version control.
2. Cloning a Repository
If you’re joining an existing project hosted on a remote repository, such as GitHub, you can clone it to your local machine. Replace <repository_url> with the actual URL of the repository:
git clone <repository_url>
This command creates a new directory with the same name as the repository and fetches all the associated files and history.
3. Adding and Committing Changes
As you make changes to your code, you need to add them to the staging area before committing. This separates the changes you’re ready to commit from those still in progress. Use the following commands:
git add <file_name>  # Add specific files to the staging area

git commit -m "Descriptive commit message" # Commit the staged changes with a meaningful message
Commit messages should be clear and concise, summarizing your changes in that commit.
4. Creating and Switching Branches
Branches are a fundamental part of Git, allowing you to work on multiple fixes or features simultaneously without interfering with the main codebase. To create and switch to a new branch, use the following:
git checkout -b <branch_name> # Create and switch to a new branch
This command both creates a new branch and switches your workspace to that branch.
5. Pulling and Pushing Changes
Collaboration involves pulling in changes made by others and pushing your own changes to a shared remote repository. To fetch alterations from a remote repository and append them to your local branch, use the following:
git pull origin <branch_name> # Pull changes from a remote branch
To push your local alterations to the remote repository, use the following:
git push origin <branch_name> # Push changes to a remote branch
These commands ensure synchronization of your local and remote repositories, fostering effective teamwork.
6. Merging Branches
Once a feature or fix is complete on a separate branch, you can append it to the main branch to integrate the changes. Switch to the main branch and use the following command:
git checkout main  # Switch to the main branch

git merge <branch_name>  # Merge the specified branch into the main branch
This integrates the changes from the specified branch into the main branch, ensuring your codebase remains up-to-date and cohesive.
As you navigate through these Git commands on your Pop!_OS system, you’ll gain a deeper understanding of version control, collaboration, and project management. Git’s flexibility and power will become evident as you work on projects and coordinate efforts with other developers.
Example
To solidify your understanding of Git’s practical usage, let’s explore real-world examples of using and configuring Git within the Pop!_OS environment. These scenarios will help you grasp the concepts introduced earlier and give you a hands-on experience with Git commands.
1. Initializing a Repository
Imagine you’re starting a new project called “MyWebsite” on your local machine. Navigate to the project’s folder using the terminal and initialize a Git repository:
cd ~/projects/MyWebsite

git init
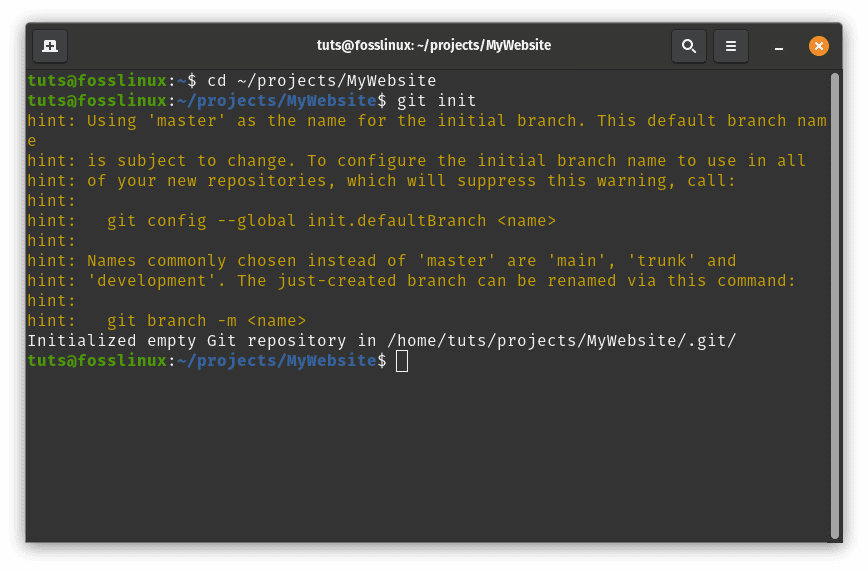
Initialize git
This command sets up the project for version control.
2. Cloning a Repository
Assume you intend to contribute to an open-source project hosted on GitHub. To get the project’s code on your machine, clone the repository:
git clone https://github.com/user/project.git
Replace https://github.com/user/project.git with the actual repository URL. This command creates a directory named after the project and fetches all the files and history.
git clone https://github.com/Codeexpert254/todolistapp.git
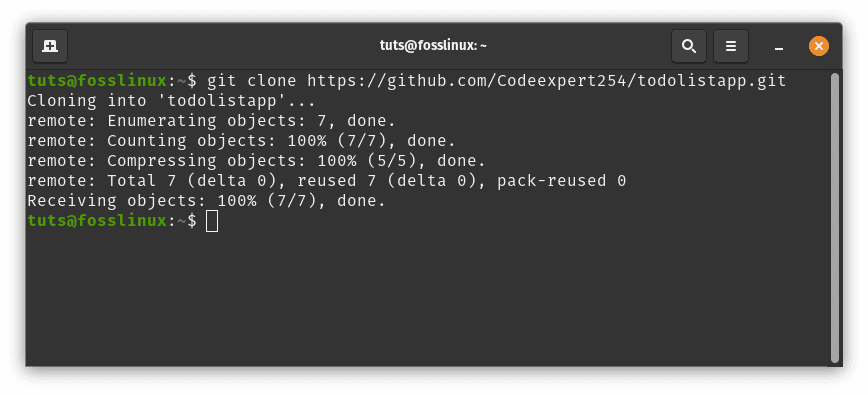
Clone todolistapp project
3. Adding and Committing Changes
As you work on your project, let’s say you’ve modified the index.html file. Add this change to the staging area and commit it:
cd todolistapp/

git add index.html

git commit -m "Added a new section to the homepage."
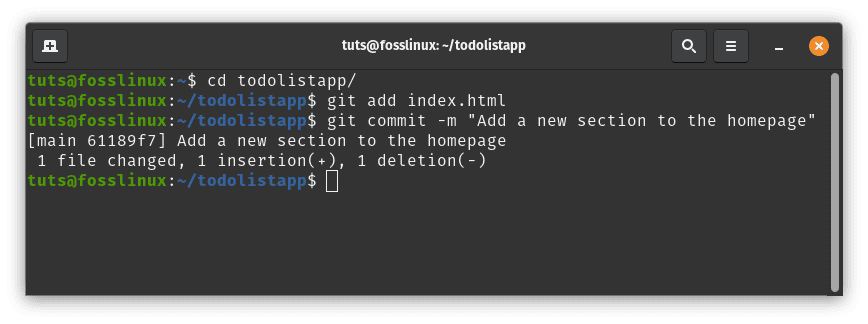
Add commit changes
This sequence captures your changes and adds a descriptive commit message.
4. Creating and Switching Branches
Suppose you’re working on a new feature for your project. Create and switch to a new branch for this feature:
git checkout -b feature-navigation
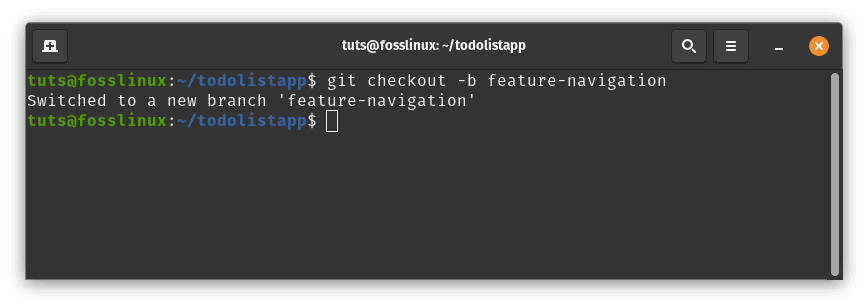
Create and switch to a new branch
This command creates and switches you to the feature-navigation branch.
5. Pulling and Pushing Changes
If a teammate has made changes to the project while you were working on your feature, you can pull in those changes:
git pull origin main

Pull changes
This fetches changes from the main branch and merges them into your current branch.
When your feature is ready, push your changes to the remote repository:
git push origin feature-navigation
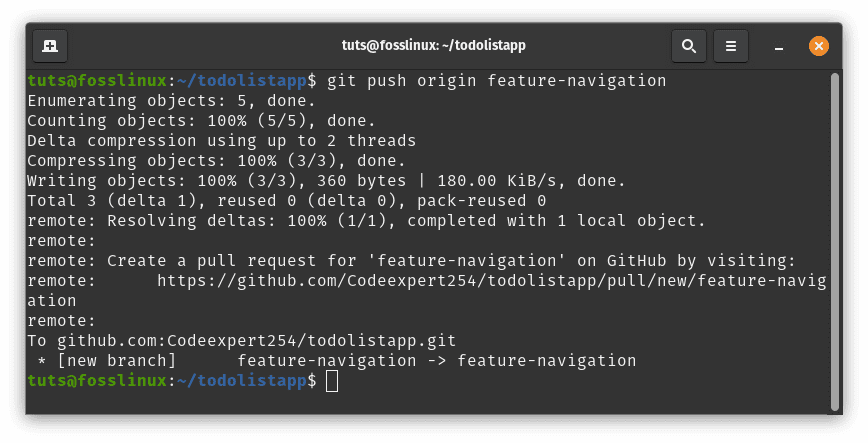
Push changes to the feature-navigation repo
This command sends your changes to the remote repository on the feature-navigation branch.
6. Merging Branches
After thoroughly testing your feature, it’s time to merge it into the main codebase. First, switch back to the main branch:
git checkout main
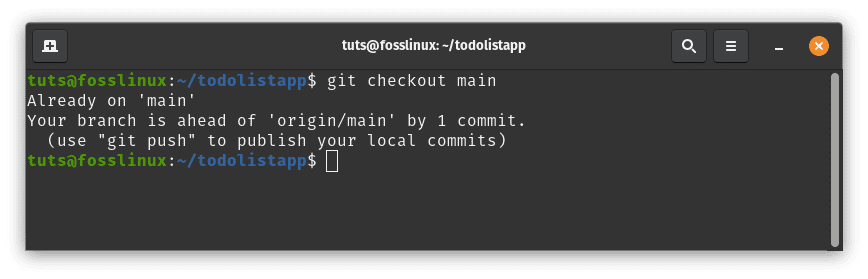
Switch back to the main branch
Then, integrate your feature branch into the main branch:
git merge feature-navigation
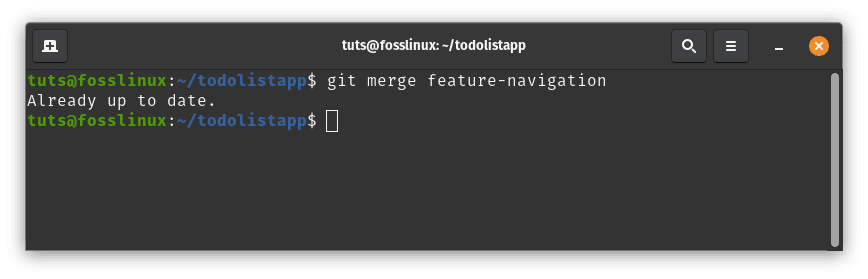
Merge feature branch to the main branch
This integrates your feature into the main codebase.
By following these real-world examples, you can see how Git commands operate in practice. As you continue using Git within the Pop!_OS environment, you’ll become more confident in managing code changes, collaborating with others, and maintaining a structured project history.
Updating Git
Regularly updating software is crucial to ensure you have the latest features, bug fixes, and security enhancements. Git is no exception. Fortunately, updating Git on your Pop!_OS system is a straightforward process. Here’s how you can do it:
1. Update Package Information
Before performing any updates, it’s wise to update the package information on your system to ensure you’re fetching the latest available packages. Open a terminal and run:
sudo apt update
Update system resources
2. Upgrade Git
Once the package information is updated, you can proceed to upgrade Git to its latest version using the following command:
sudo apt upgrade git
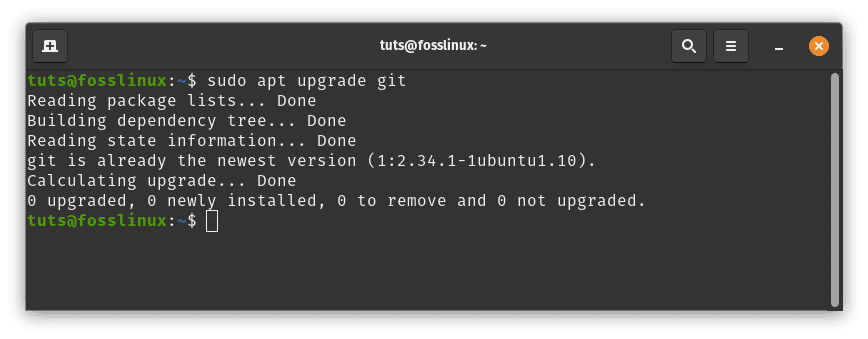
Upgrade git
This will update Git to the latest version available in your distribution’s repositories. Keeping Git up to date ensures you benefit from performance improvements and security patches.
Removing Git from Pop!_OS
If, for any reason, you need to remove Git from your Pop!_OS system, you can do so using the following steps:
1. Uninstall Git
Open a terminal and run the following command to remove Git from your system:
sudo apt remove git
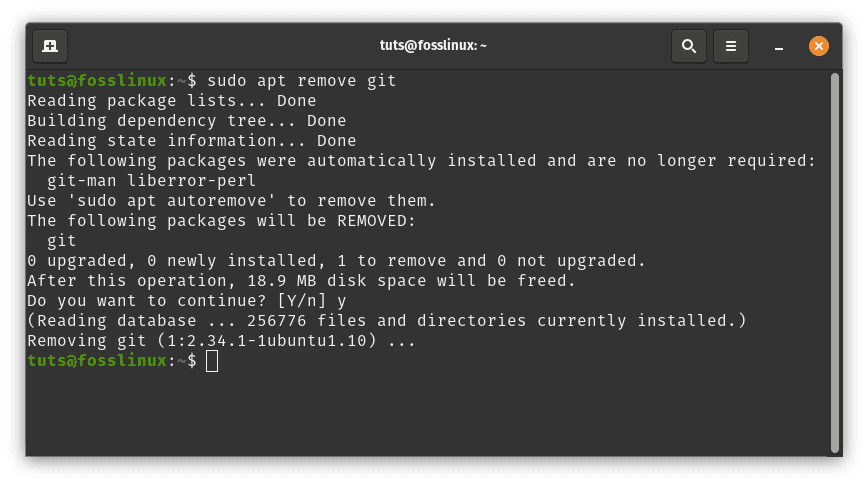
Remove git
2. Clean Up Dependencies
While the above command removes Git, it might leave some unnecessary dependencies installed along with Git. To clean up these dependencies, run the following:
sudo apt autoremove
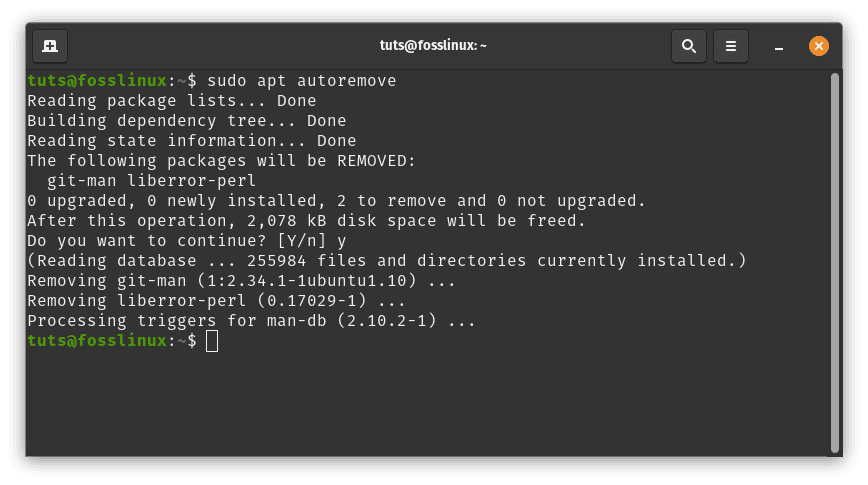
Clean up dependencies
This process ensures that Git and any associated packages are entirely removed from your system.
Whether you’re updating Git to access the latest features or need to remove it for a specific reason, following these steps will help you manage Git on your Pop!_OS system effectively.
Conclusion
In the dynamic world of software development, collaboration, and version control are indispensable. Git, with its distributed architecture and powerful features, has transformed how developers work together on projects. This guide explored the installation, configuration, and usage of Git within the Pop!_OS environment. Whether you’re a seasoned developer or a newcomer, mastering Git opens the door to efficient collaboration and code management. So, as you embark on your journey to create exceptional software, remember that with Git and Pop!_OS, you have the tools to collaborate seamlessly and innovate without boundaries. Thank you for joining us on this exploration of collaborating with Git on Pop!_OS!