Ubuntu users can do everything with their operating systems, including editing images. The truth remains that Ubuntu has so many image editors available to use. However, this post will take you through just a few of the best ones available.
This article will take you through the six best image editors for Ubuntu, list their features, and, most importantly, take you through their installation processes.
The 6 best image editors for Ubuntu
Below are 6 image editors available for Ubuntu and other Ubuntu-based systems. All the apps listed here are free and open-source.
1. GIMP
One of Ubuntu’s top image editors is Gimp. It is an image editor that works with Ubuntu which is free, open-source, and cross-platform. In addition, the fact that the GIMP image editor supports various programming languages, including C, C++, Perl, and Python, dramatically benefits users.
This photo editor supports a couple of unique features, including high-quality picture modification, image transformation, and the production of graphic design elements. Whether you are a beginner or an advanced user, this photo editor gives you all you need to do to edit images like a professional because it is flexible.
The GIMP photo editor also allows users to change the image colors and icons to their liking. In addition, it includes tools that enable the user to remove unnecessary or undesired elements in an image, enabling them to create unique and flawless photos.
This image editor also allows the user to preview your images in fullscreen mode so that when you have any other edits you’d wish to add, you can easily do so without any problems. Gimp also supports image animation, adjusting volume, and cropping images.
Install Gimp on Ubuntu
There are two main methods that you can use to install Gimp on Ubuntu – Snap and the APT package manager.
- Snap
Execute the command below to install Gimp with the Snap package manager.
Note: These commands will only work for Ubuntu 18.04 LTS and newer releases.
sudo apt install snapd
sudo apt update
sudo snap install gimp - APT
Execute the command below to install Gimp with APT.
sudo apt install gimp
Unfortunately, the above command will not install the latest Gimp version. Use the commands below if you want to install the latest Gimp version.
sudo add-apt-repository ppa:ubuntuhandbook1/gimp
sudo apt update
sudo apt install gimp
Using Gimp on Ubuntu
After successfully installing Gimp on your system, you can launch it from the applications menu, as shown in the image below.

Launch Gimp
Alternatively, you can launch the app from the command line by executing the command below.
gimp
The Gimp main window looks similar to the image below. In our case, we have already uploaded a “lion’s” picture ready for editing.

Gimp
If you are coming from a photo editor like Adobe Photoshop, you will realize that Gimp is not very different. The image is in the middle, while the tools and other functionalities are on the left and right pane. At the top, you have the main menu, which allows you to access advanced features and tools.
If you are starting with Gimp, check out their tutorials page, which provides comprehensive guides on using this fantastic photo editor.
2. Krita
Another amazing image editor for Ubuntu is Krita. Krita is an open-source photo editor with many features that will make your photo editing skills top-notch.
It is free and is one of the best image editors you will ever use. Krita is typically designed for artists who want to sketch and produce original works of art, but if that is not your goal, you may also use it to alter already-existing pictures.
This photo editor has several features that users can customize to create whatever they intend. Among these features include:
- Moving and resizable user interfaces elements.
- Brush tools.
- Layers- Krita has more than ten layers, including filter, clone, vector, and paint, among other layers.
- Text and vector tools.
- An asset manager.
- Animations and transitions.
- Colour management tools.
A huge plus of the Krita image editor is that it supports many image formats, including PNG, JPEG, TIFF, Dicom, PSD, and GIF.
Installing Krita on Ubuntu
You can install Krita on Ubuntu using Snap or APT or run it as an APPImage.
- AppImage (Recommended):
Download the Krita AppImage file from their official website. Make the file executable using the command below and run it. If the download link on their official site does not work, download the AppImage file from AppRepo.
sudo chmod +x [Krita-AppImage-File]
sudo ./[Krita-AppImage-File]
- Snap (Recommended):
Execute the command below to install Krita using the Snap package manager.
sudo snap install Krita
- APT:
Execute the commands below to install Krita using the APT package manager.
sudo add-apt-repository ppa:kritalime/ppa
sudo apt update
sudo apt install krita
Using Krita Photo Editor
When you first launch Krita, you will see a window similar to the image below.
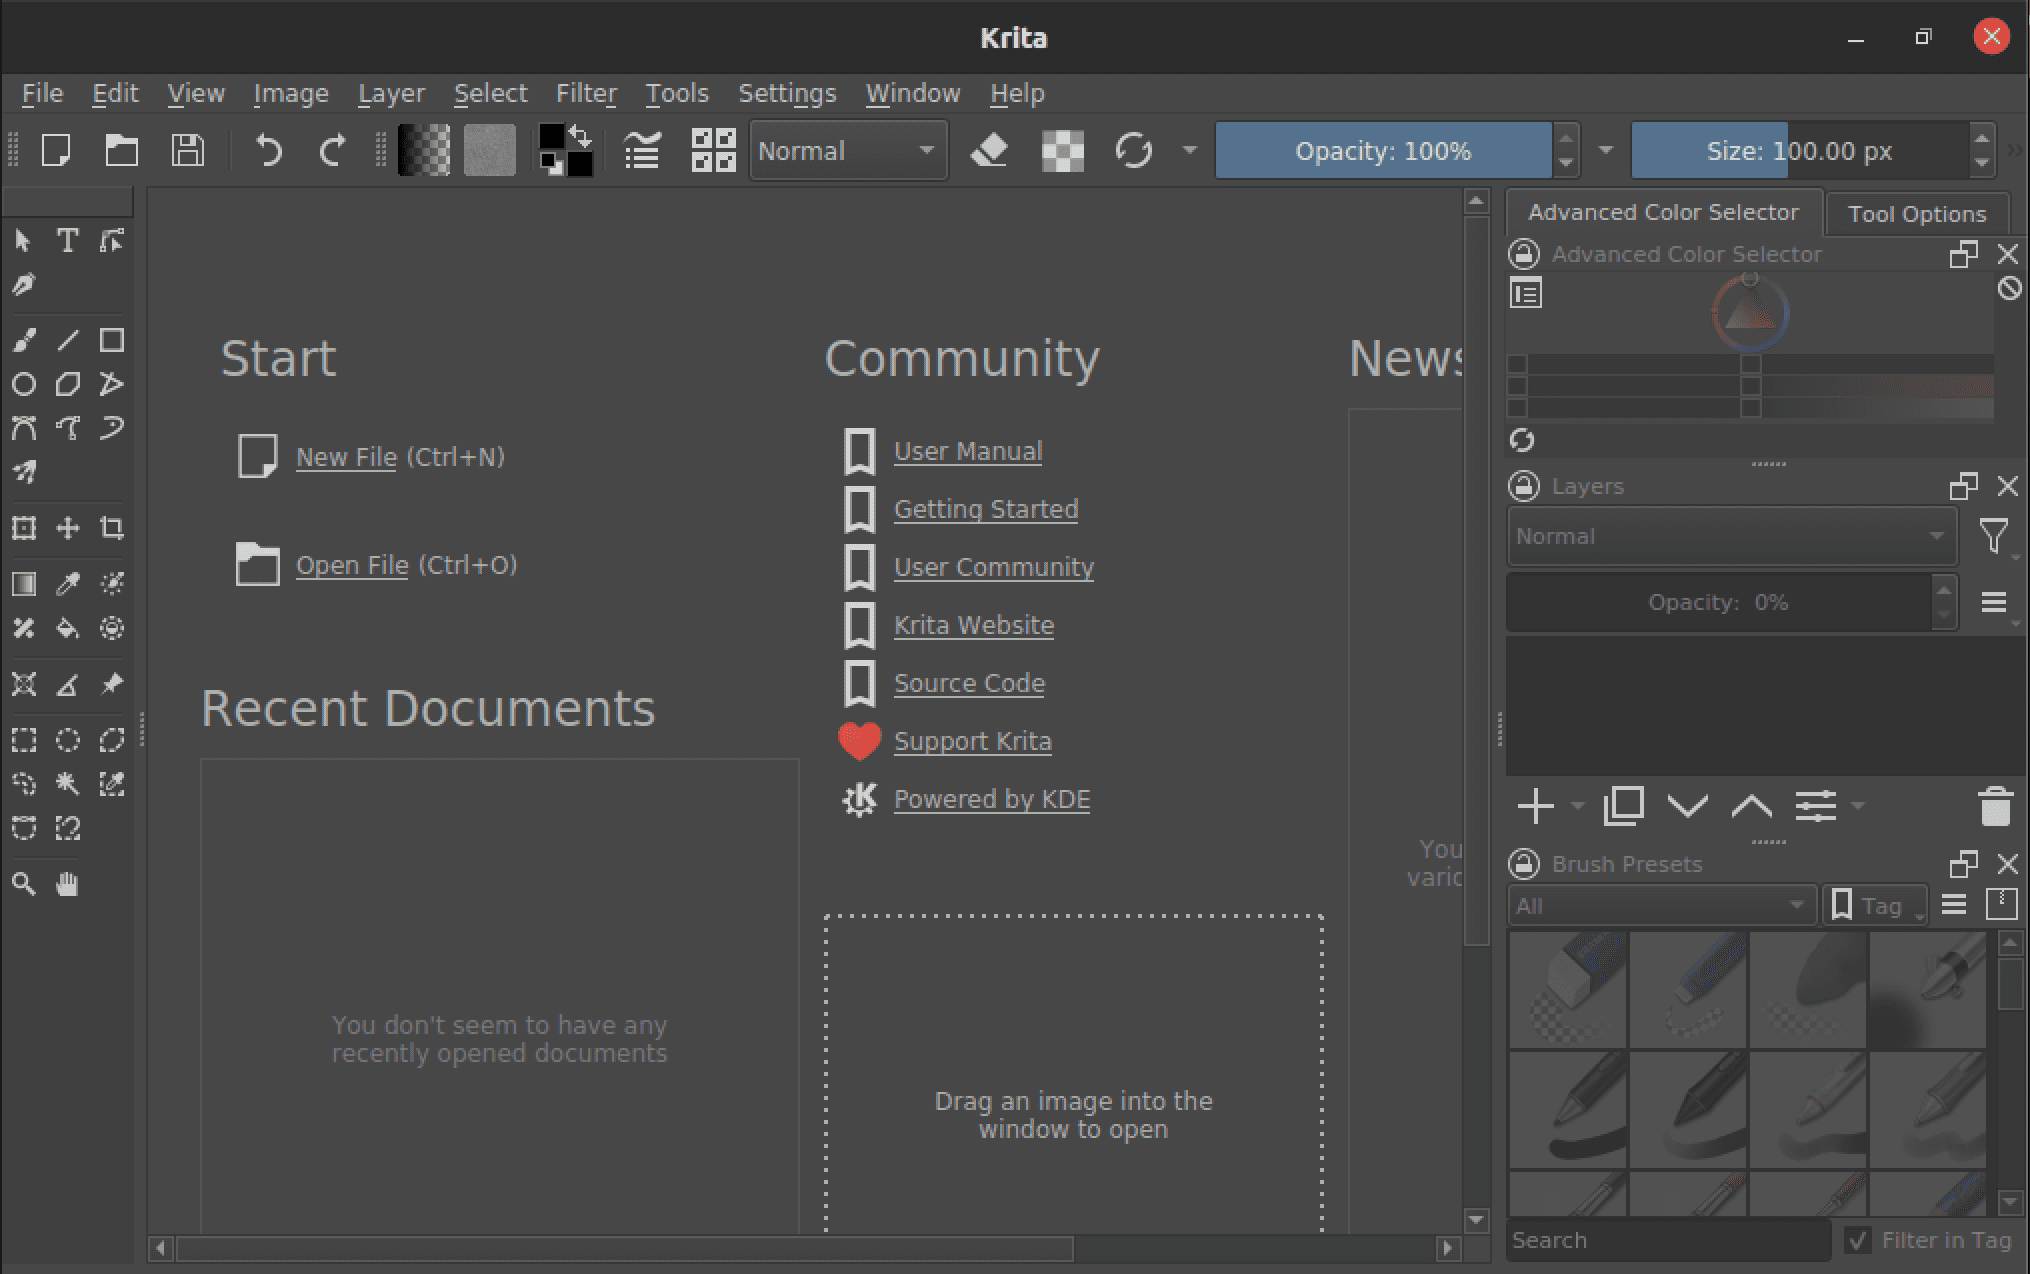
Krita main window
Krita is a powerful image editor with many tools and features that you can also find on commercial image editors like Adobe Photoshop.
3. RawTherapee
RawTherapee is another great image editor for Ubuntu. As the name suggests, the RawTherapee image editor is used when working with raw images, which is why it was created in the first place.
RawTherapee is a free and open-source platform for processing raw images and is compatible with Linux distributions and other operating systems. Due to its powerful capabilities, this picture editor is primarily utilized by experts. It is user-friendly, so if this is your first time using it, try not to get frustrated. Over time, you will get a deep grasp of how to utilize it.
Additionally, it supports several image formats, including RAW, JPEG, TIFF, and PNG. With so many handy tools to experiment with, this image editor is the greatest choice for quickly enhancing the quality of your photos.
Some of the features RawTherapee image editor includes are as follows:
- Supported cameras
- Parallel editing
- Preview mode.
- Color adjustment
- Secondary display
- Metadata editing.
- Image export.
Install RawTherapee on Ubuntu
Use the command below to install RawTherapee on Ubuntu.
sudo apt install rawtherapee
Using RawTherapee on Ubuntu
After successfully installing RawTherapee, you can launch the app from the applications menu, as shown in the image below.

Launch RawTherapee
The RawTherapee main window looks similar to the image below. If you are used to other image editors like Gimp or Adobe Photoshop, this photo editor might look different, mainly how the workspace is divided.
However, that should not scare you, as many resources are available on their official website.
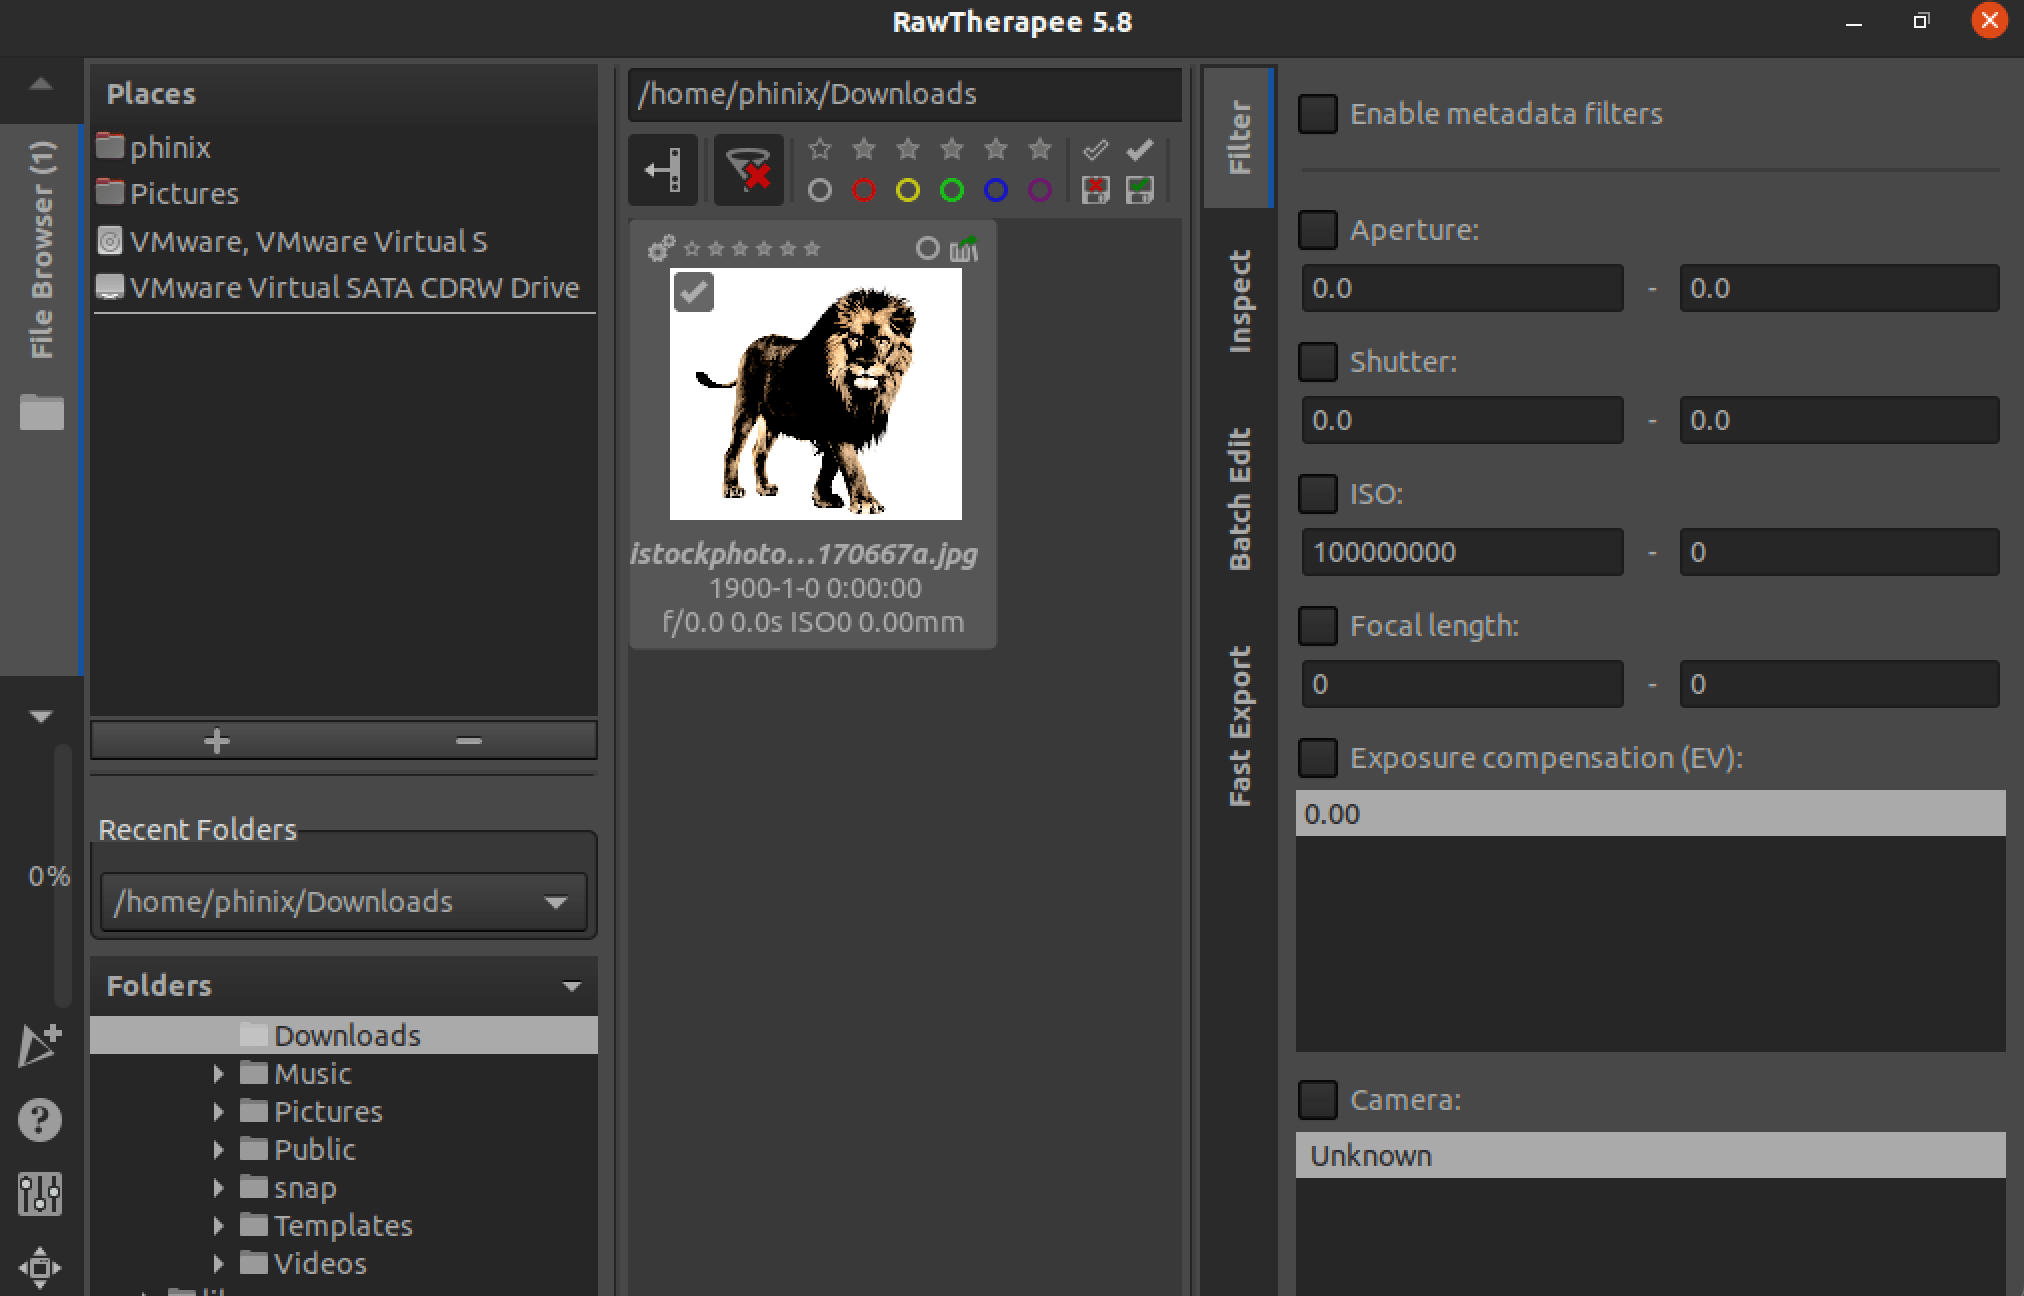
RawTherapee
4. Fotoxx
Fotoxx is another image editor for ubuntu users. It is also a free, open-source tool that will take your image editing skills to par. It is one of the easy-to-use and quick image editors with many functions to help the user do their work and is also beginner-friendly.
This image editor provides photo collection administration and a simple way to explore the collection directories and subdirectories using a thumbnail browser.
One of the incredible advantages of the Fotoxx image editor is the ability to modify your photographs and retouch them using specialized tools artistically.
The complete editing procedure will be exciting because of this image editor’s ability to alter brightness, and color intensity, eliminate red-eye, reduce whiteness, and even minimize noise.
Additionally, it has easy-to-use options for cropping, resizing, and rotating photographs to suit the user’s preferences. Use this link to read more about Fotoxx.
Install Fotoxx on Ubuntu
Use the command below to install Fotoxx on Ubuntu.
sudo apt-get -y install fotoxx
Using Fotoxx on Ubuntu
After successfully installing Fotoxx, you can launch the app from the applications menu, as shown in the image below.

Fotoxx
Alternatively, you can launch the app from the command line using the command below.
fotoxx
The Fotoxx main window looks similar to the image below. It’s a simple interface that is easy to navigate for both experienced and beginners.
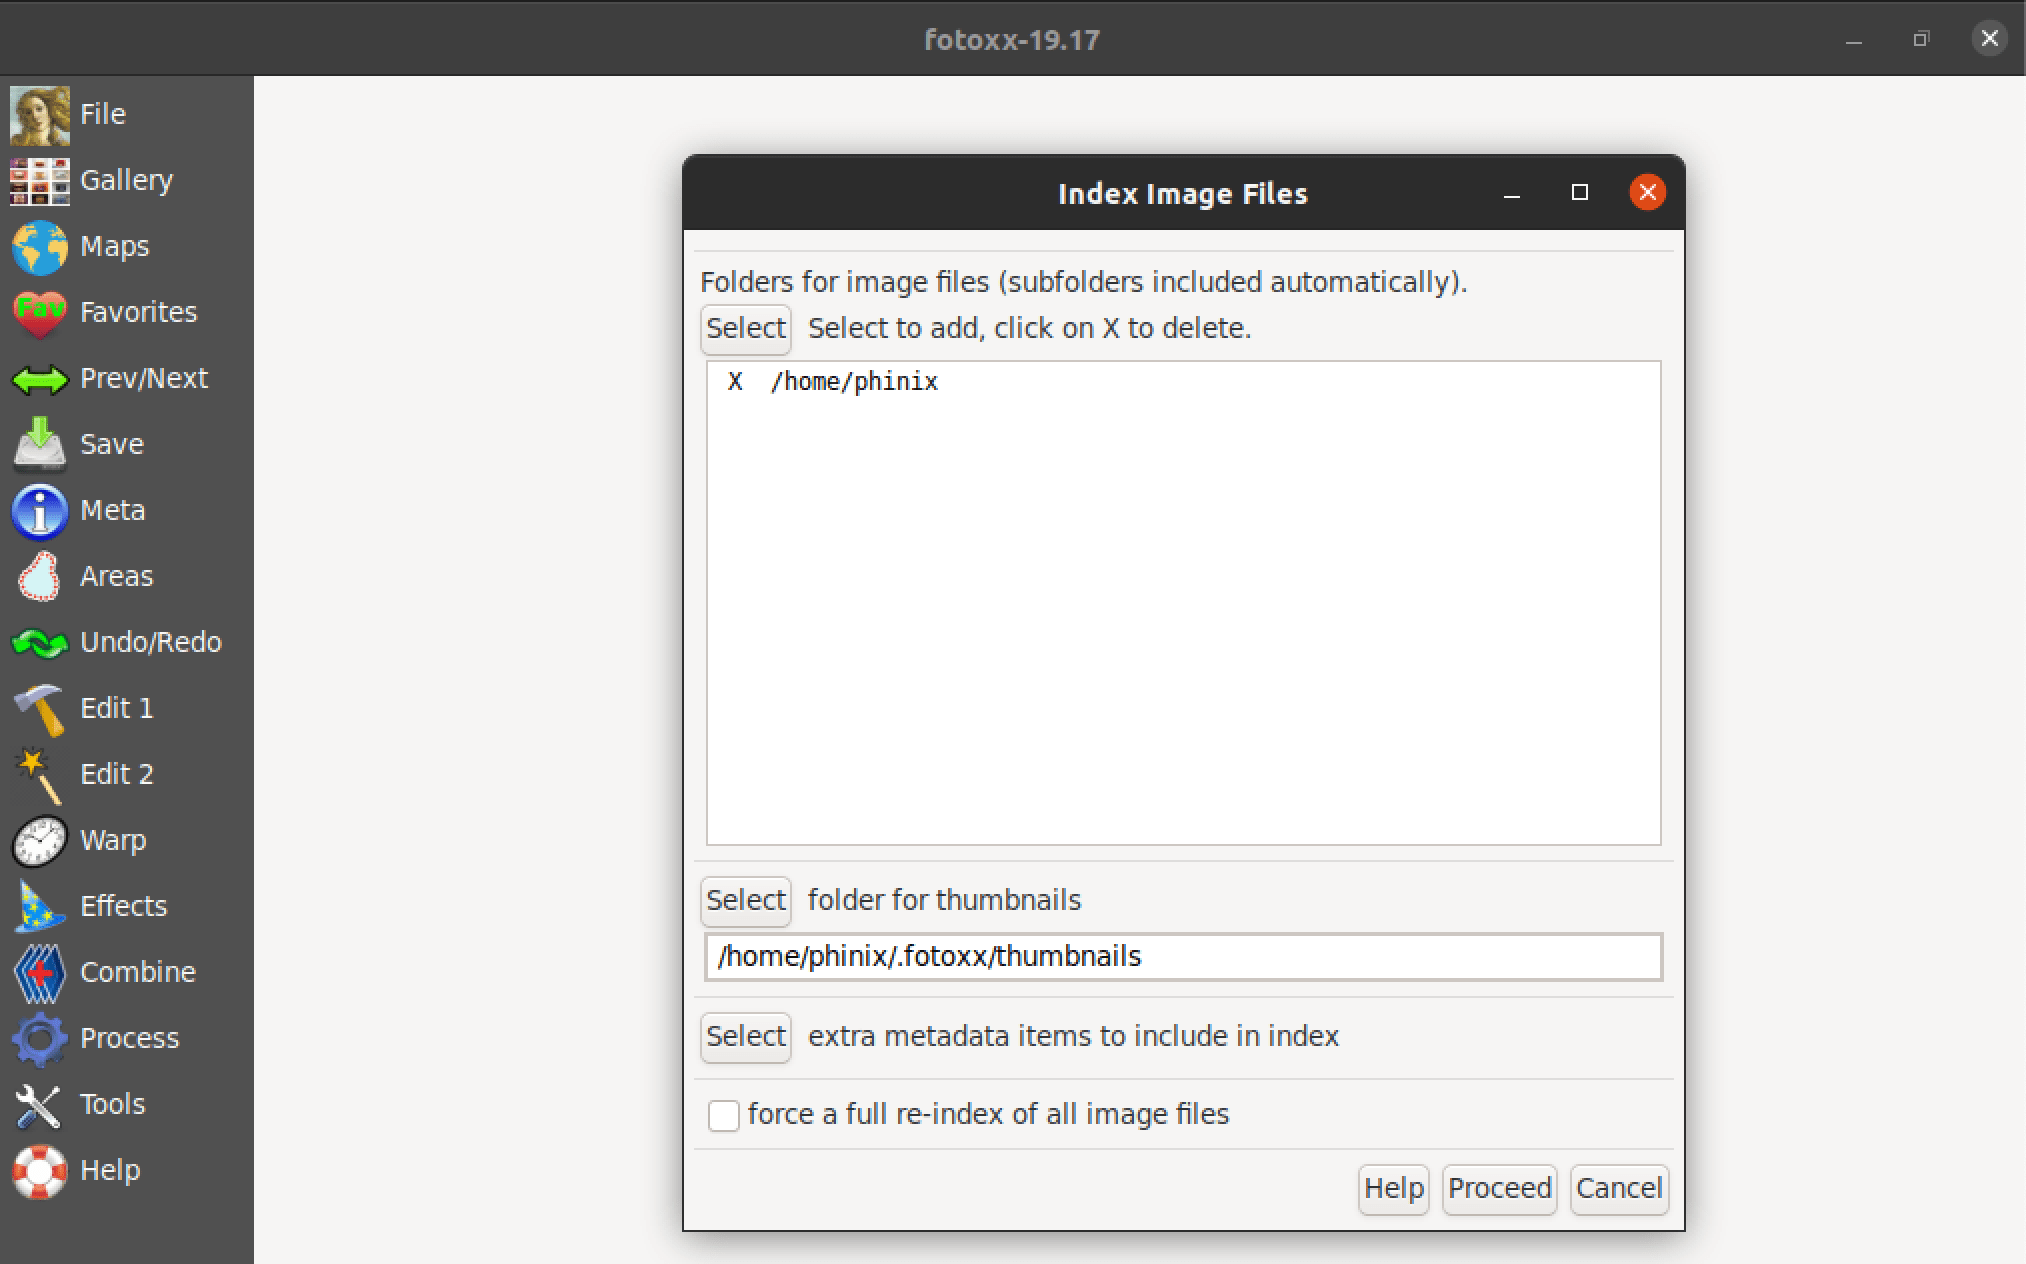
Fotoxx main window
5. Showfoto
Another best image editor for Ubuntu is Showfoto. It is a simple, free image editor that offers all the standard photo editing features. Showfoto is popular since it is portable and user-friendly for beginners. Various image formats, including JPEG, PNG, and TIFF, are supported.
Its unique capabilities include picture transformation, effect addition, filtering, and metadata manipulation. Please be aware that this image editor can be used without additional software. Additionally, the user can edit the photo’s metadata.
Install Showfoto on Ubuntu
Use the command below to install Showfoto on Ubuntu.
sudo apt-get install -y showfoto
Using Showfoto on Ubuntu
If Showfoto was successfully installed on your system, you should be able to launch from the applications menu, as shown in the image below.

Showfoto
You can also launch the app from the command line using the command below.
showfoto
The Showfoto main window looks similar to the image below.
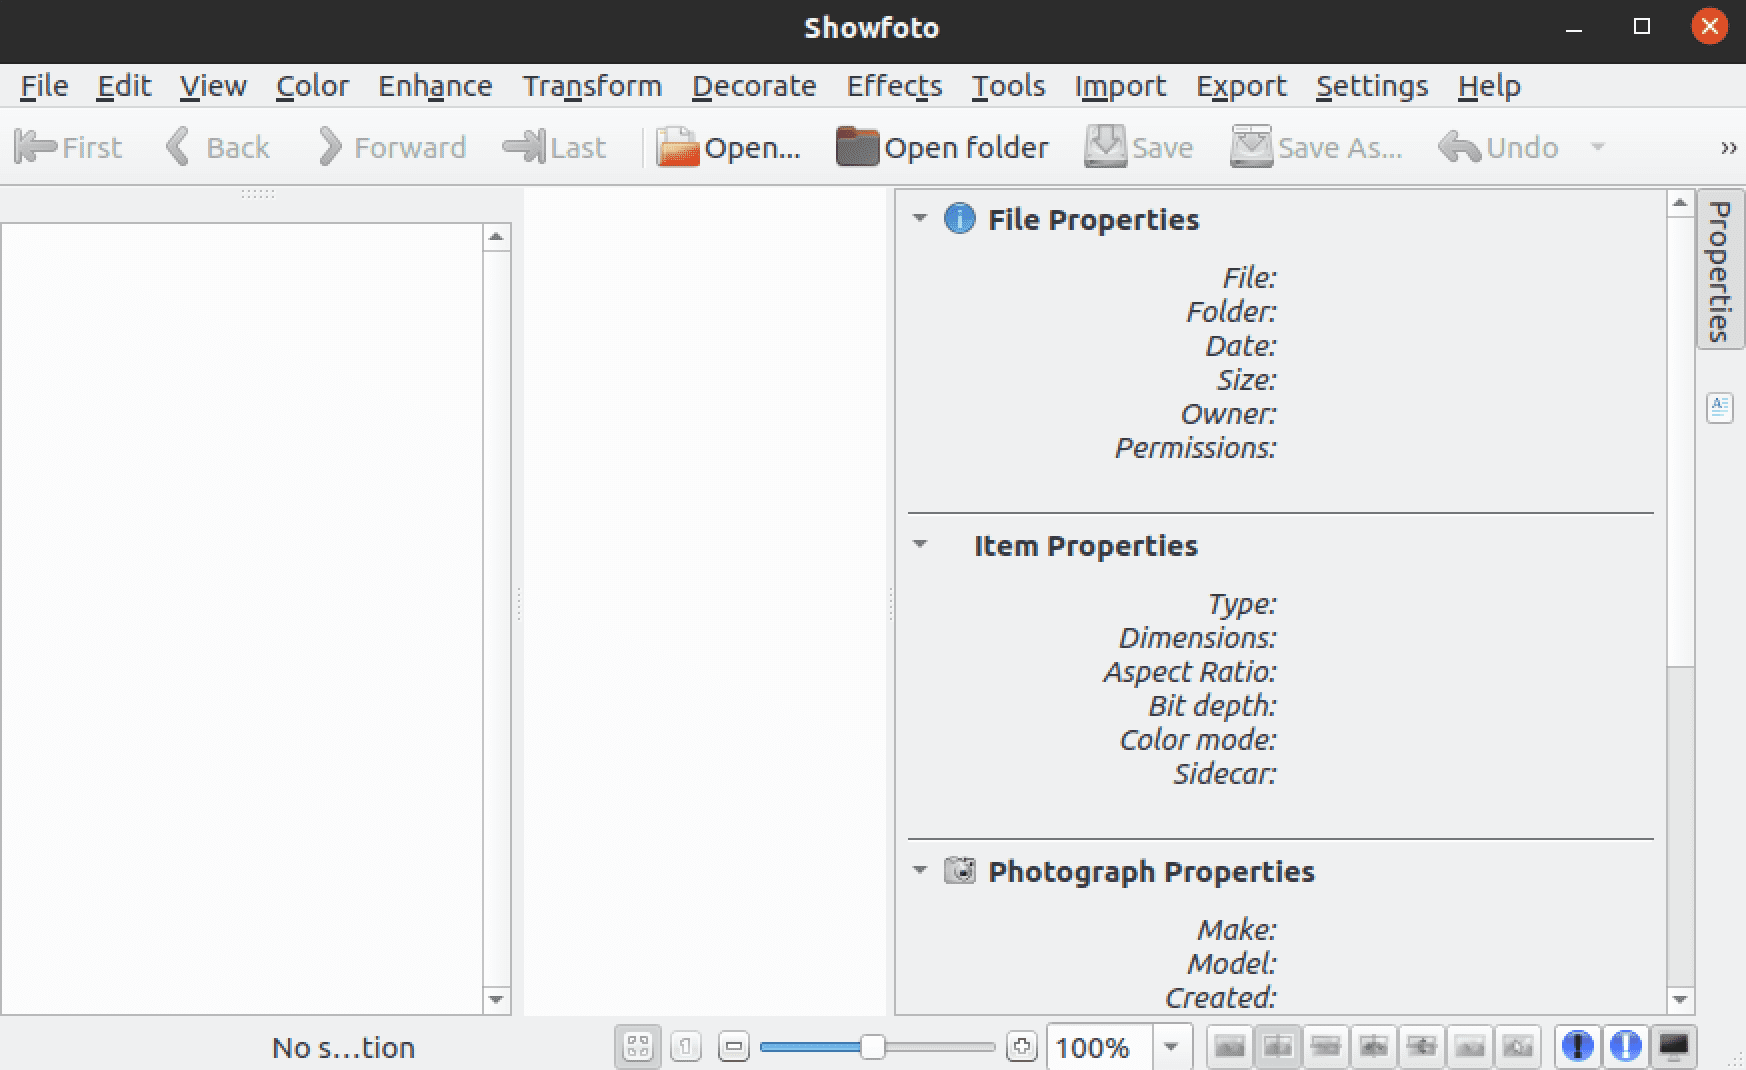
Showfoto main window
6. Inkscape
If you have a strong background with an editor like Adobe Illustrator, then Inkscape is your go-to software. However, that doesn’t mean only designers who have used Adobe Illustrator can work with Inkscape. Inkscape is a free and open-source vector graphics editor available for various platforms, including Linux, Windows, and macOS.
The graphical format you may be most familiar with would be the raster format, where you work with a bunch of individual colored boxes known as pixels. That described things like photographs and JPEG images. Vectors graphics are, however, not made of pixels.
Raster graphics are a series of mathematical equations that dictate the properties of graphics on an X and Y axis. Vector graphics are ideal as you can easily manipulate them without losing the quality. Inkscape, an application suited for Raster graphics, is mainly used to work with logos and app icons. It supports several file formats, including SVG, AI, EPS, PDF, PS, and PNG.
Install Inkscape on Ubuntu
Execute the commands below to install Inkscape on Ubuntu.
sudo add-apt-repository ppa:inkscape.dev/stable
sudo apt update
sudo apt install inkscape
Using Inkscape on Ubuntu
After successfully installing Inkscape on your system, launch it from the applications menu, as shown in the image below.

Inkscape
Inkscape is a powerful application with lots of features and tools. However, the user interface might look a little intimidating for beginners. However, that should not demoralize you as there many comprehensive tutorials on their official page and youtube.
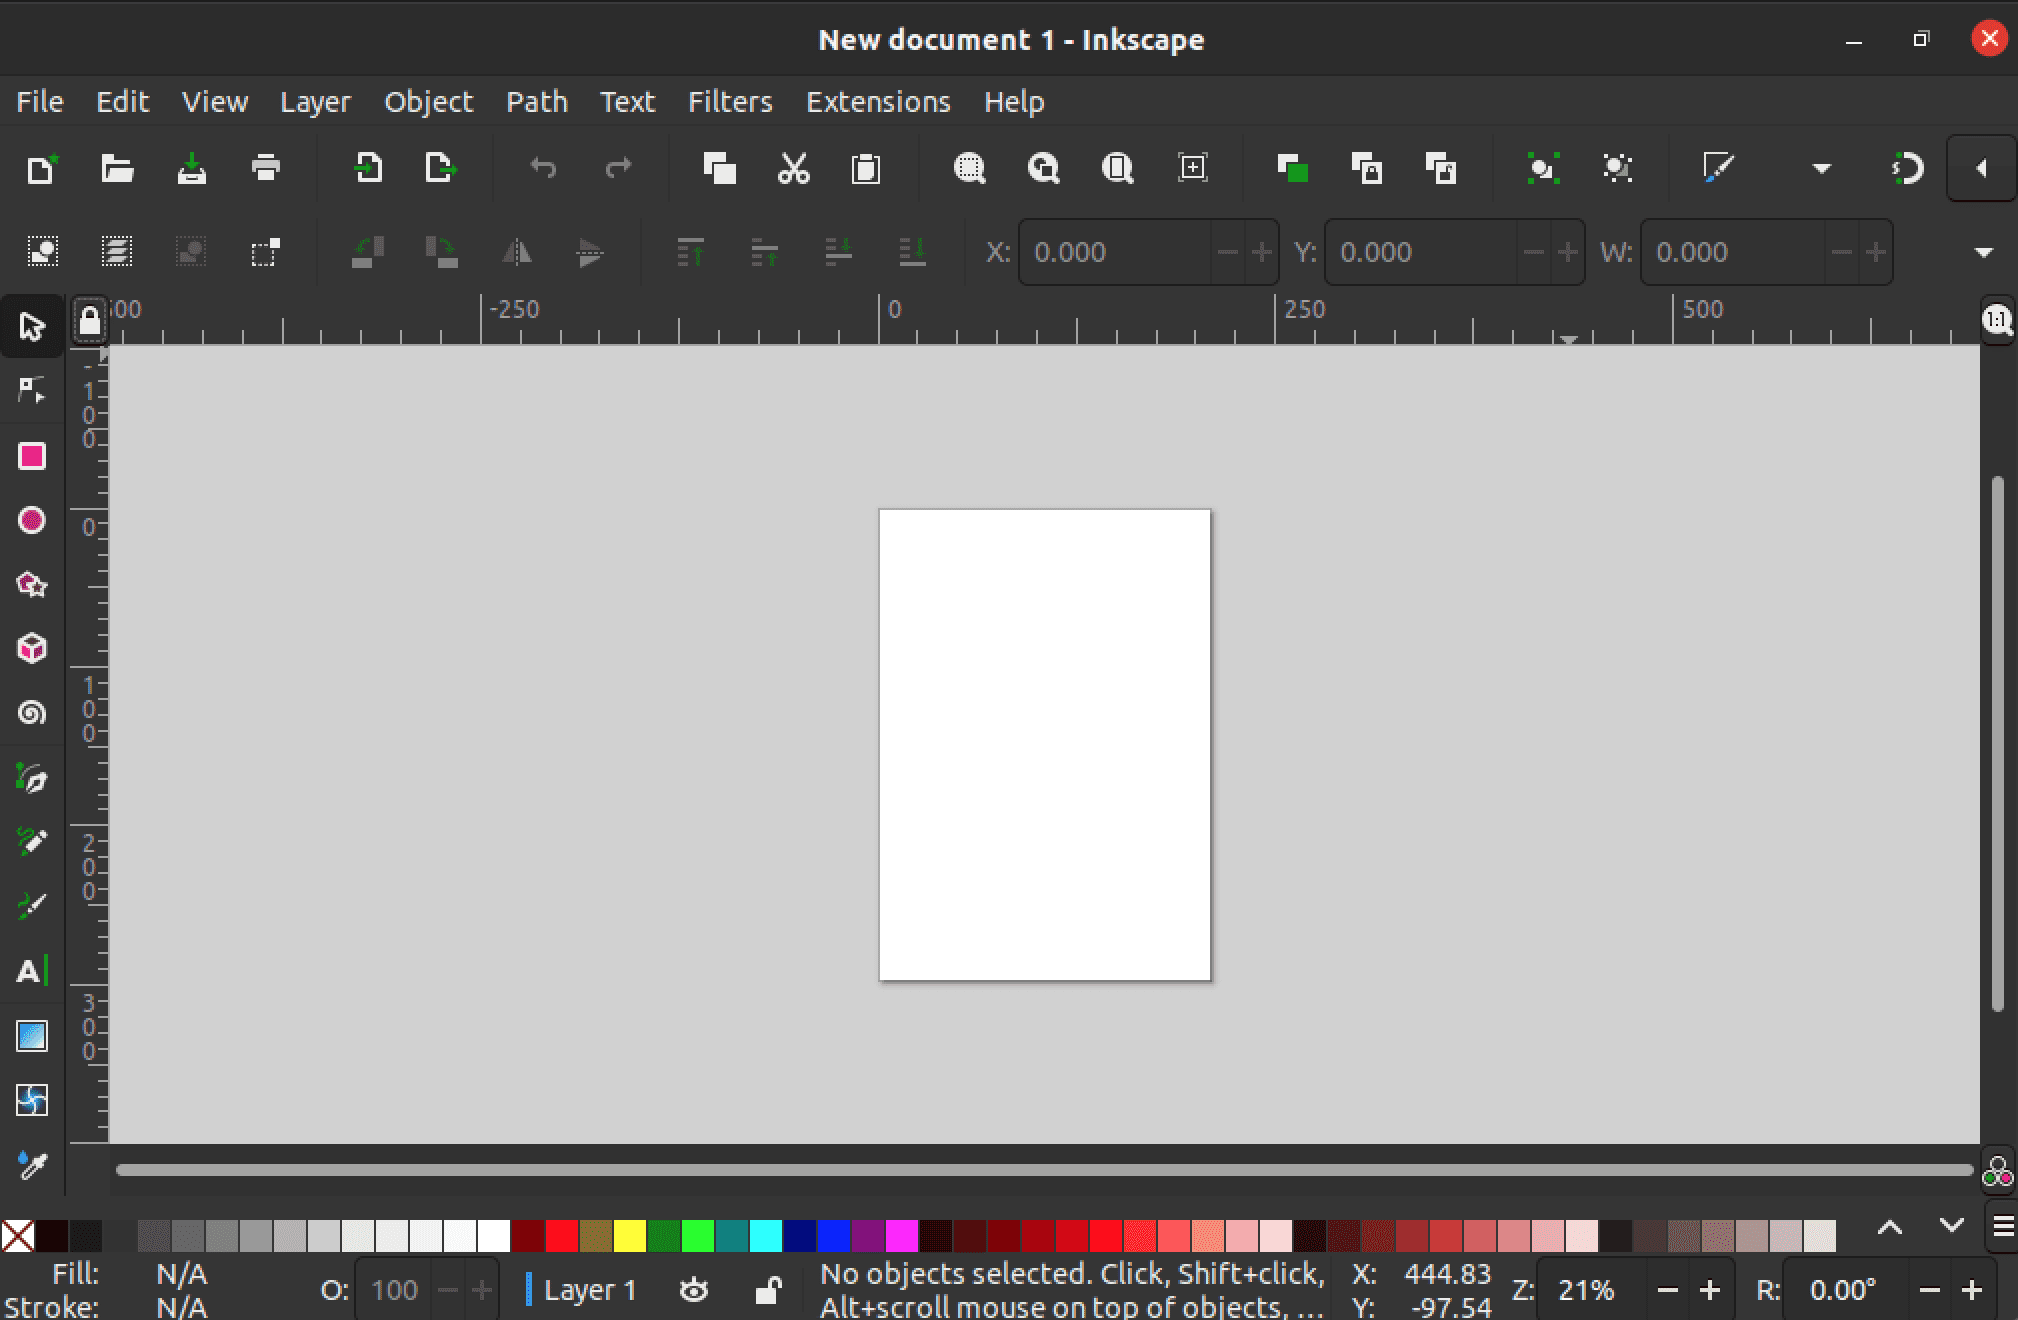
Inkscape main window
Conclusion
Those are the six best image editors that you can install on Ubuntu. Which of them is your favorite? Or do you have one in mind that should have appeared on that list? Don’t hesitate to let us know in the comments below.


4 comments
i think you mean “sudo snap install gimp” not “suso snap install gimp”
anyway, thank you for the list!
If you class fotoxx as anything other than a pile of crap then I am not bothering my arse with the others. I once tried both gimp and kritta and was frankly left astounded that anyone would publish them never mind recommend them but fotoxx takes the biscuit, cant even open a bloody file it wants to dick around for days trying to find every image on my machine I DO NOT WANT THAT I KNOW WHICH FILE I WANT TO OPEN, crap, crap, total and utter crap.
Dear Foss Linux,
I can’t believe it, but I’ve found fault in your Ubuntu/ Linux terminal commands for installing Gimp editing software. I gave up using Ubuntu many years ago and was always afraid of terminal.
Web page-
https://www.fosslinux.com/78648/best-image-editors-for-ubuntu.htm
Go down to the page to where it says-
Install Gimp via snap-
sudo apt install snapd
sudo apt apdate
suso snap install gimp
The correct commands that elicited a response were-
2nd line-
sudo apt update
3rd line
sudo snap install gimp
Very happy to be of service.
Yours sincerely
Sanjay Ahlawat
Cardiff.
PS – thanks for the helpful review re best photo editors. I will follow your website.
Thank you for bringing the typos in the article to our attention. We have made the necessary corrections.