
MySQL is one of the most common open-source relational database management system (RDBMS), based on the Structured Query Language (SQL), which is a programming language used to manage data held in a database.
It is fast, straightforward to use even for newbies getting into backend development, and integrated into various stack packages like Xampp, Lampp, and Wamp.
In this particular post, we will show you how to install the MySQL server in your Ubuntu system. Additional information includes configuring the security options, adjusting authentication methods, and creating a new user. Our Ubuntu release of choice in this tutorial is Ubuntu 20.04 LTS, which is the latest release as of writing this article.
Installing MySQL on Ubuntu
Requirements
You will need to have elevated privileges (root) on your system. You can do this by executing the command below.
sudo su
Procedure
As of writing this post, the current MySQL Linux release is version 5.7. To get started with installation, follow the steps below:
Step 1) Ensure all packages and repositories in your system are up to date. You can do so by running the command below:
sudo apt update
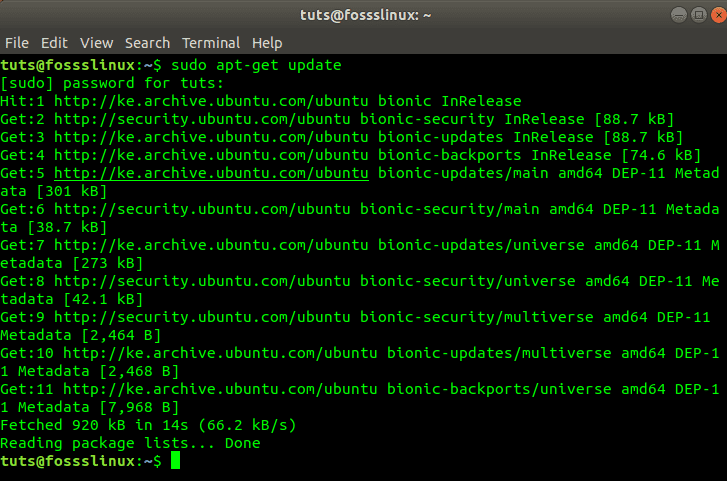
Update your system packages
Step 2) Now, we will install MySQL via the apt package manager. Execute the command below.
sudo apt install mysql-server
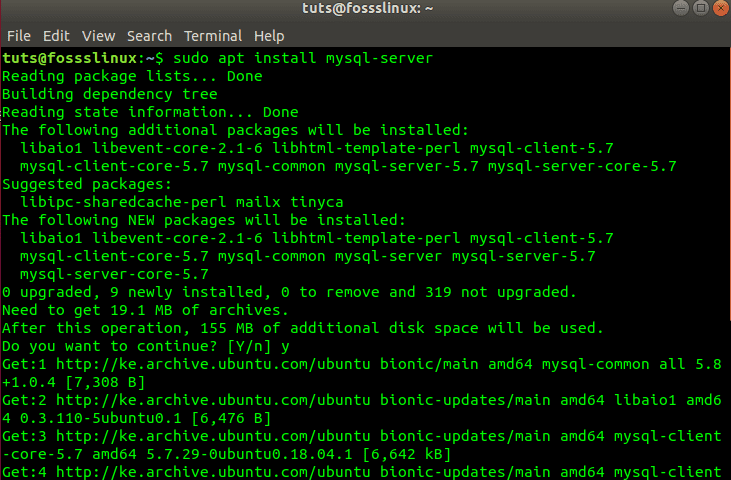
Installing MySQL Server
Step 3) After a successful installation, the mysql-service should start automatically. You can confirm that by executing the command below:
sudo systemctl status mysql
You should get an output similar to that on the image below.
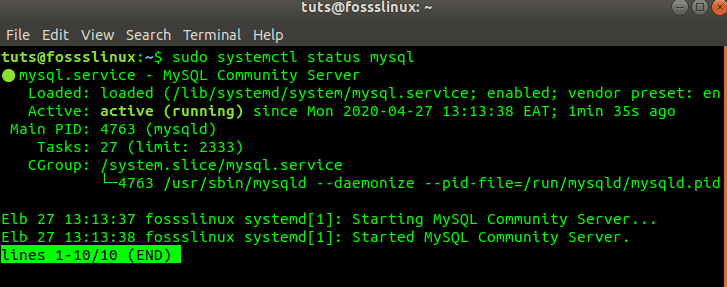
MySQL Status
In any case that the service is not running, execute the command below:
sudo /etc/init.d/mysql start
Verify MySQL installation (optional)
You can verify your installation by running the command below, which will output the MySQL version and distribution installed in your system.
mysql --version

MySQL Version Distribution
Secure your MySQL server
Now that MySQL server is installed successfully, you need to set a few parameters to ensure the security of the server and databases that you configure in the future.
In other cases, after the MySQL Server package installation is complete, the mysql-secure-installation utility will launch automatically. However, if this is not the case for you, execute the command below:
sudo mysql_secure_installation
You will see a prompt asking you whether to VALIDATE PASSWORD PLUGIN. It enhances MySQL server security by checking the strength of user passwords allowing users to set only strong passwords. Press Y to accept VALIDATION or the RETURN key to skip.
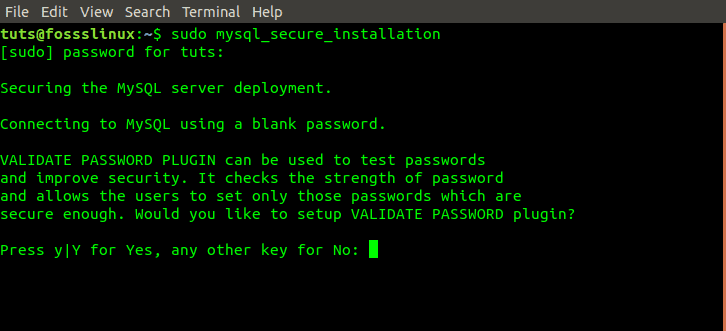
Accept Password Validation Plugin
Next, you should see a prompt to set the root password. Enter your password and hit enter. Note, for security reasons, whatever you type in the console is not displayed.
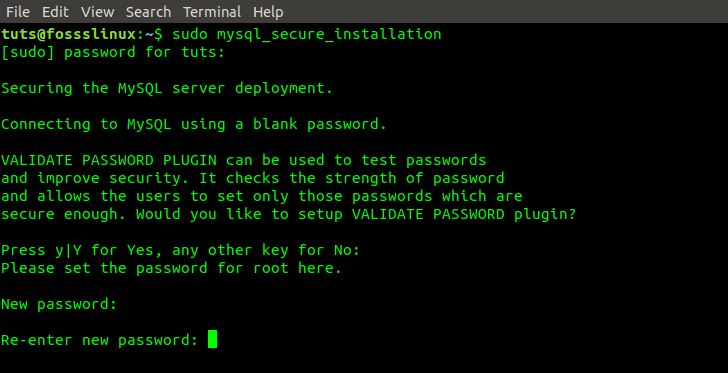
Enter the MySQL root password
Next, you should see a prompt asking you whether to remove all anonymous users, enter Y for YES. For any other prompts from here, enter Y for YES.
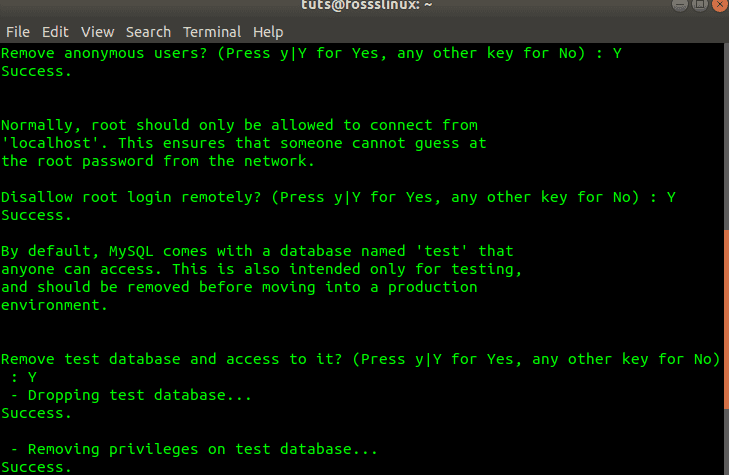
Remove anonymous users
Login as root and adjust user authentication
MySQL server comes with a client-side utility that allows you to access and interact with the database from the Linux Terminal.
Typically, after a fresh install of MySQL on Ubuntu without performing any configurations, users accessing the server are authenticated using the authentication socket (auth_socket) plugin.
The use of auth_socket hinders the server from authenticating a user using a password. Not only does it raise security concerns, but it also hiders users from accessing the database using external programs like phpMyAdmin. We need to change the authentication method from auth_socket to the use of mysql_native_password.
To do this, we will need to open the MySQL console. Run the following command on the Linux Terminal.
sudo mysql
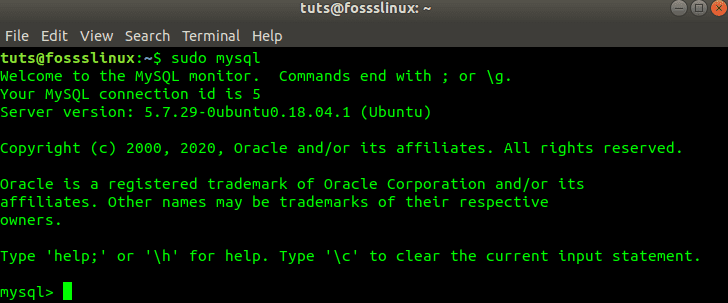
Console
Now, we need to check the authentication method used by the database on different users. You can do so by running the command below.
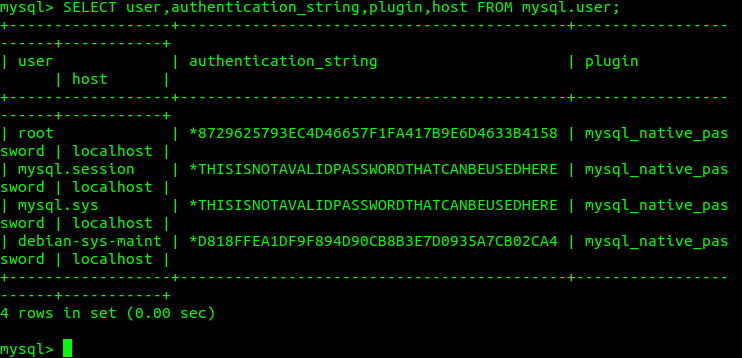
SELECT user,authentication_string,plugin,host FROM mysql.user;
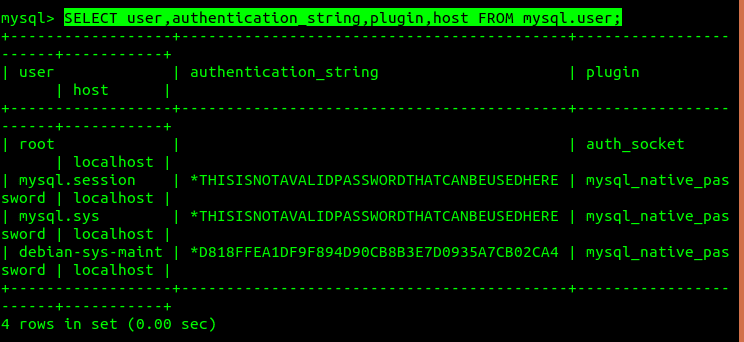
Check user authentication methods
From the image above, we can confirm that the root user indeed is authenticated using the auth_socket plugin. We need to switch to the use of ‘password authentication’ using the ‘ALTER USER’ command below. Ensure you use a secure password (should be more than eight characters combining numbers, strings, and special symbols) since it will replace the password you set when executing the command ‘sudo mysql_secure_installation’ above. Run the command below.
ALTER USER 'root'@'localhost' IDENTIFIED WITH mysql_native_password BY 'your_password';

Change root authentication
Note, the highlighted text in the image above is where you will enter your secure password. Enclose it in between single tags. Now, we need to reload the grant tables and update the changes to the MySQL-server. Do this by executing the command below.
FLUSH PRIVILEGES;

Flush privileges
Once done, we need to confirm that the root use no longer uses auth_socket for authentication. Do so by running the command below again.
SELECT user,authentication_string,plugin,host FROM mysql.user;
Check root authentication
From the image above, we see the root authentication method has changed from ‘auth_socket’ to ‘password.’
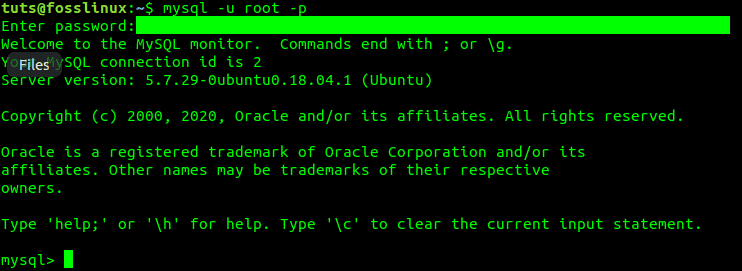
Since we have changed the authentication method for root, we can’t use the same command we used before to open the MySQL console. That is, ‘sudo mysql.’ We will need to include the username and password parameters, as shown below.
mysql -u root -p
The ‘-u’ indicates the user, which is ‘root’ for our case and ‘-p’ stands for ‘password,’ which the server will prompt you to enter once you hit the Enter key.
mysql -u -p
Creating a new user
Once everything is set up, you can create a new user whom you will grant the appropriate privileges. In our case here, we will create a user ‘tuts_fosslinux’ and assign rights over all the database tables and permission to change, remove and add user privileges. Execute the commands below the line by line.
CREATE USER 'tuts_fosslinux'@'localhost' IDENTIFIED BY 'strong_password';

GRANT ALL PRIVILEGES ON *.* TO 'tuts_fosslinux'@'localhost' WITH GRANT OPTION;
The first command will create the new user, and the second one assigns the needed privileges.

Create new user and grant permissions
We can now test our new user by running the command below.
mysql -u tuts_fosslinux -p
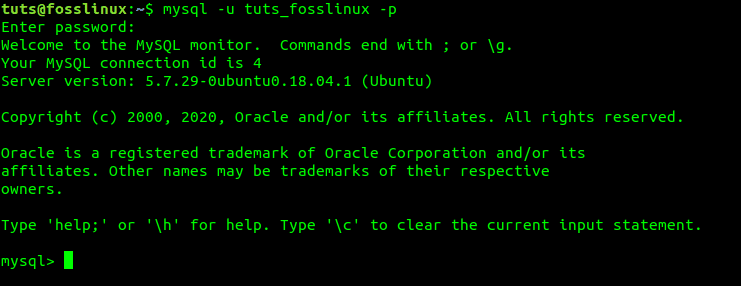
Test our new user
Install MySQL-Server on the Ubuntu Server
Installing MySQL-server on the Ubuntu server is no much difference from the steps described above. However, since a server is accessed remotely, we also need to enable remote access for our server.
To install the database and configure security options, just run the following commands line by line on the Terminal.
sudo apt update
sudo apt install mysql-server
sudo mysql_secure_installation
After a successful installation, we will need to enable remote access. Logically, all we need to do is open a port on the Ubuntu server firewall for the MySQL server to communicate. By default, MySQL service runs on port 3306. Run the commands below.
sudo ufw enable
sudo ufw allow mysql

Enable remote access
To enhance the reliability and accessibility of our MySQL databases, we can configure MySQL-server service to start running on boot. To do so, execute the command below.
sudo systemctl enable mysql

Enable MySQL service on boot
Now we will need to configure our server’s interfaces. It will enable the server to listen to remotely accessible interfaces. We will have to edit the ‘mysqld.cnf’ file. Run the commands below.
sudo nano /etc/mysql/mysql.conf.d/mysqld.cnf

Configure bind-address
By default, the bind-address is to ‘127.0.0.1.’ Add bind address for your public Net Interface and another for Service Net interface. You can configure your bind-address as ‘0.0.0.0’ for all Ip-Addresses.
Conclusion
I hope you enjoyed this tutorial on setting up the MySQL server on your Ubuntu system. If you are just getting started with MySQL and all you need is to create a simple database and user, the steps given above should be of great help. If you find this article resourceful, feel free to share the link with a friend.