
Setting up an FTP (File Transfer Protocol) Server on your Linux PC will allow you to transfer files between your system and a remote machine. We will show you how to set up an FTP server on CentOS.
Linux already has a ton of open-source FTP servers that you can use for the job. This includes popular servers like PureFTPd, ProFTPD, as well as vsftpd.
You are allowed to use any one of the FTP servers as you like. However, in this tutorial, we will be installing and using vsftpd, short for Very Secure FTP Daemon. It is a fast, stable, and secure FTP server that will help you transfer files to and from a remote system in a jiffy.
Setting up FTP Server on CentOS
So without further ado, let’s get started:
Installing vsftpd
First, we will need to install vsftpd on CentOS. To do this, enter the following command in the terminal:
$ sudo dnf install vsftpd
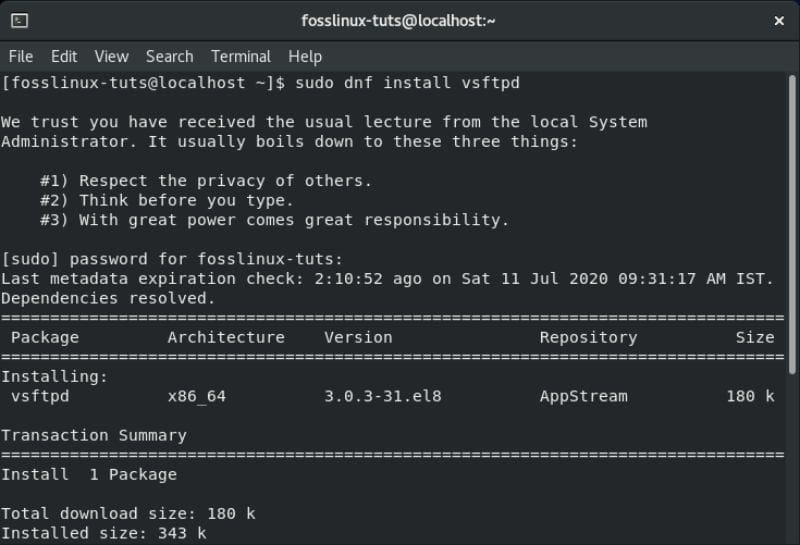
Installing vsftpd on CentOS
With vsftpd installed on your CentOS system, you should configure it so that it starts and boot automatically. This can be done using the following command:
$ sudo systemctl enable vsftpd --now
Once that’s done, verify the vsftpd service status by entering this command:
$ sudo systemctl status vsftpd
An output screen similar to the one below will appear. You should see that vsftpd is not “Active” on your CentOS system.
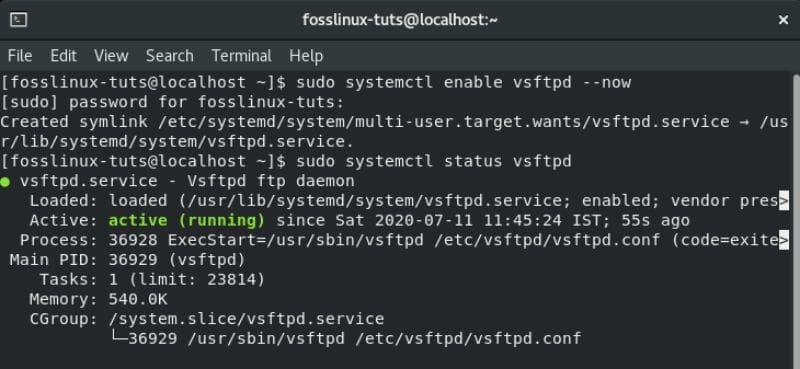
vsftpd active and running on CentOS
Setup vsftpd
With vsftpd active and running on your system, you will need to configure the server settings. To do so, you will need to access the /etc/vsftpd/vsftpd.conf configuration file. This can be done by opening the configuration file in the nano editor by entering the following command in the terminal:
$ sudo nano /etc/vsftpd/vsftpd.conf
With the file now opened in the editor, there are several changes you need to make to set up vsftpd on your system. Let’s go over them one by one.
1. Configure FTP Access
First, let’s configure the FTP server to allow access only to the local users. To do this, you will need to find the anonymous_enable and local_enable directives in the file and edit them as shown in the image below:

FTP access settings
As you can see, you will need to set anonymous_enable=NO and local_enable=YES.
2. Enable Uploads
Next, you will need to configure the FTP server to allow uploading and deleting files.
To do this, you will need to locate the write_enable directive and change it to YES, as shown in the image.
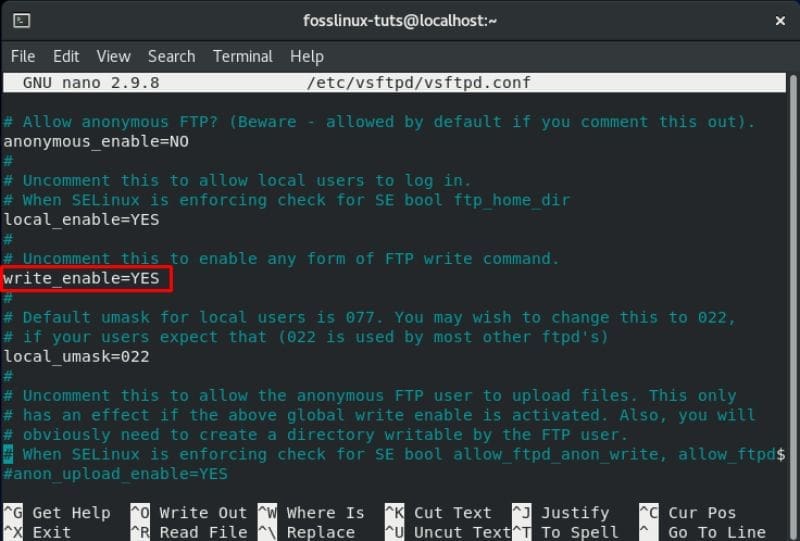
Option to enable vsftpd uploads
3. Limit User Logins
Once done, you will want to limit the total number of user logins i.e., you only want certain users to log in to your FTP server. To do this, first, locate this line in the .conf file – userlist_enable=YES. After that, add these two lines into the file:
userlist_file=/etc/vsftpd/user_list
userlist_deny=NO
Use the image below as reference:
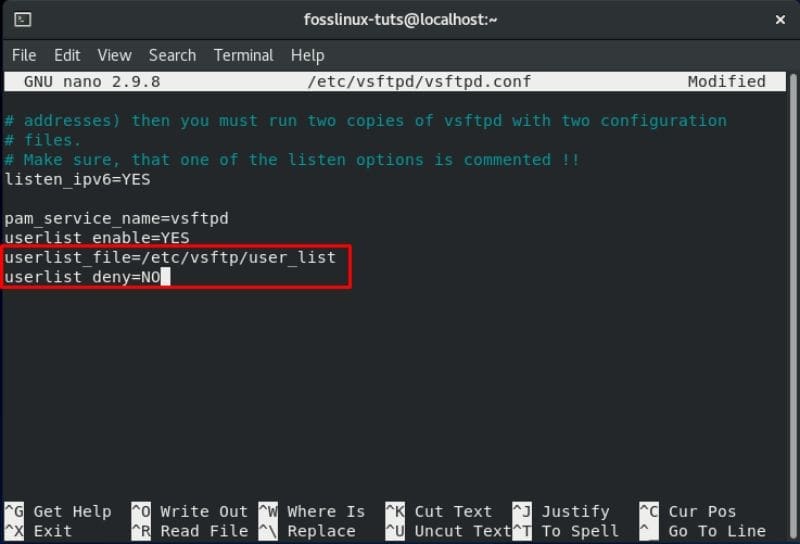
Settings to limit user logins
You can also choose to enable this option. If you do, you will have to explicitly specify which users you want to give access to the FTP server. To allow the users, you will need to add their usernames to the /etc/vsftpd/user_list file with only one username in each line.
4. Set-Up Passive FTP Connections
You might also want to set up passive FTP connections.
As such, here we will show you how you can specify the minimum and maximum ranges of the ports by adding a couple of lines inside the .conf file.
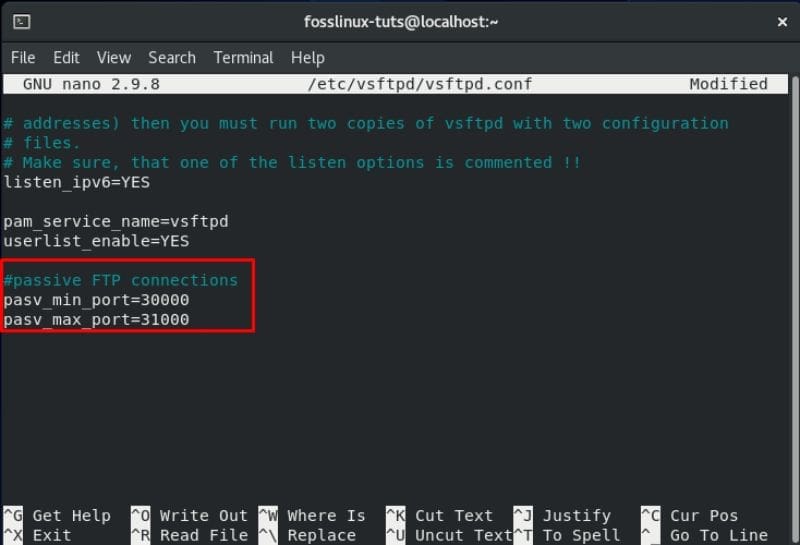
Setting up passive FTP connections
All you need to do is scroll down to the end of the file and add these two lines, as shown in the image.
pasv_min_port=30000
pasv_max_port=31000
We will also discuss how you can open the range in your firewall later in this tutorial.
5. Configure Secure Transmissions using SSL/TLS
Finally, there comes the question of securing the FTP connection by using SSL/TLS. To do this, you will need to have an SSL certificate and configure your FTP server to use it.
However, for the sake of this tutorial, we will be generating a self-signed SSL certificate using the OpenSSL tool and then use it to encrypt our FTP transmission.
So, first things first, you will need to use OpenSSL to generate a new SSL certificate. You can do this by entering the following command in the terminal:
sudo openssl req -x509 -nodes -days 3650 -newkey rsa:2048 -keyout /etc/vsftpd/vsftpd.pem -out /etc/vsftpd/vsftpd.pem
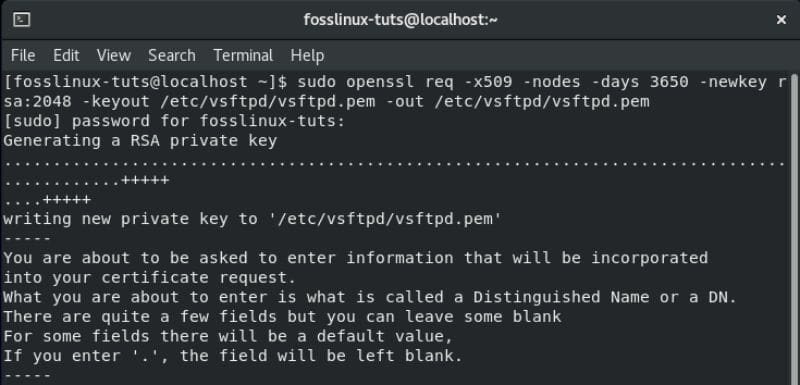
Creating a self-signed OpenSSL certificate in CentOS
Running the above command will generate a 2048-bit private key as well as a self-signed certificate. Both of these are valid for ten years and saved in the same file.
After creating your new SSL certificate, open the vsftpd configuration file using the previous command:
sudo nano /etc/vsftpd/vsftpd.conf
Scroll down and add the following lines as shown in the image:
rsa_cert_file=/etc/vsftpd/vsftpd.pem
rsa_private_key_file=/etc/vsftpd/vsftpd.pem
ssl_enable=YES
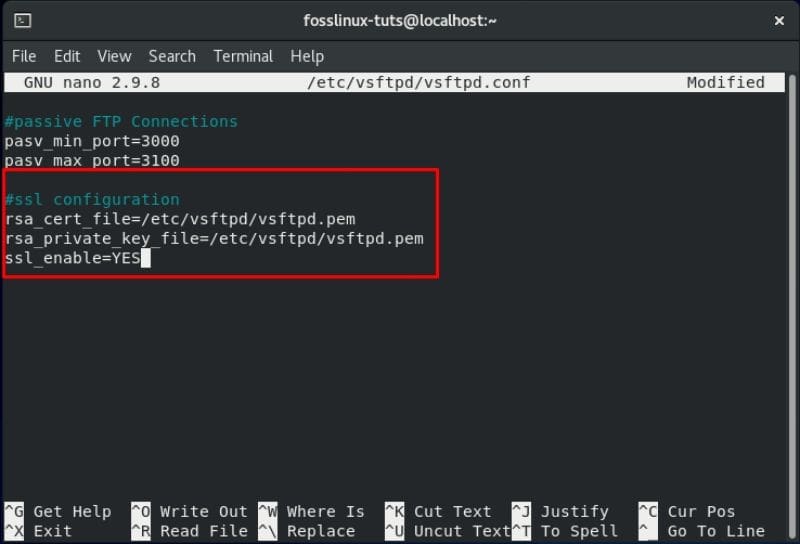
Configuring SSL settings for vsftpd
And that’s it. You have successfully configured the SSL certificate for your FTP server.
6. Finalize
Once done, recheck the vsftpd configuration file to see if all the following settings are as it is:
anonymous_enable=NO
local_enable=YES
write_enable=YES
local_umask=022
dirmessage_enable=YES
xferlog_enable=YES
connect_from_port_20=YES
xferlog_std_format=YES
listen=NO
listen_ipv6=YES
pam_service_name=vsftpd
userlist_enable=YES
userlist_file=/etc/vsftpd/user_list
userlist_deny=NO
pasv_min_port=30000
pasv_max_port=31000
rsa_cert_file=/etc/vsftpd/vsftpd.pem
rsa_private_key_file=/etc/vsftpd/vsftpd.pem
ssl_enable=YES
After you have made sure that all the above changes have been made to the file, you will need to save it. Once saved, restart the vsftpd service using the following command:
$ sudo systemctl restart vsftpd
Configure the Firewall
If you have a firewall enabled along with the FTP server, then you need to configure the firewall so that it allows the FTP transmissions.
To do this, you will need to enter the following commands into the terminal:
$ sudo firewall-cmd --permanent --add-port=20-21/tcp
The above command opens up port 21 – which is the FTP command port, and port 20 – which is the FTP data port.
You will also need to enter this command as well:
$ sudo firewall-cmd --permanent --add-port=30000-31000/tcp
This command opens up the 30000-31000 passive ports range, which we configured previously.
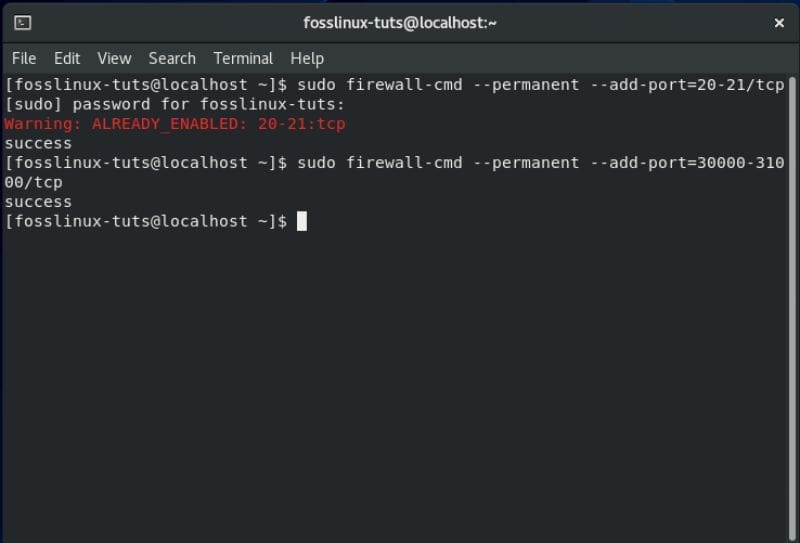
Allowing the vsftpd server to pass through CentOS firewall
Once done, you will need to reload the firewall using the following command:
$ firewall-cmd --reload
How to Create a New FTP User
Now that you have set up your vsftpd server on your CentOS system, it is time to create a new FTP user and test it out.
First, let’s create a new FTP user (newftpuser) by using the following command:
$ sudo adduser newftpuser
Next, you will need to set a password for the new user. To do this, use this command:
$ sudo passwd newftpuser
Make sure that the password is a strong one and longer than eight characters.

Creating a new FTP user
After creating the new user, you will need to add it to the FTP user list. This can be done by entering the following command in the terminal:
$ echo "newftpuser" | sudo tee -a /etc/vsftpd/user_list
Finally, you will need to create an FTP directory tree where you will set all the correct permissions. To do this, you will need to enter the following series of commands in the terminal:
$ sudo mkdir -p /home/newftpuser/ftp/upload
$ sudo chmod 550 /home/newftpuser/ftp
$ sudo chmod 750 /home/newftpuser/ftp/upload
$ sudo chown -R newftpuser: /home/newftpuser/ftp
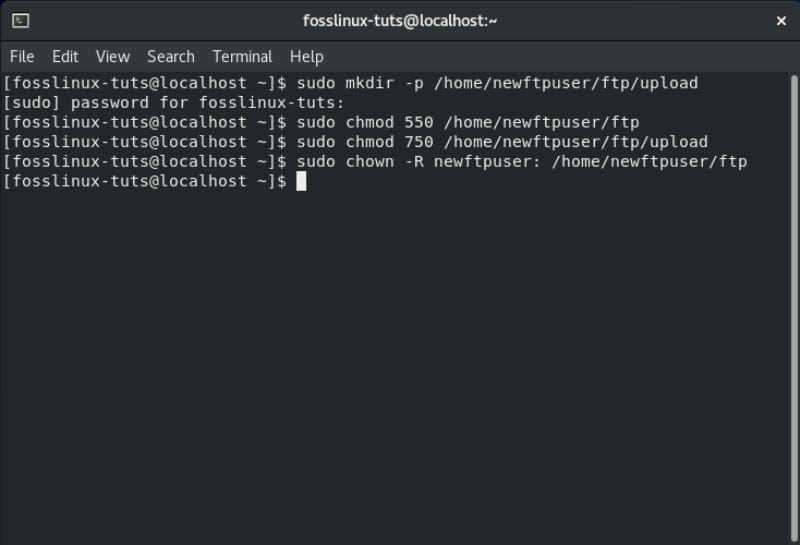
Create an FTP directory tree
By now, your FTP server is fully functional and ready to go. You can now connect to it using any FTP client like FileZilla. Just make sure that the FTP client can also be configured to use TLS encryption as it is being used to encrypt the FTP transmissions.
Disable Shell Access
One thing you should keep in mind when creating a new FTP user is that, unless explicitly specified, the user will have SSH access to the server.
If you wish to disable shell access from the user, you will need to create a new shell that will print a message informing the user that – “This account is limited to FTP access only.”
To do this, you will need to enter the following command in the terminal:
$ echo -e '#!/bin/sh\necho "This account is limited to FTP access only."' | sudo tee -a /bin/ftponly
$ sudo chmod a+x /bin/ftponly
The above command will create the /bin/ftponly shell and execute it.
Next, you will need to append the new shell into the list of valid shells that are located inside the /etc/shells file. This is done using the following command:
$ echo "/bin/ftponly" | sudo tee -a /etc/shells
And as the final step, all you need to do is change the user shell to /bin/ftponly using this command:
$ sudo usermod newftpuser -s /bin/ftponly
Also, for any future FTP users, you can use the same command to change their shell so that they can only have FTP access.