
pCloud Drive is utterly one of the best desktop cloud clients available in the 21st century. It has an intuitive user interface and is generally simple to use. You will love that pCloud is a desktop cloud client that is cross-platform and is almost the only cloud storage provider with a lifetime plan. pCloud Drive is also a cross-platform application with clients available for Windows, macOS, and Linux.
pCloud originates from Switzerland, and its core business is the provision of cloud storage services. By default, you are given 10GB of space when you sign up for the service. As one of their assurances to their clients, they hosted a pCloud Crypto challenge to attempt and break their client-side encryption, but hackers thought the world failed. Thus, pCloud considers client security one of their biggest competitive edges and should excite their clients very much.
pCloud has implemented a distributed kind of storage for storing the client’s files. These have been distributed in about five varied server locations. Subsequently, they have SSL/TLS protocol in place to transfer files between pCloud and PC. The reverse is also true where files are transferred from the PC to pCloud through the SSL/TLS protocols. Because of this kind of architectural layout, pCloud affirm that the service is reliable but has a lot of trust in providing safety for your data. It also fosters availability by ensuring that you have accessibility to your data if one of the servers goes down.
pCloud has a free plan and a paid plan. The latter has more advanced features, enabling you to encrypt files, manage your account, create shares, and sync folders.
There are other cloud storage options available at your disposal if you wish to consider them as an alternative to pCloud. These include Google Drive, OneDrive, DropBox, and UbuntuOne. The list is not exhaustive. However, these are just some of the widely known options for you.
This article will guide you to install pCloud Drive and add it to your elementary OS startup applications.
Installing pCloud Desktop Client in Elementary OS
pCloud can be downloaded by clicking here. You will also need to sign-up and create a free account.
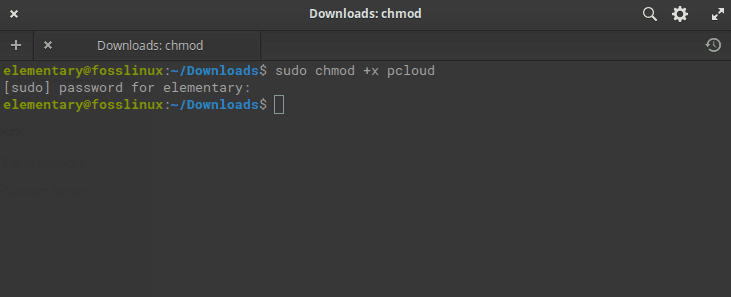
The next step involves making the downloadable file executable. To do this, first launch the terminal and then change the directory to where the downloaded pCloud package is. Further, run the following commands.
sudo chmod +x <package-name>
e.g
sudo chmod +x pcloud
sudo chmod +x pcloud
The third step is to launch pCloud without using the sudo privileges. Remember to do this after making the file executable, as illustrated above
./pcloud
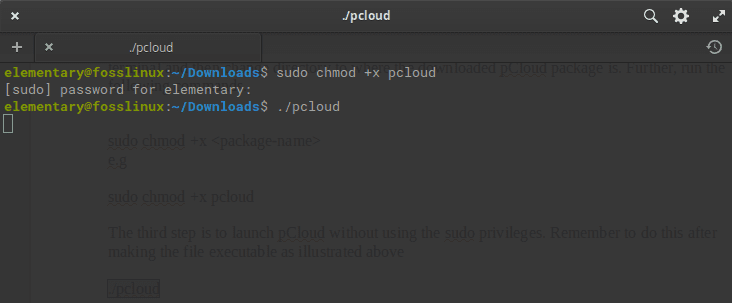
launch pCloud without using the sudo privileges
Upon initiating the above command, a pCloud Drive window will appear, as illustrated in the diagram below.
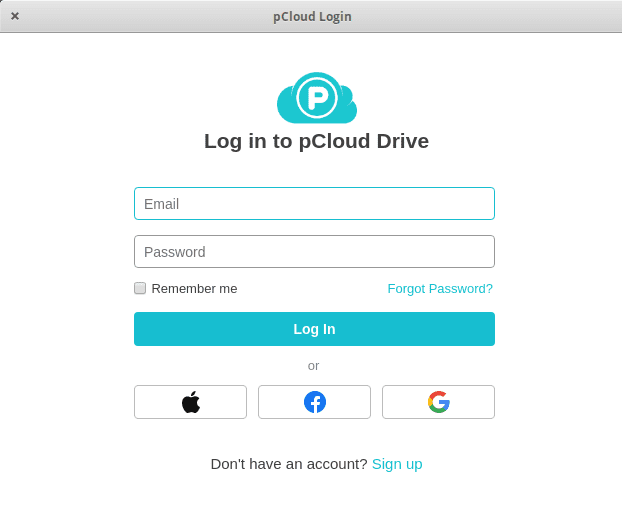
Log in to pCloud Drive
Installation via the Graphical User Interface
You can also opt to do the installation via the graphical user interface—download the pCloud file from the main website. Subsequently, open the file manager. After you right-click on the selected pCloud file, choose the option to execute as the owner, as shown in the diagram below.
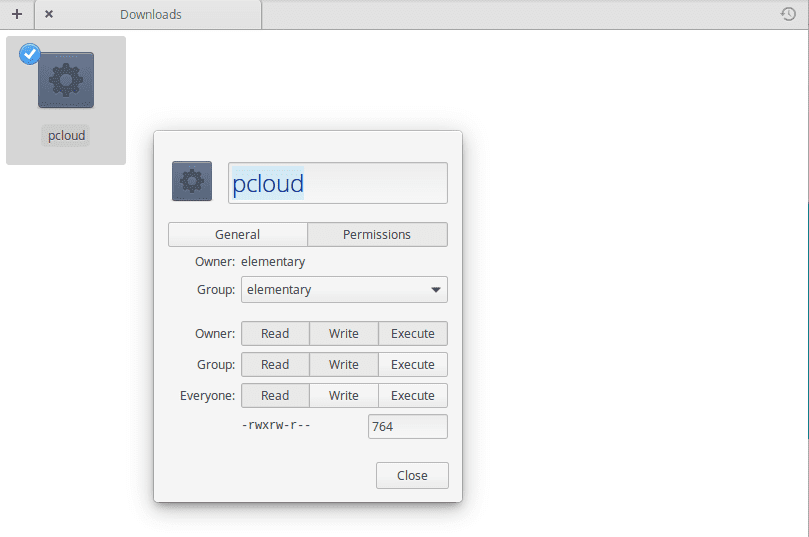
right-click on the selected pCloud file, choose the option to execute as the owner
After completing, close, and then double-click on the pCloud file to launch the installation from GUI. If successful, the pCloud Login window will be presented as shown above when we launched from the terminal.
Sign up for a pCloud account
There are two options to sign up for an account with pCloud. The first and easiest option is to head to the pCloud website and choose to create an account. Before clicking on the create account, ensure that you have provided your email address and password and read the privacy Policy, Intellectual Property Policy, the Terms & Conditions, and agree to them.
You also have the alternative to sign up for your pCloud account by using your already available Gmail or Facebook or your apple account. It is located immediately below the button to create an account.
The second option will involve installing the pCloud Desktop Client, then launching a pCloud client to have the options to either login or signup. The signup process is similar to what happened in the web browser where you provide the email address, password, or continue using your apple, Facebook, or Gmail account.
Logging to your pCloud account
Use the options available to login. After you have successfully signed in, pCloud will create a directory in the Home Directory called pCloudDrive. The latter is simply a remote filesystem that has been mounted on the user’s home directory. Thus, it does not consume your local hard disk space.
Upon opening this directory, you will realize that it has other sub-directories consisting of My Music, My Pictures, My Videos, and pCloud Backup. It also has documentation on how you can begin to use pCloud. Besides, you have the option to add other personal folders or documents and create files as you so wish. The newly added will be synced with the remote pCloud Drive.
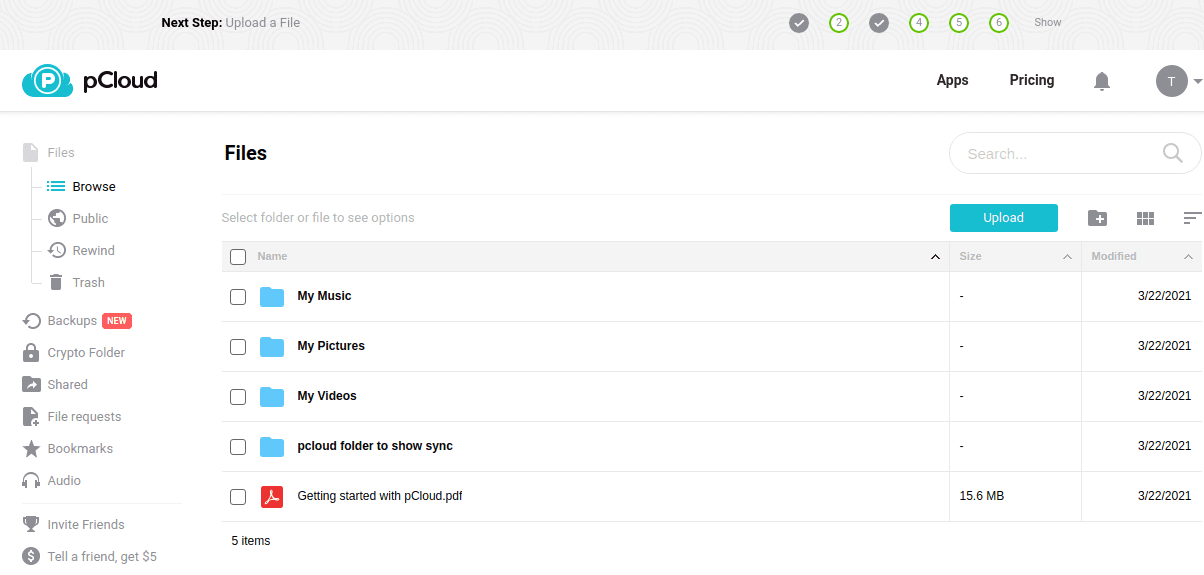
Remote Screen after Login
The pCloud client
The pCloud desktop client has several features that make using it seamless. These include the options to manage your account, options to sync, share, crypto, file requests, backup, adjust the settings and get help whenever you need it.
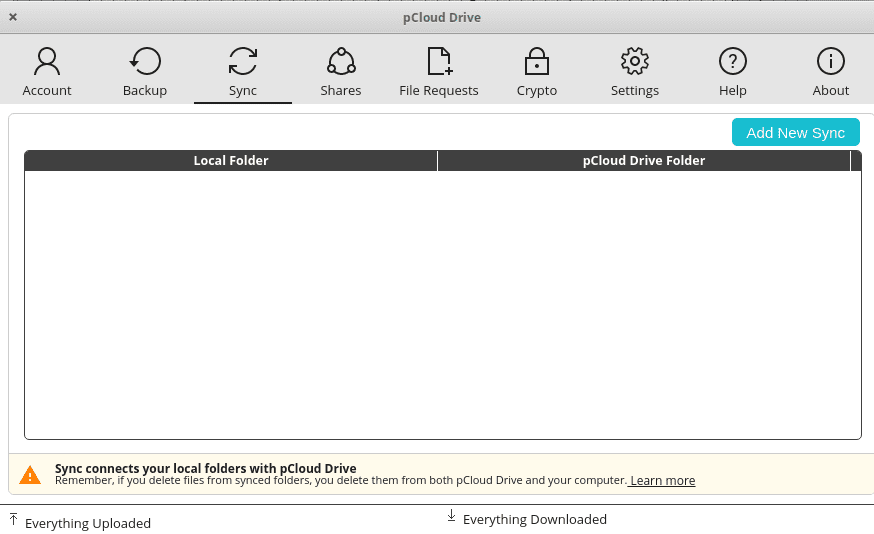
Add New Sync in pCloud
For example, to add a new folder for syncing, you need to click on the button named “Add New Sync,” located on the top right side of the pCloud client window. A pop window follows this with the option to create a sync pair for the current pCloud account.
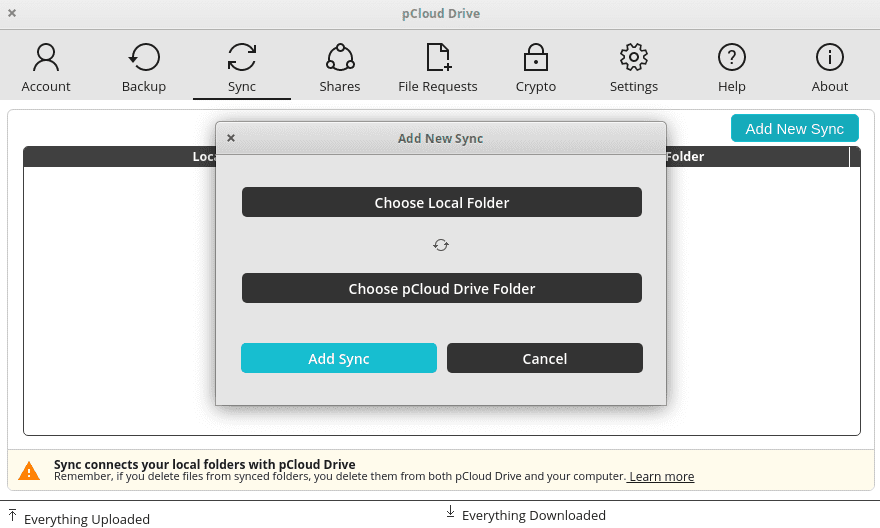
Sync options after selecting add new sync in pCloud
Select the option local folder button. This will enable you to move and choose the folder you wish to sync and give you the option to click on OK to accept the changes.
Now, select the pCloud Drive Folder button to open the file manager to your PC’s local pCloud Drive folder. If you can recall, the latter was automatically created during the installation of pCloud.
At this point, you can either select a folder that already exists or opt to create a new one.
Finally, choose your desired folder and click on OK.
In the previous Add New Sync window, click on the button, “Add Sync,” which will add your synced pair. This will cause your files to start syncing automatically.
If you wish to customize the syncing more, then use the advanced settings for the Sync option. This gives you the option to make new configurations that ignore patterns for syncing. Also, you can make configurations to ignore extensions, specific folder names, or other kinds of file types when a sync occurs.
Also, note that there is no restriction to syncing some particular kind of directories only. You are at will to sync anything from your local PC. Further, you can create as many pairs as it best fits you.
You can put several restrictions to the ignore list by using the semicolon to separate the different ignore entries made. For instance, when syncing music files, you can choose not to sync any mp3 files. To effect this, add the following to the ignore list
; mp3
Creating a share in pCloud
The share feature is handy when you want to give access to somebody else. All you need to do is access the main window and click on the ‘shares tab,’ then click on create share. As a result, you will be provided with various options as follows.
Invite to folder – enables you to give the other user access to a particular folder on your pCloud account.
Upload link -it gives provision to allow the other user to have access to a link that will enable him/her to upload files to a given folder on your pCloud account.
Download link (files) – this alternative gives another user an option to access the downloadable folders in your pCloud account.
After mastering, the available options of sharing, it is important to note that you can invite the user you wish to share with and give permissions to a given folder. These permissions range from read-only to read-write permissions. This invitation is usually sent via mail to the desired recipient.
How to add pCloud Drive to Startup Applications
In most operating systems, pCloud is automatically added to the startup applications by default.
However, in some cases, this does not happen. If you are one of these unlucky ones, there is no need to worry. The steps below will be handy in ensuring that you have pCloud Drive in your startup applications.
1. First, select the System Settings available on the plank as shown below.

Select the System Settings available on the plank
2. Click on Applications available in the System Settings dialog box
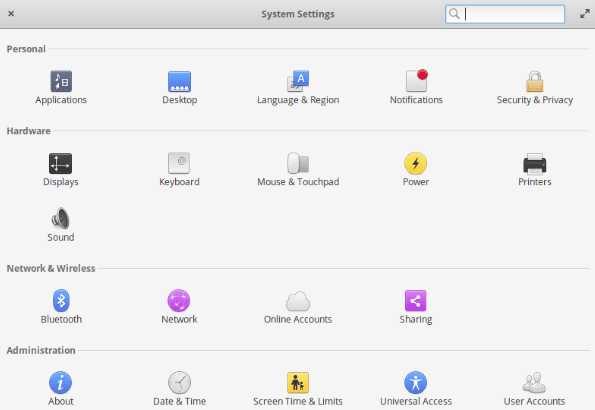
Click on Applications available in the System Settings dialog box
3. Choose the option ‘Startup.’ Initially, you may find the list herein empty, especially after doing a fresh installation. On the bottom left corner, click on the plus sign (+)
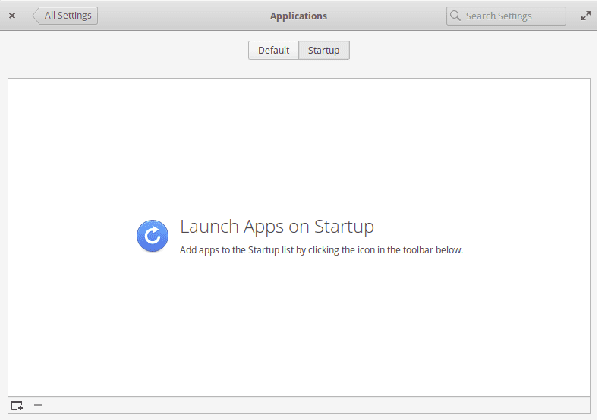
On the bottom left corner, click on the plus sign (+)
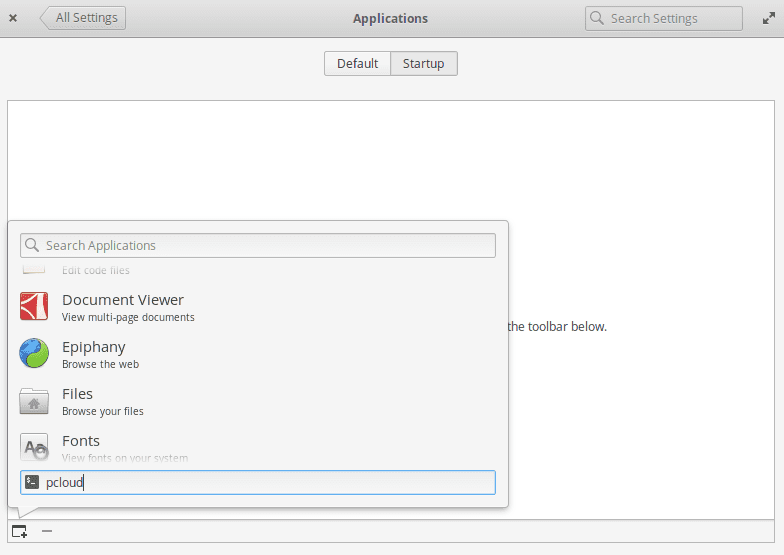
4. At the bottom of the popup dialog, there is an option, “Type in a custom command.”
5. type in words “pcloud” and press enter
right-click on the selected pCloud file, choose the option to execute as the owner
6. pCloud is now added to the startup list. You can now choose to turn it on or off using the button on the extreme right of the word pCloud.

Turn pCloud on or off using the button on the extreme right of the word pCloud.
Subsequently, restart your computer. What follows is that pCloud and other programs in the startup list get launched automatically after login.
Conclusion
pCloud is an easy-to-use cloud desktop client. The interface is sleek and one that is simple for a newbie to grasp and rock almost immediately. Follow our guide and enjoy your journey to installing and configuring pCloud on the elementary OS. In case of any queries, do not tarry to reach out to us. Thank you!!