Kali is a Debian-derived Linux distribution that is designed for digital forensics and penetration testing. The penetration testing platforms contain a large array of tools and utilities used by the white-hat community. The OS is funded and maintained by Offensive Security.
Black screen error Kali Linux
A black screen is a dark interface with a cursor on the top left that many usually find after importing their ISO files on the virtual box. It is similar to the snapshot below.
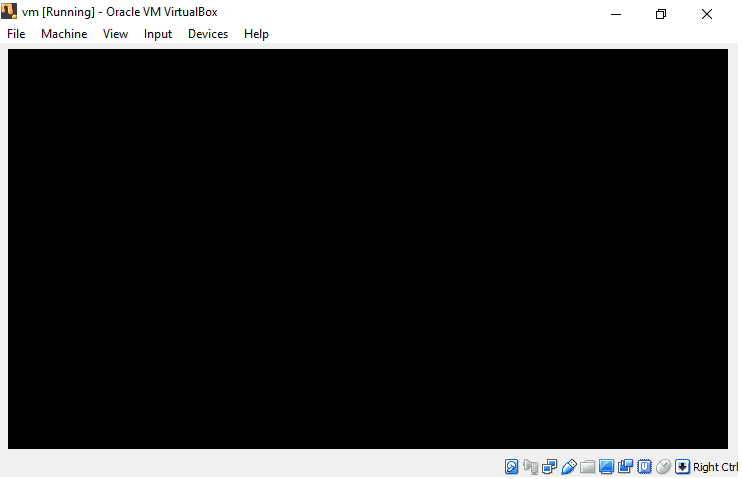
black screen
If you are getting this issue, no need to worry, this article will help you fix it. Solve the various black screen situations of Kali Linux with the enlisted solutions. The following methods are tried one by one, and hopefully, you will find the approach a perfect solution to your issue.
Causes of black screen
There are generally several reasons that may cause this issue
- The first cause of this error is that many people tend to download versions of ISO files that are not right for their PCs.
- Another error arises from setting a 32-bit OS when your computer supports is a 64-bit system.
- Obsolete Virtualbox.
- Less space on the hard disk.
- Poor input of the version while setting up in the Virtualbox.
Fixes
Solution 1:
- Cross-check your disk type for bootable pen drive if it is GOT or MBR since it should match your HDD. Check it with diskpart.
- Try making a bootable Kali Linux pen drive with Rufus.
- We also recommend that you use the latest kali ISO images.
- Make sure that disk space is enough.
Solution 2:
For those using VirtualBox and have black screen issues, try this solution:
- Launch Virtualbox>go to help>about Virtualbox.
- Look at the version of your Virtualbox. If you are running on a 5x version, you have found the issue causing the black screen.
- What you need to do is remove the Virtualbox from your PC. For those using Linux, make use of the following commands to get rid of the Virtualbox.
sudo apt-get remove Virtualbox

or

sudo apt-get purge virtualbox
- Once uninstalled, go and download the latest version of Virtualbox.
- After downloading the .deb package, install the virtual box using the following command(replace the file path with that of your specific deb package)
dpkg -i package file
for instance:
dpkg -i ~/Downloads/virtualbox-.1_6.1.18142142~Ubuntu~bionic_amd64.deb
Once you are through, you should be able to launch the Virtualbox and run kali without issues.
Solution 3:
Ensure that the file you downloaded has a .ova extension from the official zsecurity website. If it does not, then you downloaded the wrong file.
Solution 4:
In situations where you download a different version to your PC’s, you need to make sure you are well aware of your PC’s version before downloading the file.
Solution 5:
If you downloaded the correct file and the problem persists, you need to check whether the virtualization or VT is enabled from your bios. Accessing the Bios tends to be different depending on your computer. However, the standard procedure is:
- Reboot your computer
- At the bottom of your rebooting computer are a set of instructions on how to enter bios settings
- In the settings, look for VT of hardware virtualization. After that, please enable it, save and quit.
Solution 6:
If that still didn’t work for you, then right-click the virtual machine name from the virtual box, go to the settings section > General, and ensure that the type is set to Linux and version is set to Debian 64-bit or Debian 32-bit depending on the specs of your computer and the Kali version you downloaded. After that, reboot the system.
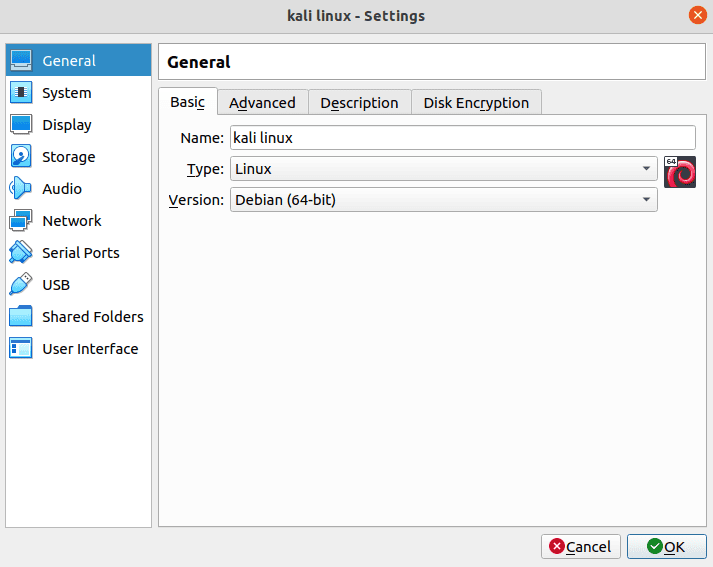
naming correctly
Solution 7:
If the issue persists, we recommend increasing the video memory that can be achieved by right-clicking the virtual machine name from the virtual box; after that, go to settings> System, and increase the video memory at least over the max level.
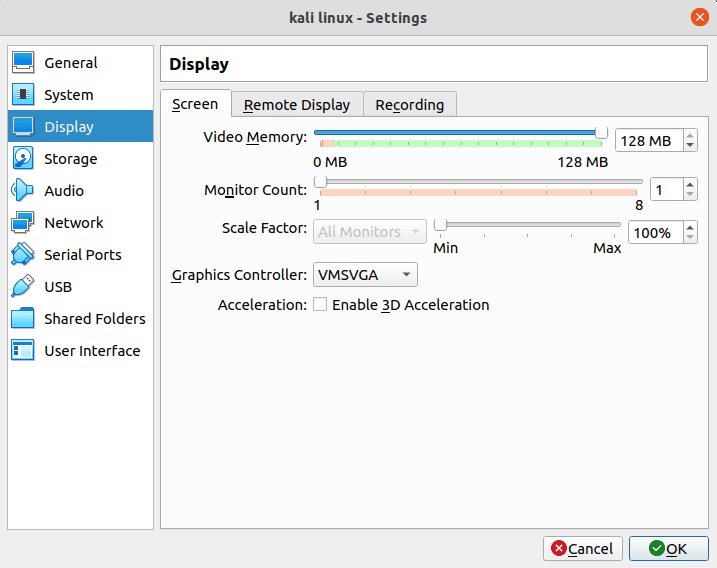
increase the video memory
Solution 8:
If you worked with a virtual box, we recommend changing to a Vmware workstation.
Solution 9:
Go to the VM>Settings>Hardware>Display >Uncheck Accelerate 3D graphics in the content bar on the right. After unchecking, reboot the system.
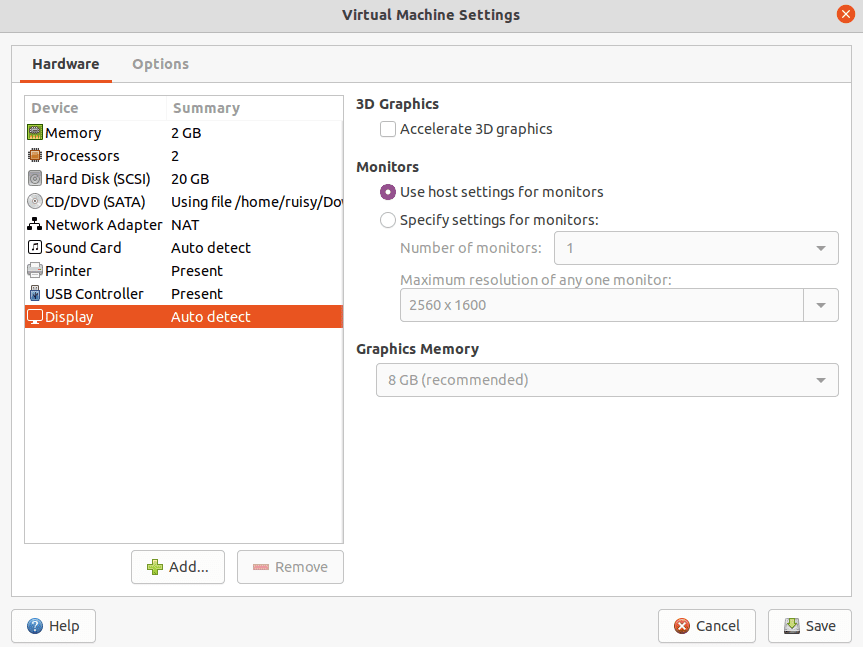
uncheck accelerate 3d graphics
Solution 10:
On the Graphical User Interface(GUI) installation process, select yes for grub installation. If you choose No, you will only see a small cursor in the upper left corner when booting.
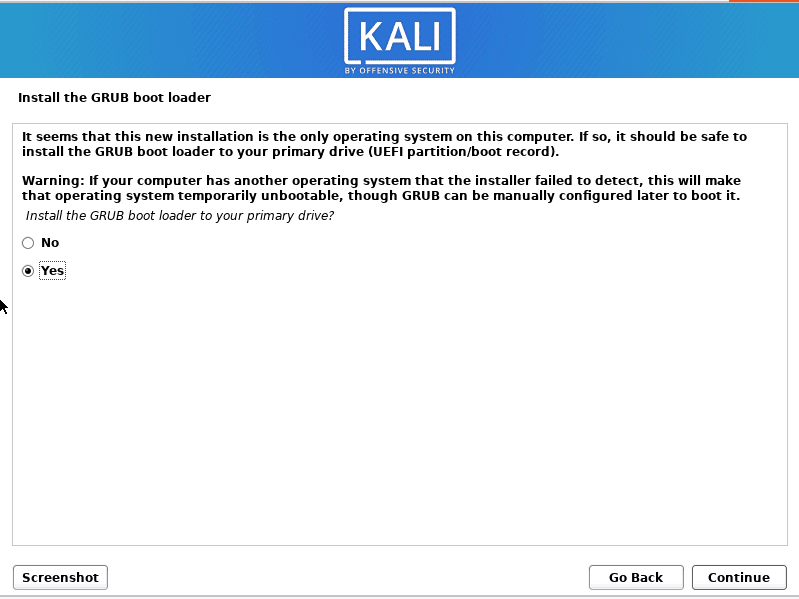
select yes in the grub
Solution 11:
Do not select the first option, “Enter device manually,” In the last installation section. We recommend going with the second option.

select the second option
After completing any of the solutions offered, reboot your system, and you will see such a window:
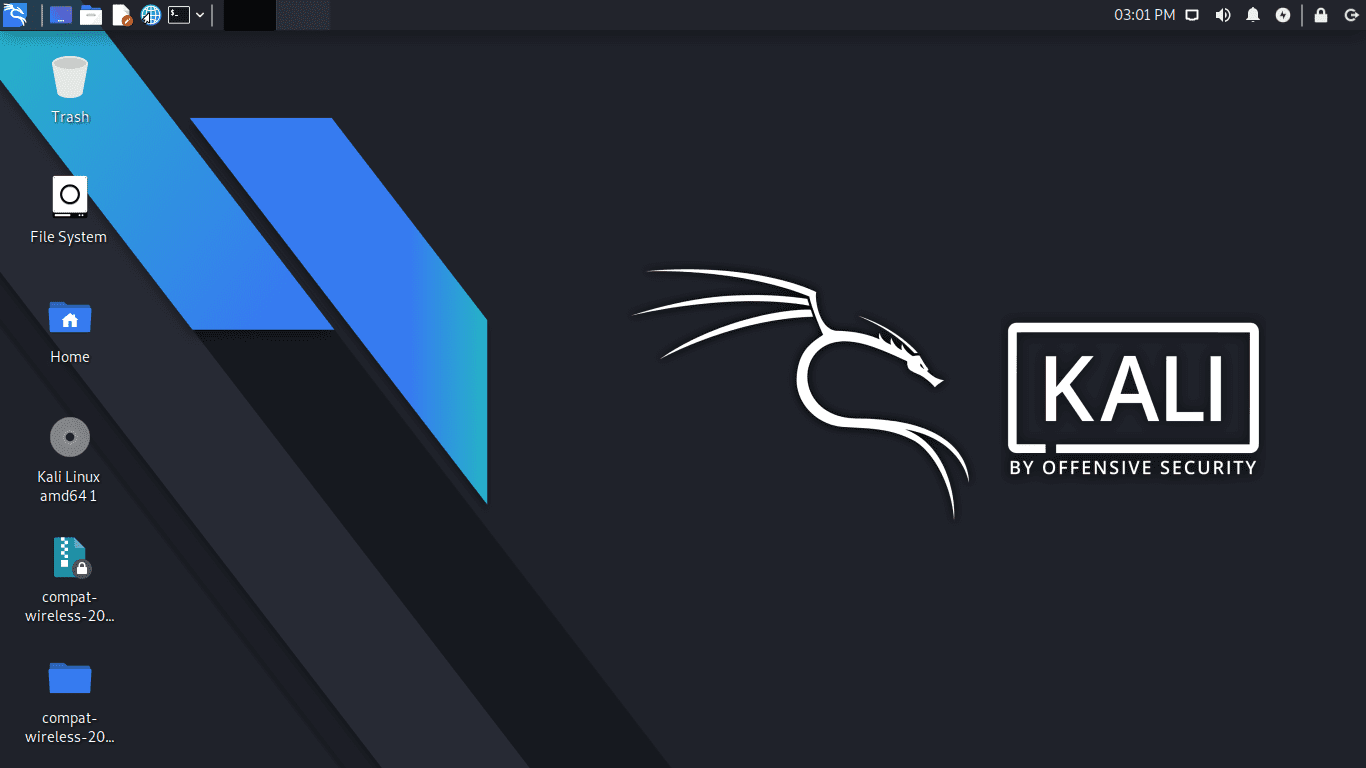
final look
After a proper configuration of the ISO file, you can check out our article on using Kali Linux to diversify your knowledge about this unique Operating system.
Conclusion
And that’s it. If you have been struggling with a black screen on your Kali Linux, then we found you the best solutions. Hopefully, one of them helped you. If you have a problem with the solutions we offered, please do not hesitate to share with us in the comment section below; otherwise, Thank you for reading!

2 comments
I fixed in solution 6 . Thank you !
works thanks!