
Kali Linux is Debian-based Linux distribution aimed at advanced Penetration Testing and System Auditing. It comes with hundreds of tools used Information gathering, Penetration testing, forensics, reverse engineering, security research, and much more.
Other Features include:
- It’s Free
- Open source Git tree
- Over 600 penetration testing tools pre-installed
- Wide-ranging wireless device support
- Custom kernel, patched for injection
- Multi-language support
- Customizable
- Adherence to the Filesystem Hierarchy Standard (FHS)
- ARMEL and ARMHF support
The team behind Kali Linux development and funding is Offensive Security. It is among the top leading security training companies.
Installing Kali Linux on your PC
This post will give you a complete guide on how to install Kali Linux on your PC. If you are a beginner, I would highly recommend you run Kali Linux in a virtual setup – You can read our article on How to install Kali Linux on Virtual Box.
Kali Linux installation requirements
The minimum system requirements for installing Kali Linux vary depending on what you would like to install. You can decide to setup Kali as a Secure Shell (SSH) server with no Desktop. That will only cost you around 128 MB (recommended 512 MB) with 2 GB disk space. However, if you are going to install the full version of Kali Linux, which includes the default XFCE desktop and the kali-Linux-default meta-package – That will cost you at least 2 GB of RAM and 20 GB of disk space.
We will install the full version of Kali Linux for this particular tutorial, including the Desktop Environment and the meta-package. Let’s dive in!
1. Download Kali Linux
Kali Linux is free, and you will never have to pay to acquire it. For that reason, some people get a copy of Kali Linux and modify it to their liking before posting it for download on their website.
I would highly suggest you never download Kali Linux images from anywhere other than the official sources from experience. Always be sure to verify the SHA256 checksums of the file you’ve downloaded. Use the link below to download the latest Kali Linux image from the official page.
2. Create a Kali Linux Bootable USB drive
We have many articles on creating a bootable USB Drive of Linux available for you on our website. However, I would suggest you read the post on How to create a Kali Linux Bootable USB drive using Etcher and the DD command.
3. Installing Kali Linux
Now with a Kali Linux bootable USB drive, insert into your PC’s USB port and use it to boot your machine. To do so, you will need to change the regular boot order by clicking specific function keys, depending on your laptop brand. Our post on How to Boot your Windows or Linux PC from a USB Drive lists some of the key combinations to access the Boot setup screen in some of the popular laptop brands. Alternatively, you can check the table below.
| PC Brand / Manufacturer | BIOS/UEFI setup screen key combinations |
|---|---|
| HP (Alternative, Tablet PC) | Esc / F2 / F10 / F12 |
| Dell (Dimension, Inspiron, Latitude, OptiPlex, Precision, Vostro, XPS) | F2 |
| Dell (older or other models) | Ctrl + Alt + Enter / Fn + Esc / Fn + F1 / Delete / Reset twice |
| HP (OmniBook, Pavilion, Tablet, TouchSmart, Vectra) | F1 |
| Lenovo (3000 Series, IdeaPad, ThinkCentre, ThinkPad, ThinkStation) | F1 / F2 |
| Lenovo (older models) | Ctrl + Alt + F3 / Ctrl + Alt + Ins / Fn + F1 |
| Samsung | F2 |
| Sony | F1 / F2 / F3 |
| Toshiba | F1 / Esc |
After a successful boot using the Kali Linux bootable USB drive, you will be presented with the Kali Linux Installer menu, as shown below.
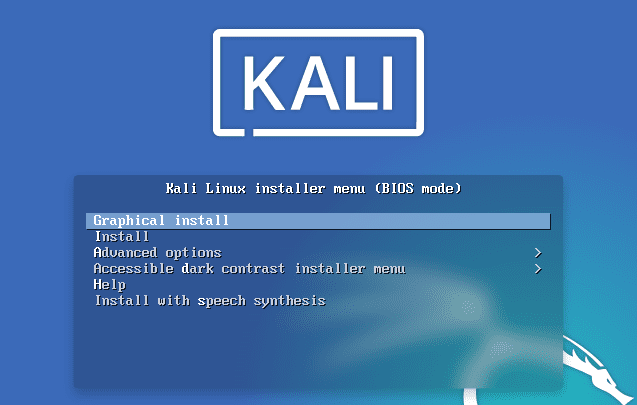
Kali Linux Boot Menu
If you are getting started with Kali Linux, select the Graphical Install option. If you are well versed with Linux systems, and you want to customize the entire installation process – click on Advanced Options and select Expert mode, as shown below.
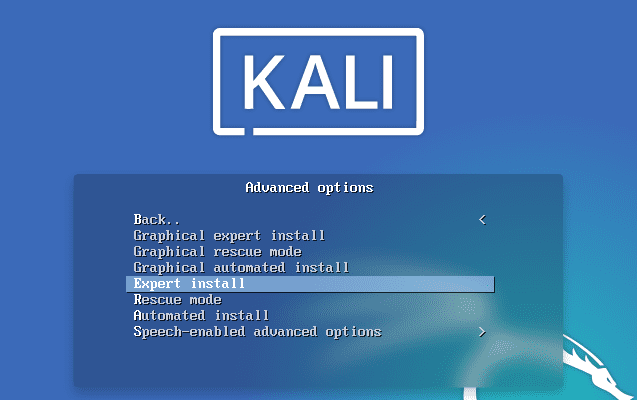
Expert Mode
For this particular tutorial, we will proceed with the standard Graphical Install option. This installs Kali Linux with the default XFCE Desktop environment and the kali-Linux-default meta-package.
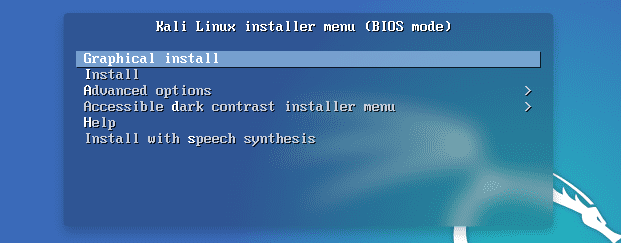
Kali Linux Boot Menu
Select the Graphical Install option using the Arrow keys and hit Enter. You might see a black screen for a moment with several messages like “mounting /dev/sda…” then you will be presented with the Select Language Screen. Select your Language of choice and click Continue.
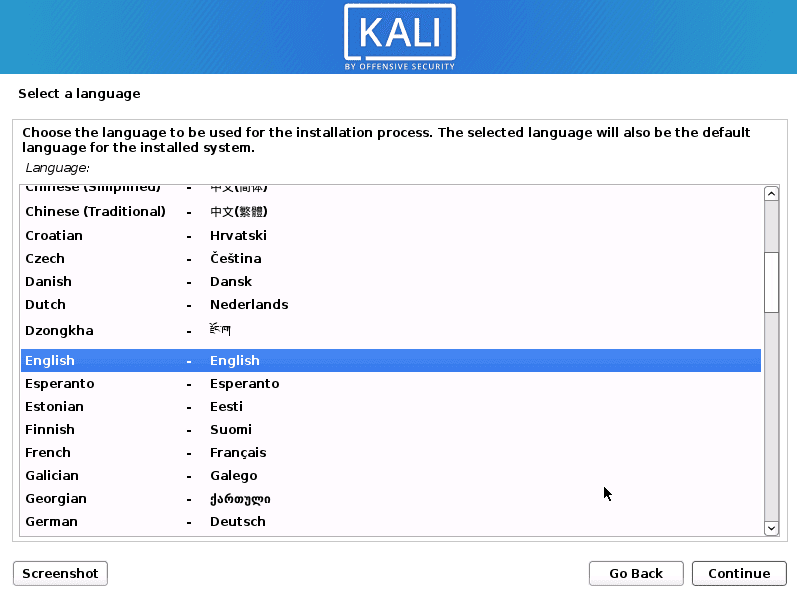
Select language
Next, you will be required to select your Location. Once done, hit Continue.
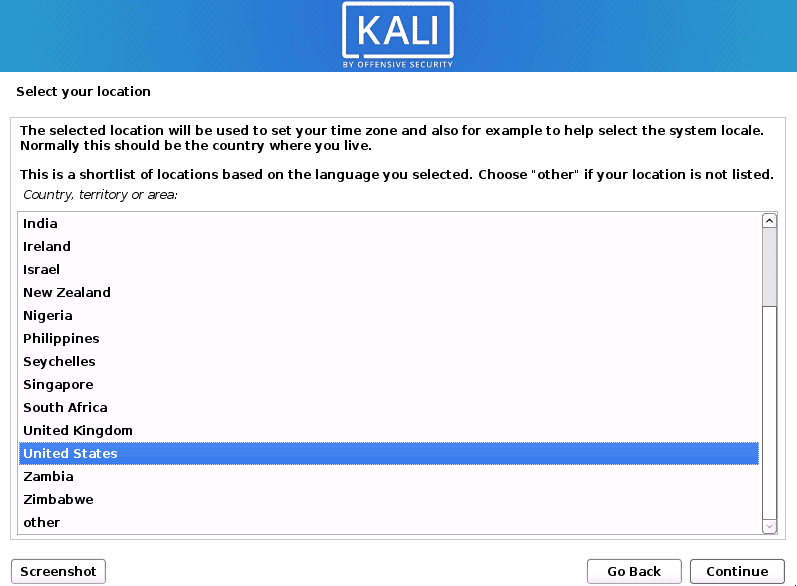
Select Location
On the next screen, Select your Keyboard layout and click Continue.
The Kali Linux installer will perform a few checks on the installation media and the installer components. You will then be presented with a screen – Configure the Network – where you will need to enter the Hostname. In my case, I will leave it as Kali. The Hostname identifies your computer to the network.

Enter Hostname
Next, you will need to Enter the Domain name. If you don’t have one, leave it blank, and click Continue.
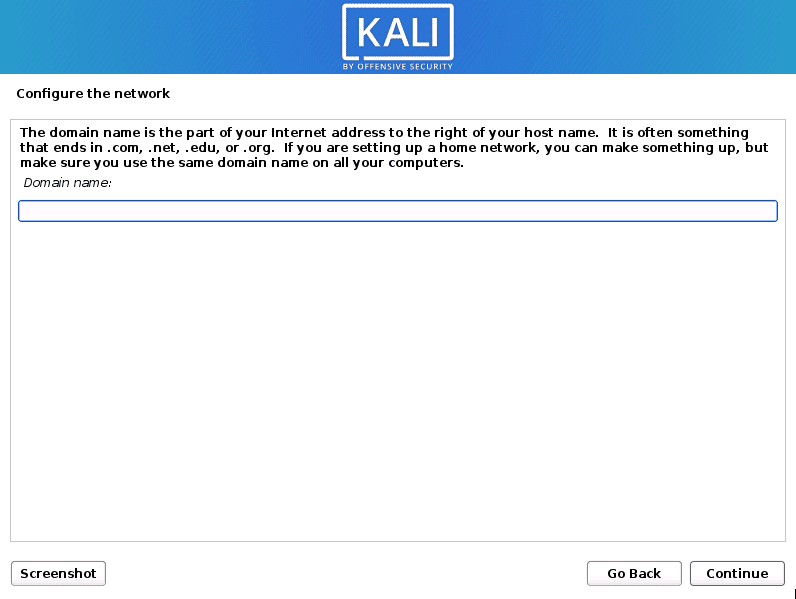
Domain Name
Now we need to setup Users and Passwords. A window will open where you will be required to enter the Full name of the new user. That will create a user account for you instead of using the root account for non-administrative activities. Enter the name and click Continue.
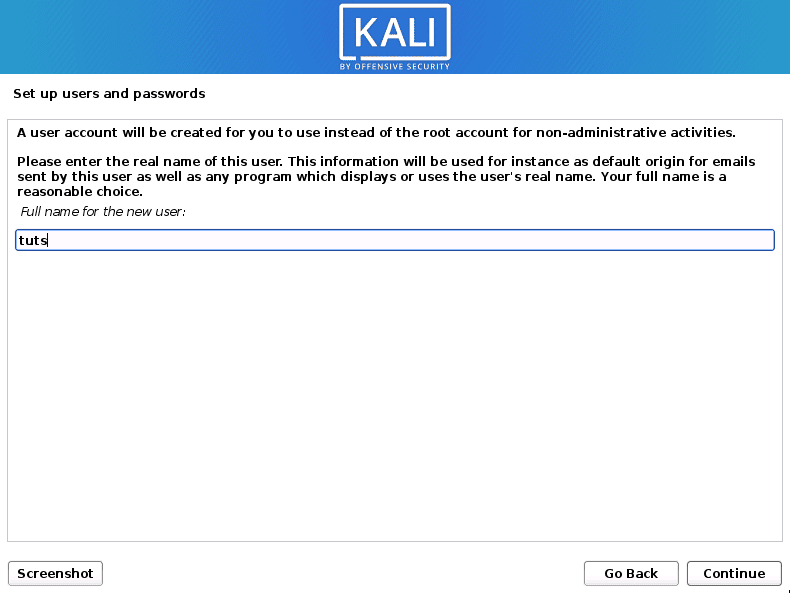
Enter Full name
On the next screen, Enter the username for the new account. It should start with a lowercase letter. Click Continue.
On the next screen, you will need to set up a User password for the new account. You have two fields to enter the password, and both should match. Click Continue once done.

Set user password
Next, you will need to configure the clock. Select your Time Zone. Click Continue.
Now the Installer will start the partitioner. You will be presented with a screen where you will need to select the partition method to use. Here you will see several options divided into Guided partitioning and Manual Partitioning methods. By selecting the Guided option – the Installer will guide you in partitioning the disk with the different partitioning schemes and getting started with the installation.
With the Manual option, as the name suggests, you will have to do everything yourself. If you are dual booting Kali Linux with other operating systems, then this is the option to go. However, please be very careful as one step mistake, and you might lose your data. In this post, we will use the Manual partitioning method. Select Manual and hit Continue.
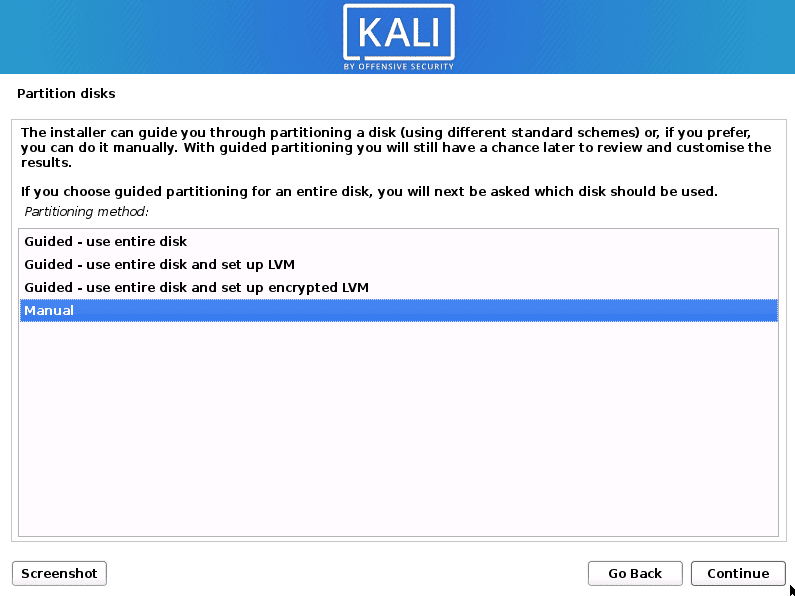
Partition disks
You will see a list of the disks and partitions available on your system. Select the partition you want to install your system and hit Enter.
Select partition
Now you will see a window where you will need to set up a few parameters. The ‘Use as’ option should be set to the Ext4 journaling system. The ‘Mount point’ should be set as root, represented with the forward-slash sign (/). Once you are done, select the Done setting up the partition and hit Enter. Refer to the image below.

Setup Partition
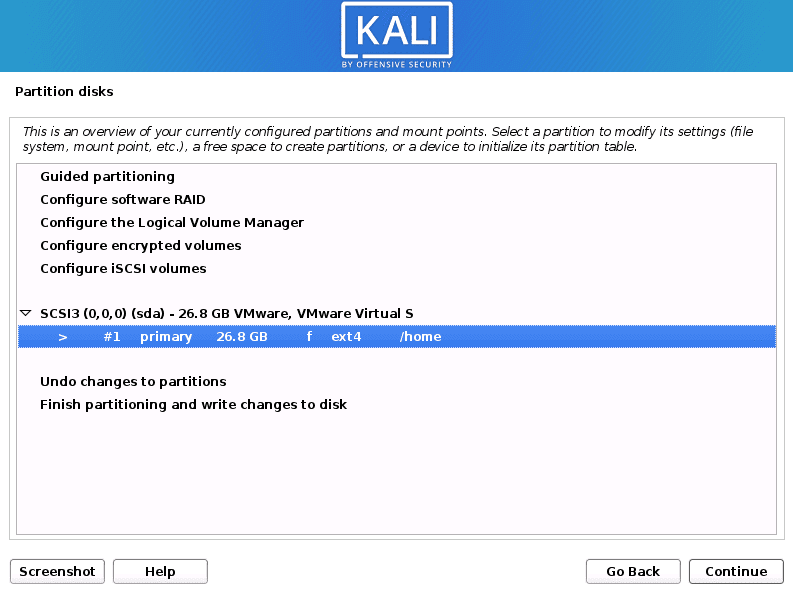
You will be taken back to the Partition disks screen. Scroll down and select the ‘Finish partitioning and write changes to disk’ option. Click Continue.

Finish Partitioning
You will see a prompt – ‘Do you want to return to the partitioning menu?’ Select No and click Continue. You will see another prompting you to ‘Write changes to disks.’ Select Yes and hit Continue.
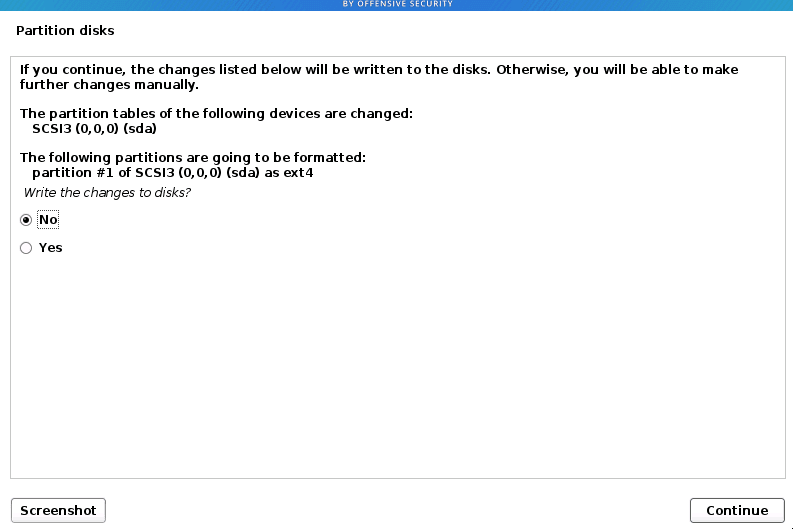
Write Changes to Disk
Now, the Kali Linux system installation process will start. Please be patient; this might take some time.
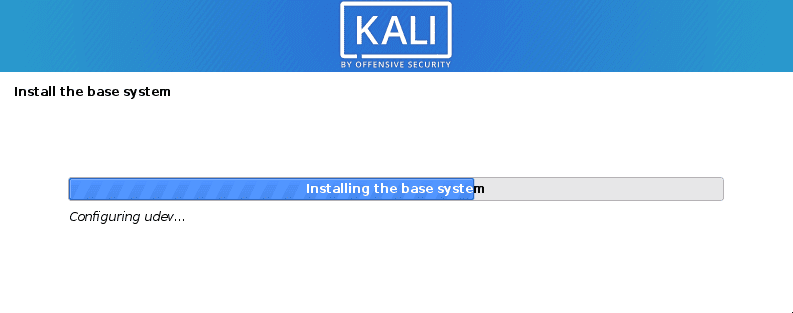
Install System
After some time, you will see a screen where you will need to select the software packages you wish to install. If you are just getting started with Kali Linux, I suggest you leave everything as it is and hit Continue. However, if you are well versed with Linux, proceed to make Software selections as you wish. Hit Continue once done.
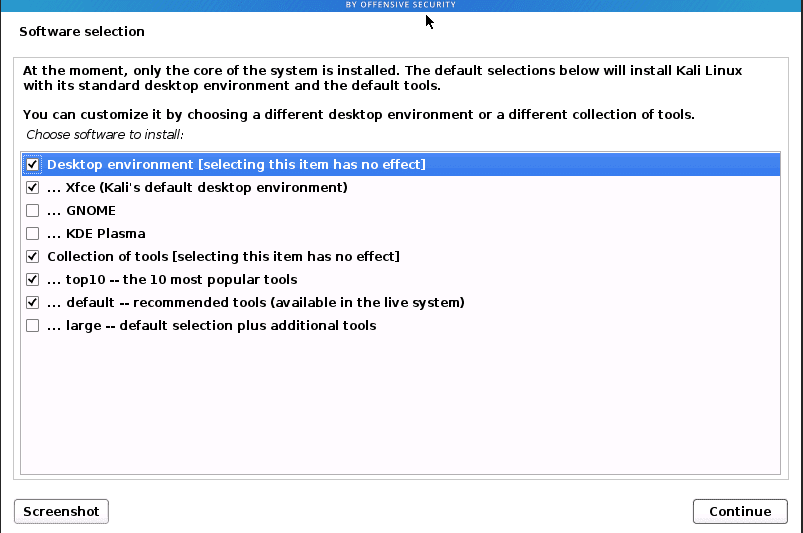
Software Selection
The installation process will continue. Be patient as this will take some time.
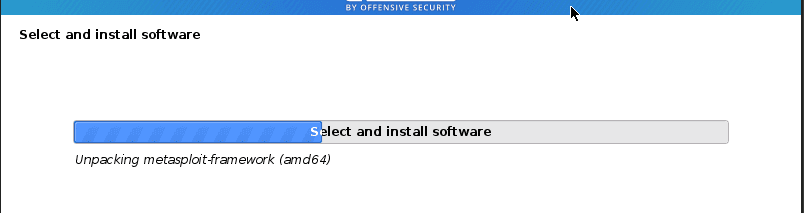
Installation
Next, you will see a screen to install the Grub boot loader. If you have another operating system, you should see it listed in the Grub Message. If it’s not listed yet, installing the Grub boot loader will make the operating system temporarily un-bootable. You can fix this by manually configuring the GRUB later.
Suppose you have no other operating system installed. In that case, you will see a message like “… it seems that this new installation is the only operating system on this computer …” You will see a prompt to install the Grub boot loader to your primary drive. Select Yes and click Continue.
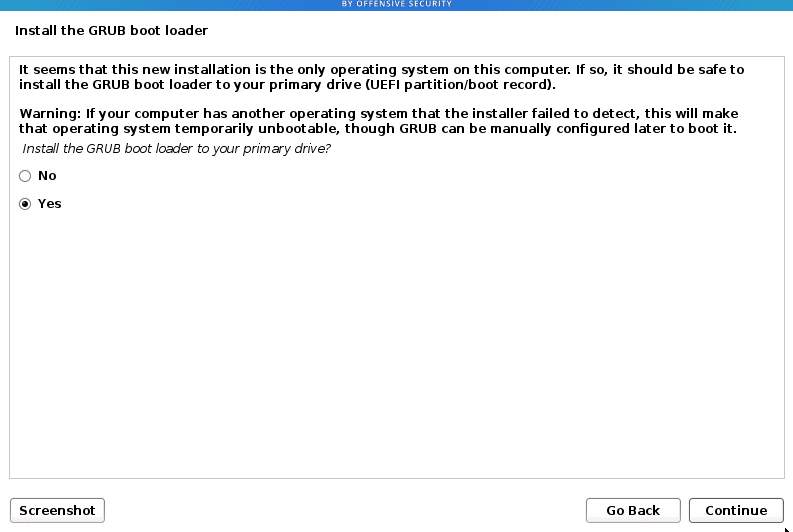
Install Grub boot loader
On the next screen, you will need to select the ‘Device for boot loader installation.’ Select your internal storage device, which will probably be labeled/dev/sda. Click Continue.
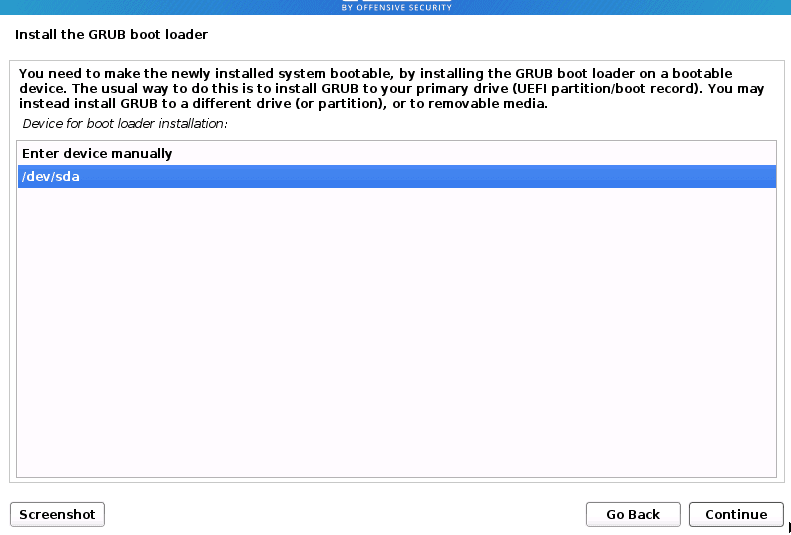
Select Device for boot loader
When the installation is complete, you will get a notification screen. Click Continue to boot into the new system.
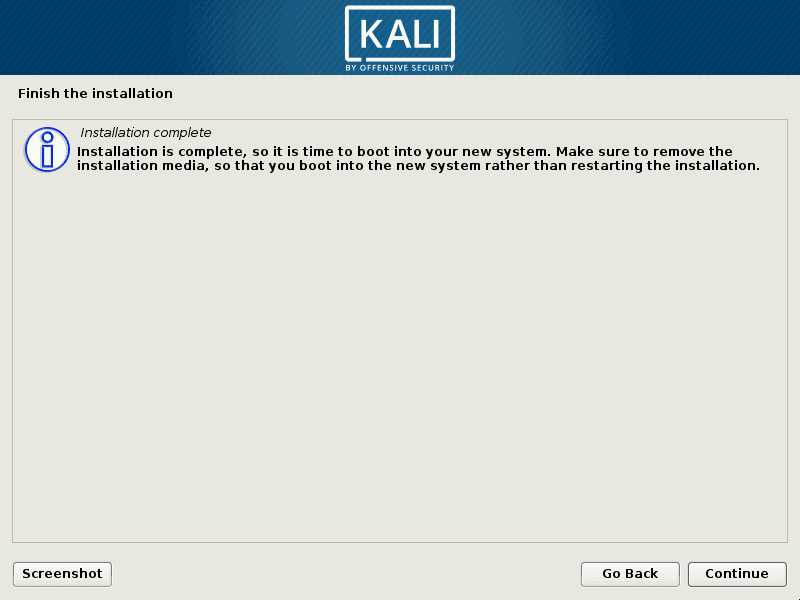
Finish Installation
Login into Kali Linux
Your PC will boot into the newly installed system – Kali Linux. If you had other operating systems installed, the Grub menu would list all of them, and you will select the one you want to use. In this case, choose Kali Linux.
You will be greeted with the Kali Linux login page. You will be required to enter your username and password.
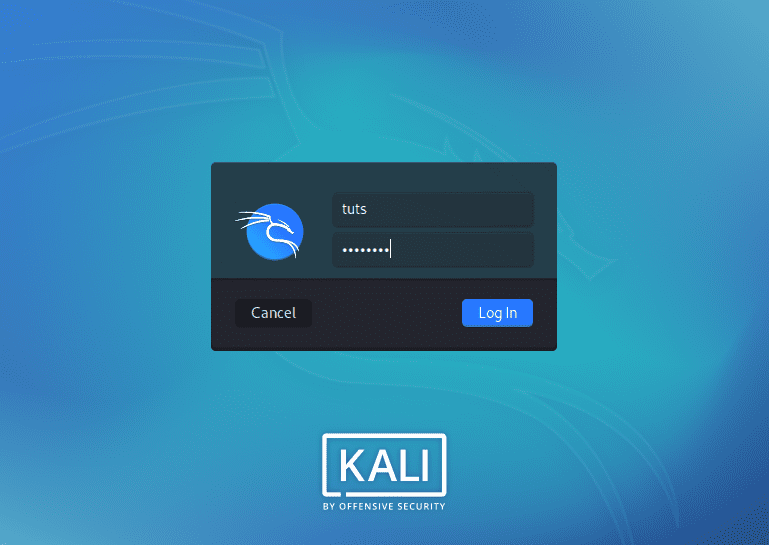
Login Kali Linux
Once logged in, you will see the Kali Linux XFCE Desktop. The toolbar is located at the top with a few icons on the Desktop. The first thing you would probably want to do is connect to an internet connection and update your system.
Launch the Terminal from the toolbar or use the combination Ctrl + Alt + T. Execute the command below:
sudo apt update && sudo apt upgrade
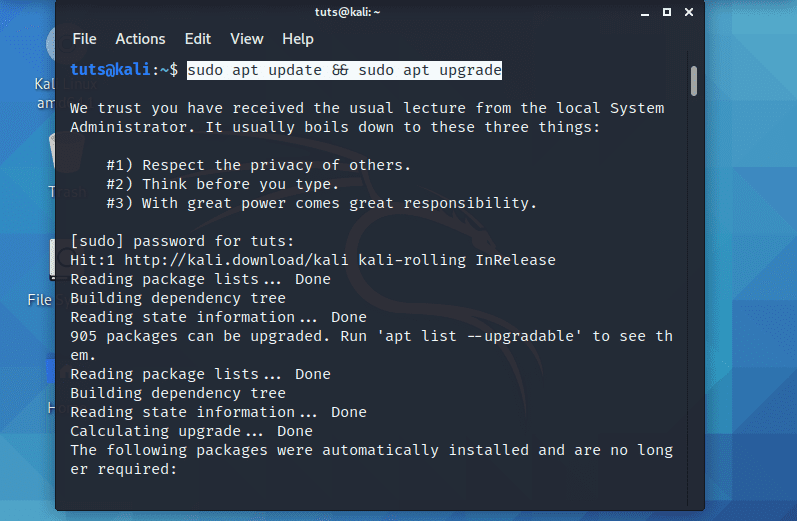
Update system
That’s it! You have successfully installed Kali Linux.
Conclusion
I believe this post has given you a clear guide on installing Kali Linux. If this spiked your interest in the Cybersecurity field, consider going through the hundreds of tools that come pre-installed. Please, do not perform any Penetration testing on systems or website without authorization. I would advise you to install virtualization software to host various operating systems and use it as your hacking lab.