
Debian 11 provides so many options for choosing a desktop environment. One of the many great desktop options is Xfce which is light, simple, fast, and a very resource-friendly DE that works very well in almost any system.
Whether you have already installed the default GNOME desktop that comes with Debian and would like to experience Xfce while keeping the GNOME DE or install Debian 11 along with Xfce, we will show you both the methods in this article today.
There are so many use cases for installing Xfce DE on Debian 11. You can do a fair bit of customization to your liking and run so many utilities. The desktop is intuitive and highly resource-friendly. You can run it quite well on old hardware, and due to that reason, you can utilize any old PC lying around and set it up and running with the help of this desktop.
Xfce DE comes with a modular design and excellent plugin support so you can customize it to fit your needs. We have also put together the top 10 reasons to use Xfce as your desktop environment, and you can check them out by clicking here.
If you are already running another DE on your Debian installation and looking to add Xfce DE, then there are a few things to consider.
Installing multiple DEs on Debian 11
It is not difficult to install multiple desktop environments on Debian 11. However, complications can arise if you are looking to use various DEs or want to check out Xfce after installing another DE. Therefore, before we begin the installation, it is vital to note some of these issues that can occur, which may include any of the following ones:
- Multiple instances of the same applications
- Settings and packages might get mixed up with each other.
- Configuration files can also get mixed up, causing some issues with themes.
- Multiple managers cause problems, and it requires some fiddling for a single manager to work with two or more DEs.
Having mentioned these possible issues, it is imperative to use different user accounts for every DE to mitigate the risk of the above problems. You would have to be willing to play around with various bugs and resolve such issues if you want to install multiple DEs. If you have a knack for different troubleshooting bugs, then go right ahead, but if the sight of an unexpected error seems daunting to you, then you should instead do a fresh install or avoid keeping multiple DEs.
Without further ado, we will install Xfce on Debian 11 using the ‘tasksel’ tool.
1. Install Xfce on Debian 11 using Tasksel
Tasksel is a Debian utility that makes installing any supported software and desktop environment like Xfce, GNOME, Cinnamon, etc. It retrieves all the required packages and files associated with the DE, and the whole process is entirely automated. Furthermore, it coordinates the installation of multiple packages on your system. The following steps will allow you to install Xfce and any other DE you want, which Debian supports with the help of Tasksel.
- If you do not already have the Tasksel installed on your system, then you can do so by running the following command:
sudo apt install tasksel
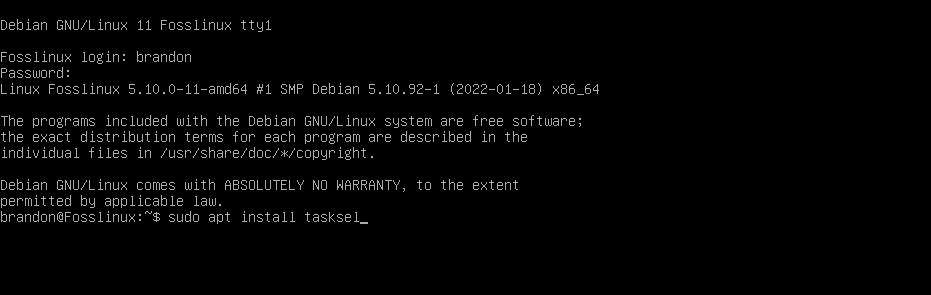
sudo apt install tasksel
Once that is done, you can now execute the following command to run the program.
sudo tasksel
- This will open the Tasksel UI, and here you can choose to select your desired DE, which is Xfce in this case. Tasksel will start after the above command is executed within the terminal, and now you can install any DE you want. However, do note that Tasksel requires a sudo command to run if installing a DE. The UI that will pop up after executing the above command is as follows:
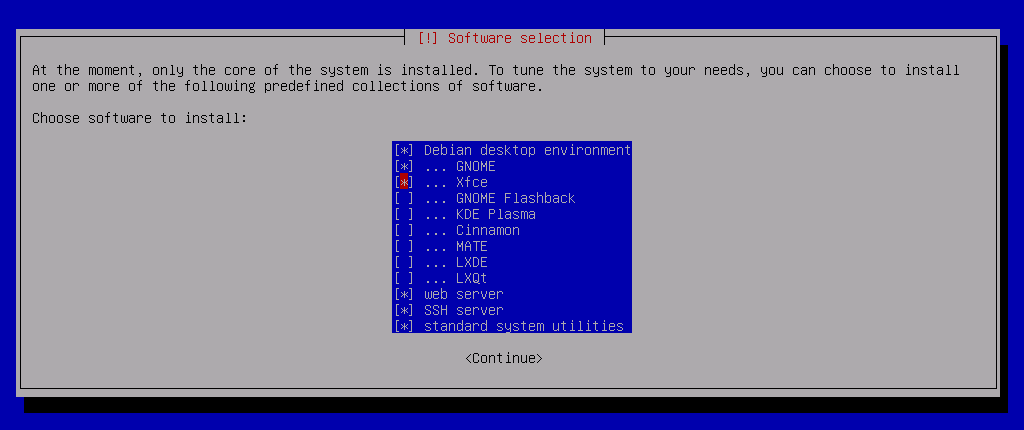
Tasksel software select
- To install Xfce, you have to select ‘Xfce’ and ‘Debian desktop environment.’ Once selected, and then press ENTER to let the installation begin.

Tasksel DE Installation
- Depending upon your internet speed, the installation will take some time to retrieve the packages from the web. Don’t worry, though, while the packages are downloading. You can check out ‘our picks for the best Debian desktop environments,’ We also included Xfce as the best DE for light users and find out what makes Xfce special.
After the files are retrieved, you will be prompted to select the display manager.
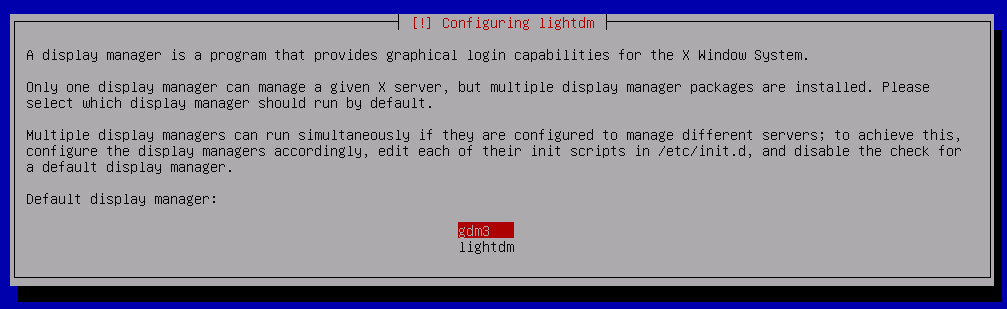
Display Manager
- This is required when more than one DEs are selected to be installed. You may choose the default ‘gdm’ option as it works just fine. After selecting, the installation will be resumed.

Xfce Installation
- Now let the installation finish, and once that is done, you will be prompted to reboot your system.
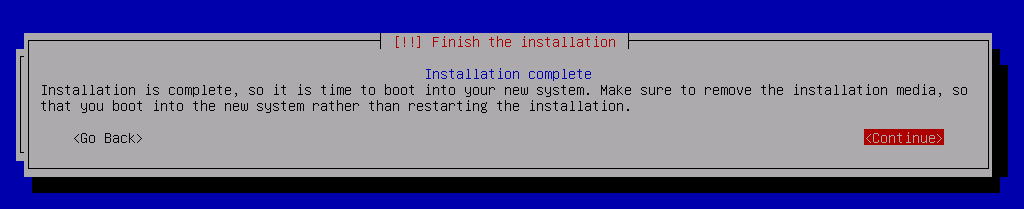
Xfce installation complete
- This means that Xfce has been successfully installed, and now you need to reboot your system by pressing ENTER.
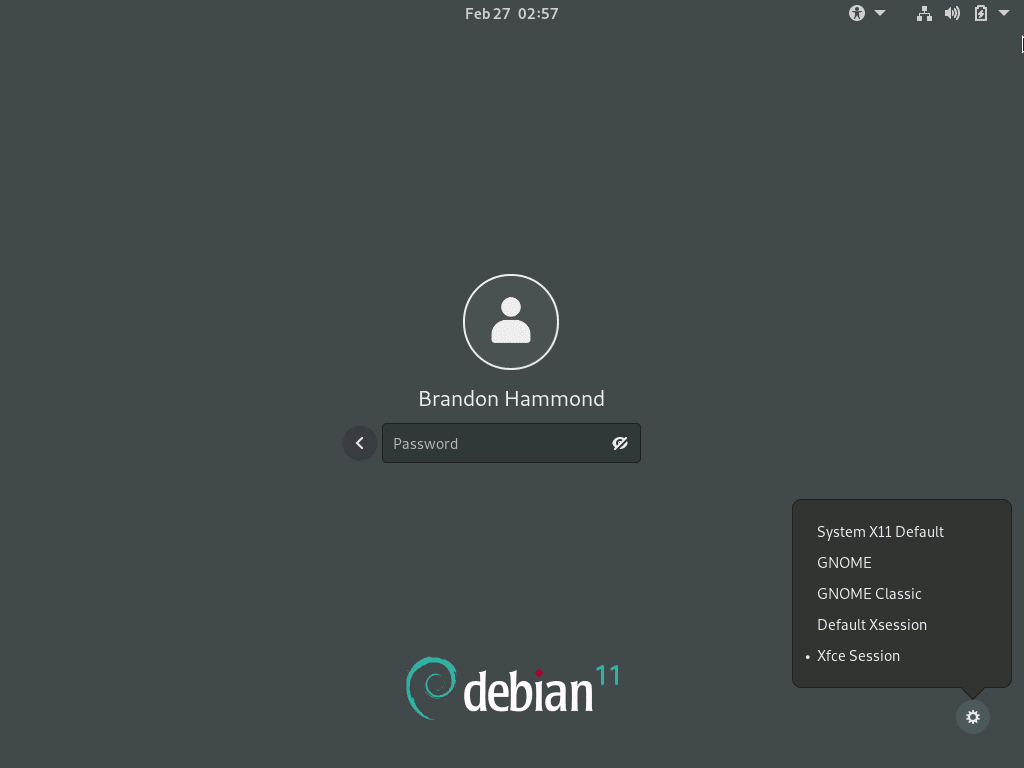
Xfce Login
- Now you will see the option to select any of the installed desktop environments in the bottom right corner. Next, choose Xfce from the GUI and enter your password to login into the DE.
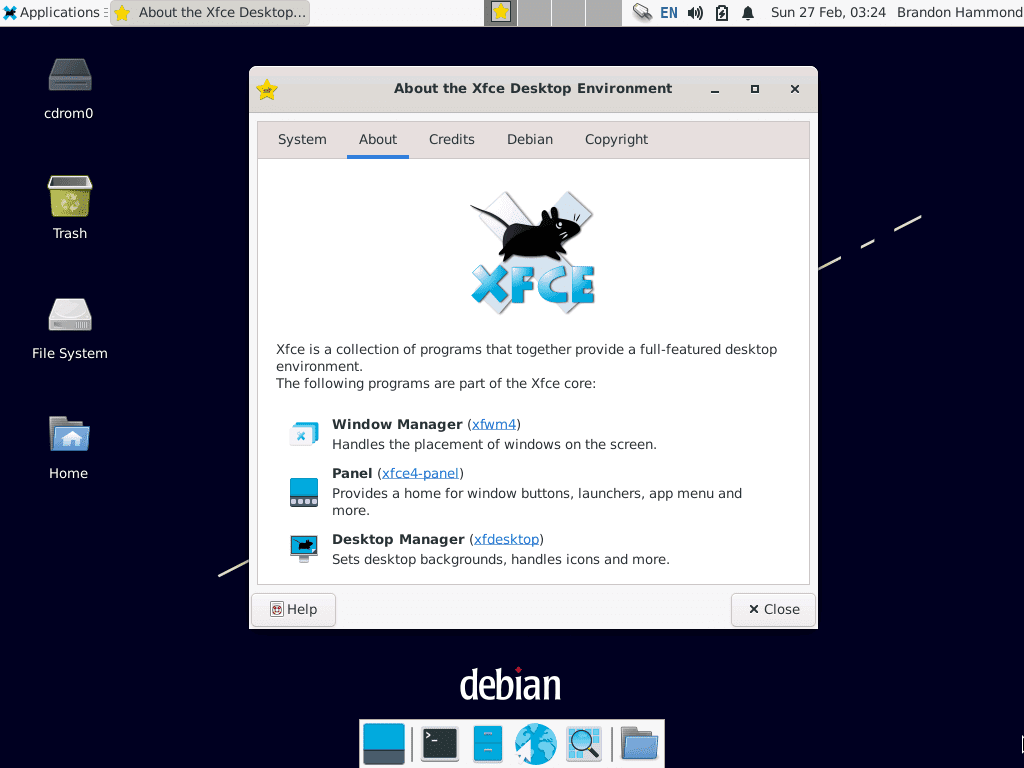
Xfce Desktop
Congratulations! You have now successfully installed Xfce on your Debian 11 using the tasksel tool.
2. Do a fresh Debian 11 installation along with Xfce DE
If you would like to avoid running into any potential errors, then doing a new installation of Debian 11 with your choice of DE is the best option as the process is relatively easy to follow.
You can have a detailed look at installing Debian 11 Minimal by clicking here or keep reading for a short overview of the installation as it is pretty much a straightforward process.
- You can download the ‘netinst’ (Net Install) version of Debian 11 from the official website. We recommend this method of installing Debian 11 as the ‘netinst’ version downloads all the required files automatically from the internet during installation, and it gets the most stable and updated packages. Here is the link for the latest stable 64-bit version of Debian 11 netinst version.
- After downloading the ISO image file, you need to create a bootable USB storage device. Then, you can use an ISO burning tool like balenaEtcher to burn the ISO image file onto the USB device.
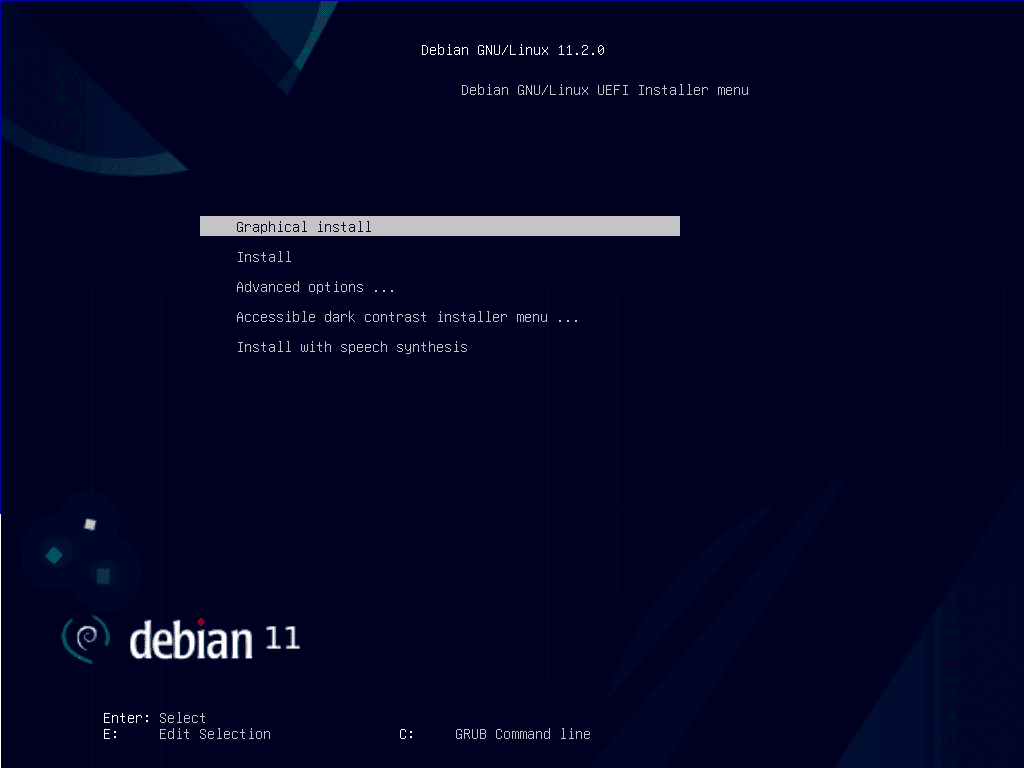
Debian 11 Installation Menu
- Once that is done, you need to boot from that USB, and you will get the Debian 11 Installation page as shown above. As you start the installation, it will prompt you to set up all the standard settings like your region, language, time zone, root and user accounts, passwords, etcetera. Next, you set up the root account, user account, and passwords and select the other options as you would during a default installation.
- Now you will be prompted to partition your drive(s).
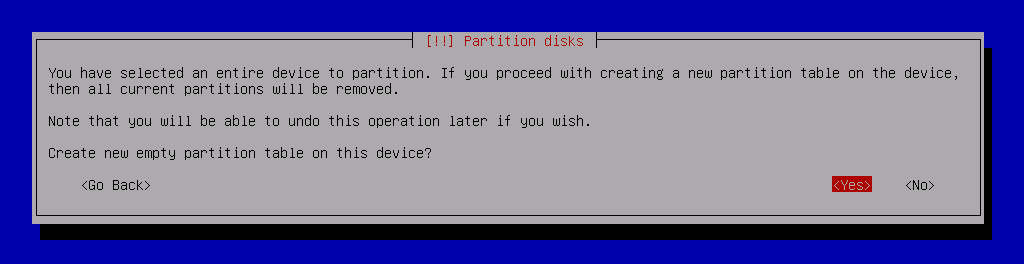
partition disks select yes
- You can choose the default option, automatically allocating the drive space to all the needed volumes.
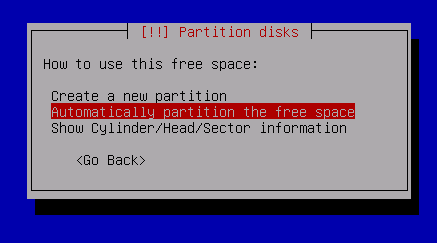
partitioning select automatic
- It will automatically allocate the available free space and create the partitions required by default.
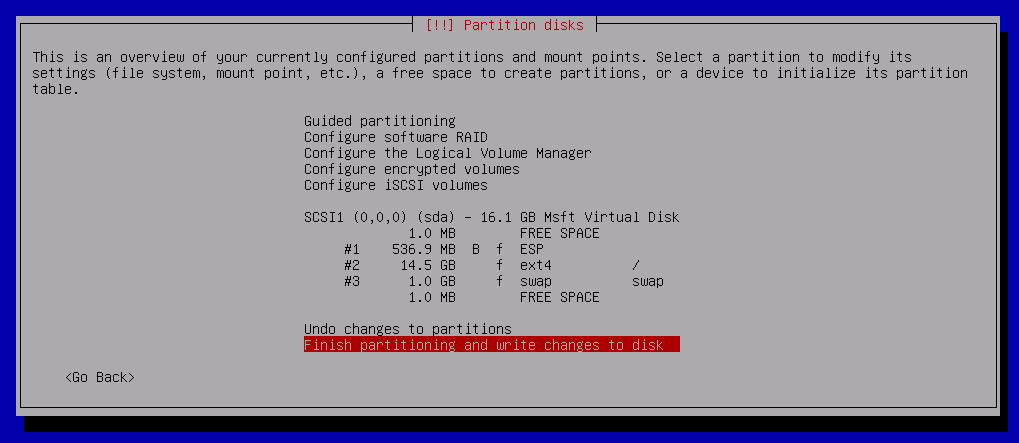
Partitioning Select Automatic Finish
As you can see above, the disk has been partitioned.
- Once all that is done, the base system installation of Debian 11 will start.
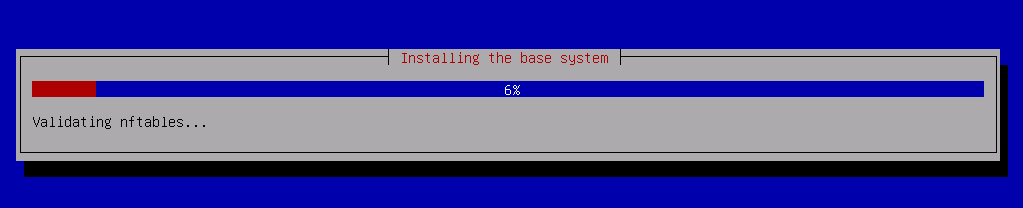
Base System Install
- After the base installation, the system will automatically switch to the Tasksel interface and prompt you to choose your desktop environment(s) to install.
Tasksel software select
- The rest of the procedure is the same as the first installation method detailed above. Therefore, you may follow the steps exactly as mentioned in that method, and you will have a successful installation of Debian 11 along with Xfce.
Xfce installation complete
- Now, after rebooting, you will be directed to the login page.
Xfce Login
You can see all installed DEs by clicking on the settings icon on the bottom right corner. Once again, congratulations!
3. Install Xfce through the apt package manager
The default apt package manager is a capable tool. It also makes it very easy to install Xfce. To install Xfce via the apt package manager, the following command needs to be executed:
sudo apt -y install task-xfce-desktop
This will retrieve the relevant packages and required files, and once the process is complete, Xfce DE will be installed. Now you need to reboot your system using the following command:
sudo reboot
Now you will be rebooted into the Xfce login page.
Final Thoughts
You have now learned to install Xfce on Debian 11 using three different methods. You can finally put your old hardware to use and set up your server, VPN, ad-blocker, or even a security monitoring system. Let us know if this article did help you out or if there is anything further we can guide you on. What do you think of the Xfce desktop?