
Samba is a powerful open-source tool that permits Windows-like sharing of files and printers in a network on Linux systems. It enabled the coexistence and interrelation of Linux and Windows machines on the same network. Samba is installed on the Linux server that hosts the files to be shared. These shared files can be accessed by an accredited Linux or Windows client on the same network.
Below are some cool features associated with Samba:
- Offers good performance under heavy loads.
- It is super easy and quick to deploy.
- Message signing-with digital signing- users who obtain the data packets are assured of the origin point of authenticity.
- Supports NetBIOS over TCP/IP(NBT).
- Allows simultaneous operations, that is, concurrent access to the files.
- Offers secured data transfer.
- Support the NT-style printing server (SPOOLS).
- Comprises of multichannel technology.
- It supports POSIX extensions for CIFS/SMB.
Samba is a cross-platform software supported on several platforms, including Windows OS, Unix OS systems, e.g., BSD variants, Solaris, AIX, and Linux, Apple’s Mac OS X server (appended to the mac OS X client in version 10.2). Samba is standard on almost all Linux distros and is commonly included as a primary system service on the other Unix-based OS. It is released under the GNU General Public License. The name samba originates from SMB (Server Message Block), the standard protocol utilized by the Microsoft network file system.
With that covered, let us now proceed and look at how to install Samba on our Debian machine.
How to set up and run Samba configuration on Debian
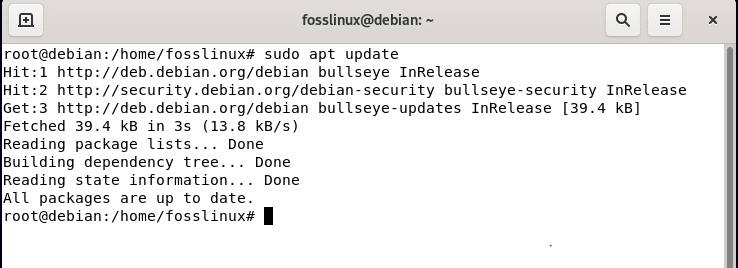
As usual, we will first update our Debian system before proceeding with the installation. As such, run the following command:
sudo apt update
update system
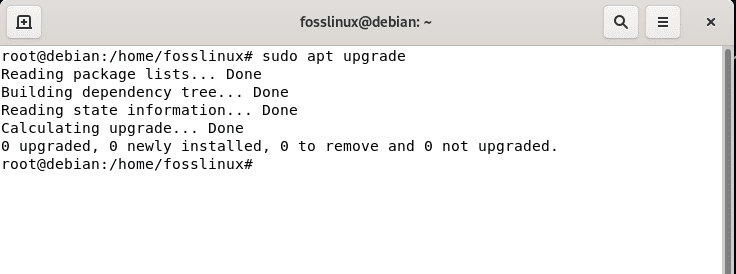
Running the above command; you will be presented with the number of packages that need an upgrade at the end of the update process in the terminal. In case some packages need an upgrade, run the following command. Otherwise, skip this part.
sudo apt upgrade
upgrade system
After that, proceed to the second phase, where we will install the Samba on our Debian machine by issuing the following command:
sudo apt install samba -y

install Samba
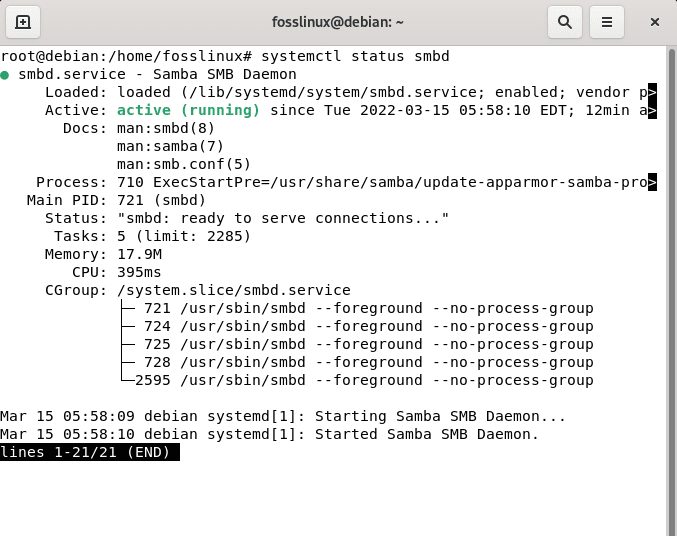
You can go ahead and check the samba status by running the following command:
systemctl status smbd
confirm if Samba is active
As seen, Samba is actively running.
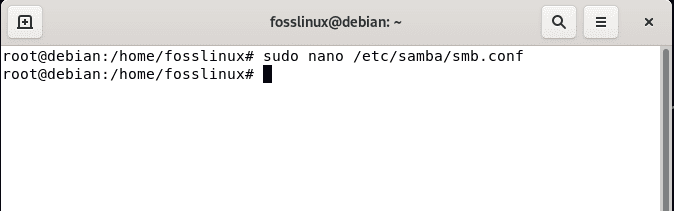
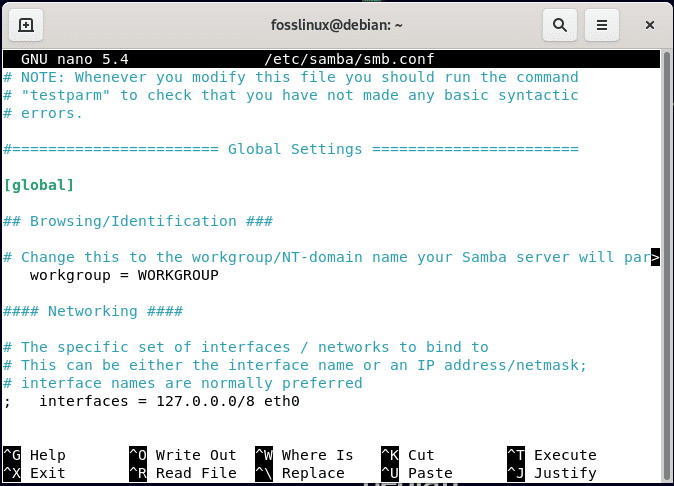
Samba configuration can be located in /etc/samba/smb.conf file. This file has all the configuration settings for itself and for the files that have been shared, and due to this, it is known as Global settings. To access the file, run the following command:
sudo nano /etc/samba/smb.conf
nano editor
And the output should be like this snapshot:
expected output
Note: Note that the above part of the nano editor is not on the first lines. As such, you will have to scroll down a bit.
Let us discuss a few settings in the configuration file before making any modifications. The first setting you glimpse at is the workgroup which tells you which OS you are connected to. By default, it is WORKGROUP, but if you have to connect with some particular group, you can change it. The following setting is the interface that will tell you which IPs are permitted by you to connect with the samba network. So by these settings, you can make your Samba secure and ensure that all the devices cannot connect to it but only permit a few that you authorize.
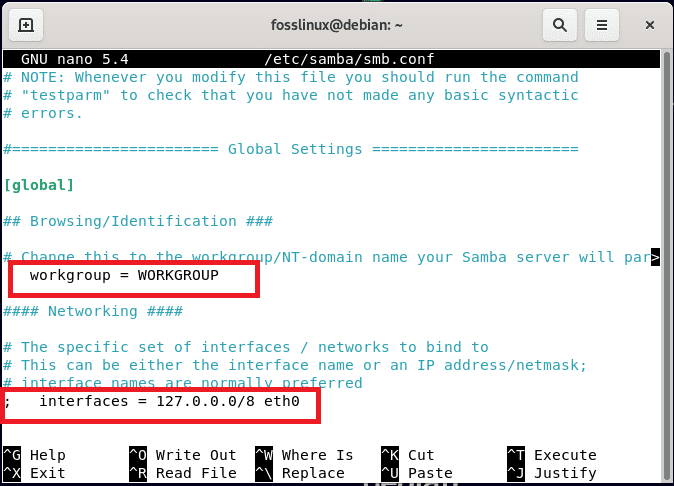
configuration file settings
The Next is “share definition.” Here, by default, some user directories are present, such as the printer directory and home directory, with which the files can be shared using Samba.
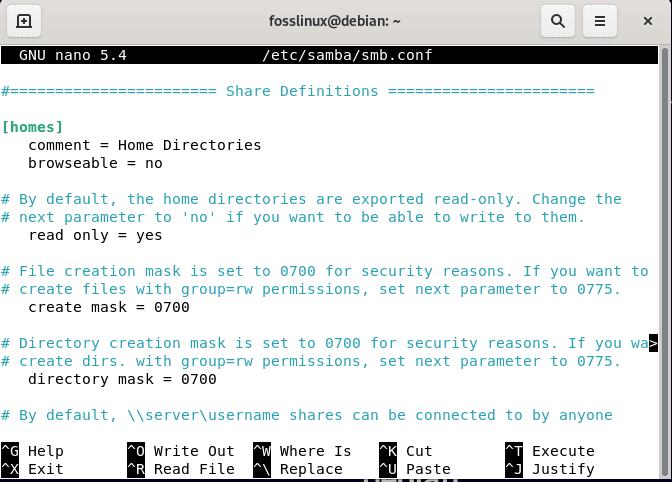
share definitions
Now, we will try to generate our user. For this, enter the username in our case, we will go with [New Share] as the new user:
To do this, briefly describe the new user after around four spaces as:
comment = My new share
Next, set the path equal to the absolute path to the share as displayed below:
path = /home/user/share
Next, you have the flexibility of choosing whether you want to be able to browse to the share or need to mount it directly manually.
browseable = yes
Now, set the settings to either readable only, which means it can not be modified in any way, or one that other people can edit:
Read only = no
Can guests access it? In Samba terms, guests are generally anonymous users who have not signed in to the share. So, in simple terms, do you want a password to protect the share or limit access to certain users?
guest ok = no
Next, you should ask yourself, if guests cannot access the share, who can?
valid users = username
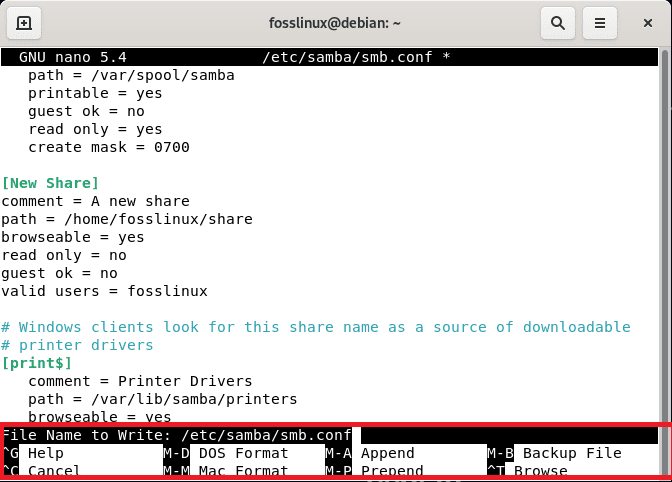
Unless you have something specific at the back of your mind, these options should be substantial. Link them up, and you should get something like this:
[New Share]
comment = A new share
path = /home/fosslinux/share
browseable = yes
read only = no
guest ok = no
valid users = fosslinux
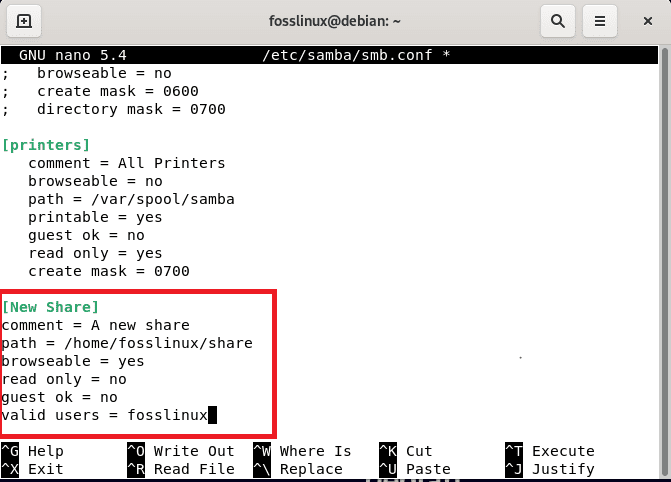
Create a new share
After that, press “Ctrl + X,” as shown below
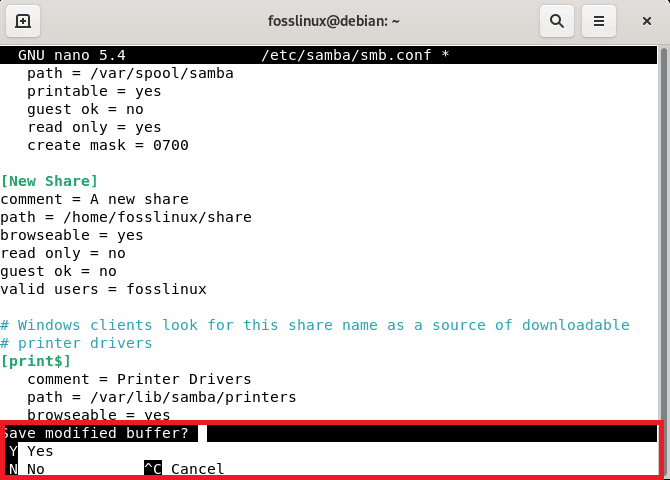
Press Ctrl + x
And then type in “y” and press the “Enter” key to save and exit the editor.
then Y to save
After all, this, restart the Samba using the following command:
sudo systemctl restart smbd
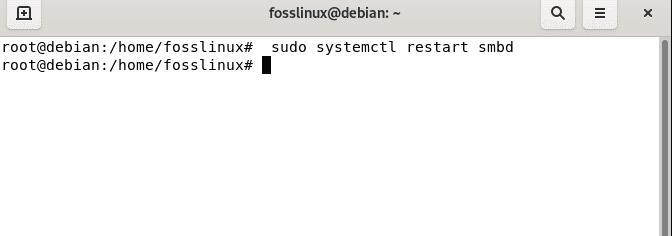
restart samba
Verify the Samba configuration
Once changes have taken effect on the config file, it is recommended that you test it by issuing the following command:
sudo testparm
For a successful configuration, you should then see such an output
Load smb config files from /etc/samba/smb.conf
Loaded services file OK.
Weak crypto is allowed
Server role: ROLE_STANDALONE

Press enter to see a dump of your service definitions

# Global parameters
[global]
log file = /var/log/samba/log.%m
logging = file
map to guest = Bad User
max log size = 1000
obey pam restrictions = Yes
pam password change = Yes
panic action = /usr/share/samba/panic-action %d
passwd chat = *Enter\snew\s*\spassword:* %n\n *Retype\snew\s*\spassword:* %n\n *password\supdated\ssuccessfully* .
passwd program = /usr/bin/passwd %u
server role = standalone server
unix password sync = Yes
usershare allow guests = Yes
idmap config * : backend = tdb


[homes]
browseable = No
comment = Home Directories
create mask = 0700
directory mask = 0700
valid users = %S


[printers]
browseable = No
comment = All Printers
create mask = 0700
path = /var/spool/samba
printable = Yes


[New Share]
comment = A new share
path = /home/fosslinux/share
read only = No
valid users = fosslinux


[print$]
comment = Printer Drivers
path = /var/lib/samba/printers
The above output clearly shows that everything is well configured.
Set up a Samba user
To connect to your share, not unless you are only using guest access, you need to set up Samba user accounts that are pretty simple and only take a single command.
smbpasswd -a username
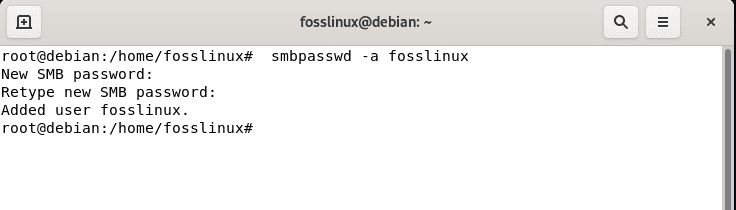
add new user
Note: Remember to replace the “username” with your actual username set earlier, type a password, then confirm it by retyping the same password, and the user should be appended. After that, type exit so that the user root mode terminates. In the command, you should have noticed lag “-a.” This is ideally used to add the user.
How to connect to a share
In this section, there are a couple of packages that you will need for a flawless connection to a Samba share. Go ahead, and install them by issuing the following command:
sudo apt install samba-client cifs-utils
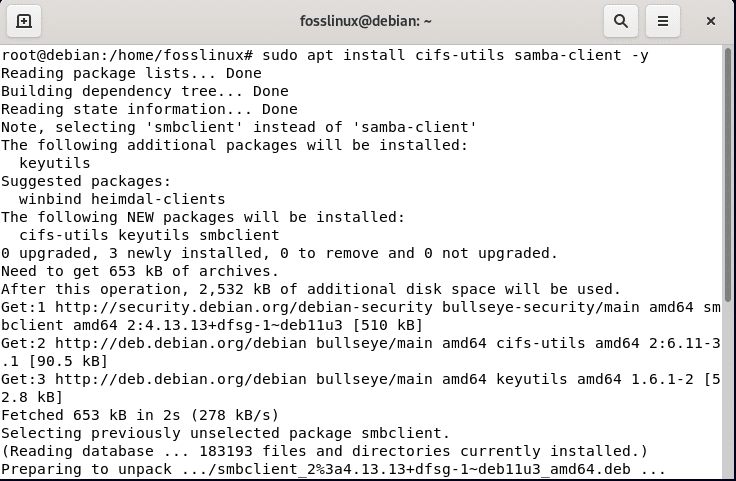
packages installation
After that, open Debian files by clicking on the start menu on your Debian PC, and the left, you should see a Dock containing “files,” as shown in the snapshot below.
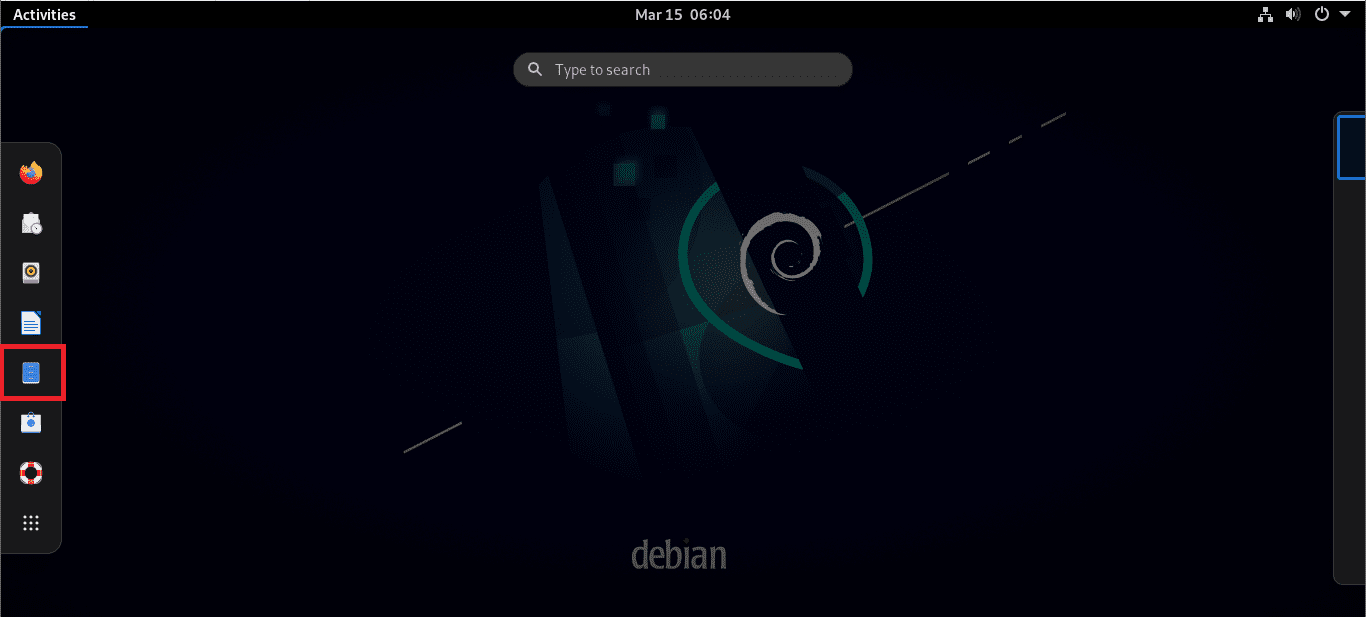
Go to the files menu.
After that, you should see “other locations” below the mounted Debian cdrom as shown below
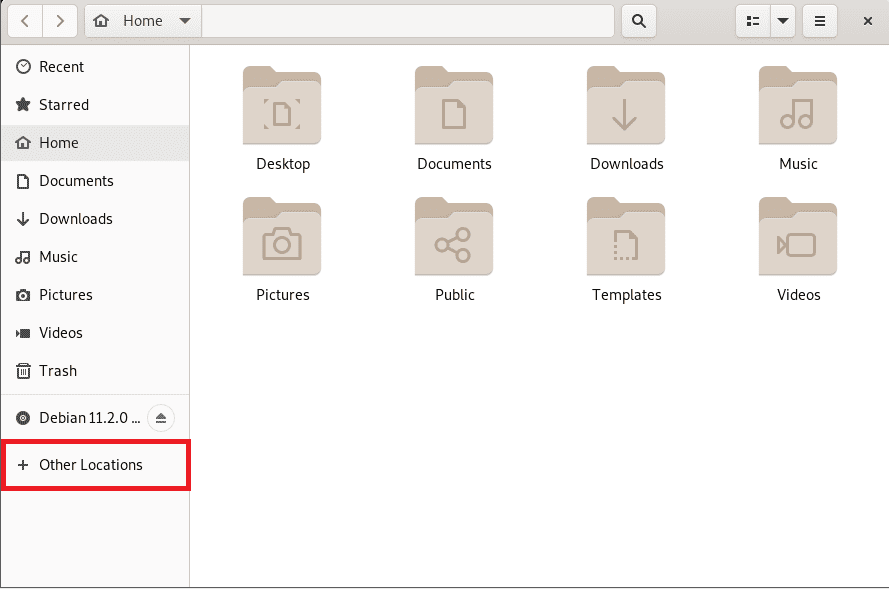
select other locations
Navigate to the “network category” and select Debian as marked in the screenshot below:
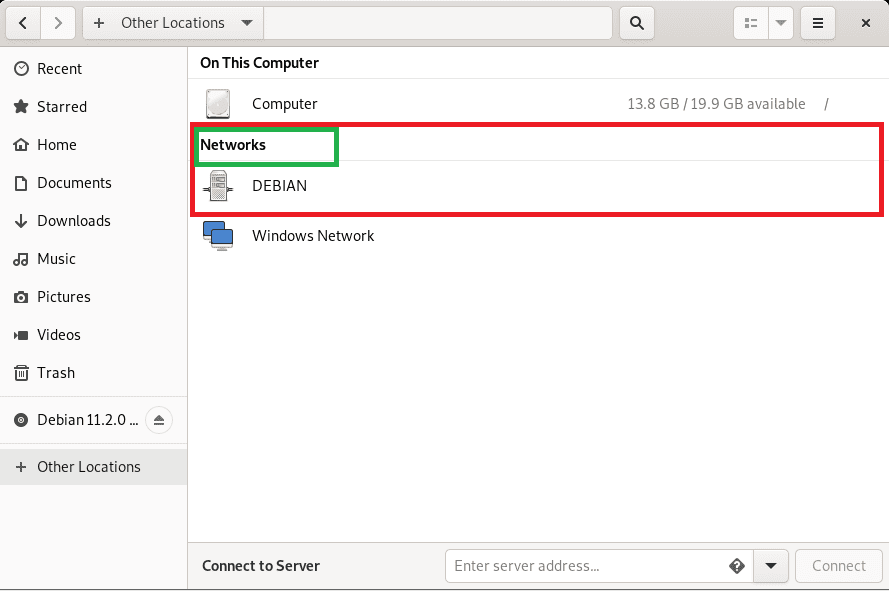
select Debian
You should see the New_share we just created on this page

open Debian to find the new_share created
At this point now, we can share files from any Linux machine to the new user if the user is a member of the same Local Area Network (LAN).
Conclusion
At this point, you are now equipped to start generating your own Samba shares on Debian and accessing them from your other Linux-based machines. There is not much else to it, guys, and Samba will spontaneously start with Debian at boot. We hope you enjoyed going through this guide on Configuring Samba Share on your Debian 11. Thanks for reading, and don’t hesitate to reach out in case of anything. Otherwise, keep following Foss Linux for more Linux-related guides and tips.