
Ruby is a popular programming language in web development, data analysis, and other fields. If you are new to Ruby and Ubuntu, you may wonder how to start with Ruby programming on your system. In this guide, we will provide a step-by-step tutorial on how to install Ruby on Ubuntu. We will cover the installation process using the command line and package manager and how to check the installation to ensure it works correctly. We will also explore some popular tools for setting up a development environment, including Ruby on Rails.
Installing Ruby on Ubuntu
To get started with Ruby on Ubuntu, you must install a command-line tool called rbenv. rbenv is a powerful environment manager that allows you to install and manage multiple Ruby versions on your system. This tool will help you avoid potential conflicts between different Ruby versions and ensure you can switch between them easily.
rbenv enables developers to use a specific version for a particular project without any arising conflicts. For example, you can develop your first app using Ruby version 2.5.0 and the second application using Ruby version 3.2.1. After installing Ruby, you can install Rails, a popular web application framework, using the gem command.
By the end of this tutorial, you will have a solid understanding of how to set up and use Ruby on Ubuntu, allowing you to create scalable web applications and scripts easily. We will also look at other valuable tips and tricks, like checking the Ruby and rbenv versions, updating rbenv to the latest version, and uninstalling both Ruby and rbenv.
Let’s dive in.
Pre-requisites
Before installing and using Ruby on Ubuntu, you must have a few things ready.
- A running Ubuntu Desktop or Ubuntu server. You can check out our comprehensive post on “How to install Ubuntu Server 22.04 LTS.”
- A user with “sudo” privileges. It should not be a root user. Check out our comprehensive post and learn “How to add users to Sudoers (and remove) on Ubuntu.”
- An active internet connection as you will need to download and install various system packages.
Step 1. Install rbenv on your system
Installing rbenv is the first step in setting up Ruby on Ubuntu. Follow these steps to install rbenv:
1. Launch the Ubuntu Terminal from the applications menu or use the keyboard shortcut Cytl + Alt + T. Alternatively, you can learn more tricks to open the Ubuntu Terminal in our post “5 Ways to Open a Terminal in Ubuntu.”
2. Use the command below to install the required rbenv dependencies:
sudo apt-get update
sudo apt install git curl libssl-dev libreadline-dev zlib1g-dev autoconf bison build-essential libyaml-dev libreadline-dev libncurses5-dev libffi-dev libgdbm-dev
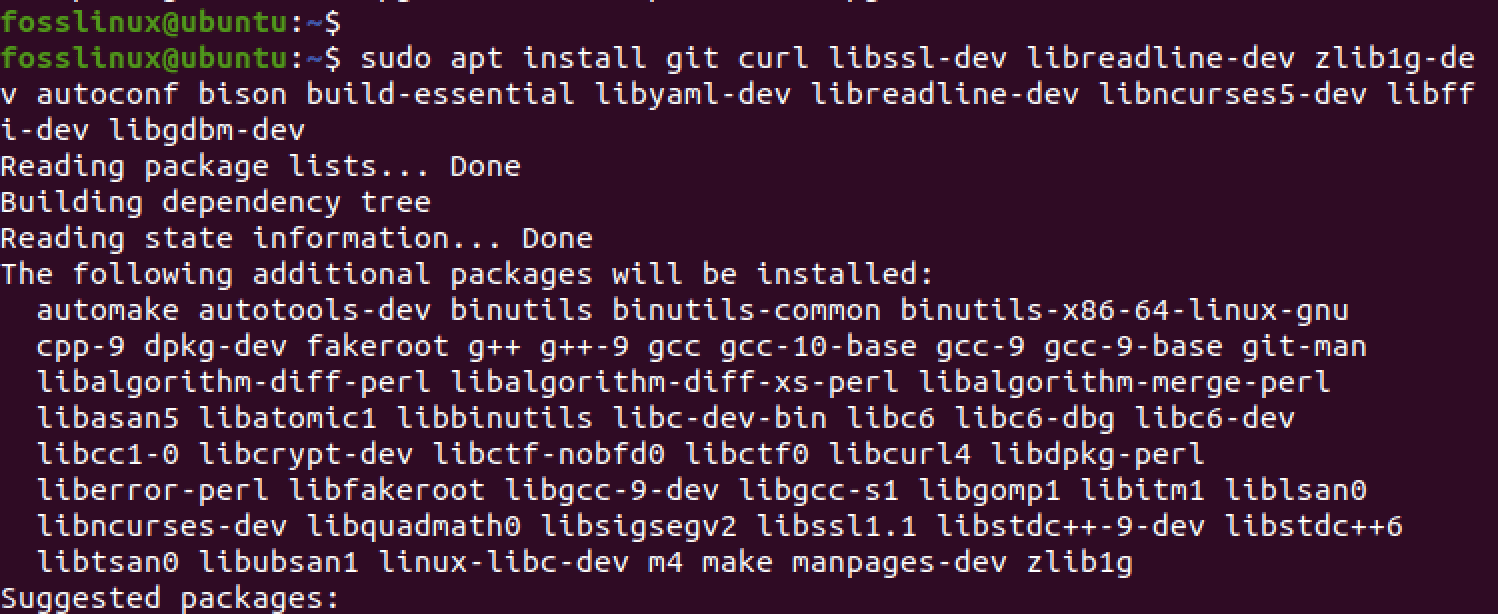
Install dependencies
3. Once the dependencies are installed, run the following command to install rbenv.
curl -fsSL https://github.com/rbenv/rbenv-installer/raw/HEAD/bin/rbenv-installer | bash
The command downloads and executes the rbenv installer script from the rbenv GitHub repository using the curl command and bash shell, which installs rbenv.
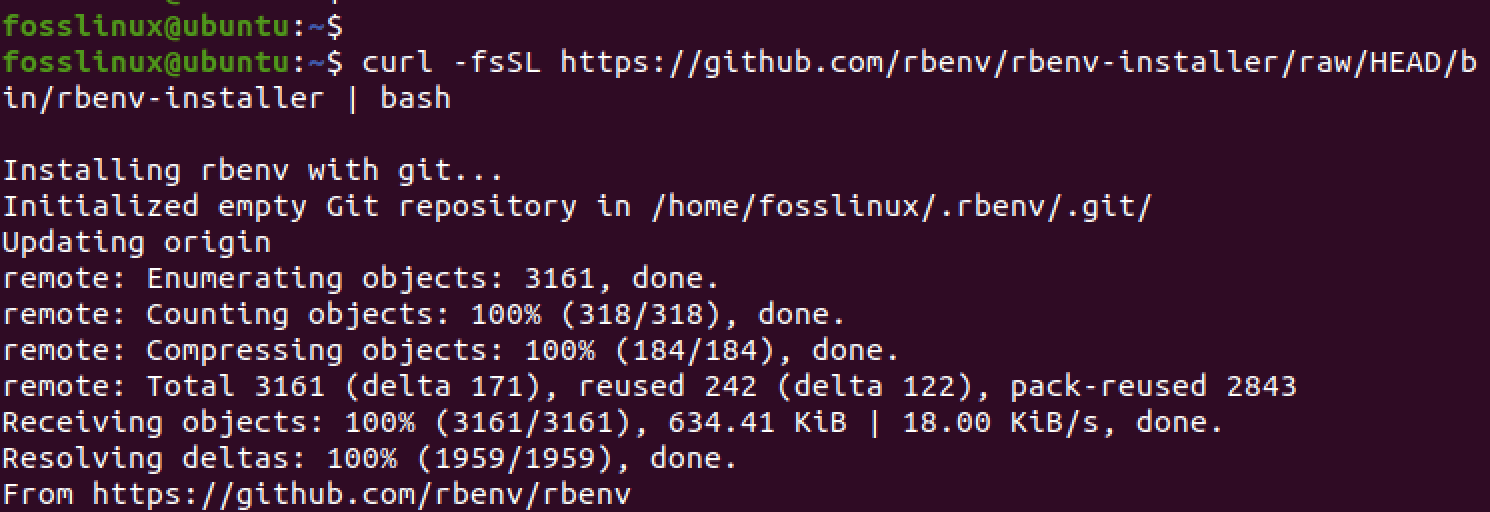
Install rbenv
4. Next, add rbenv to your PATH environment variable by running the following command:
echo 'export PATH="$HOME/.rbenv/bin:$PATH"' >> ~/.bashrc
Run the command below to ensure that rbenv loads automatically.
echo 'eval "$(rbenv init -)"' >> ~/.bashrc
5. You will need to reload your terminal to apply the changes. Execute the command below.
source ~/.bashrc
6. Verify that rbenv has been installed correctly by running the following command:
rbenv --version=
You should see the version number displayed in the terminal if rbenv was installed correctly.
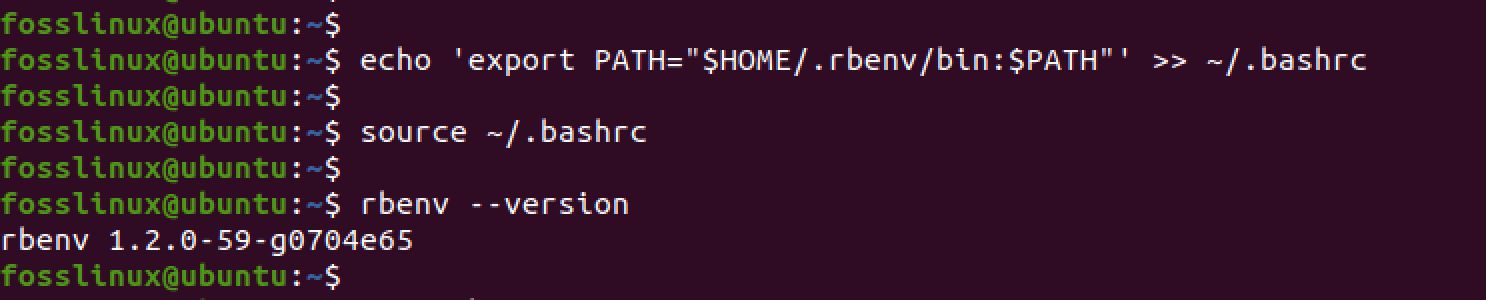
Configure rbenv
With the rbenv and the ruby-build plugin installed, you are ready to install Ruby and Rails on your Ubuntu system.
Step 2. Install Ruby
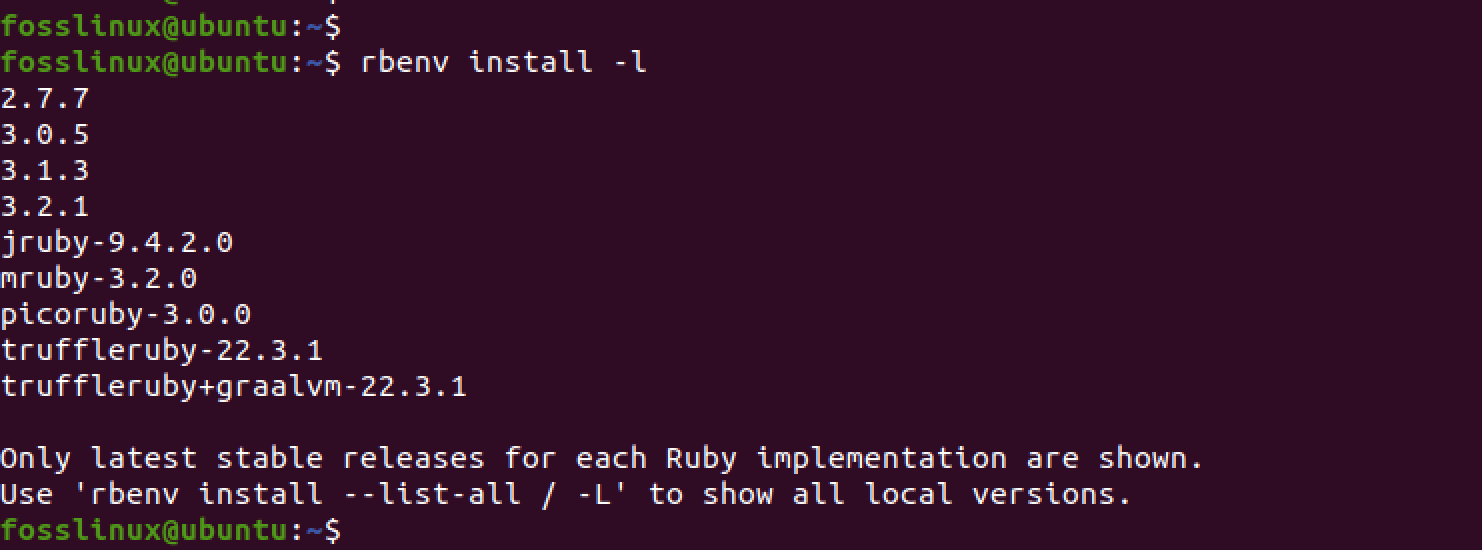
The first thing you need to do before installing Ruby is to determine the versions available for installation. You can do that using the rbenv install command, as shown below.
rbenv install -l
From the image below, you can see all the versions available for installation. We will install version 3.2.1 for this post.
Available Ruby versions
To install Ruby with ruby-build, use the rbenv install command followed by the version number you want to install. For example, if you’re going to install Ruby version 3.2.1, you can use the following command:
rbenv install 3.2.1
This command will download and compile Ruby version 3.2.1 on your system. Depending on your network and system specifications, it is a relatively huge package and might take a while to download and install.

Install Ruby
After installing Ruby, you need to tell rbenv which version to use by setting it as the global version:
rbenv global 3.2.1
You can also set a local Ruby version for a specific project by running the following command in the project directory:
rbenv local 3.2.1
This will create a .ruby-version file in the project directory and set the Ruby version to 3.2.1 for that project only.
To verify that you have installed the correct version of Ruby, you can use the following command to display the version number:
ruby -v
This command will display the installed version of Ruby on your system.

Check Ruby version
Congratulations! You have successfully installed Ruby with ruby-build using rbenv. You are now ready to start building Ruby applications and projects on your Ubuntu system.
Step 3. Testing out Ruby on the command-line
Execute the command below to ensure the ruby command is available to your system.
rbenv shell 3.2.1
Tip: Replace 3.2.1 with the Ruby version you installed on your system.
Up to this point, you can write and run a simple program. For example, use the command below to create a Ruby program file called my-program.rb.
nano my-program.rb
On the nano screen that appears, paste the line below.
puts "Hello, World!"
Save the file Ctrl + S. Run the program with the syntax below.
ruby my-program.rb
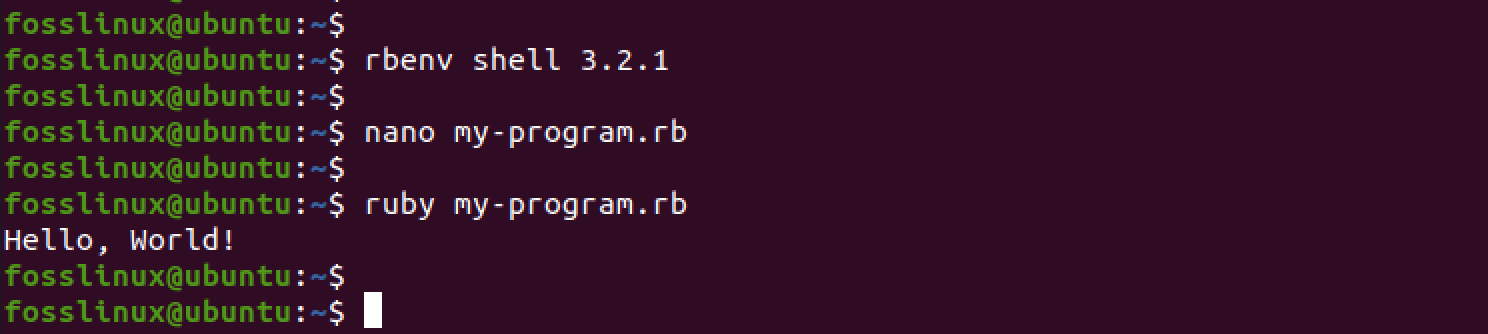
Your first Ruby program
Step 4 – Managing Ruby Libraries with Gems
Gems are packages of pre-written code that you can use in your Ruby projects. They are installed and managed using the gem command. To install Rails, you will need to use this command.
Local documentation is generated by default when installing a gem, which can be time-consuming and unnecessary. You can disable this feature by creating a file named .gemrc in your home directory and adding the configuration setting –no-document.
See the command below.
echo "gem: --no-document" > ~/.gemrc
To manage dependencies for your project, you can use Bundler. This tool ensures all the required gems for your project are installed. Rails depend on Bundler, so you will need to install it first. Use the command below.
gem install bundler
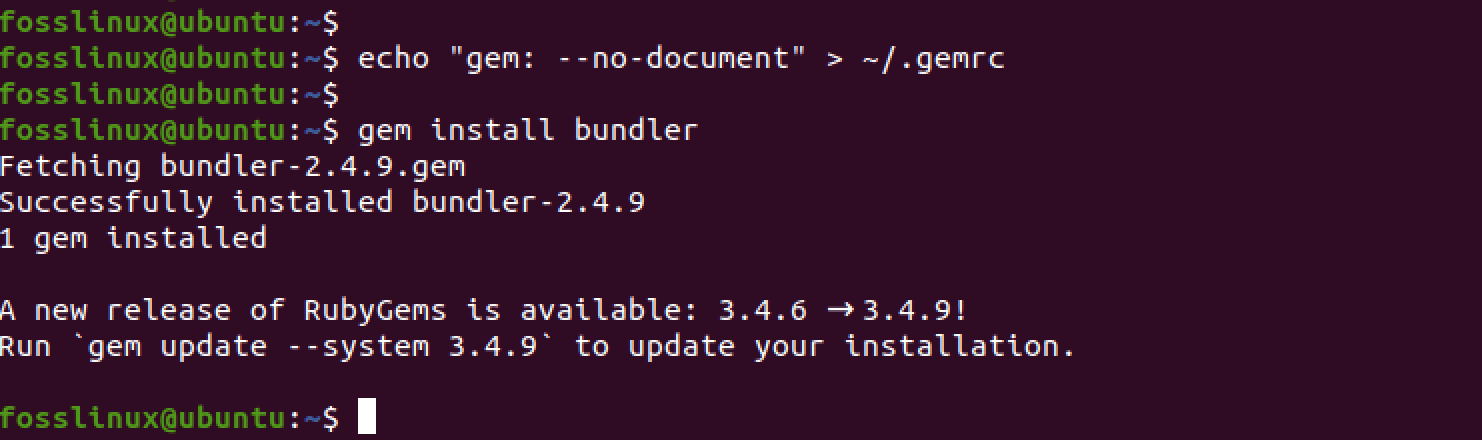
Install Bundler
Once you have installed Bundler, you can use the gem env home command to see where your gems are being installed. This will help you confirm that everything is set up correctly.
gem env home

Verify gems installation path
With gems set up, you are now ready to install Rails.
Step 5 – Installing Rails for Web Development
Up to this point, we have successfully installed and configured gem on our Ubuntu system. We can now proceed to use the gem install command to install Rails on our system. Check out the command below.
gem install rails -v 7.0.4
Here, you will notice that we used the -v flag to specify the rails version we want to install on our system.
Rails is a complex framework that depends on many other gems, so the installation process may take some time. Once it completes, you will see a message indicating that Rails and its dependencies have been installed.
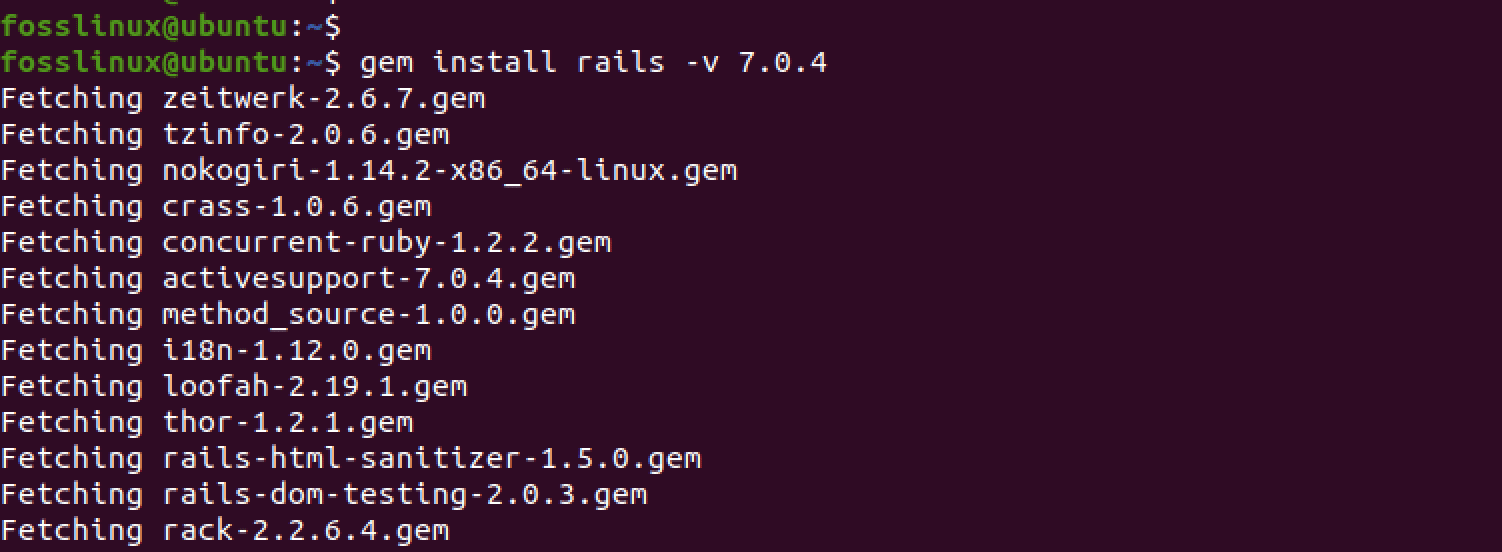
Install Rails
If you are unsure of the Rails version available for installation, you can use the gem search command as shown below.
gem search '^rails$' --all
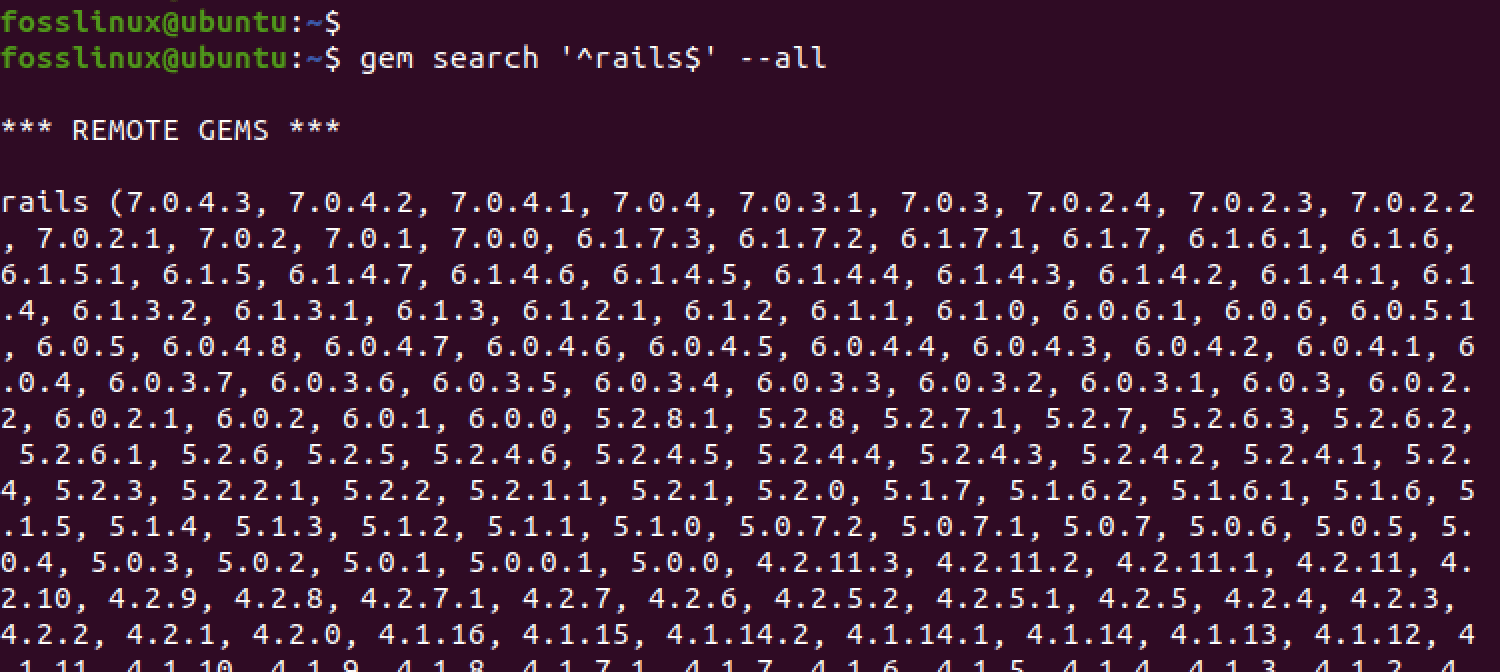
Available Gem versions
Tip: If you want to install the latest Rails version, you can do so by just running the gem install rails command without specifying any version using the -v flag.
Next, you must update rbenv shims by executing the command below.
rbenv rehash
You can verify if Rails was successfully installed on your system by running yhr command below on your Terminal
rails -v
Or,
rails --version

Rails version
If the installation succeeds, you will see an output similar to the image above (the version might differ). Up to this point, you have successfully installed Ruby and Rails on your Ubuntu system. You can now get started with building Ruby scripts and web applications.
Step 6 – Removing Ruby Versions
If you have installed many Ruby versions and don’t need some anymore, you can remove them from your system using the rbenv uninstall command. This command removes the specified Ruby version from the ~/.rbenv/versions directory. For example, to remove Ruby version 3.2.1, use the following command:
rbenv uninstall 3.2.1
This command is useful when you want to free up disk space or maintain a clean installation of Ruby.
Step 7 – Removing rbenv
If you want to remove rbenv and its installed Ruby versions from your system, you can do so with a few simple steps.
You need to edit the ~/.bashrc file and delete the two lines added when you installed rbenv in Step 1 above. Use the command below to open ~/.bashrc using the nano editor.
nano ~/.bashrc
Scroll to the bottom and find the two lines below.
export PATH="$HOME/.rbenv/bin:$PATH"
eval "$(rbenv init -)"
Delete these lines and any other lines that might include rbenv. Next, save the file (Ctrl + O, then Enter) and Exit (Ctrl + X). Once done, you can remove rbenv and all the Ruby versions installed on your system by running the command below.
rm -rf `rbenv root`
After running the command above, you must log out or restart your PC. This will remove rbenv and all its installed Ruby versions from your system.
Conclusion
This post has given you a comprehensive guide on installing and using Ruby on your system. To sum up, rbenv is an environment manager that allows you to manage different versions of Ruby, preventing potential conflicts between them. After successfully installing rbenv and Ruby, you can easily create Ruby applications and projects on your Ubuntu system, taking advantage of Ruby’s flexibility and simplicity.