
ownCloud is a popular client-server software for creating and using file hosting services. Using it, one can create a private cloud server instead of relying on paid services like Dropbox, OneDrive, pCloud, etc..
The significant advantage of using ownCloud is the cloud size you get. Its size is limited by your hard disk capacity! With hard disks so much affordable these days, you can create a terabyte’s worth of cloud server at a fraction of a cost compared to paid cloud services.
We have already provided a step-by-step guide on setting up ownCloud on a Ubuntu machine. Today, let’s set it up on CentOS 7.
Install and Configure ownCloud on CentOS 7
Login to Terminal as root and start firing up the commands below.
Step 1 – Disable SELinux
Open SELinux configuration and edit the file:
vim /etc/sysconfig/selinux
Change “SELINUX=enforcing” to “SELINUX=disabled”
Save and exit the file. Then reboot the system.
reboot
Step 2 – Install and Configure Apache
Use the following commands:
yum -y install httpd mod_ssl
Check service status.
systemctl status httpd.service
If Apache service is not running, start it manually.
systemctl start httpd.service
Enable httpd service on system boot.
systemctl enable httpd
Run the following command to configure the firewall for Apache.
firewall-cmd --add-service http --permanent
firewall-cmd --add-service https --permanent
firewall-cmd --reload
Step 3 – Configure Needed Repositories
Install epel and remi repos.
yum install http://rpms.remirepo.net/enterprise/remi-release-7.rpm
Disable PHP 5 repositories and enable PHP 7.2 repo.
yum-config-manager --disable remi-php54
yum-config-manager --enable remi-php72
Step 4 – Install PHP
yum install php php-mbstring php-gd php-mcrypt php-pear php-pspell php-pdo php-xml php-mysqlnd php-process php-pecl-zip php-xml php-intl php-zip php-zlib
Step 5 – Install MariaDB
yum --enablerepo=remi install mariadb-server
Start the MariaDB service.
systemctl start mariadb.service
Enable MariaDB on system boot.
systemctl enable mariadb
Run the following command to secure MariaDB.
mysql_secure_installation
Add a new root password and continue. Then it will ask a few questions. Type “Y” to agree to that.
Login to DB server and verify.
mysql -u root -p
Step 6 – Installing ownCloud
Create a repo file.
vim /etc/yum.repos.d/owncloud.repo
Add the following content to the file.
[ce_10.1]
name=wnCloud Server Version 10.1.x (CentOS_7)
type=rpm-md
baseurl=http://download.owncloud.org/download/repositories/production/CentOS_7
gpgcheck=1
gpgkey=http://download.owncloud.org/download/repositories/production/CentOS_7/repodata/repomd.xml.key
enabled=1
Save and exit the file. List repositories using the following command:
yum repolist
Run clean command to make yum aware of the change.
yum clean expire-cache
Install ownCloud.
yum install owncloud
Step 7 – Create a Database for ownCloud
Create a database of your choice. You can replace the name fosslinuxocdb to anything you want.
create database fosslinuxocdb;
Create a DB user and grant privileges.
create user 'ownclouduser'@'localhost' identified BY 'de@34@dfE67diT90';
grant all privileges on fosslinuxocdb.* to ownclouduser@localhost ;
Flush privileges.
flush privileges;
Step 8 – Configuring Apache for ownCloud
Create a virtual host file.
vim /etc/httpd/conf.d/owncloud.conf
Add the following contents to the file. Make sure to replace the fosslinux names with the names you used.
<VirtualHost *:443>
ServerAdmin webmaster@fosslinuxowncloud.com
DocumentRoot "/var/www/html/owncloud/"
ServerName fosslinuxowncloud.com
ServerAlias www.fosslinuxowncloud.com

ErrorLog "/var/log/httpd/fosslinuxowncloud.com-ssl-error_log"
CustomLog "/var/log/httpd/fosslinuxowncloud.com-ssl-access_log" combined

<Directory "/var/www/html/owncloud/">
DirectoryIndex index.html index.php
Options FollowSymLinks
AllowOverride All
Require all granted
</Directory>

SSLEngine On

SSLCertificateFile /etc/ssl/certs/fosslinuxowncloud.cer
SSLCertificateKeyFile /etc/ssl/certs/fosslinuxowncloud.key
SSLCertificateChainFile /etc/ssl/certs/fosslinuxowncloud.ca

</VirtualHost>
You can add your SSL certificates and point it to configurations.
SSLCertificateFile /etc/ssl/certs/certifiate-name.cer
SSLCertificateKeyFile /etc/ssl/certs/key-name.key
SSLCertificateChainFile /etc/ssl/certs/chain-cert.ca
Restart the Apache web server for the changes to take effect:
systemctl restart httpd
Step 9 – Configuring ownCloud
Open a web browser and browse the following address.
https://Domain name or IP
Then you will get a similar page as below.

owncloud-Configuration-Page
Then create an admin account.
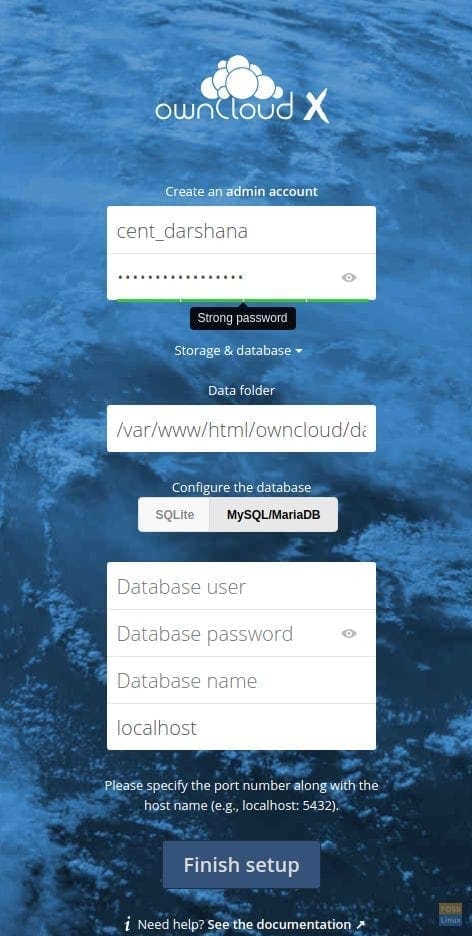
Create Admin Account
We didn’t modify Data folder hence we didn’t create a separate folder for it.
Add MariaDB details.
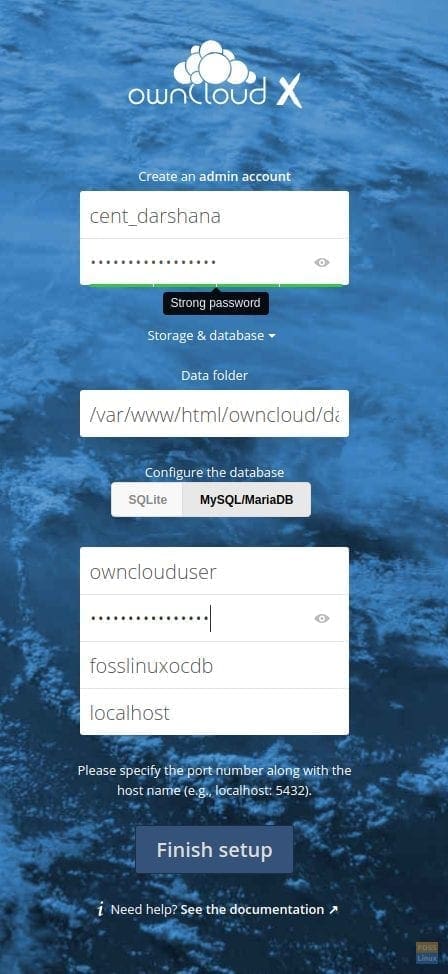
Add MariaDB Details
Then click on “Finish setup”, and it will configure the application.
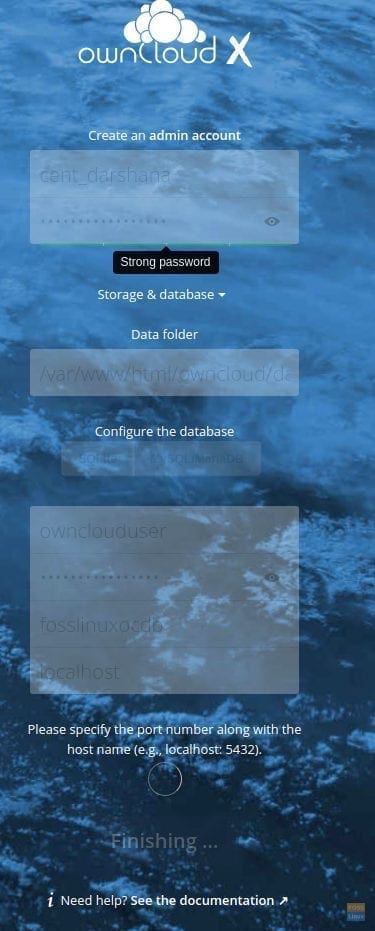
Configuring Settings
Then it will redirect to login page. Use created an admin username and password to access ownCloud.
You will get a splash screen like below:
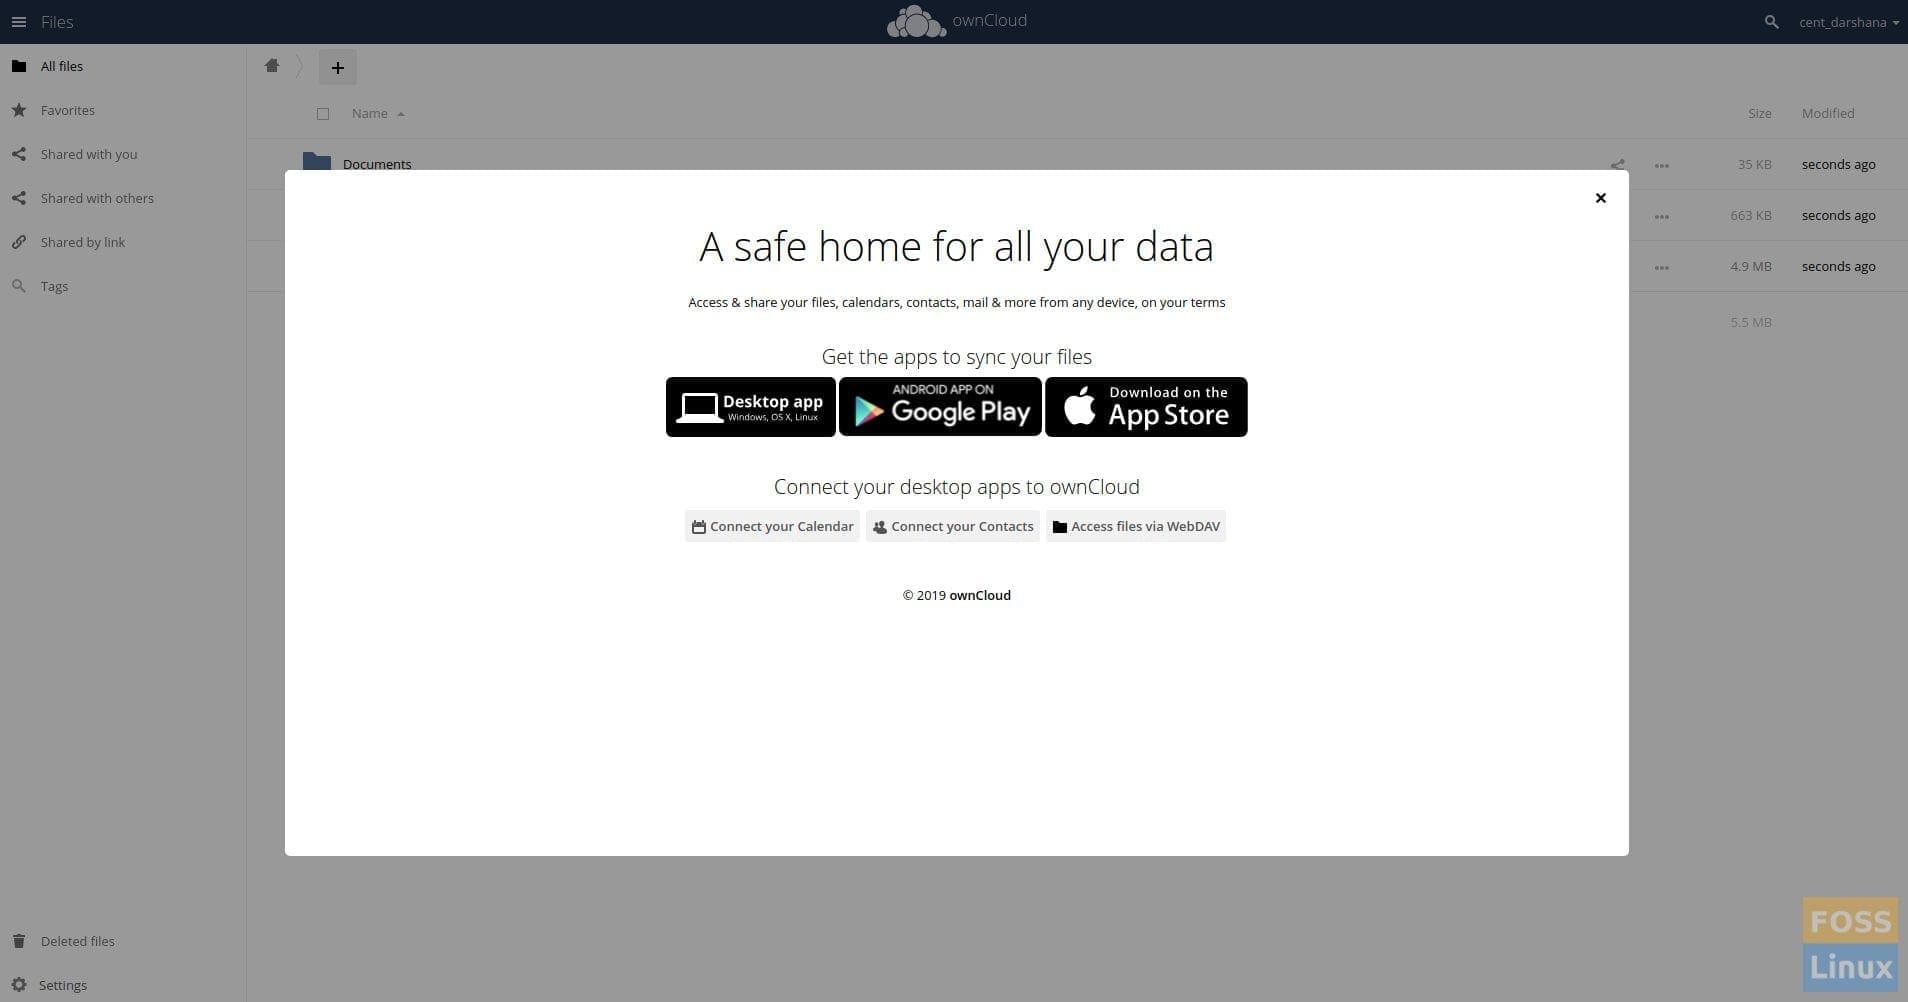
Splash-Screen
After you close splash screen and you can see the ownCloud main window.
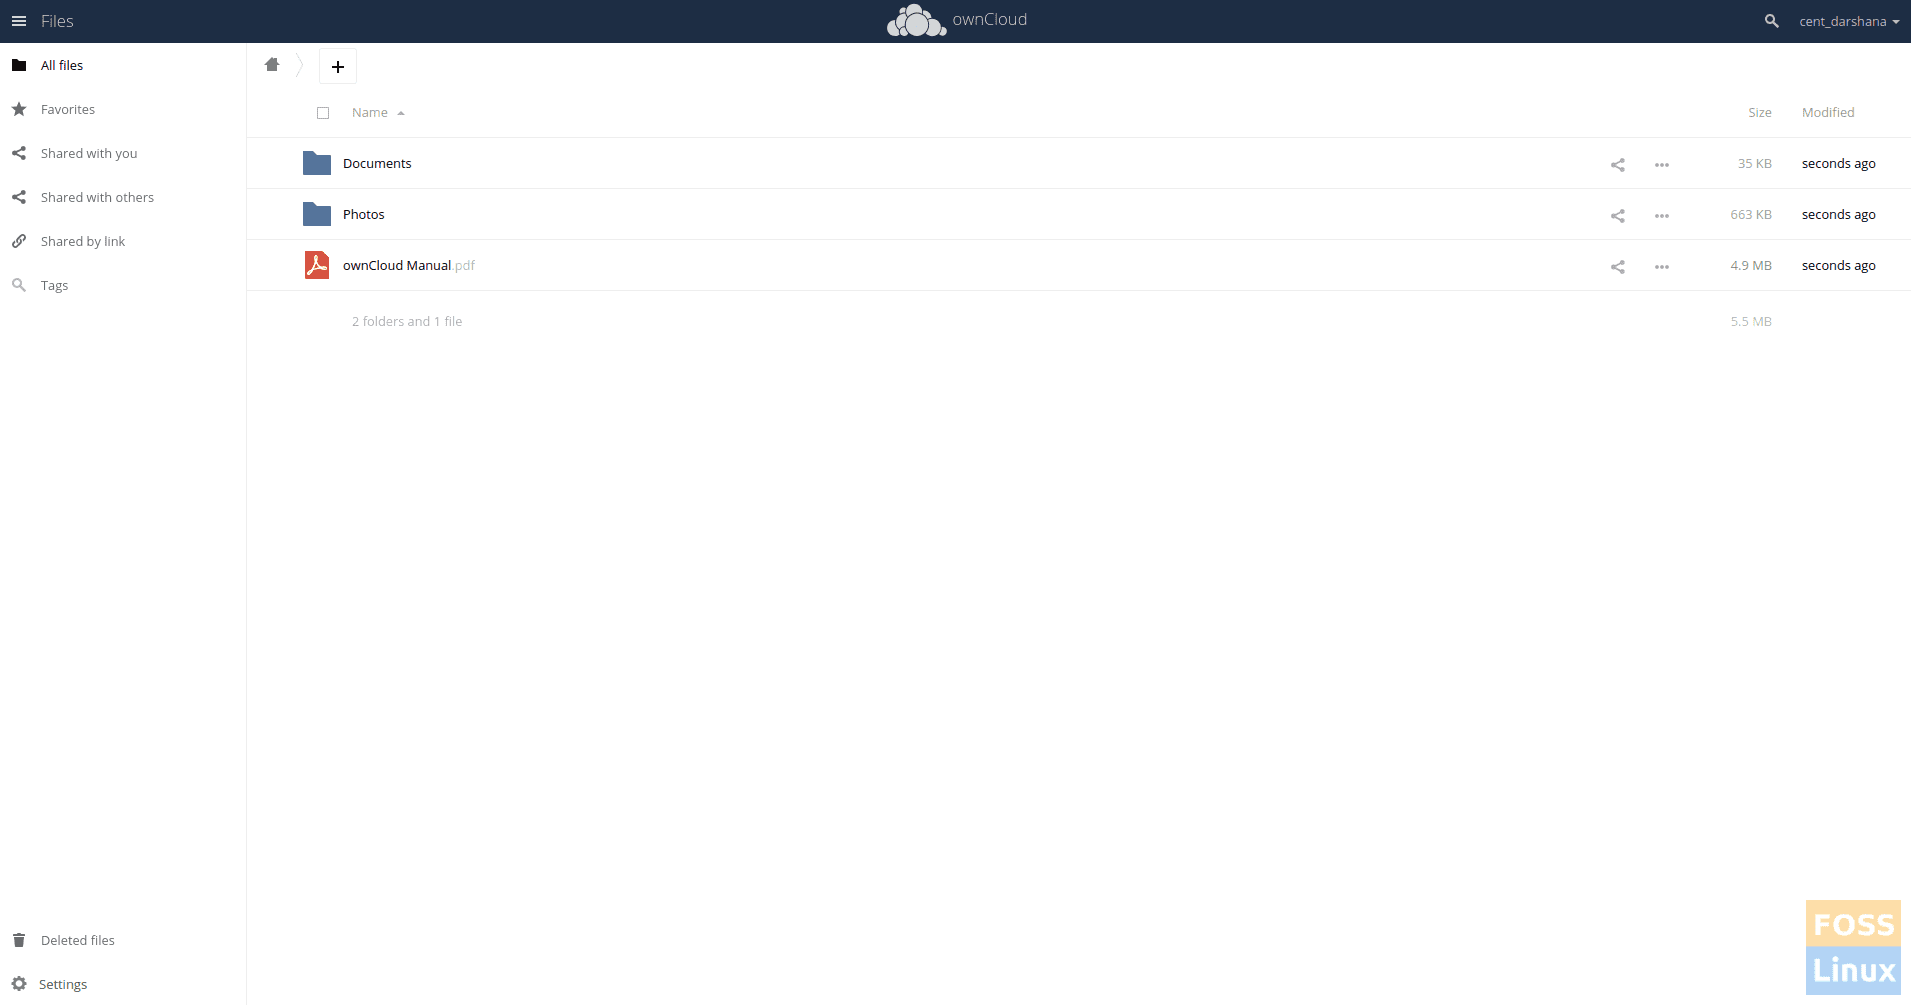
Owncloud Main-Interface
Step 10 – Install Owncloud Desktop Client
Enter the following commands to install the client on Centos 7.
Go to the repository folder.
cd /etc/yum.repos.d/
Add repository.
wget https://download.opensuse.org/repositories/isv:ownCloud:desktop/CentOS_7/isv:ownCloud:desktop.repo
Install client.
yum install owncloud-client
Then start the client and add ownCloud URL.
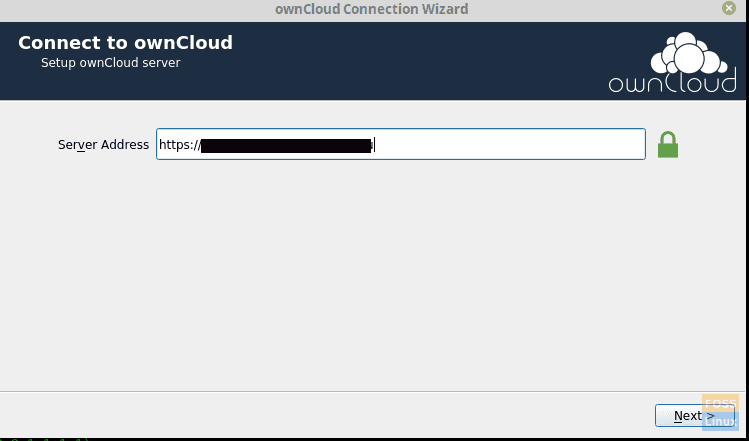
Open-Owncloud-Client
Add user credentials and click next.
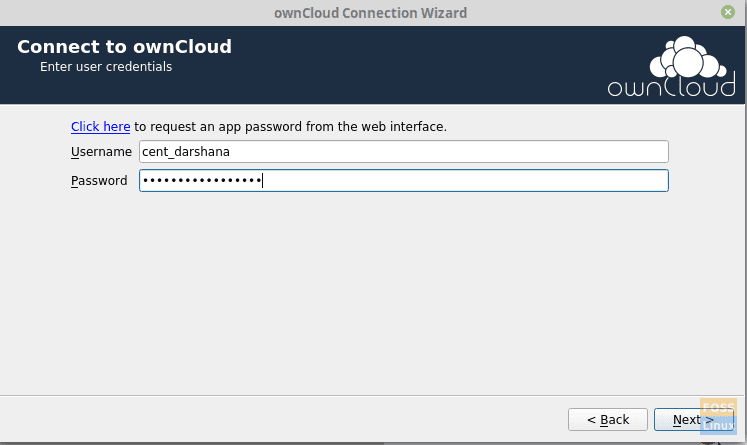
Add-User-info
You can configure a local folder and sync settings.

Owncloud-Local-Folder-Options
Click connect, and it will sync with the server.
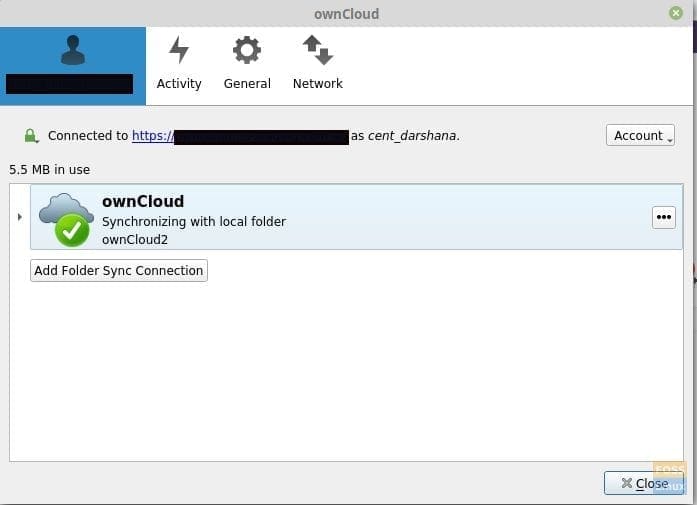
Synchronizing-Status
Now you can add files, images, etc. to a local folder and it will sync with the server.
Congratulations! You have successfully installed and configured the ownCloud server and client on CentOS 7. I hope you enjoyed reading and following our tutorial. Got feedback or questions. Feel free to shoot in comments below.
6 comments
Nice Howto. But you should use Nextcloud instead. Is is the open source fork of Owncloud with more features, faster and 100% free software.
Went great, except spent the last 10 hours tying to get past the dreaded: You are accessing the server from an untrusted domain.
Only local console access works. Nothing else I have tried including the trusted domains settings in php.conf has worked, including disablling firewalld and SELINUX. I am stumped.
This is actually some of the best technical documentation I have ever read in my life; very well-structured and good verbosity. A massive congratulations.
sooooooo nice !!!
I got a problem on database when access web browse.
say….can’t create or write into the data directory.
This make me stuck, can’t create admin user. Error message : “Error while trying to create admin user: Failed to connect to the database: An exception occurred in driver: SQLSTATE[HY000] [1045] Access denied for user ‘ownclouduser’@’localhost’ (using password: YES)”
Why should the selinux has to be disabled?