
KMyMoney is a multi-platform double-entry bookkeeping system for personal finance management generated on KDE tech. Its functionalities are akin to Microsoft Money and Quicken as it supports diverse account types, reconciliation of bank accounts, categorization of expenses and incomes, and import/export to the QIF file format.
Suppose you are keen on tracking your finances, improving your general financial planning, and discovering saving. KMyMoney, a KDE financial management software, is designed to ease this process for you. While its primary objective is for individuals to track their finances, it also benefits some smaller associations and commercial enterprises.
At the time of this writing, the latest KMyMoney release is 5.0.7. It not only runs on KDE plasma but also on GNOME, like Linux Mint and more. The program sources are available for download on the KDE website.
KMyMoney features
- This software is built to allow many levels of data viewing.
- Accounts – The term “Account” is used by Kmymoney to denote liabilities and assets.
- Institutions – This is an optional field, but if used, data associated with an institution, like a bank, broker, a credit card, can be viewed easily. The use of this functionality also allows the grouping of accounts.
- Payees – This software accumulates a list of payees. When you hit the Payee view, you can drill down to transactions related to a specific payee.
- Categories – This is a common feature of an accounting program. In KMyMoney, subcategories and categories are used to segregate expense and income entries.
- Subcategories – Categories and subcategories permit transactional data to be rolled into a parent-child relationship.
- Tags – These allow users to delineate transactional data further. A tag can be used to group several categories and accounts as needed.
- Investments – This program aids in tracking investments.
- Some other features of this software include check printing through a plugin and several options to retrieve investment prices. Repetitive entries can be scheduled. For instance, a paycheck needing several lines can be set up in the schedules module.
With the key features covered, it will be okay for us to dive right into the installation phase.
How to install KMyMoney in Linux Mint
First, update the system using the following command:
sudo apt update
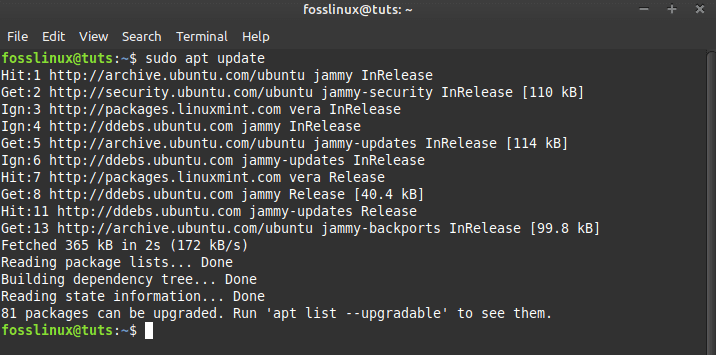
Update your system
In case your Linux Mint system pops up the number of packages that need to be to be upgraded, like in our case, 81, run this command:
sudo apt upgrade
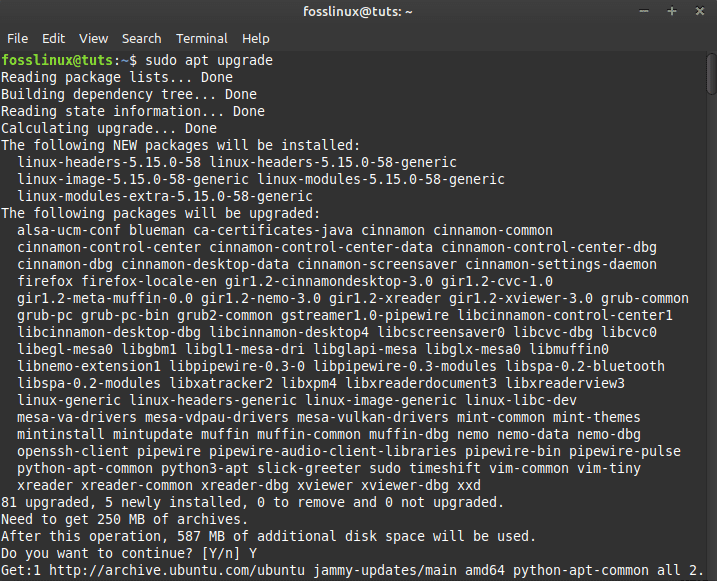
Upgrade system
Note: Ensure you type y/Y when asked if you want to proceed with the upgrade process.
After that, run the installation command to set up KMyMoney:
sudo apt install kmymoney
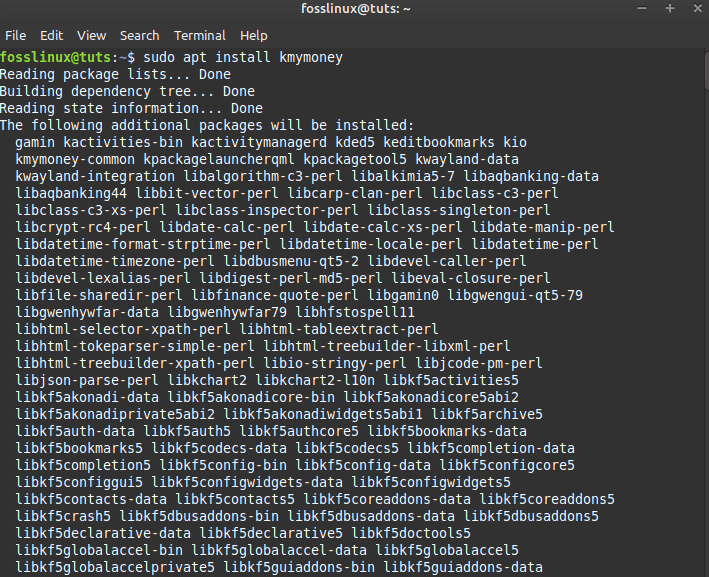
Install kmymoney
That is all on the installation; let us now see how we can launch this software.
How to launch KMyMoney
To launch the just installed KMyMoney app, click on your PC’s “start menu” and use the search menu to look for kmymoney; such an app will appear; click on it to open:
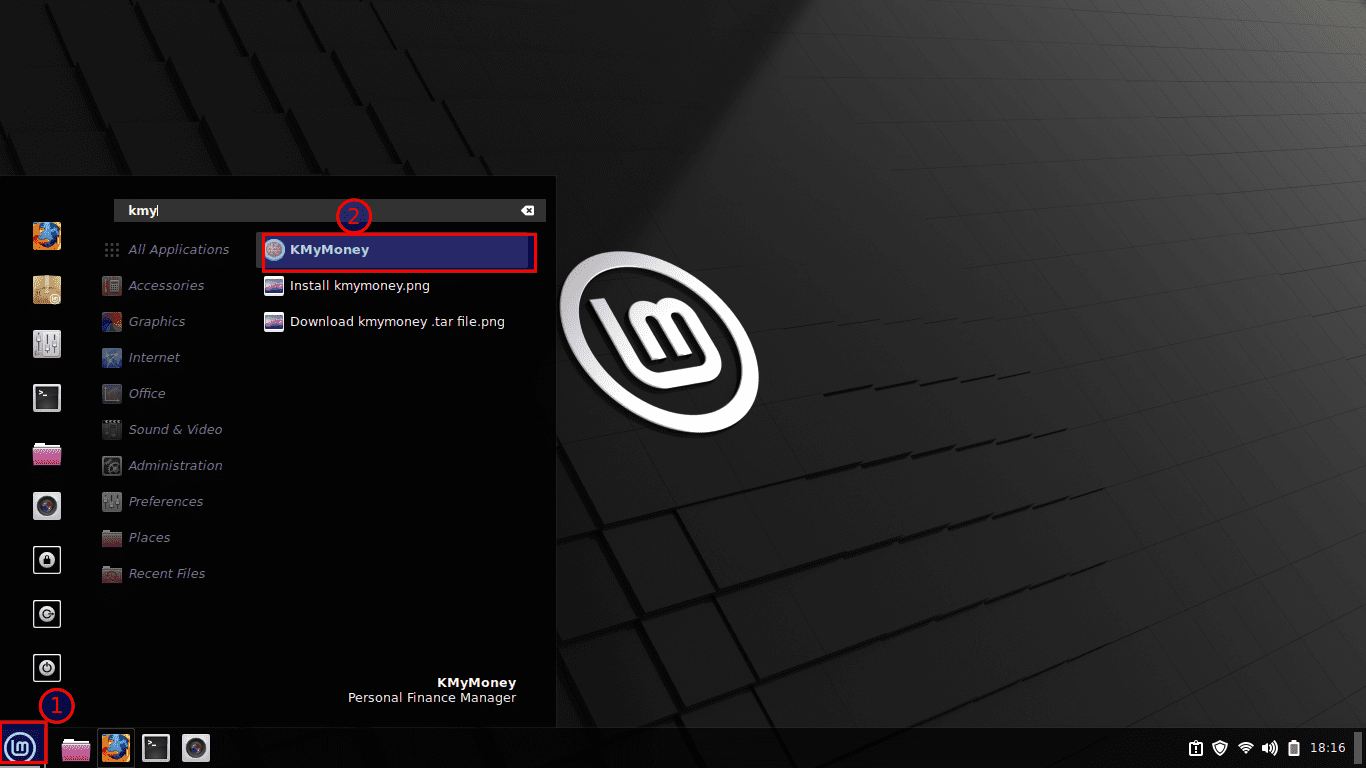
Open KMyMoney
Let us now take you through the functionalities of this excellent app.
The Setup Wizard
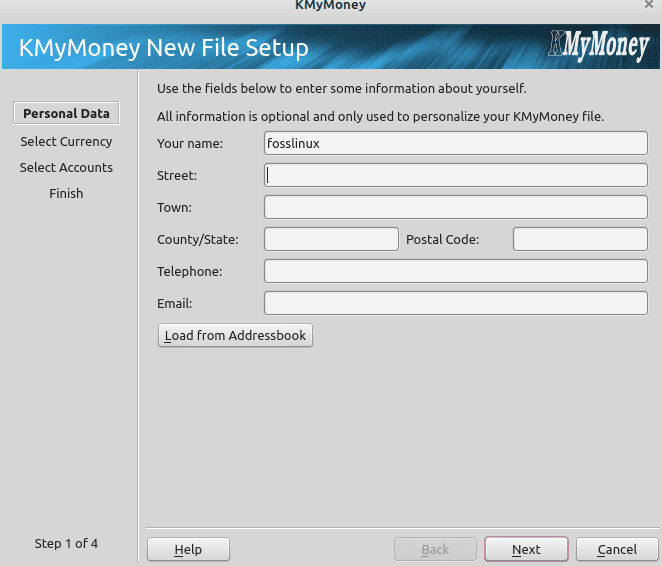
Set up wizard
KMyMoney has a detailed user manual, a mailing list, and a forum. The first instance you launch KMyMoney, a wizard guides you via the program setup; begin by inputting your data, deciding on a currency, and entering the data for your checking account. The next step is to choose the categories and types of accounts you want the program to generate.
Many users will get by with a simple system and are well endowed with a selection from the base section. If appropriate, you can append different account types, like accounts meant for homeowners. Decide on the basics first; You can adjust the specifics later in the program. In the end, specify a name and location for the KMyMoney file. Clicking on “Finish” completes the setup.
Importing data
Have you been tracking your finances with another program and want to switch to another program without losing track of your existing transactions? KMyMoney using the File | Import feature has you well covered. This program can read GnuCash files and the common OFX, QIF, and QFX formats, typically without much trouble.
You can encode your KMyMoney file with GnuPG to protect your data from unauthorized access. To attain this, use the same key pair with which you encrypted your emails. This encryption can be set via Setting | Configure KMyMoney. In the dialog section, navigate to “Encryption” and check the box to use the GPG encoding. In the “Your Key selection menu,” KMyMoney indexes all the GnuPG keys already configured on the system. From the list, you can select one that best suits you.
Beneath this, you will discover an entry for additional keys. This is where this program permits you to append more GnuPG keys and thus use the KMyMoney recovery functionality. For this reason, DevOps have a public key stored on the project page, which you can keep as a secondary key in the software if required. In cases where you lose your key pair or forget the password, you can send your KMyMoney file to DevOps, who will decode it for you.
Overview and accounts

Overview and accounts
During start-up, an abstract of your finances appears. From here, you can decide which info will be displayed in the overview through Settings > Configure KMyMoney. It would be best if you also got an overview of your current accounts (liabilities and assets) on the screen, among other things. Another interesting fact about KMymoney is that besides presenting a summary of your finances, it also calculates your net worth. All your assets added up after doing away with all the liabilities.
You must first input every account’s opening balance to ensure the accounts have the correct values. You can attain this by clicking on the “Accounts” icon on the left sidebar. Next, accounts are grouped by type; you will get the Savings to account listed as a type of Asset. Once you right-click on the account, click “Edit Account” from the context menu.
A new window pops up with the account details. In the General tab, you will get the account balance field. In “Type,” you can categorize whether the account is a saving, checking, or another account type. Checking the Preferred account appends the account to an overview on the home screen so you can view the account balance directly.
On the other hand, the institution tab allows you to input details like the IBAN( International Bank Account Number) code for a bank account. The Hierarchy tab permits you to determine whether the account will display with the account overview.
Ensure you delete any unnecessary account subcategories to keep the account easy to manage. Also, you can add more accounts if needed. This will offer you a glimpse of checking accounts, cash and securities account, savings account, loans, and credit cards.
After inputting all the opening balances of your current account, this program will compute the future account balance regarding the transactions you record. For instance, when you make an ATM withdrawal, your checking account balance will drop while the amount of cash will rise. When you pay a credit installment, your checking account balance and the liability in the credit account will decrease.
Track Investments
Security accounts are a special case in the investment accounts group. Not only do their value rise or fall when you purchase or sell assets like bonds or stocks but also due to price fluctuations. For this purpose, keeping track of all your securities is a little more challenging, but KMyMoney always offers an updated overview of the value of your securities accounts.
You will require to input several details about your securities investments. To attain this, switch to investment in the left sidebar and select “Account.” After right-clicking on what is still a blank overview below this, select “New investment.” This launches the New Invest Wizard, where you insert the fields to name and describe the new security. Hit “Finish” and complete the wizard.
Remember, you need to key in the price and quantity of your securities. To do this, click on “Ledgers” in the overview on the left and choose the desired securities account in the top-left drop-down menu. Once you right-click on what is still an empty overview, select “New.” Beneath Activity, select “Add shares” to input your share portfolio. You can also mention when you plan to acquire or sell shares.
Select the security you just keyed in data for, as described above in the securities tab, and then append the number of units you hold in your securities account. To input, the current security price, navigate to Investments in the sidebar on the left. You will find an overview of your securities; the quantity will also be displayed there. After right-clicking on a security, you can then append the price. You can also choose to add the price either manually or retrieve the price from the internet.
Income and expenses
You can also begin recording your transactions. At this time now, the income and expense account has become operative. On the sidebar’s left-side categories, you can find the accounts that KMyMoney calls these accounts. For instance, categories may include food expenses or freelance writing income. It is recommended to first browse via the list and do away with the categories you don’t need and appending categories you are missing. You can also modify these categories here.
You can allocate a new name or move the position of the category within the accounting framework. Business owners will also want to designate which categories are relevant for sales tax. Therefore, this means that KMyMoney only posts the net amount to the category and spontaneously assigns the amount to the category for sales tax. You also make up your mind about whether or not a category should be displayed in the tax report. In this approach, you have all the data needed for your income tax return at your fingertips.
Posting Transactions
Click “Ledgers” in the left sidebar to update a new transaction. Choose the correct account in the selection menu above, i.e., cash. You will now see an overview of this account’s posting. Hitting “Ctrl+Insert” or selecting “New” in the context menu allows you to post/update a new item. At the bottom of the window, the input fields for this new item now show.
First things first, decide if this is an income(deposit transaction), a transfer(from one account to another, i.e., from a checking account to cash), or a withdrawal (expense). For instance, if you purchase the current issue of this magazine at a newsstand, the latter would be the right choice. On the sidebar’s left side, you can generate data records for those users you’re paying via the payee’s item.
Unless you run a business, you may leave this field empty instead of inputting every payee. The suitable expense account is inputting the category field. Next, key in the Amount and Date; there is also room for Memo. The Status item is only vital for your bank accounts, where you keep information on whether or not you have reconciled your records with your bank statement.
Another thing that KMyMoney also handles is split transactions(e.g., transactions where you designate a payment to several income or expense accounts). For instance, if you have bought office supplies, food, magazines, and clothing at a single store and paid for them by credit card, only the total amount will be displayed on your credit card account. You are required to split this between the appropriate expense accounts. To attain this, proceed as described above, but let the Category field remain empty first and hit the small button to the right instead. A new dialog box opens where you input the diverse categories and their partial amounts.
Online Banking
Ideally, you don’t have to input your bank transactions manually since you can get them online. What is made available will vary depending on your bank and location, as well as updates to the program; as such, begin by referring to the KMyMoney user manuals. At present, the program can be utilized to get bank records.
You can optionally load your account statements into the program in CSV format. Many banks make this export function available to their customers in the web front end of their online banking programs. The CSV file can then be loaded into KMyMoney through File | Import |CSV.
Reports and Forecasts
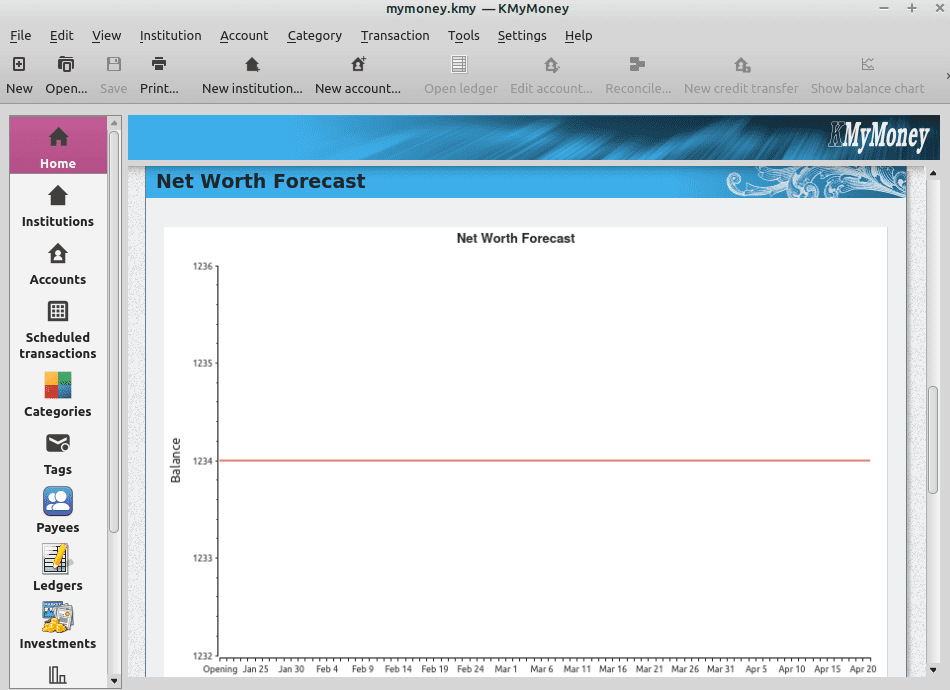
Networth forecast
KMyMoney compensates you for the effort you put into your accounting with an updated and accurate overview of your financial details, aiding you in boosting your financial planning. To create this detailed info, go to the left sidebar and choose Reports. This program can now show you what you have spent your cash on, helping you to find opportunities to reduce costs. KMyMoney can also give a report on your investments, from which you can derive future investment suggestions.
This program also forecasts your future income and expenses based on your past transaction. The tax report feature boosts you with your tax return: All sections that you have formerly flagged as tax-relevant, like income-related expenses and donations, spontaneously appear in the tax report.
Wrapping up
This guide has provided an installation phase and a complete overview of the vast feature set in KMyMoney. Nevertheless, newbies will have to invest some effort and time to familiarize themselves with the principles of accounting and programs and to record and categorize financial records. After you overcome this hurdle, KMyMoney presents itself as a clear and easy-to-use financial management software. The app’s approach is based on managing your finances but does not leave freelancers, smaller commercial enterprises, and associations out in the cold. We hope you can get this software running with the covered info.