
GIMP, short for GNU Image Manipulation Program, is a free and open-source image editor that can be used for tasks such as photo retouching, image composition, and image authoring. Ubuntu, one of the most popular Linux distributions, comes with various built-in software packages, but GIMP is not one of them. This article will review the steps necessary to install GIMP on Ubuntu.
If you’re a professional photographer or a graphic designer, you know how crucial and key it is to have the right tools for your work. GIMP can help you take your creativity to the next level. Even if you’re not a professional, GIMP is an excellent tool for editing and enhancing photos.
In this article, we’ll cover everything you need to know to install GIMP on Ubuntu, including system requirements, downloading the software, and installing it step-by-step. We’ll also provide tips and tricks along the way to help you get the most out of this powerful image editor.
Installing GIMP on Ubuntu
System requirements
Before installing GIMP on Ubuntu, ensuring your system meets the minimum requirements is important. The requirements are as follows:
- Ubuntu 20.04 or later
- 1 GB RAM or more
- 300 MB of available disk space
- A 2 GHz processor or faster
If your system meets these requirements, you can proceed with the installation process.
Downloading GIMP
There are a few different ways to download GIMP on Ubuntu, but the easiest method is to use the terminal. The terminal is a command-line interface that allows you to interact with your system more directly than a graphical interface. To open the Terminal on Ubuntu, press Ctrl+Alt+T on your keyboard.
Once the terminal is open, you can use the following command to download GIMP:
sudo apt-get install gimp
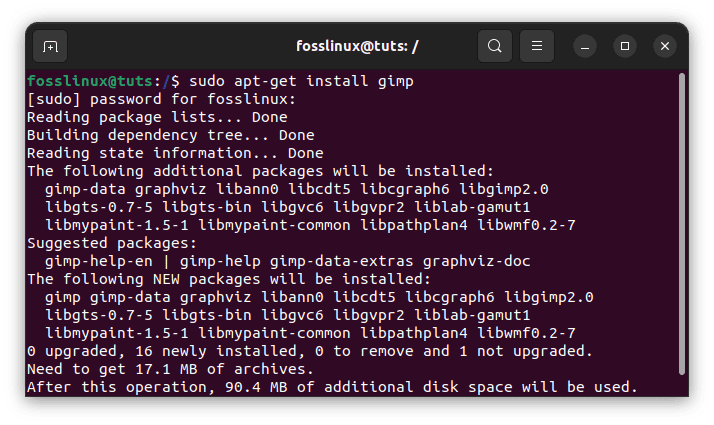
Download and install Gimp
This command will download and then install the latest version of GIMP available in the Ubuntu repositories. You may be prompted to enter your password to confirm the installation.
If you prefer to download GIMP directly from the official website, you can do so by visiting https://www.gimp.org/downloads/. The website will show a list of available downloads for different operating systems. Look for the download link for Ubuntu and click on it. This will download a .deb file to your computer.
Installing GIMP
Once you have downloaded GIMP, you can proceed with the installation process. If you downloaded GIMP using the terminal, it should already be installed on your system. If not, you can use the alternative methods to install Gimp via the terminal.
Other methods can be used to install GIMP on a Linux operating system, including:
This will download and install GIMP and any necessary dependencies.
Snap package: Snap is a package management system developed by Canonical that allows for easy installation of applications on Linux systems. To install GIMP using the Snap package, open the terminal and type the following command:
sudo snap install gimp
This will download and install the latest version of GIMP from the Snap store.
Flatpak package: Flatpak is another package management system that provides a sandboxed environment for applications to run in. To install GIMP using the Flatpak package, open the terminal and type the following commands:
sudo apt-get install flatpak

sudo flatpak remote-add --if-not-exists flathub https://flathub.org/repo/flathub.flatpakrepo

sudo flatpak install flathub org.gimp.GIMP
This will install the Flatpak package manager, add the Flathub repository, and install GIMP.
If you downloaded the .deb file from the website, follow these steps to install GIMP:
- First, open the Terminal on Ubuntu by pressing Ctrl+Alt+T on your keyboard.
- Navigate to the .deb file’s directory using the cd command. For example, if the file is located in your Downloads folder, you can navigate to it using the following command:
cd ~/Downloads
- Install the .deb file using the following command:
sudo dpkg -i gimp-<version>.deb
- Note: Replace <version> with the version number of the file you downloaded. For example:
- Once the installation is finished, you can fire up GIMP by searching for it in the Activities menu or by running the following command in the terminal:
gimp
Launch Gimp
Gimp and its necessary dependencies are now installed on your system.
Regardless of your chosen method, it’s important to keep GIMP updated to ensure you have the latest features and security fixes. You can do this using your package manager or by checking for updates within GIMP itself.
How to use Gimp
Once you have successfully installed GIMP on your Ubuntu Linux system, you can use it to edit images and create graphics. Here is a brief review of how to use GIMP:
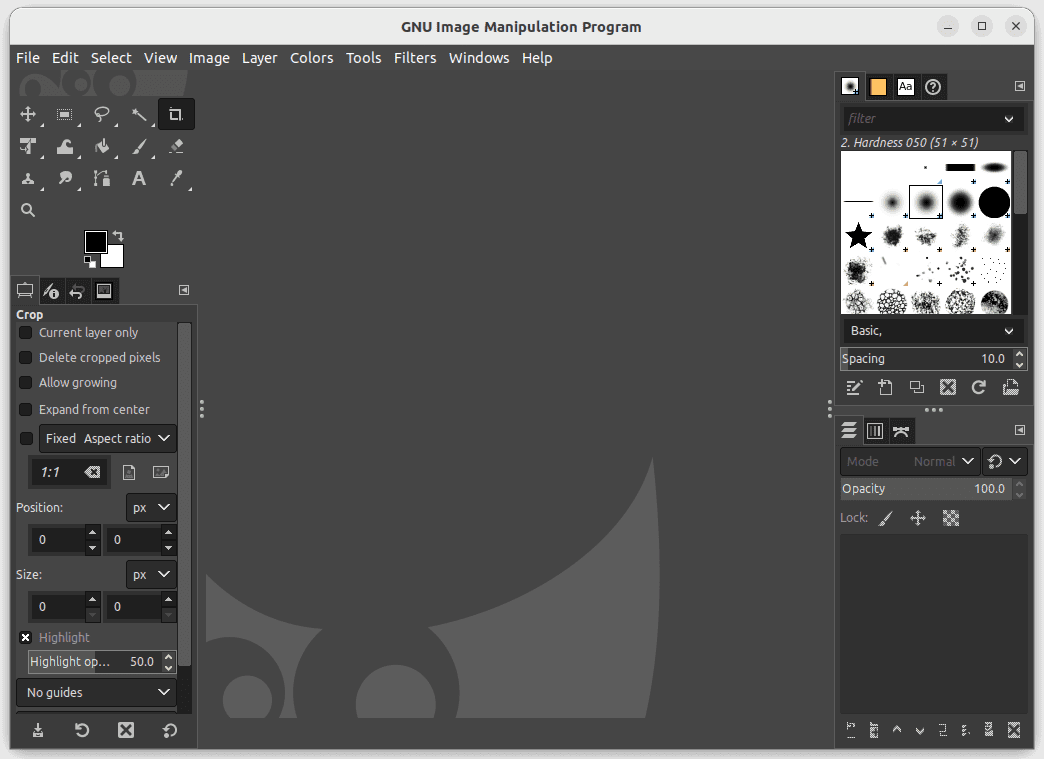
Launch GIMP: To launch GIMP, go to the Applications menu and search for “GIMP Image Editor” or simply type “gimp” in the terminal.
Launch Gimp
Create or Open an Image: Once GIMP is launched, you can create a new image or open an existing image file. To create a new image, go to File > New and enter the desired dimensions and resolution.
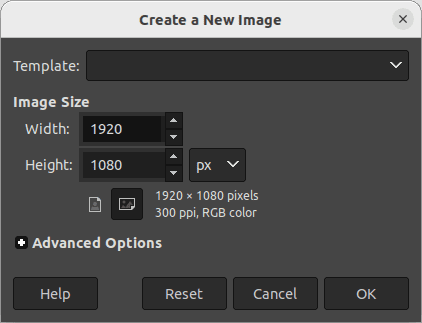
Create a new image
To open an existing image, go to File > Open and navigate to the file location.
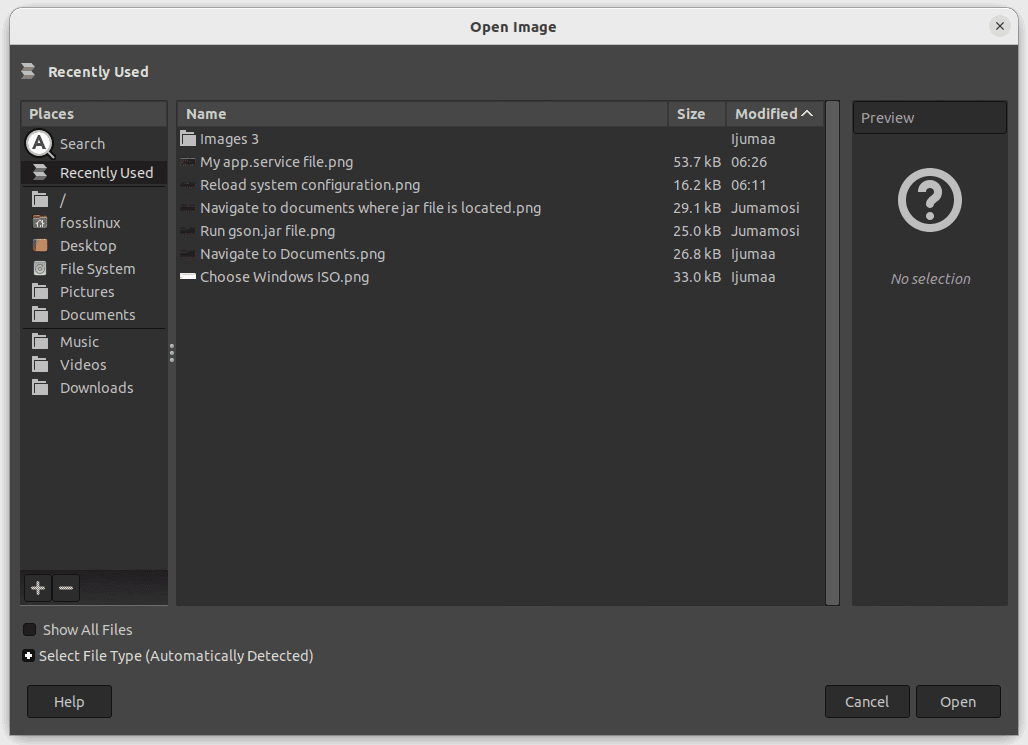
Open an existing image
Use Tools and Filters: GIMP provides a wide range of tools and filters that you can use to edit and manipulate images. Some popular tools include the Paintbrush, Eraser, and Text tools, while popular filters include the Gaussian Blur and Sharpen filters. You can access these tools and filters from the Toolbox and Filter menus.
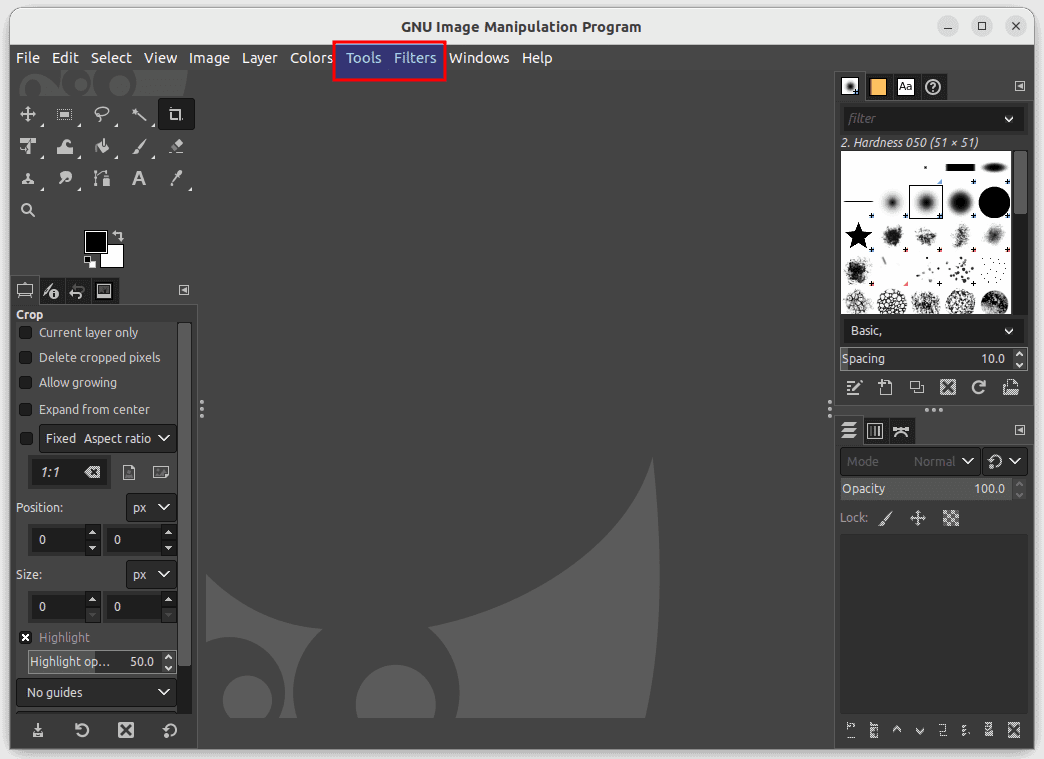
Tools and filters
Edit Layers: GIMP uses a layer-based approach to image editing, which allows you to work on different parts of an image independently. You can add, delete, and modify layers as needed to achieve your desired effect. To view and edit layers, go to the Layers dialog, accessed from the main menu or by pressing the Ctrl+L shortcut.
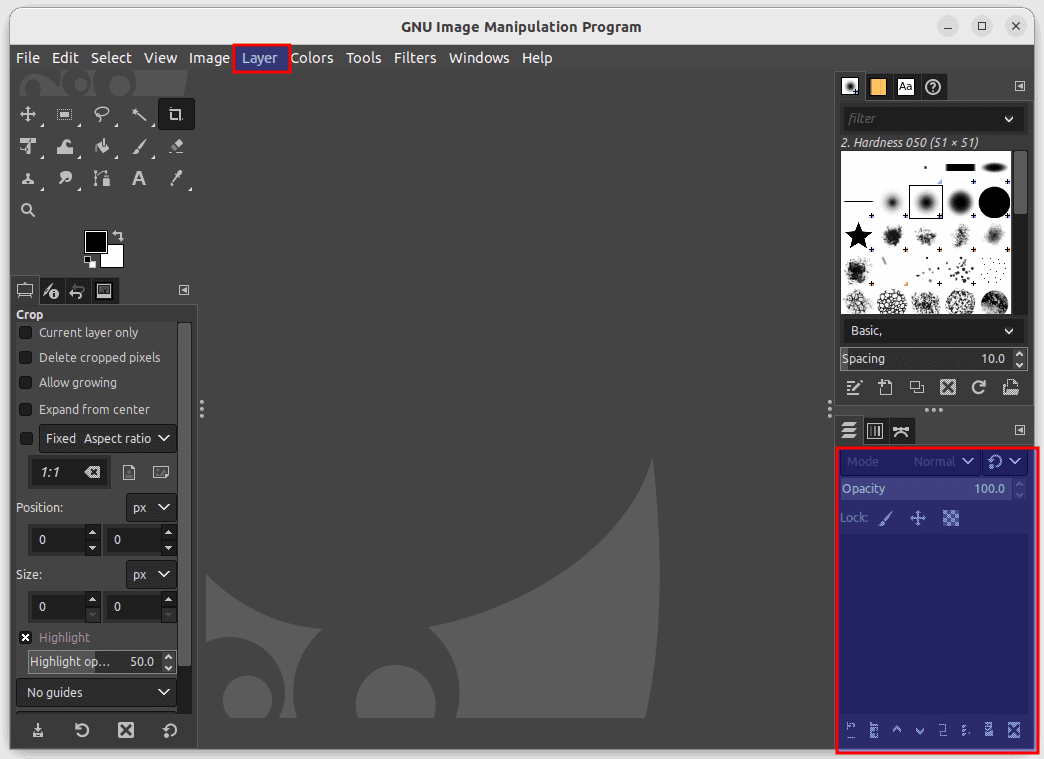
Layers
Save and Export Images: After editing your image, you can save it in various formats, including JPEG, PNG, and GIF. Go to File > Save or File > Save As and choose the desired format to save your image.
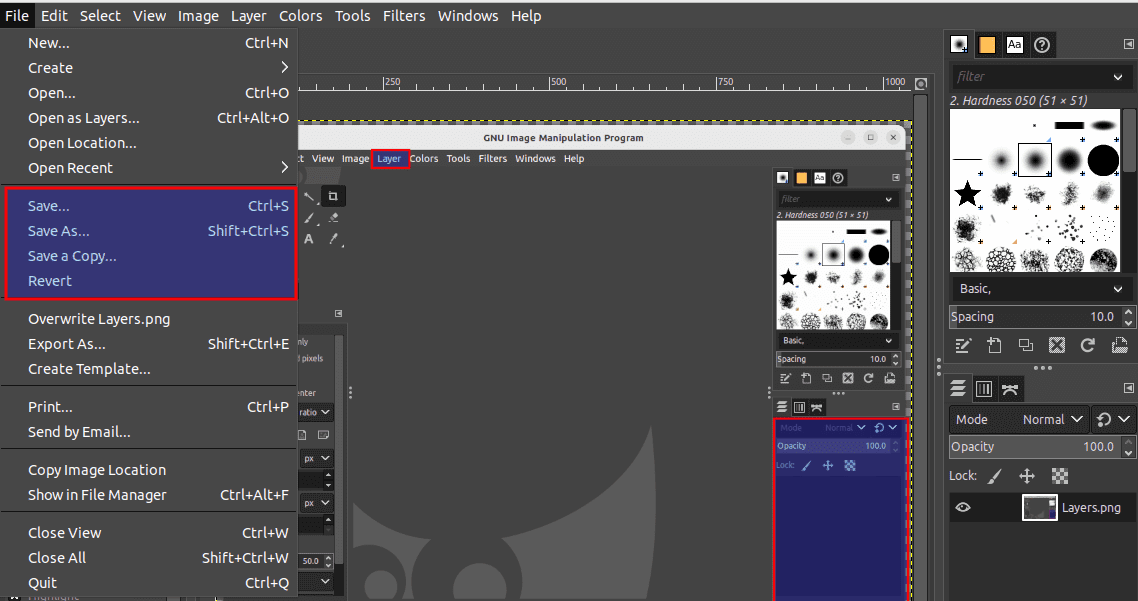
Save and save as
If you want to export your image for use on the web, you can choose File > Export As and select a web-friendly format such as JPEG or PNG.
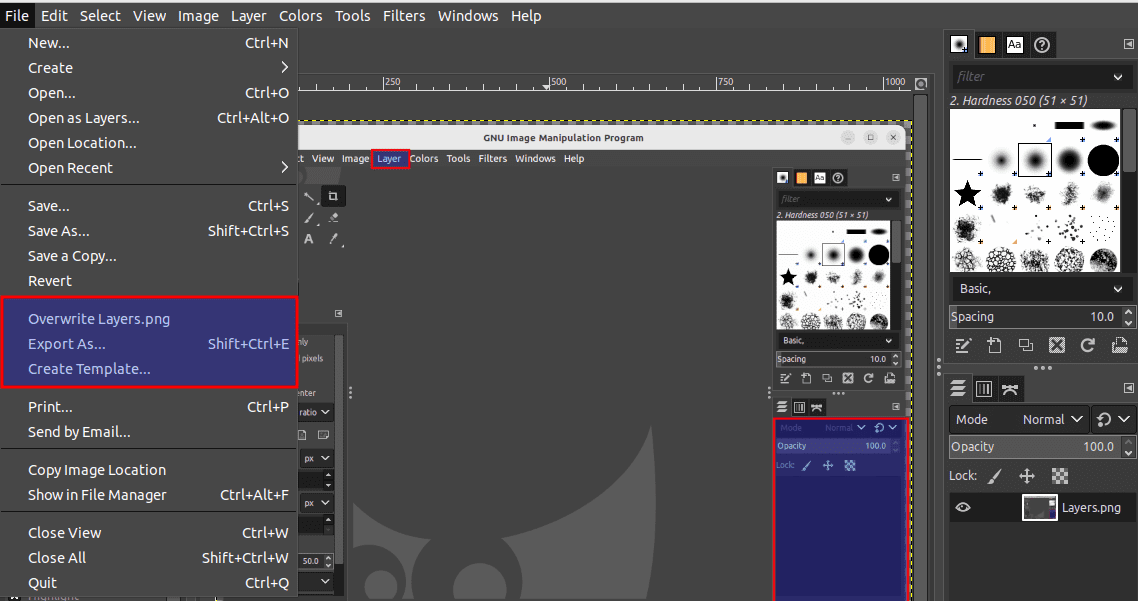
Export image
Learn and Experiment: GIMP is a powerful image editing tool with a steep learning curve. However, many resources are available online, including tutorials, forums, and YouTube videos, to help you learn how to use GIMP effectively. The more you experiment with different tools and filters, the more comfortable you will become with the software, and the better your results will be.
By following these steps and trying them regularly, you can proficiently use GIMP to edit images and create graphics on your Ubuntu Linux system.
How to customize Gimp
GIMP is highly customizable, and you can personalize its appearance and behavior to suit your preferences. Here are some ways to customize GIMP:
Themes: GIMP allows you to change the appearance of its interface using themes. To access the available themes, go to Edit > Preferences > Interface and click the “Theme” dropdown menu. You can select from the pre-installed themes or download new ones from the GIMP website. Additionally, you can customize the interface’s color by selecting the Colors option in the Preferences dialog.
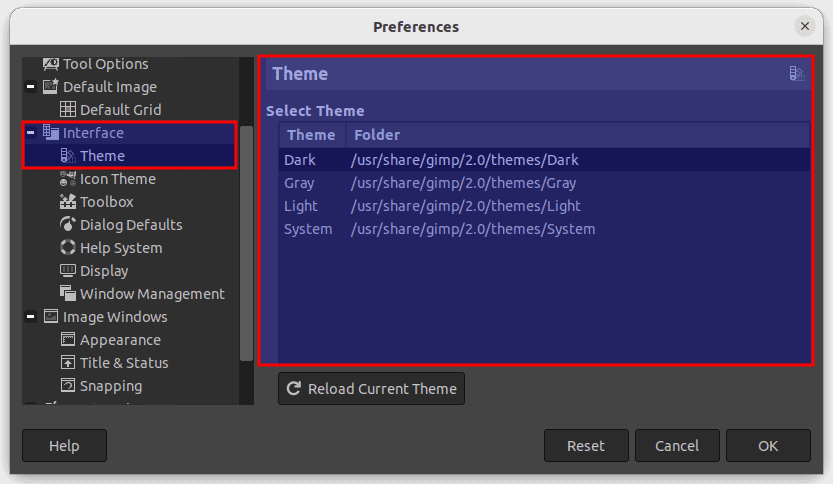
Themes
Keyboard Shortcuts: GIMP provides a default set of keyboard shortcuts for its tools and functions, but you can customize these to suit your workflow better. To customize the keyboard shortcuts, go to Edit > Keyboard Shortcuts.
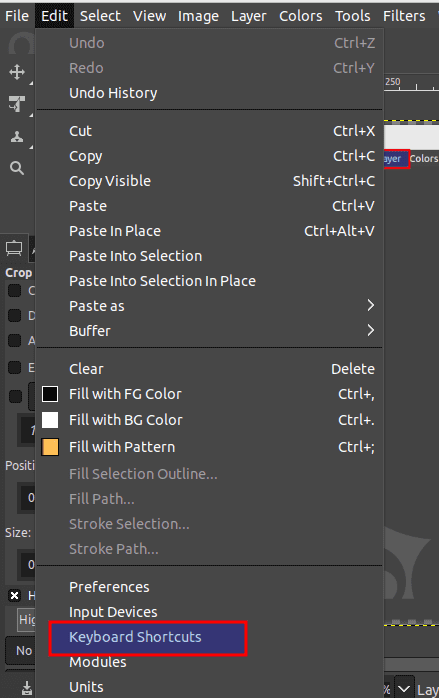
Edit > Keyboard shortcuts
Here you can edit existing shortcuts or create new ones.
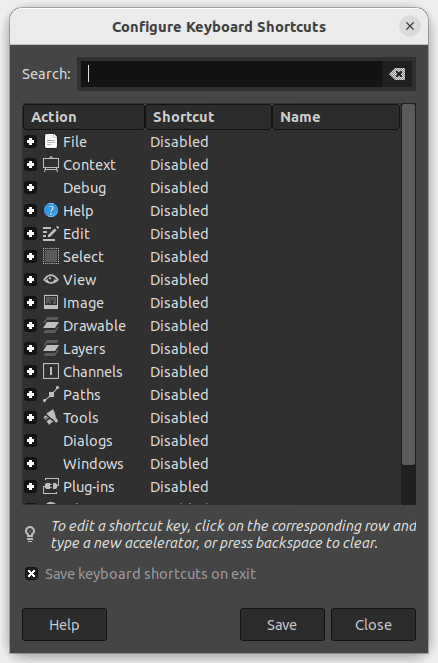
Configure keyboard shortcuts
- Menus: You can customize the menus in GIMP to display only the items you use most frequently. To do this, go to Edit > Menus and click the menu you want to customize. You can remove or add items to the menu by clicking and dragging them.
- Toolbox: The Toolbox in GIMP contains the tools you use most frequently. You can customize the Toolbox by adding or removing tools as needed. To add a tool, right-click in the Toolbox and select ‘Add Tool.’ To remove a tool, right-click on the tool and choose Remove Tool.
- Plugins: GIMP supports a wide range of plugins that extend its functionality. You can browse and install plugins from the GIMP Plugin Registry or third-party sources. To install a plugin, download the plugin file and copy it to the ~/.gimp-2.10/plugins/ directory. Once installed, the plugin will be available in the Filters menu.
Customizing GIMP to your preferences can streamline your workflow and make image editing more efficient and enjoyable.
Tips and Tricks
Now that you have GIMP installed on Ubuntu, you can edit your photos and create amazing graphics. Here are a few tips and tricks to help you get started:
Customize the User Interface: GIMP allows you to customize its user interface to suit your needs. You can move toolbars, create new toolbars, and add or remove buttons. To customize the user interface, go to Edit > Preferences > Interface.
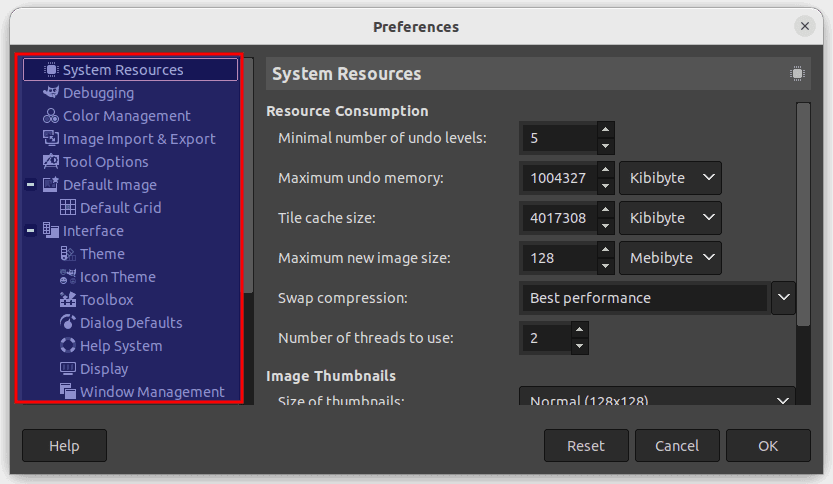
Customize interface
- Use Keyboard Shortcuts: Keyboard shortcuts can save you a lot of time when working in GIMP. Some commonly used keyboard shortcuts include Ctrl+C for copy, Ctrl+V for paste, and Ctrl+Z for undo. You can find a complete list of keyboard shortcuts in the GIMP documentation.
Configure keyboard shortcuts
Install Plugins: Besides the built-in filters and tools, GIMP has a vast library of plugins that can be downloaded and installed to extend its capabilities. Some popular plugins include G’MIC, which offers a wide range of artistic and stylization effects, and Resynthesizer, which can be used for tasks such as content-aware scaling and texture synthesis. To install plugins, you can either download them from the GIMP Plugin Registry website or use a plugin manager such as GIMP Plugin Registry for easy installation. Plugins can be used for tasks such as adding special effects, creating animations, and improving performance. To install plugins, go to Edit > Preferences > Folders and select the Plugins folder. You can then download and install plugins from the GIMP Plugin Registry.
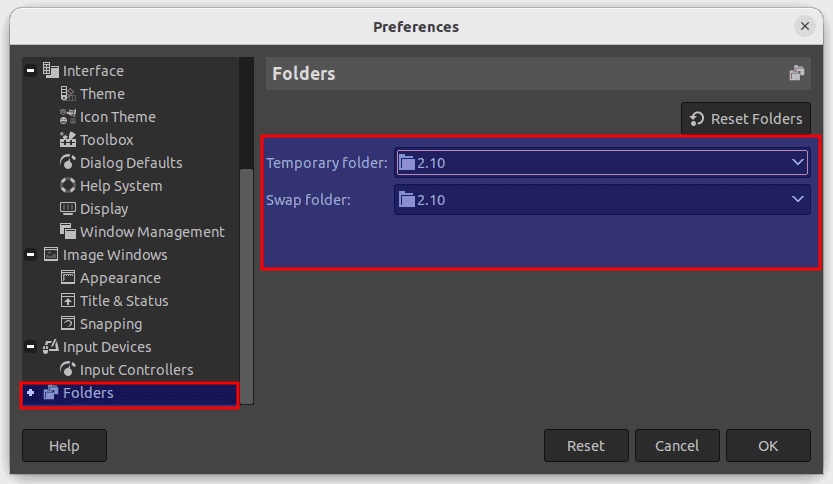
Install plugins
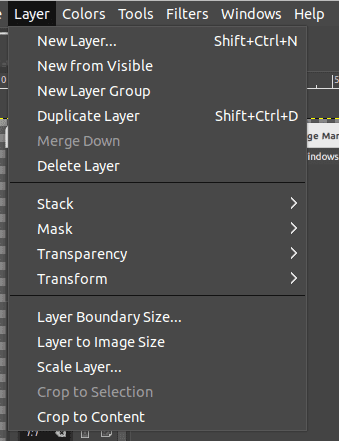
Use Layers: Layers are one of the most powerful features of GIMP. They allow you to work on different parts of an image separately, making it easier to create complex designs. To create a new layer, go to Layer > New Layer.
Create new layer
Use Filters: GIMP has a range of built-in filters that can be employed to enhance your photos and create interesting effects. To apply a filter, go to Filters > Filter Name.

Filters
GIMP Scripts: Similar to plugins, GIMP scripts are small pieces of code that can automate tasks and simplify workflows. Scripts can be used for tasks such as batch processing, creating custom shapes and patterns, and more. You can find a library of GIMP scripts on the GIMP Plugin Registry website or by searching online.
GIMP Online Resources: Many online resources are available for learning GIMP and improving your skills. The official GIMP documentation is a great place to start, providing detailed information on all the features and tools. Many tutorials and video courses are also available on websites such as Udemy, Skillshare, and YouTube. Additionally, the GIMP community is very active and supportive, with forums and discussion groups available for getting help and sharing your work.
GIMP vs. Photoshop: As mentioned earlier, GIMP is often referred to as a free alternative to Adobe Photoshop. While both programs offer similar features and capabilities, there are some discrepancies to be aware of. For example, Photoshop generally has a more polished user interface and better integration with other Adobe products. However, GIMP is open-source and free to use, making it a popular choice for individuals and organizations with limited budgets.
By keeping these tips and tricks in mind, you can take your GIMP skills to the next level and create amazing images and designs on Ubuntu.
Conclusion
Installing GIMP on Ubuntu is a simple process that can be accomplished using the terminal or downloading a .deb file from the official website. Once installed, GIMP is a powerful image editor that can be used for tasks such as photo retouching, image composition, and image authoring. By customizing the user interface, using keyboard shortcuts, installing plugins, using layers, and using filters, you can get the most out of GIMP and take your creativity to the next level.
We hope this tutorial guide has helped you through the installation process and provides tips and tricks for using GIMP on Ubuntu. Thank you for reading!