
Magento is an open source modern cloud eCommerce platform. It is written in PHP, and there is both a free and paid version of its platform. The Community edition is offered for free, while the paid version is targetted for Enterprises with increased cloud integration capabilities.
Magento has some compelling features for an e-commerce business to build and grow a unique online store from scratch. The first stable version of Magento was released in 2008. In May 2018, Adobe acquired Magento for $1.68bn. The current stable version is Magento 2.3.0.
Install Magento 2.3.0 on Ubuntu
In this tutorial, we will present you a step-by-step guide on how to install and configure Magento 2.3.0 on Ubuntu 18.04. Before jumping on to steps, let’s figure out the prerequisites.
Magento 2.3.x technology stack requirements
- Operating systems (Linux x86-64): Linux distributions like Debian based Distros or Redhat based Distros
- Memory requirement: Magento recommends minimum 2GB RAM
- Composer: The composer is the Dependency Manager for PHP and so it is recommended to install the latest stable version
- Web Servers: Nginx 1.x, Apache 2.2 or 2.4
- Database: MySQL 5.6, 5.7
- PHP: PHP 7.1.3+ and PHP 7.2.x
Detailed system requirements is found on the official Magento website. Our Nginx based test computer has the following setup:
- Magento community-edition 2.3.0
- Nginx 1.14.0
- PHP 7.2.14
- Composer 1.8.0
- Mysql 5.7.25
1. Installing Nginx
Nginx is a yet another Web Server and used as a reverse proxy, HTTP cache, load balancer, and mail proxy, etc. The first thing to do is to check available Nginx version on repositories. Launch the Terminal and enter the following command:
sudo apt-cache policy nginx
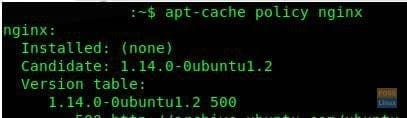
Check Available Nginx Version
The following command installs Nginx.
sudo apt-get -y install nginx
The Nginx service should automatically start. You can check its status:
sudo systemctl status nginx.service
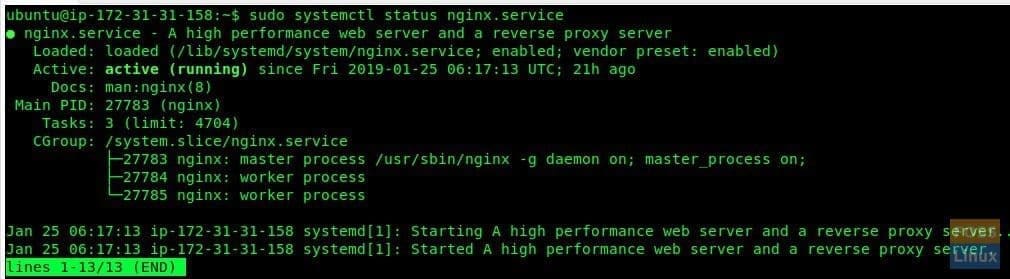
Check Status
For some reason, if you can’t see Nginx as an active process, you can still manually start the process:
sudo systemctl start nginx.service
Next, launch the internet browser and test Nginx installation:
http://localhost/
Alternatively, you can input your Server IP too. For example,
http://192.168.20.3 (server IP)
If you can see the Nginx default page. Installation is successful!
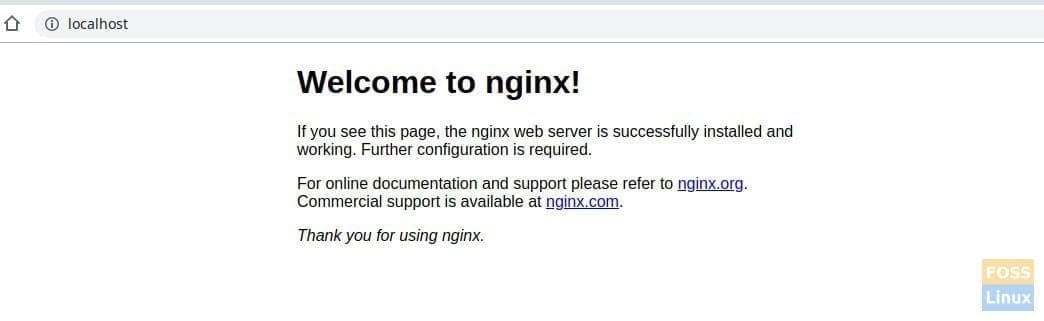
Test nginx Installation
2. Installing PHP 7.2
As usual, let’s first check for availability for PHP 7.2.
sudo apt-cache policy php7.2
You can next install PHP 7.2 and extensions.
sudo apt-get install php7.2-fpm php7.2-cli php7.2 php7.2-common php7.2-gd php7.2-mysql php7.2-curl php7.2-intl php7.2-xsl php7.2-mbstring php7.2-zip php7.2-bcmath php7.2-iconv php7.2-soap
Verify the installation of PHP 7.2 using the below command:
sudo php -v

Verify PHP Installation
Check whether all the PHP extensions are installed:
sudo php -me
The output should be similar to the following
[PHP Modules]
bcmath
calendar
Core
ctype
curl
date
dom
exif
fileinfo
filter
ftp
gd
gettext
hash
iconv
intl
json
libxml
mbstring
mysqli
mysqlnd
openssl
pcntl
pcre
PDO
pdo_mysql
Phar
posix
readline
Reflection
session
shmop
SimpleXML
soap
sockets
sodium
SPL
standard
sysvmsg
sysvsem
sysvshm
tokenizer
wddx
xml
xmlreader
xmlwriter
xsl
Zend OPcache
zip
zlib

[Zend Modules]
Zend OPcache
Modify PHP parameters to suit the Magento needs for optimal performance. Particularly, we will be indicating the RAM allocation and the execution time.
Use the vim command to edit the php.ini file:
vim /etc/php/7.2/fpm/php.ini
Modify the following parameters:
memory_limit = 2G
max_execution_time = 1800
zlib.output_compression = O
Save and close the file. Similarly, let’s edit one more file:
vim /etc/php/7.2/cli/php.ini
Modify the following parameters. Yes, it’s the same as the previous mod.
memory_limit = 2G
max_execution_time = 1800
zlib.output_compression = O
Save and close the file. You need to restart php fpm for the new settings to take effect.
sudo systemctl restart php7.2-fpm
3. Installing MySQL 5.7
The same exercise to begin with. Check for the available version on the Repositories.
sudo apt-cache policy mysql-server
Finish installing MYSQL:
sudo apt install -y mysql-server mysql-client
Check MYSQL server status:
sudo systemctl status mysql.service
Start MYSQL server:
sudo systemctl start mysql.service
Secure the installation:
sudo mysql_secure_installation
Test the installation:
sudo mysql -u root -p
4. Installing and configuring Magento 2.3.0
Finally, we are here to download and install Magento software. There are a few ways you can do it:
- Get the Composer meta package
- Download an archive
- Clone the git repository
We recommend using the composer and we will show you how. Firstly, install the composer using the following command:
sudo curl -sS https://getcomposer.org/installer | sudo php -- --install-dir=/usr/bin --filename=composer
Create a folder and user for Magento installation:
sudo adduser deploy
sudo mkdir -p /var/www/html/webapp
Change the folder permissions:
chown -R deploy:www-data /var/www/html/webapp
You need to get your authentication keys from Magento before downloading Magento via composer.
To acquire the authentication keys, follow these simple steps:
- Log in to the Magento Marketplace. If you don’t have an account, you can create one for free by clicking on “Register”.
- Next, click on your account name in the top-right of the page and select “My Profile”.
- Click “Access Keys” in the Marketplace tab.
- Click “Create a New Access Key”. Enter a specific name for the keys and click “OK”.
- Use the “Public key” as your username and the “Private key” as your password.
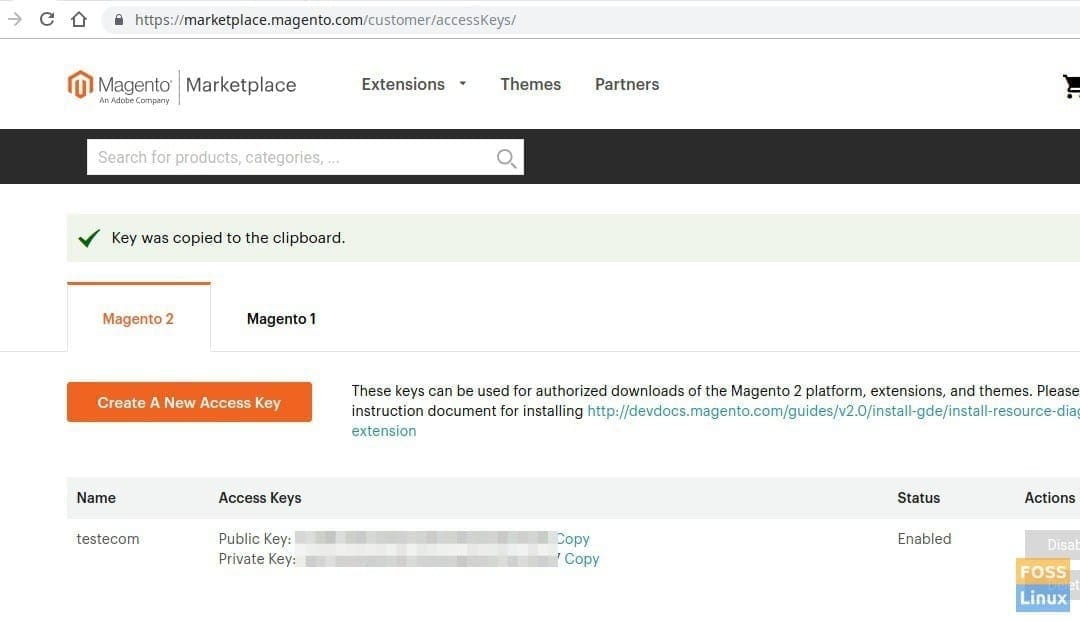
Authentication-keys
Additionally, you can refer the official documentation about the authentication keys in the Magento webpage. Time to start downloading Magento:
Change the user to the one you created earlier.
sudo su deploy
Navigate to the webapp directory:
cd /var/www/html/webapp
Finally, download Magento using composer:
composer create-project --repository=https://repo.magento.com/ magento/project-community-edition=2.3.0 .
When prompted for the user name and password. Provide your Magento authentication keys:

Download Magento using Composer
Also, you should see a prompt to save credentials. Type Y to begin downloading Magento and its needed modules. After the installation is done exit the terminal.
5. Configuring Nginx
We shall first create a new virtual host for the Magento site. To begin with, Magento installation directory comes with a sample Nginx configuration file, therefore we shall simply copy it to the nginx directory:
cp /var/www/html/webapp/nginx.conf.sample /etc/nginx/magento.conf
Create a virtual host configuration file called “magento”
sudo vim /etc/nginx/sites-available/magento
Add the following contents to the file. Make sure to replace your domain name in place of magentotest.fosslinux.com in the below text.
  upstream fastcgi_backend {
     server  unix:/run/php/php7.2-fpm.sock;
 }
server {
listen 80;
     server_name magentotest.fosslinux.com;
     set $MAGE_ROOT /var/www/html/webapp;
     include /etc/nginx/magento.conf;
 }
Save and exit the file.
Enable the virtual host you created:
sudo ln -s /etc/nginx/sites-available/magento /etc/nginx/sites-enabled
Verify nginx syntax:
sudo nginx -t
Restart Nginx service:
sudo systemctl restart nginx
6. Configuring MySQL user
Login to MySQL server using root login.
sudo mysql -u root -p
Create a database of your choice.
Create database magdb;
Create a database user.
CREATE USER magousr@'localhost' IDENTIFIED BY '123abc';
Grant the Permissions.
grant all privileges on magdb.* to 'magousr'@localhost ;
FLUSH PRIVILEGES;
In order for the installation process to proceed smoothly, you need to set folder permission. Failing to do this often ends with Readiness check fail error in the upcoming stage.
Change directory to your document root.
sudo cd /var/www/html/webapp
Change folder permissions.
sudo chmod -R 775 var/ generated/ pub/ app/ vendor/
Let’s start Magento! Launch a web browser and type your web server name. Obviously, replace magentotest.fosslinux.com with your domain name and hit enter.
http://magentotest.fosslinux.com/setup
You should see the Magento web page.

Magento Setup Page
Click “Agree and setup Magento” and go through the Readiness Check process. Click “Next”.
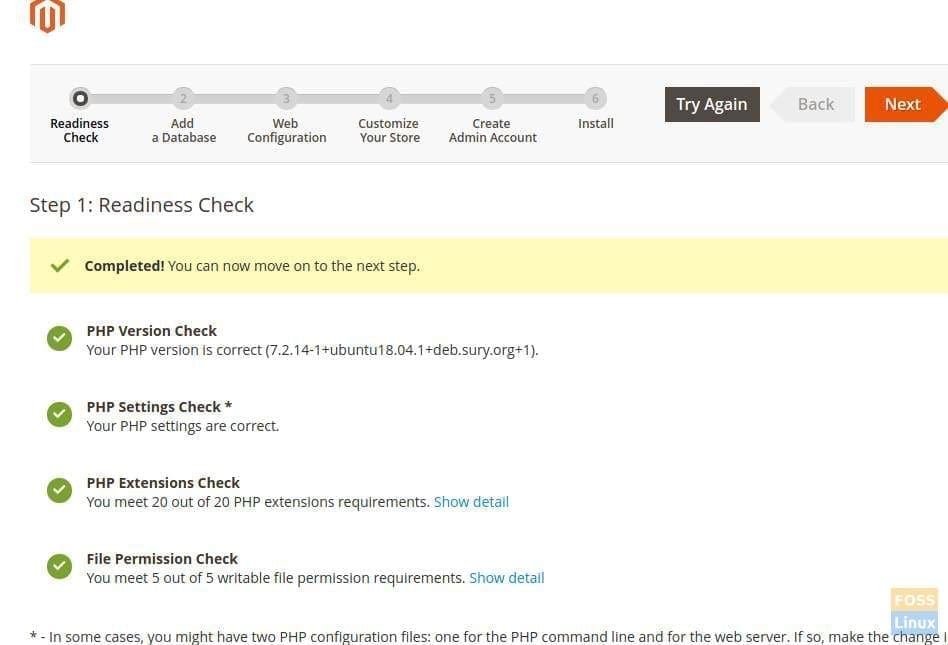
Readiness Check
You should enter the database details. Enter Database Server Hostname, username, password, and database name. Optionally, we can enter a Table prefix to easily identify the database. Click “Next”.
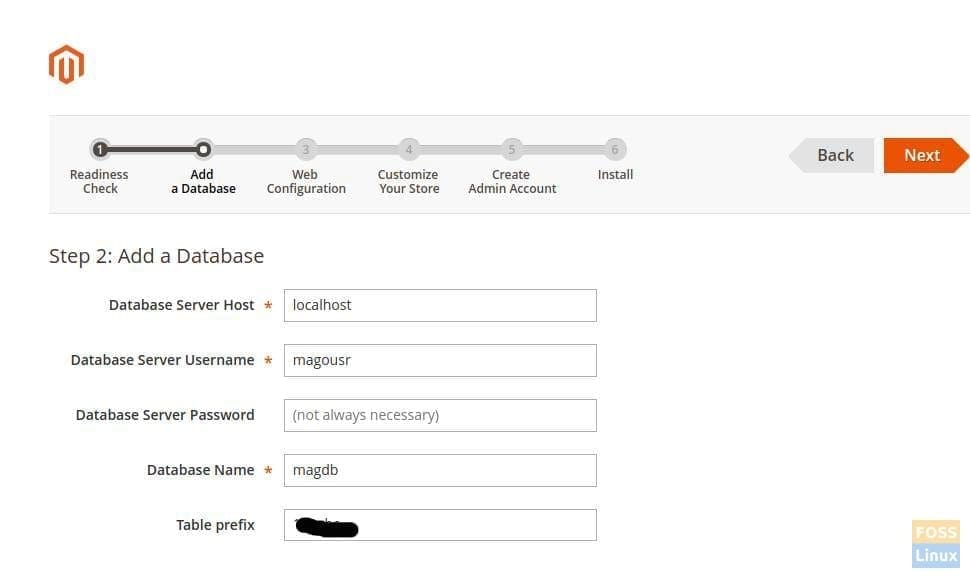
Database
In the Web Configuration section, enter the store address followed by admin address. Make sure “Encryption Key” is set to “I want o use a Magento generated key”. Click “Next”.
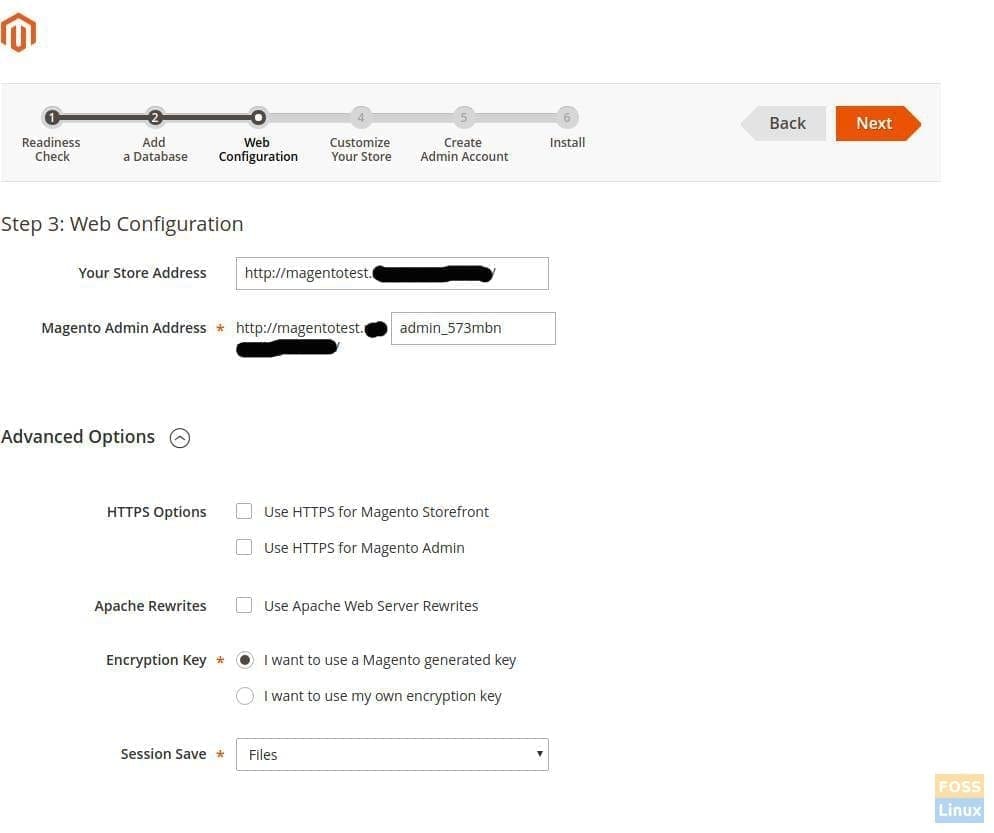
Web Configuration
Customize Your Store as per your needs:
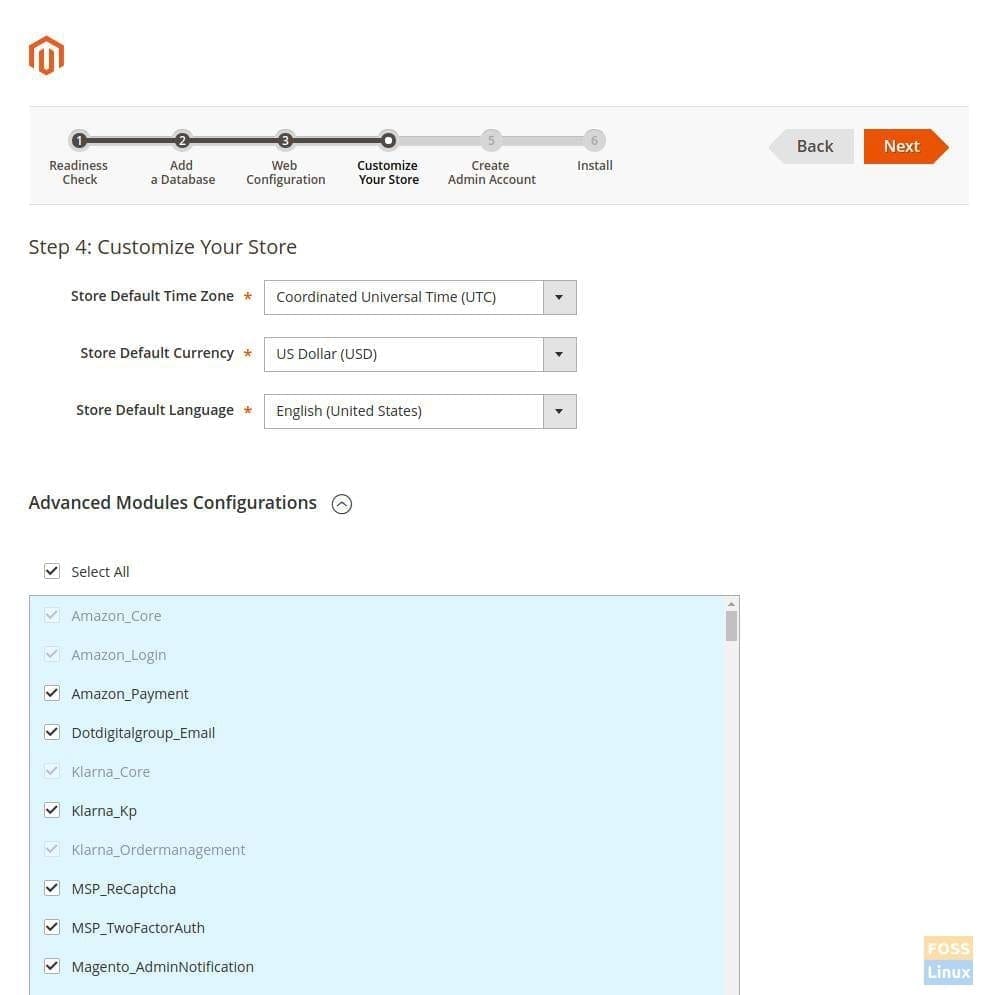
Customize Your Store
Create an Admin Account:
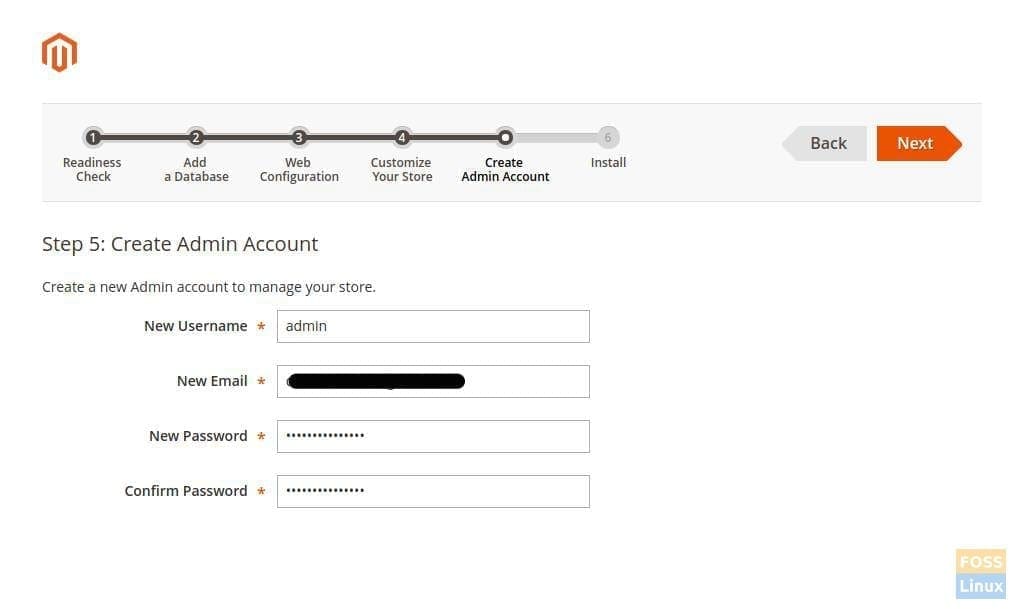
Create an Admin account
Finish the installation by clicking “Install Now”.
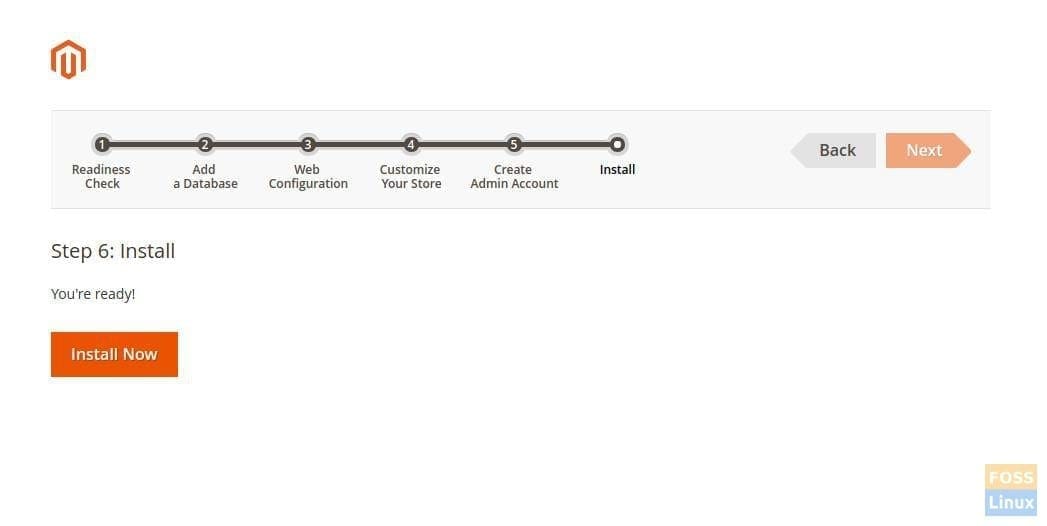
Install
Wait for the installation to finish.

Installation Progress
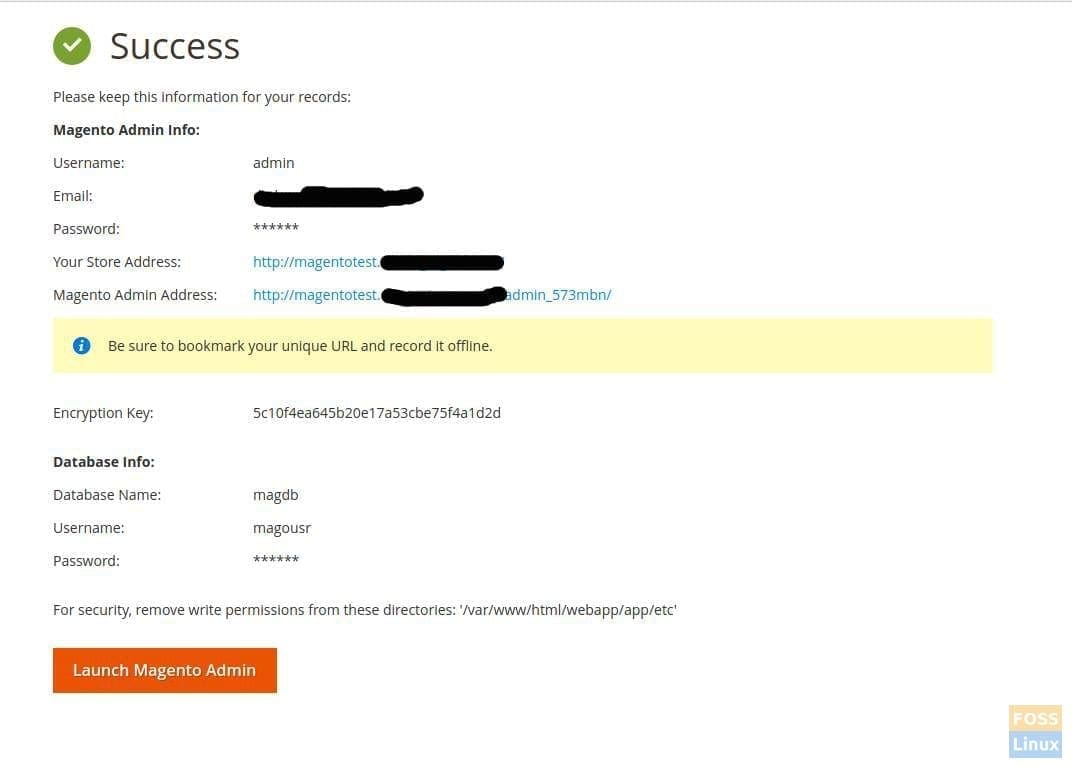
Enjoy success!
Verify and browse storefront.
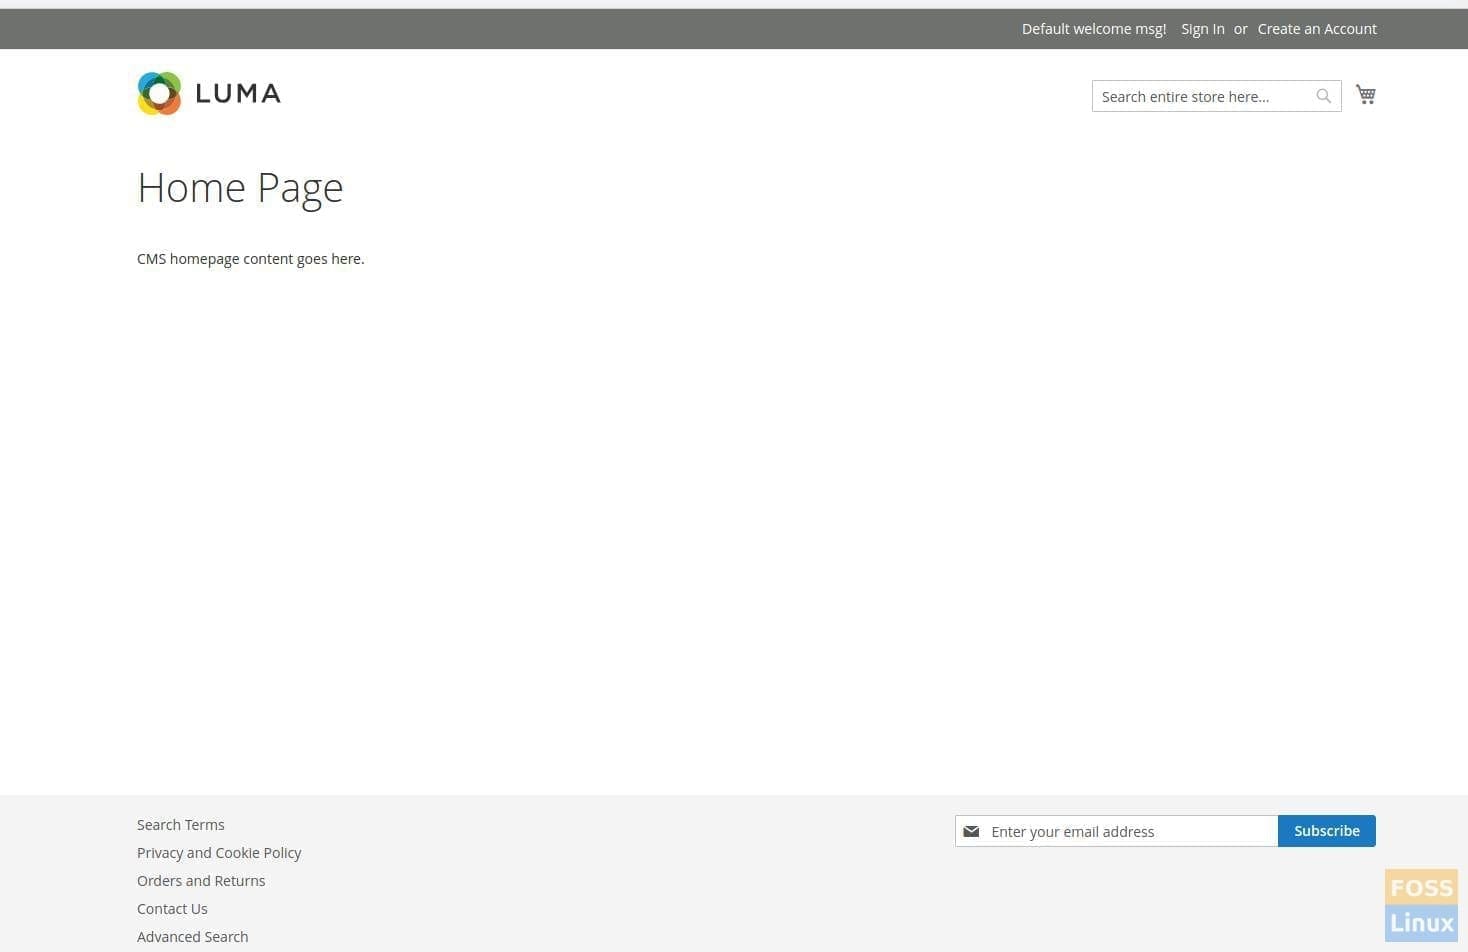
Verify the storefront
Enter the admin username and login password.
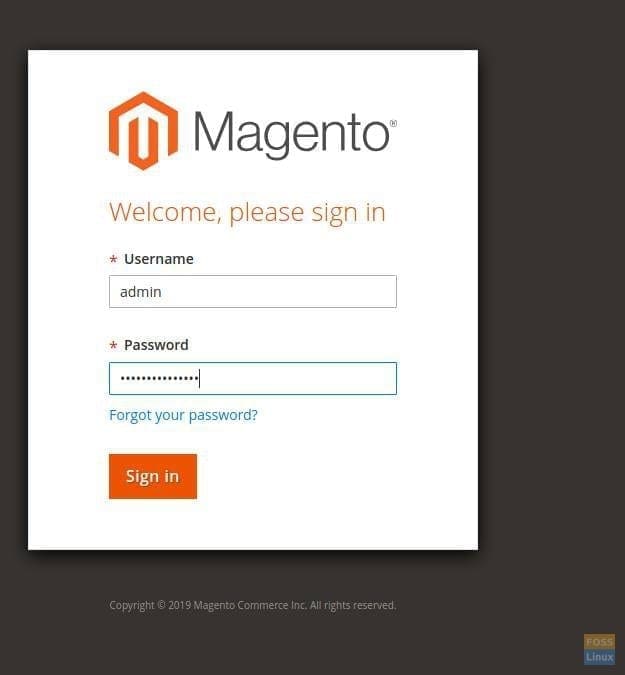
Admin login page
That’s it! Hopefully, your installation went smooth as mine. Let us know your feedback in the comments below.
3 comments
You need these as well:
#1
Add new host name in etc/hosts file by adding new line at the end of the file 127.0.0.1 www.newmagento.com
#2
https://magento.stackexchange.com/questions/135153/magento-installation-getting-fatal-error
cd
find var vendor pub/static pub/media app/etc -type f -exec chmod u+w {} \;
find var vendor pub/static pub/media app/etc -type d -exec chmod u+w {} \;
chmod u+x bin/magento
#3
https://magento.stackexchange.com/questions/227173/unable-to-run-magento-2-web-setup-on-nginx
Hi,
When downloading Magento using composer, an error shows up in terminal:
mmap() failed: [12] Cannot allocate memory
PHP Fatal error: Out of memory (allocated 720379904) (tried to allocate 67108872 bytes) in phar:///usr/local/bin/composer/src/Composer/DependencyResolver/RuleSet.php on line 84
The memory_limit I have setup in php.ini is 2048M. I’m trying to install Magento in a EC2 AWS machine with 2GB of RAM (free tier one).
This can be the problem for this error?
Thanks for any help!
Regards,
Roberto
You need to enable Swap…
/bin/dd if=/dev/zero of=/var/swap.1 bs=1M count=1024
/sbin/mkswap /var/swap.1
/sbin/swapon /var/swap.1