
Thunar is an X11 file manager based on the GTK+ 2 widget toolkit. Since version 4.4, it has been the primary file manager in Xfce. Thunar is a contemporary, lightweight file manager that ships with the Xfce desktop environment as the default file manager. It was created to be quicker and more responsive than existing file managers for Linux computers. Thunar is a simple and easy-to-use user interface that may be expanded with plugins.
This tutorial guide will demonstrate how to download, install, set up, and use the Thunar file manager on Debian 11 Bullseye. Below are the essential features of Thunar that you ought to know.
On Debian 11, there are three ways to install the Thunar file manager. Apt-get, apt, and aptitude. Each method will be described in detail in the sections that follow. You may select one of them that suits you more.
Thunar features
The following are the primary features of the Thunar file manager:
- Third-party plugins are supported for extra functionality.
- Lightweight and modern
- Samba integration for simple file sharing
- Designed to be more responsive and quicker
- Terminal emulator built-in
- Renaming files or directories quickly and in bulk
Installing Thunar on Debian 11 Bullseye
As already seen, there are three methods to install Thunar on your Debian 11 OS. Below is a detailed section on installation:
Method 1: Installing Thunar on Debian 11 using apt-get
First, update your Debian 11 resources using the following line of code:
sudo apt-get update
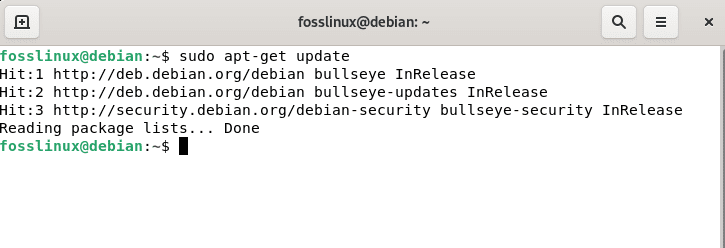
Apt-get update resources
After updating the Debian 11 resources, we can use apt-get to install Thunar by executing the following command:
sudo apt-get -y install thunar
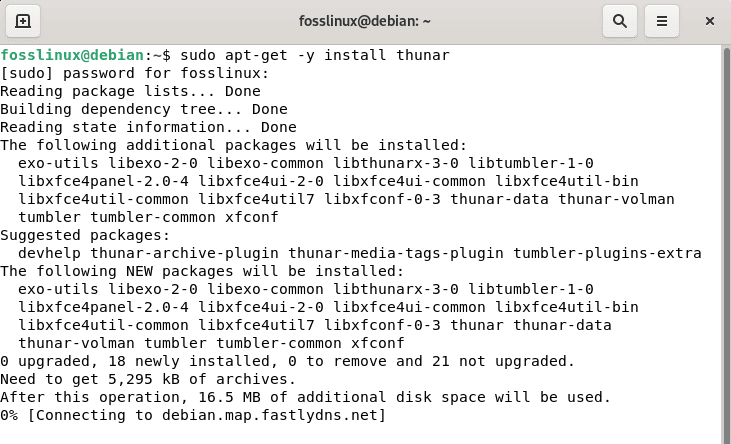
Apt-get install thunar
That’s all. Thunar has been successfully installed on your Debian 11 OS. If this method fails to work for you, try method two, shown below.
Method 2 Installing Thunar on Debian 11 using apt
First, update your Debian 11 resources using the following line of code:
sudo apt update
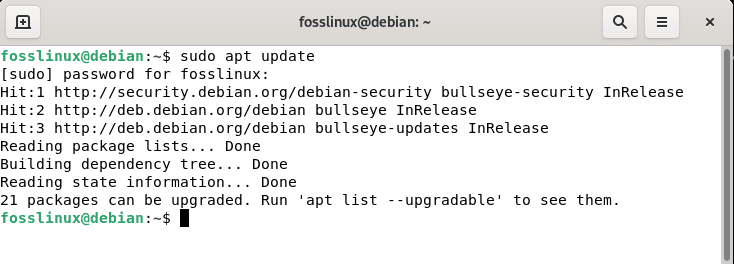
Apt update resources
After updating the Debian 11 resources, we can use apt to install Thunar by executing the following command:
sudo apt -y install thunar
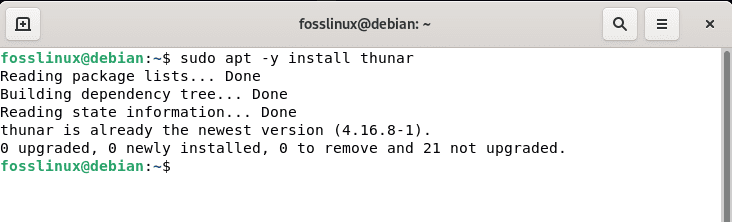
apt install thunar
That’s all. Thunar has been successfully installed on your Debian 11 OS. If this method fails to work for you, try out method three, shown below.
Method 3: Installing Thunar on Debian 11 using aptitude
If you desire to use this approach, you may need to install aptitude first because it is not usually installed by default on Debian. To install aptitude on your Debian 11 OS, run the following command on your terminal:
sudo apt install aptitude -y

or

sudo apt-get install aptitude -y
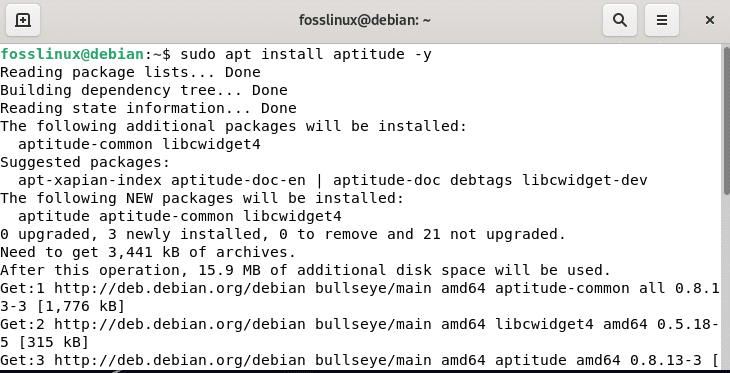
Install aptitude
Once aptitude has been installed on your Debian 11 OS, use the following command to update Debian resources using aptitude.
sudo aptitude update
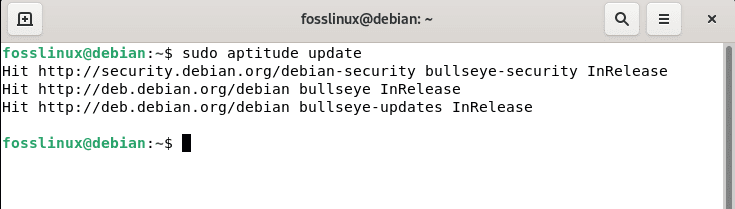
Aptitude update resources
After updating the Debian resources, we can use aptitude to install Thunar by executing the following command:
sudo aptitude -y install thunar
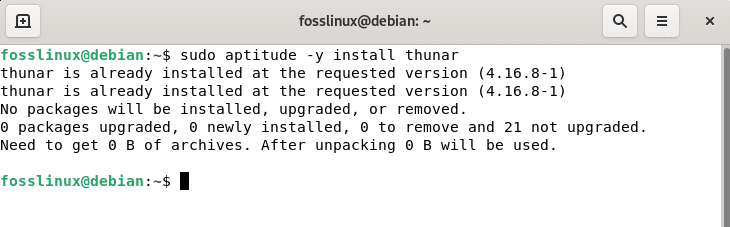
Aptitude install thunar
That’s all. Thunar has been successfully installed on your Debian 11 OS.
Thunar installation may be verified using the following line of code:
thunar --version
The above command will show the version of the Thunar file manager installed on your Debian 11 OS, as shown in the screenshot below:
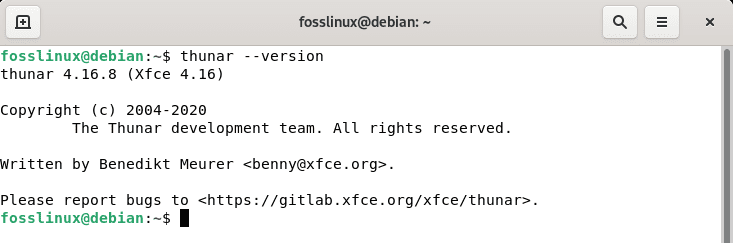
Thunar version
Alternatively, if all the three common methods above don’t help you, try installing Thunar using the source code. This method is quite complex, but it will be easier if you follow the steps correctly.
Installing Thunar file manager using source code
The procedure outlined in this section is lengthy since numerous dependencies must be installed. If feasible, install Thunar using your distribution’s package management before attempting the source code installation described below. All Linux distributions enable you to install it without compiling the source code or manually meeting requirements.
Download xfce-dev-tools from the website to begin installing the file manager. For the sake of this guide, I will be downloading the first link as shown in the image below:
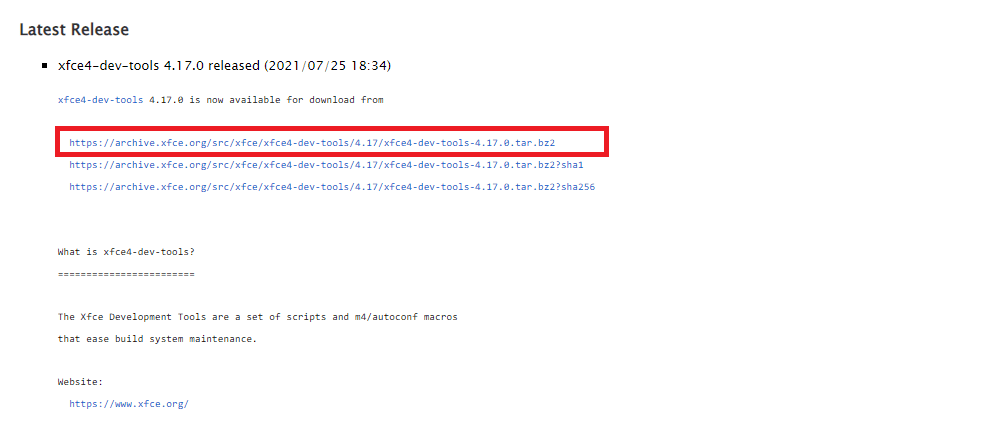
Download xfce dev tools
As soon as the installer file has been downloaded, extract the .bz2 files by executing the following line of code on your terminal:
cd Downloads
tar -xvjf xfce4-dev-tools-4.17.0.tar.bz2
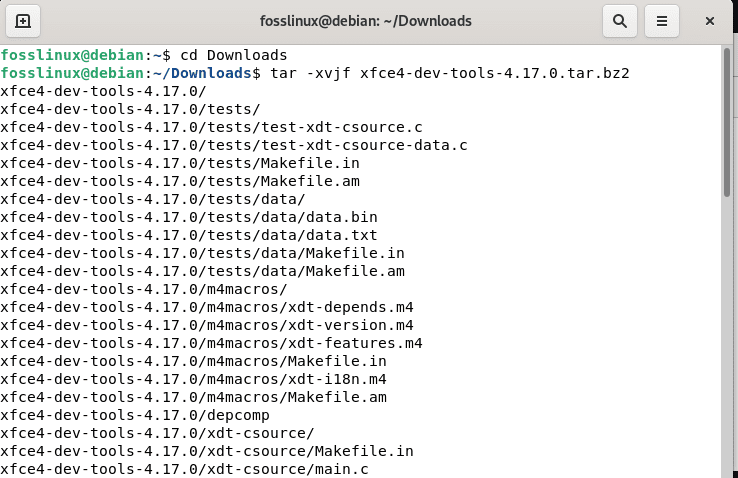
Cd downloads folder and extract dev tools
Note: If you are not using the same version as mine, remember to change the .bz2 file name to match your downloaded version.
Run the command below to enter the extracted directory, where < version> must be changed with the exact version you downloaded.
cd xfce4-dev-tools-<Version>/
Example:
cdxfce4-dev-tools-4.17.0

cd into the extracted folder
Now use the command below to install from sources.
sudo ./configure && make && make install
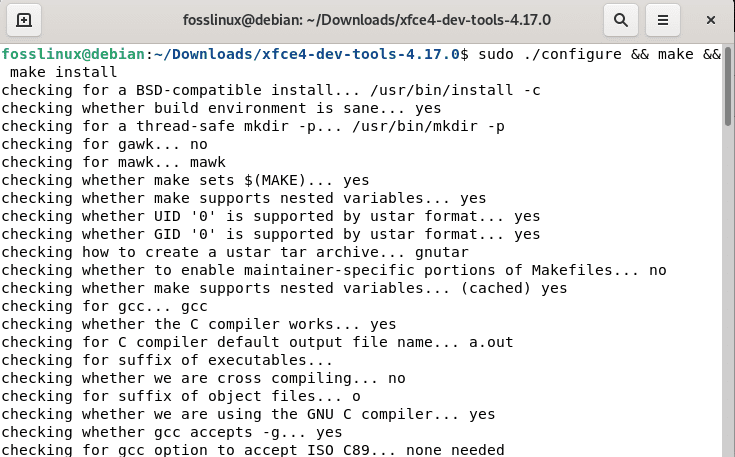
Configure and make install
You must now download the intltool from the following link:
https://launchpad.net/intltool
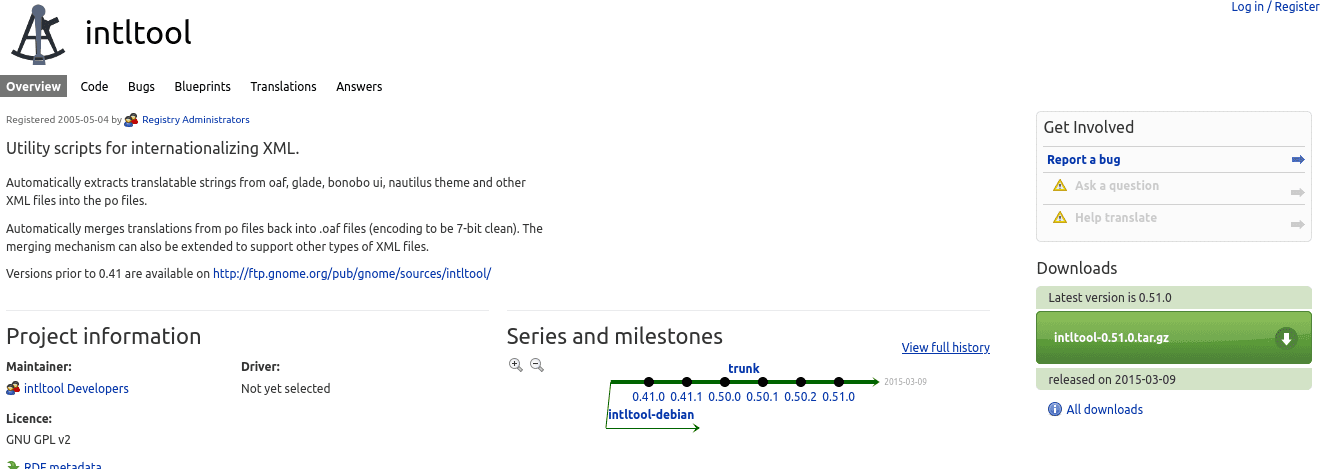
Download intltool
Once the tool has been downloaded and saved to your computer, run the command below to extract the.tar.gz file.
tar xvzf intltool-0.51.0.tar.gz
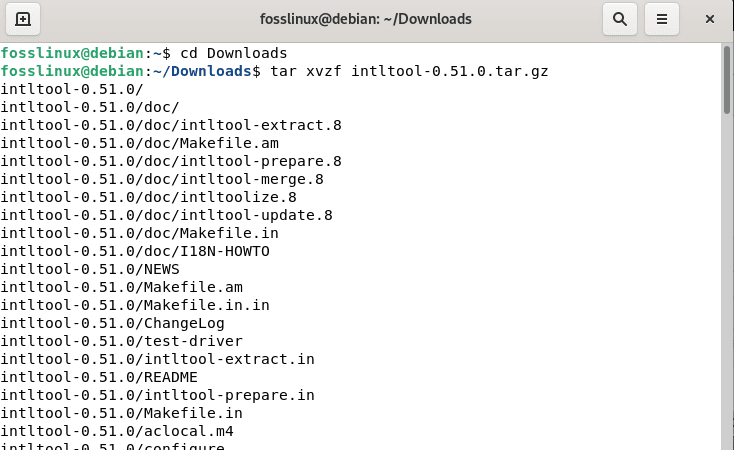
Cd downloads folder and extract intltools
Enter the directory, replacing version> with the exact version you received.
cd intltool-<Version>/
Example:
cd intltool-0.51.0
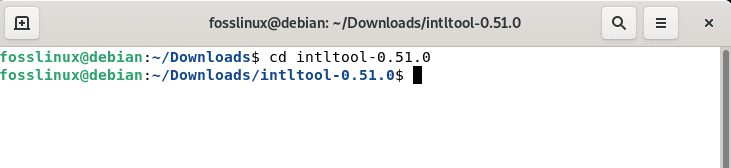
Cd into the extracted intltools folder
To begin the application installation, use the commands listed below.
sudo ./configure
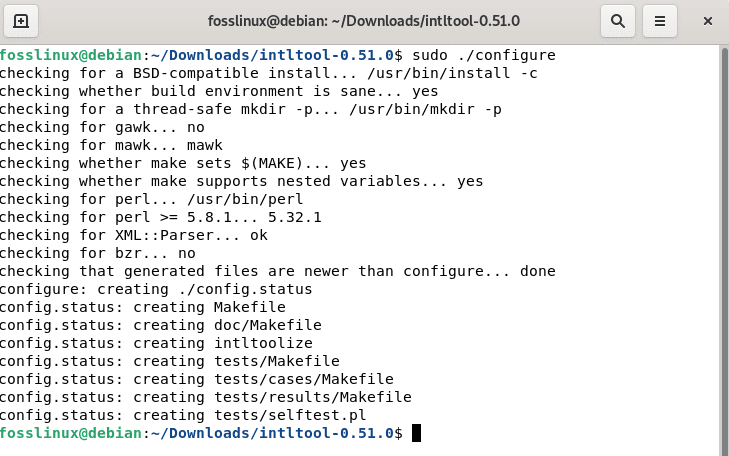
Configure intltools
Now run this command:
sudo make
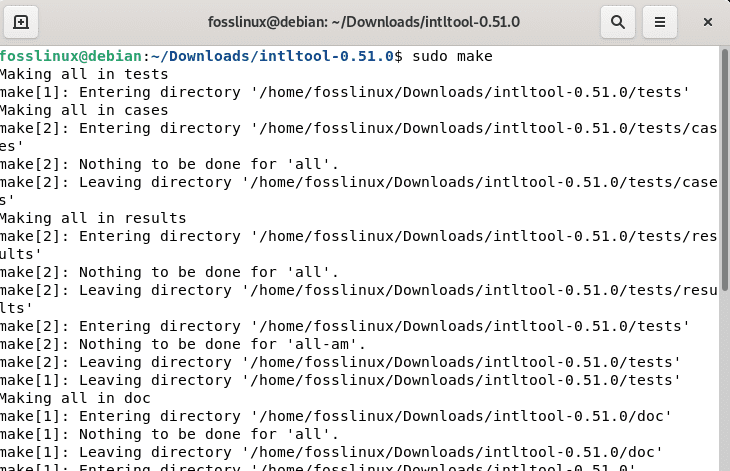
Make intltools
Execute the subsequent command to complete the installation.
sudo make install
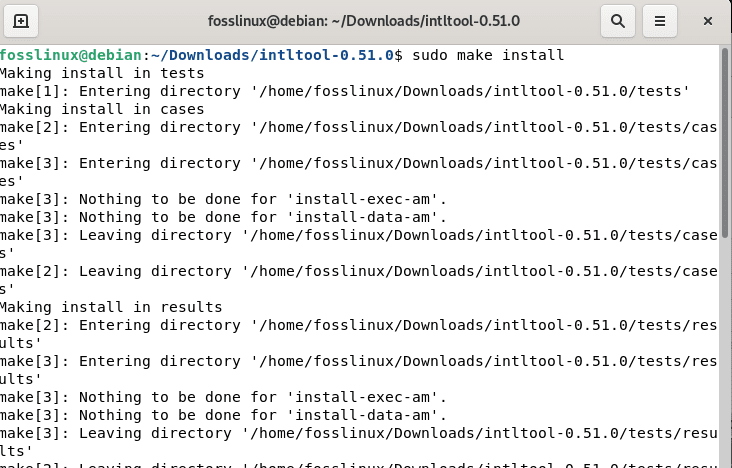
Make install
Now, go to this URL and download Python.
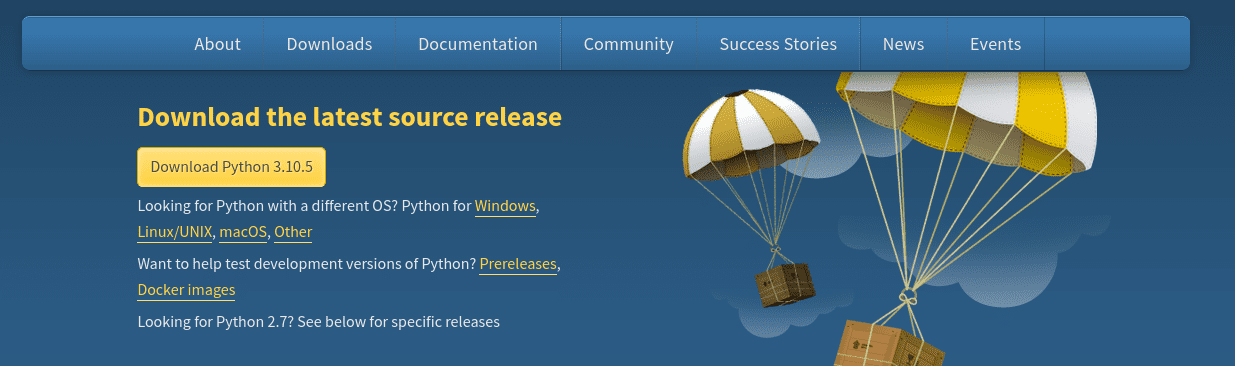
Download python
Enter the Python directory and change the version indicated below with your actual version.
cd Downloads

tar -xf Python-3.10.5.tar.xz

cd Python-3.10.5/

Extract Python and cd into the extracted folder
Run the following command to begin installing Python.
sudo ./configure && make
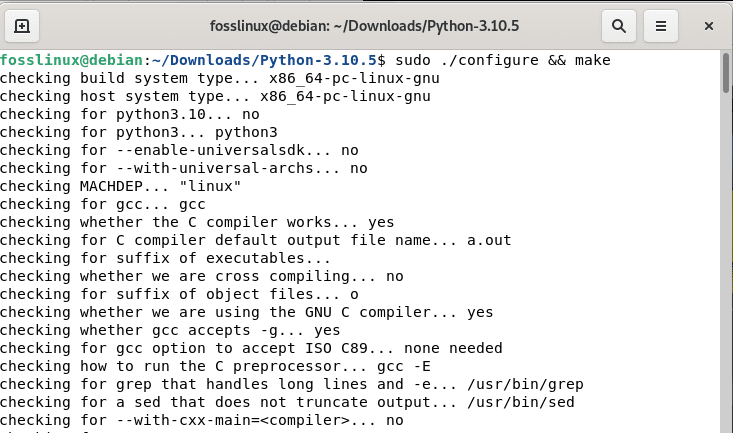
Configure and make python
Then execute the command shown below.
sudo make test
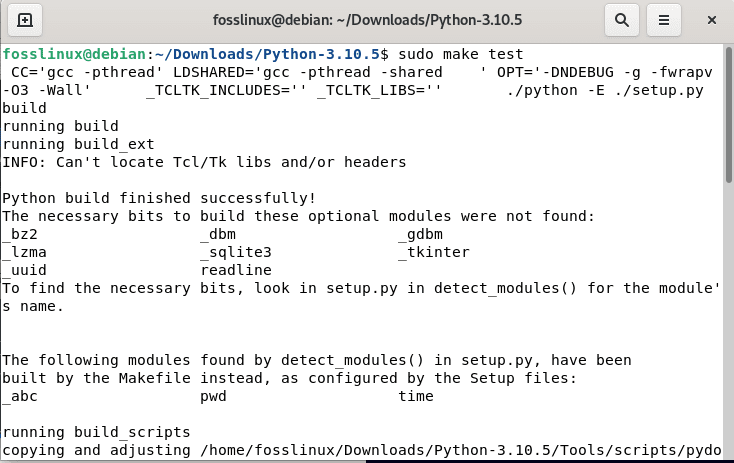
Python make test
Execute the subsequent command to complete the Python installation process.
sudo make install
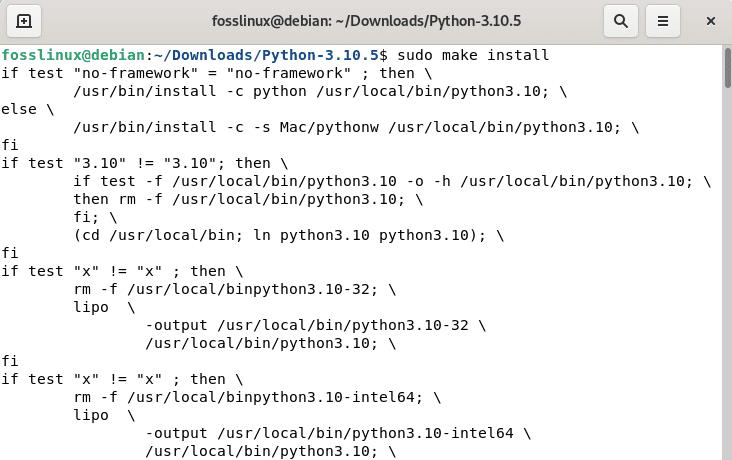
Python make install
Now, as indicated below, install Ninja with pip using the command given below.
sudo apt install python3-pip
pip install ninja
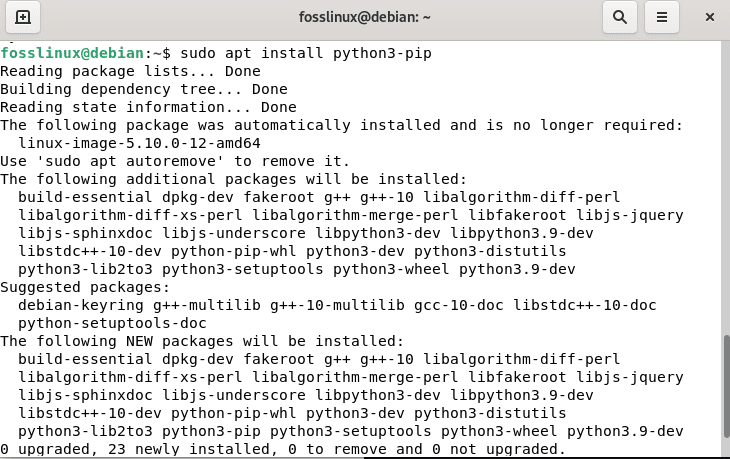
Install pip
Another requirement is the Meson package, which may be installed with pip, as seen below. Install Meson using Python, as indicated in the image below.
python3 -m pip install meson
Now you must install the xsltproc package; on Debian-based Linux systems, use the command below.
sudo apt install xsltproc
Note: You may also use the snap packages manager to install xsltproc.
Proceed and install the following necessary dependencies on your Debian 11 Bullseye system by executing the set of commands provided below:
sudo snap install libxslt
sudo apt install xmlto -y
Once you are done executing those sets of commands, go and download Wayland from the link provided below:
https://wayland.freedesktop.org/releases.html
In this case, I’m obtaining the.tar.xz compression extension.
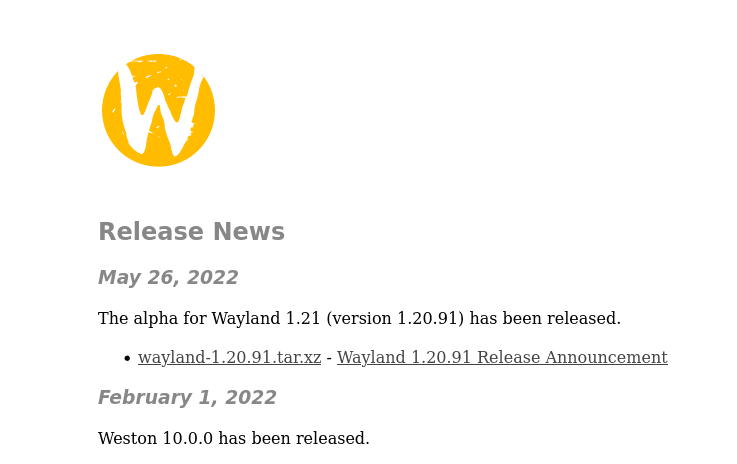
wayland
Enter the extracted directory and extract the file you just downloaded by executing the command line below:
cd Downloads

tar xf wayland-protocols-1.21.tar.xz

cd wayland-1.20.91/
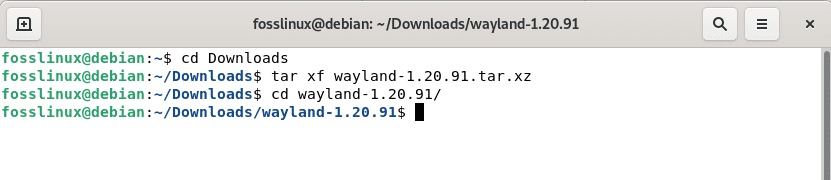
Extract wayland
Note: Remember to replace the version with your actual downloaded version since the releases won’t be similar.
Now execute the following command.
sudo meson build/ --prefix=/usr/meson && sudo ninja -C build/ install
Wayland has now been installed on your Debian OS.
Now proceed and download the gtk doc master. Ensure you choose the tar.gz extension to be on the same page as me.
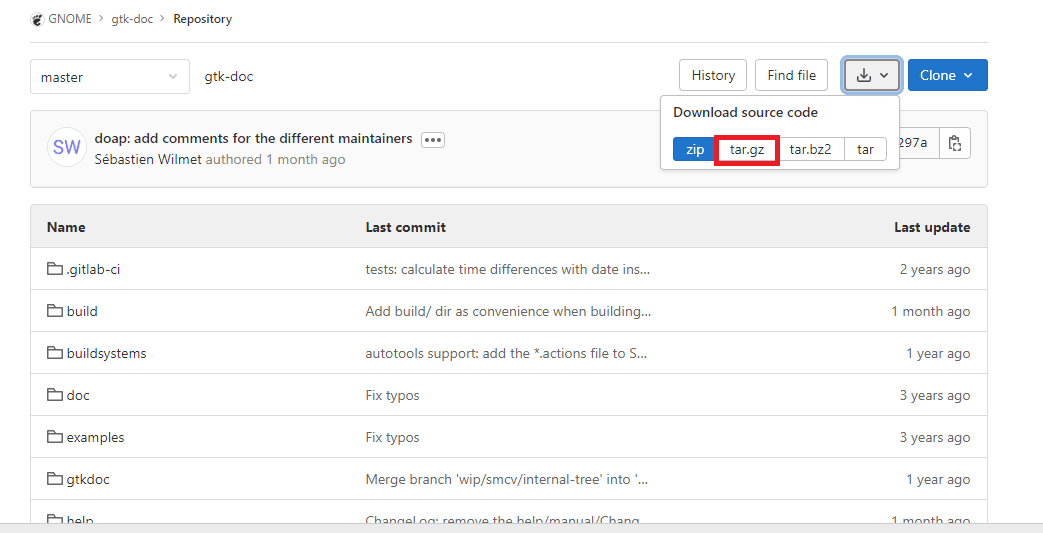
download tar.gz format
Once you have downloaded it, execute the following command to extract the file contents:
tar xvzf gtk-doc-master.tar.gz
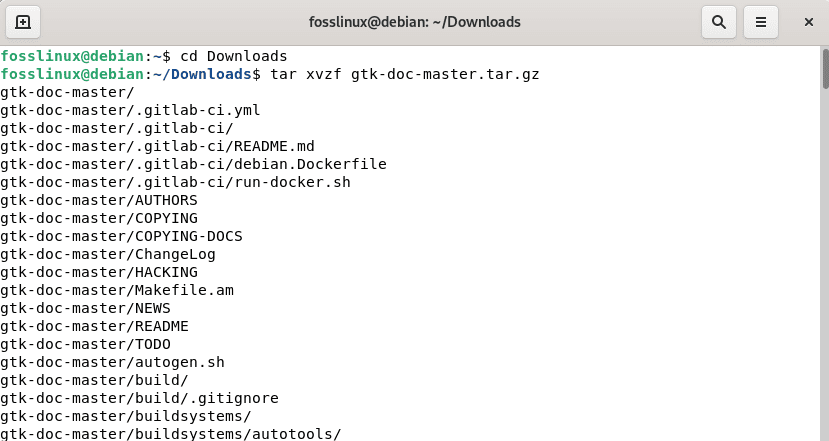
Extract gtk doc master
As illustrated below, navigate to the gtk-doc-master directory.
cd gtk-doc-master/

cd into the gtk doc master folder
Install the package in the manner given below.
./autogen.sh; sudo make
Thunar may be downloaded from this page.
Unzip the downloaded file using the command given here:
unzip thunar-master.zip
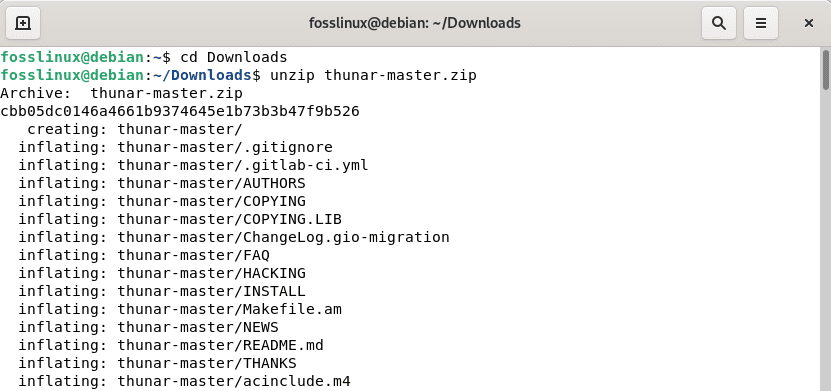
Unzip thunar
Navigate to the Thunar master directory by executing this line of code:
cd thunar-master/

cd into the thunar folder
Finally, use the command below to install Thunar.
sudo ./autogen.sh && make && make install
That’s all. Thunar has been successfully installed via the source code. However, as previously stated, this method is lengthy and might sometimes seem hectic. Therefore, if you need a direct way to install the Thunar file manager on your Debian 11 OS, all you need is to emulate the first three methods provided in this brief article guide.
How to uninstall Thunar from Debian 11
If you intend to remove this application from your Debian 11 OS, all you can do is follow this brief section guide to it done.
Use the following command to remove only the thunar package:
sudo apt-get remove thunar
Use the following command to erase thunar settings and data from Debian 11:
sudo apt-get -y purge thunar
Use the command below to remove thunar and its dependencies that Debian 11 no longer requires:
sudo apt-get -y autoremove thunar
To uninstall Thunar settings, data, and all of their dependencies, use the following command:
sudo apt-get -y autoremove --purge thunar
Conclusion
Installing the Thunar file manager on Debian 11 Bullseye is a simple task that any user can complete by simply typing or executing a command. However, due to the enormous number of dependencies needed, compiling the Thunar file manager from a source code is a challenging task that can take quite a while. The Thunar file manager is the primary file manager in Xfce and is a fantabulous solution for efficiently managing files.