
Working remotely is becoming increasingly common as a developer, but it can come with challenges. Luckily, Tmux and SSH can make remote development a breeze. Tmux allows you to manage multiple terminal sessions within a single window, while SSH lets you securely connect to remote servers.
This guide will explore using Tmux and SSH to streamline your remote development workflow. We’ll cover everything from setting up SSH keys to managing multiple Tmux sessions and remote pairing. With these tips and tricks, you’ll be able to work on your remote projects with ease.
Tmux and SSH for Remote Development
Now that we have a basic foundation and understanding of Tmux and SSH, let’s explore how they can be used together for remote development.
Setting up SSH keys
Setting up SSH keys is one of the first steps to using SSH for remote development. SSH keys securely authenticate with a remote machine without requiring a password each time you connect. Here are the steps for setting up SSH keys:
Generate your SSH key pair: The first step is to generate your SSH key pair. You can do this using the following command:
ssh-keygen -t rsa
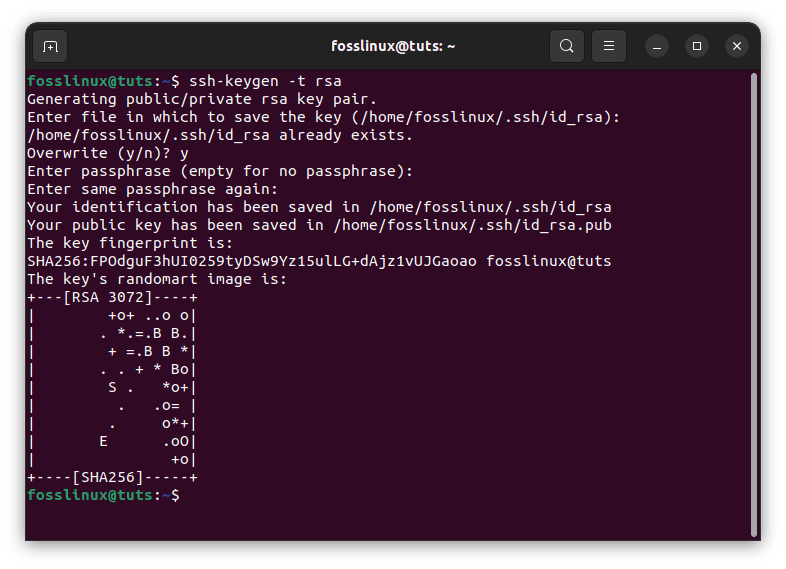
Generate SSH key
This command will generate a new SSH key pair. The public key should be added to the authorized_keys file on the remote machine, while the private key should be kept secure on your local machine.
Add your public key to the remote machine: Once you’ve generated your SSH key pair, you’ll need to add your public key to the remote machine. This can be done by appending your public key to the authorized_keys file on the remote machine. You can do this using the following command:
ssh-copy-id user@remote-machine-ip_address
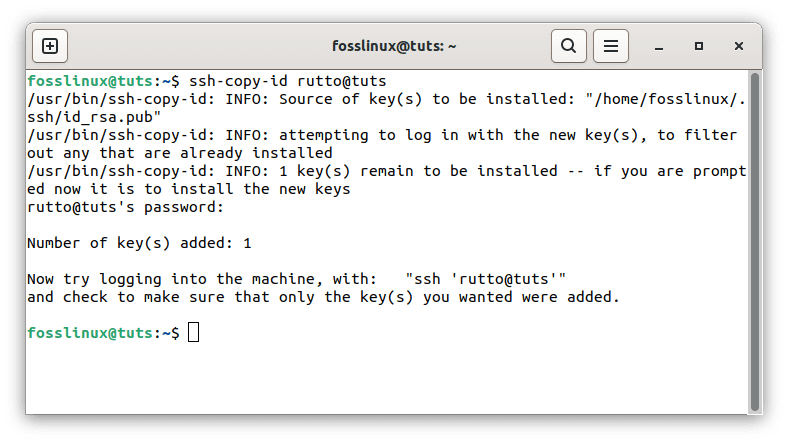
Add a public key to the remote machine
This command will copy your public key to the authorized_keys file on the remote machine, allowing you to authenticate without entering a password.
Test your SSH connection: Once you’ve set up your SSH keys, you should test your SSH connection to ensure everything works correctly. You can do this by running the following command:
ssh user@remote-machine
If everything is set up correctly, you can connect to the remote machine without entering a password.
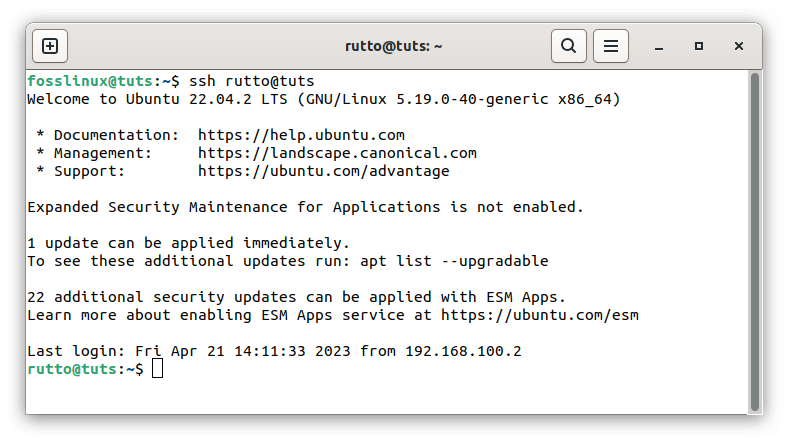
Test your connection
Remote pairing
Remote pairing can be a powerful way to collaborate with your remote colleagues, allowing you to share your terminal session and work on code together in real-time. Here are some tips for remote pairing using Tmux and SSH:
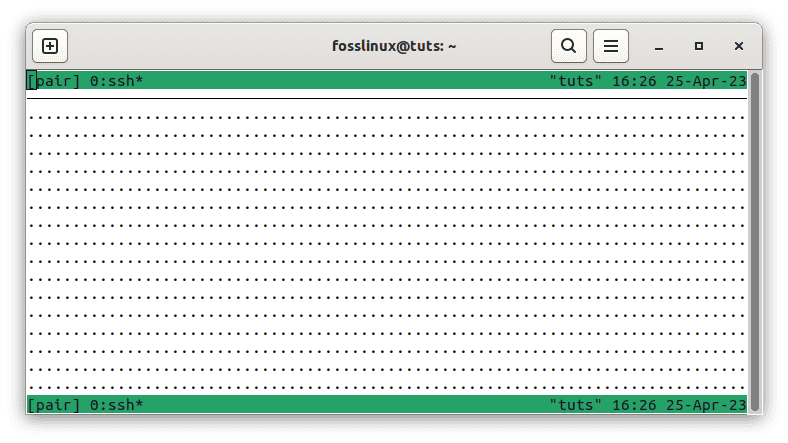
Start a Tmux session: To start a remote pairing session, you’ll need to begin a Tmux session that both you and your colleague can connect to. You can do this using the following command:
tmux new-session -s pair
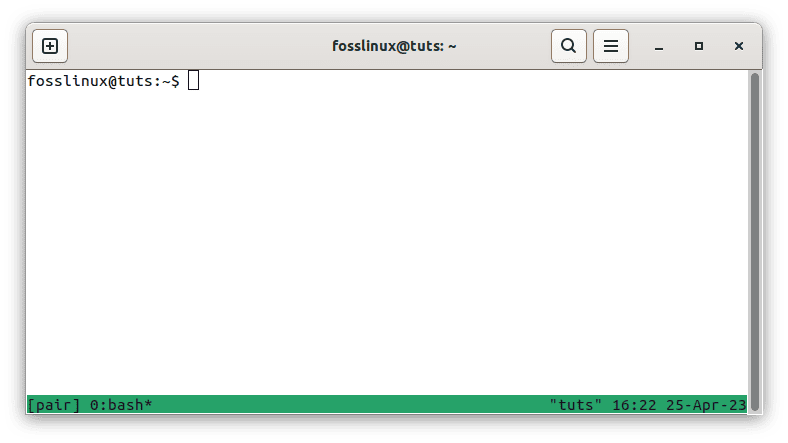
Create a new session named pair
This command will create a new Tmux session named “pair”.
Share your Tmux session: Once you’ve started your Tmux session, you can share it with your colleague by giving them access to your SSH key. They can then connect to your Tmux session using the following command:
ssh -t user@remote-machine tmux attach-session -t pair
Create a new session named pair
This command will connect your colleague to the Tmux session with the name “pair”, allowing them to see and interact with your terminal session in real-time.
Use Tmux to manage shared sessions: Tmux can be particularly useful for managing shared sessions during remote pairing. For example, you can use the Tmux “pane” feature to split your terminal session into multiple panes, allowing you and your colleague to simultaneously work on separate parts of the code. You can also use the Tmux “window” feature to switch between different parts of your codebase.
That’s it. Enjoy collaborating with your colleagues using Tmux and SSH.
Remote synchronization
One of the challenges of remote development is keeping files synchronized between the local and remote machines. SSH provides several ways to synchronize files between the two devices, including SCP and SFTP.
SCP, or Secure Copy, is a command-line tool that enables users to copy files between two machines over a secure SSH connection. To copy a text/file from your local device to a remote device, use the following line of code:
scp local-file remote-user@remote-host:remote-file
This will copy the specified local file to the specified remote file. To copy a file from the remote device to the local machine, use the following command:
scp remote-user@remote-host:remote-file local-file
This will copy the specified remote file to the specified local file.
SFTP (Secure File Transfer Protocol) is a more advanced file transfer tool that enables users to transfer files between two machines over a secure SSH connection. SFTP provides more advanced features than SCP, including support for directory synchronization, file permissions, and more.
To start an SFTP session, use the following command:
sftp remote-user@remote-host
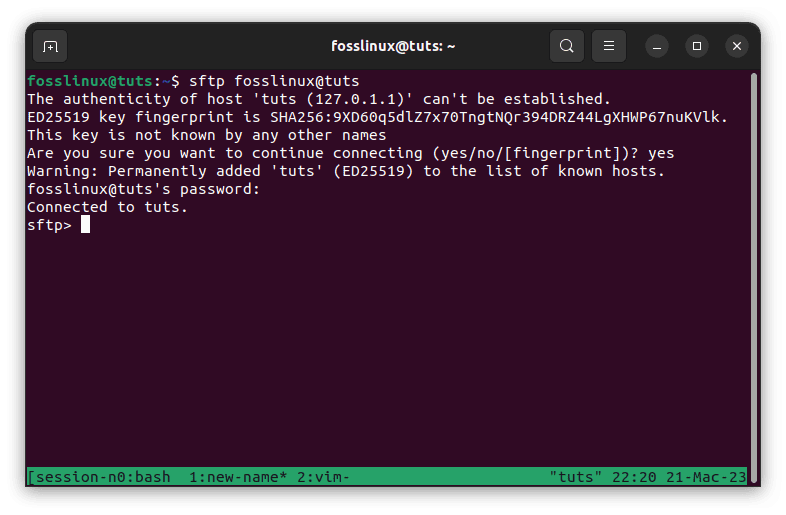
Connect to tuts
This will start an SFTP session with the specified remote host. Once the SFTP session has begun, users can use commands to navigate the remote file system, transfer files, and more. Some commonly used SFTP commands include:
- ls to list the files in the current remote directory
- cd to change the current remote directory
- get to download a file from the remote machine
- put to upload a file to the remote machine
- rm to remove a file from the remote machine
Tmux and SSH tips and tricks
Now that we have reviewed the basics of Tmux and SSH, let’s dive into some tips and tricks for using these tools to improve your remote development workflow.
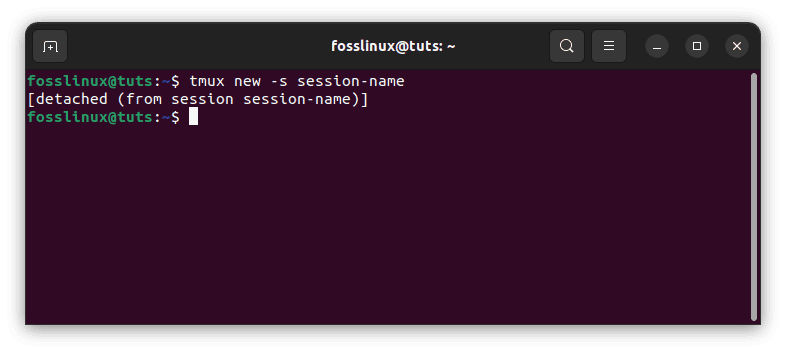
1. Persistent Tmux sessions
One of the most valuable features of Tmux is the ability to create persistent sessions that survive disconnections. If your SSH connection is lost for any reason, you can reconnect and resume your Tmux session exactly where you left off.
To create a persistent Tmux session, use the following command:
tmux new-session -s session-name
Start a new tmux session
This will initiate a new Tmux session with the specified name. To detach from the session and leave it running in the background, use the following command:
tmux detach
Detach from session-name
To reattach to a detached session, use the following command:
tmux attach -t session-name
This will reattach to the specified Tmux session.
2. Remote Tmux sessions
Another helpful feature of Tmux is sharing sessions between multiple users. This can be particularly useful for remote development teams who need to collaborate on a project.
To share a Tmux session with another user, the first user can attach to the session and then use the following command:
tmux switch-client -t session-name
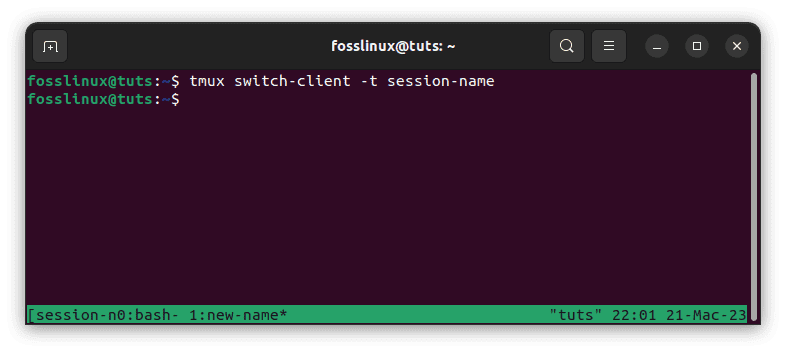
Allow the second user to attach to the same tmux session
This will allow the second user to attach to the same Tmux session.
3. Tmux and Vim
If you are a Vim user, you may be interested in using Tmux to improve your workflow. Tmux provides several features that make navigating and managing multiple Vim windows easier.
To start Vim within a Tmux session, use the following command:
tmux new-window vim

Tmux and vim
This will create a new Tmux window running Vim. To navigate between Vim windows within a Tmux session, use the following command:
Ctrl+b` followed by 'h/j/k/l'
This will move between Vim windows using the Vim keybindings.
4. SSH configurations
If you frequently connect to the same remote machine using SSH, you may find creating an SSH configuration file helpful to simplify the process. The SSH configuration file allows users to define custom settings for each remote machine, including the hostname, username, port, and more.
To create an SSH configuration file, create a file named config in the ~/.ssh directory and add the following lines:
Host remote-host

Hostname remote-hostname

User remote-username

Port remote-port
Replace remote-host, remote-hostname, remote-username, and remote-port with the appropriate values for your remote machine.
5. SSH agent forwarding
If you need to connect to multiple remote machines using SSH, you may find it helpful to use SSH agent forwarding. SSH agent forwarding allows users to use their local SSH key to authenticate with remote machines without copying the SSH key to each device.
To enable SSH agent forwarding, use the following command when connecting to the remote machine:
ssh -A remote-user@remote-host

SSH agent forwarding
This will enable SSH agent forwarding for the current SSH session.
6. Customizing Tmux
Tmux provides a wide range of customization options allowing users to tailor the tool to their needs. Some common customizations include changing the keybindings, changing the color scheme, and adding plugins.
To customize Tmux, create a file named .tmux.conf in your home directory and add the desired customizations. Here are a few examples:
-
Changing the prefix key
By default, Tmux uses Ctrl-b as the prefix key. However, using a different key combination may be more convenient. For example, you could change the prefix key to Ctrl-a by adding the following line to your .tmux.conf file:
# Set prefix key to Ctrl-a

set-option -g prefix C-a

unbind-key C-b

bind-key C-a send-prefix
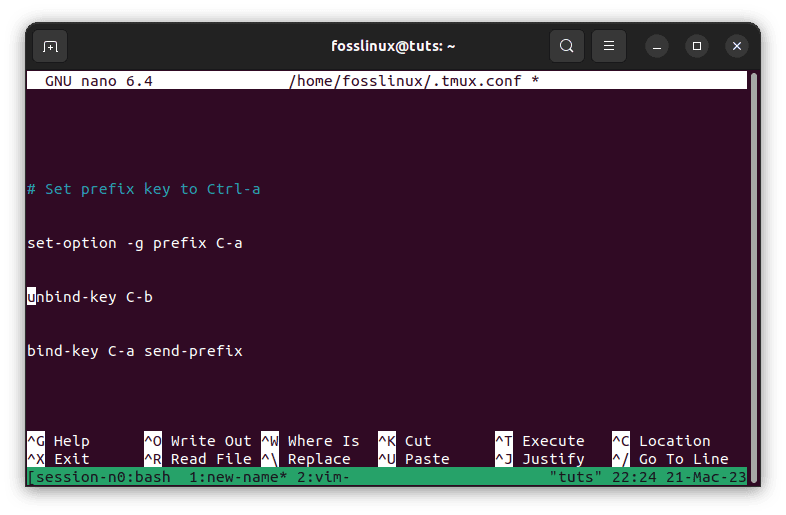
Change prefix key
-
Changing the color scheme
Tmux uses a default color scheme that may not be appealing. Fortunately, you can easily change the color scheme by adding the following line to your .tmux.conf file:
# Change color scheme

set-option -g status-bg black

set-option -g status-fg white

set-option -g window-status-current-bg white

set-option -g window-status-current-fg black

set-option -g status-style "bg=black,fg=white"
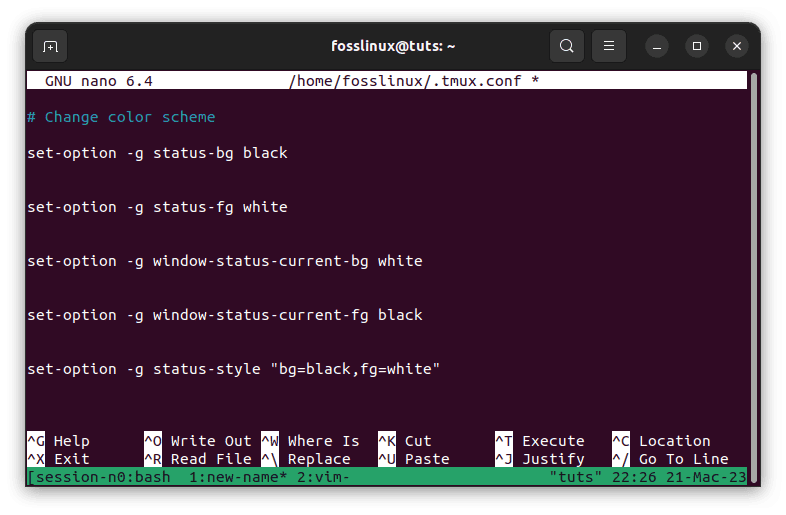
Change the color scheme
This changes the status bar to have a black background and white foreground.
-
Adding plugins
Tmux’s vibrant plugin ecosystem allows you to extend its functionality in many ways. You can find a list of plugins on the Tmux Plugin Manager website. To install a plugin, add the following line to your .tmux.conf file:
set -g @plugin 'plugin-name'
Replace the plugin-name with the name of the plugin you want to install. You can install the plugin by running the prefix + I in a Tmux session. For example, to install the resurrect, sensible and continuum plugins, execute the following lines of code:
# Add plugins

set -g @plugin 'tmux-plugins/tmux-sensible'

set -g @plugin 'tmux-plugins/tmux-resurrect'

set -g @plugin 'tmux-plugins/tmux-continuum'
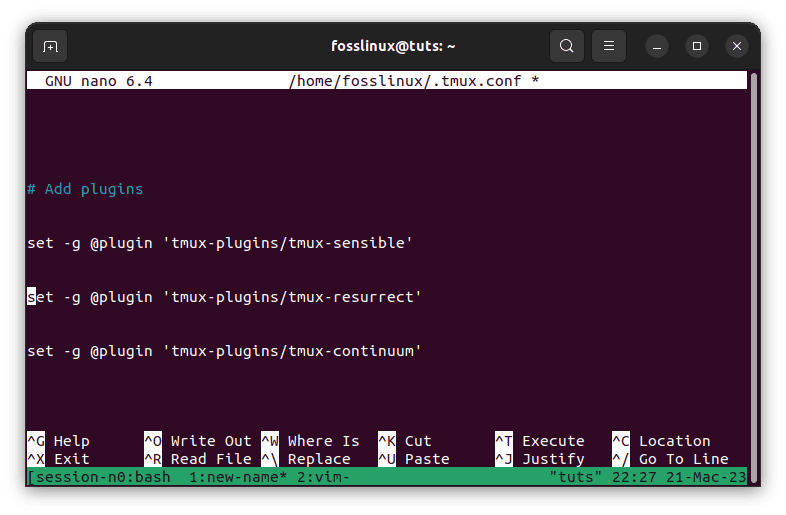
Add plugins
These are just a few instances of the many customizations you can make to Tmux. By customizing Tmux to your liking, you can make it even more powerful and convenient to use.
7. Tmux copy mode
Tmux copy mode is a feature that allows users to scroll through the terminal output and copy text to the clipboard. This can be particularly useful for reviewing logs or copying error messages.
To enter copy mode, press Ctrl+b followed by [. Using the arrow keys on your keyboard, navigate through the terminal output, and press Space to start selecting text. Once you have chosen the desired text, press Enter to copy it to the clipboard.
8. SSH tunneling
SSH tunneling is a technique that allows users to access remote services as if they were running on their local machine. This can be particularly useful for accessing databases or web servers only available on remote devices.
To create an SSH tunnel, use the following command:
ssh -L local-port:remote-host:remote-port remote-user@remote-host
Replace local-port, remote-host, remote-port, remote-user, and remote-host with the appropriate values for your remote machine.
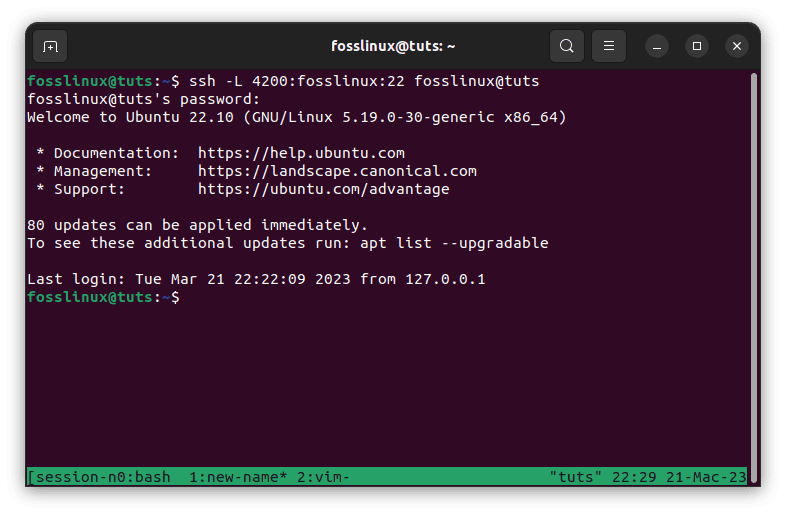
SSH tunneling
9. Tmux and systemd
If you are using Tmux on a Linux system with systemd, you can use systemd to start Tmux sessions when the system boots automatically. This can be particularly useful for ensuring that Tmux sessions are always running, even after a system reboot.
To create a systemd unit file for Tmux, create a file named tmux.service in the /etc/systemd/system/ directory and add the following lines:
[Unit]

Description=Tmux Session

After=network.target

[Service]

Type=forking

ExecStart=/usr/bin/tmux new-session -d -s tmux-session

ExecStop=/usr/bin/tmux kill-session -t tmux-session

User=username

Group=groupname

[Install]

WantedBy=multi-user.target
Replace tmux-session, username, and groupname with the appropriate values for your system.
10. Tmux and screen
If you are a longtime Unix user, you may be familiar with Screen, a terminal multiplexer similar to Tmux. While Tmux is generally considered the more modern and powerful tool, Screen is still widely used and can be a good alternative for users who prefer its interface or feature set.
To start Screen, use the following command:
screen
new screen
This will start a new Screen session. To detach from the session and leave it running in the background, use the following command:
Ctrl+a, d
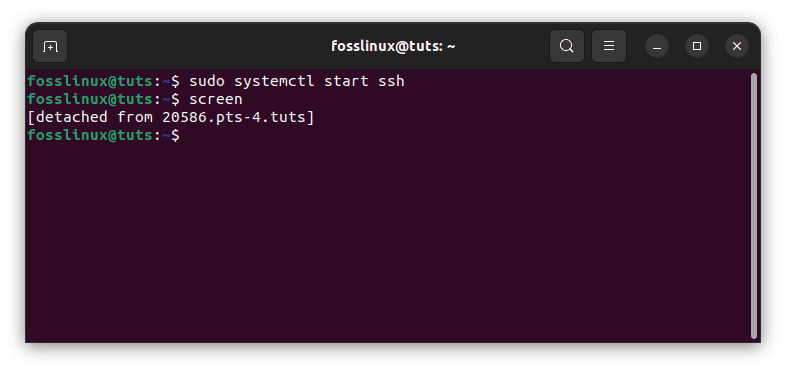
Detach from screen
To reattach to a detached session, use the following command:
screen -r
Conclusion
Tmux and SSH are powerful tools for remote development. With Tmux, you can manage multiple terminal sessions within a single window, while SSH lets you securely connect to remote servers. By using these tools, you can streamline your remote development workflow and improve your productivity. We hope that the tips and tricks we’ve shared in this guide will help you make the most out of Tmux and SSH and that you can efficiently work on your remote projects.