
Virtual machines have become increasingly popular among developers, system administrators, and IT professionals. A virtual machine is a software program that emulates a physical computer, allowing you to run multiple operating systems or applications on a single physical machine. Pop!_OS has gained popularity recently due to its unique features tailored for developers and professionals.
In this detailed article, we will guide you through setting up a virtual machine with Pop!_OS, from understanding virtual machines to troubleshooting common issues.
Understanding virtual machines
Virtual machines (VMs) are software programs that emulate a physical computer by providing a virtualized environment where multiple operating systems or applications can run on a single machine. A VM creates a self-contained, isolated environment separate from the host operating system.
Virtual machines for Linux
The primary purpose of a VM is to enable users to run software applications incompatible with their host operating system or to test software in a sandboxed environment. With a VM, users can install different operating systems or versions of software without affecting their primary system or hardware configuration.
Virtual machines use a layer of software called a hypervisor or virtual machine manager, which sits between the host operating system and the virtualized guest OS. The hypervisor creates and manages virtual machines, providing access to the host’s hardware resources such as CPU, memory, storage, and network.
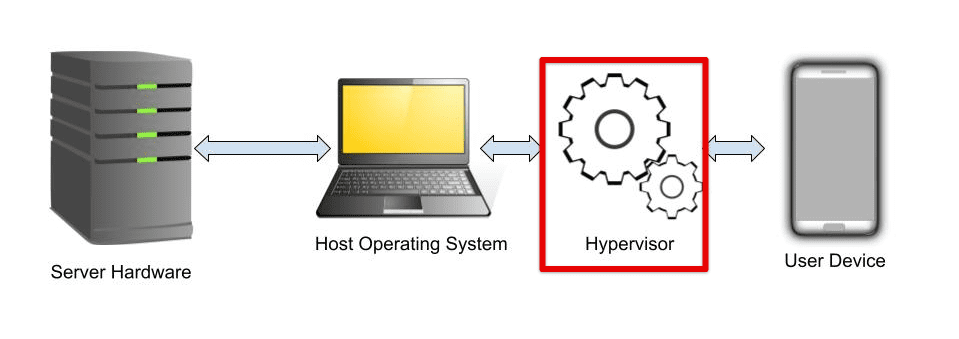
Virtual machine hypervisor
There are several benefits to using virtual machines. Firstly, virtualization enables users to run multiple operating systems or applications on a single machine, which can significantly reduce hardware costs and power consumption. Additionally, VMs can be easily cloned, backed up, and migrated, making them a flexible and scalable solution for IT environments.
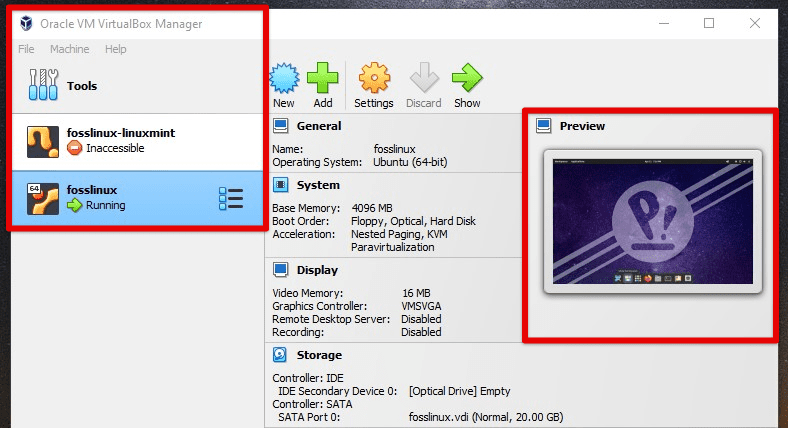
Running multiple operating systems
Virtual machines also provide a secure sandboxed environment for running potentially harmful or untested software without risking the integrity of the host. They can also be used to create virtual networks, allowing you to simulate complex network topologies for testing or educational purposes.
Choosing a virtual machine platform
When choosing a virtual machine platform, various options are available, each with its own strengths and weaknesses. Here, we will discuss some of the most popular virtual machine platforms and provide guidance on which one to use for different scenarios.
VMware is a leading platform that provides robust features for enterprise-level virtualization. It offers advanced controls such as live migration, high availability, and distributed resource scheduling. VMware’s vSphere has become famous for data centers and large-scale virtualization environments. Nevertheless, their products can be expensive and may not be the best choice for smaller organizations or individuals.
VMware
VirtualBox is an open-source virtual machine platform developed by Oracle. It is free and easy to use, making it a popular choice for individual users. VirtualBox provides a basic set of features for virtualization, including support for various guest operating systems, snapshots, and remote machine management. Although, it lacks some of the more advanced features, and its performance may be limited in high-demand environments.
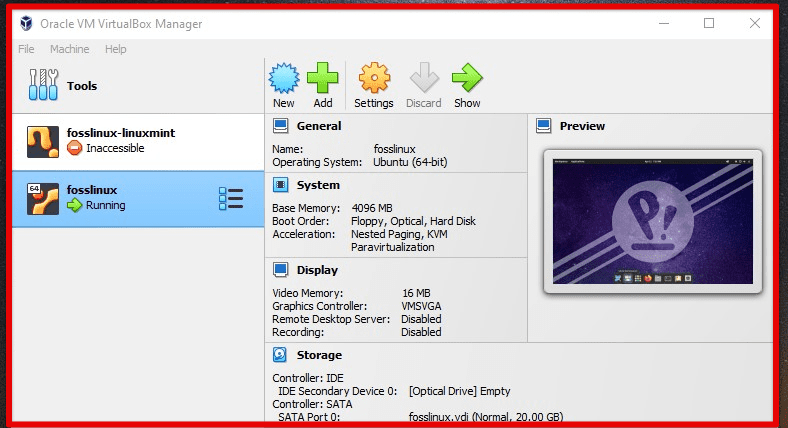
VirtualBox
Hyper-V is Microsoft’s virtualization platform, built into Windows Server, Windows 10 Pro, and Enterprise editions. Hyper-V includes support for live migration, high availability, and virtual machine replication. However, it can be complicated to set up and may not be the best choice for those unfamiliar with such technologies.
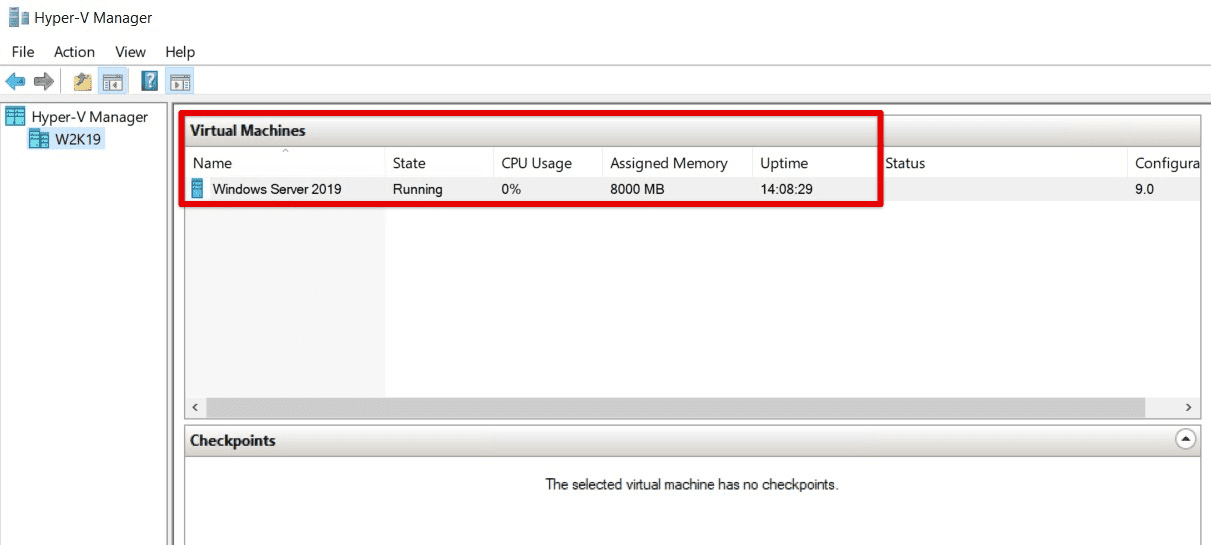
Hyper-V
If you are looking for a platform on some other distribution, GNOME Boxes offers a more streamlined and user-friendly experience. Here is a detailed article on simplifying virtualization on Ubuntu with GNOME Boxes.
Setting up Pop!_OS on a virtual machine
Now that you have chosen your virtual machine platform, it’s time to set up Pop!_OS. Here, we will walk you through the process of downloading and installing Pop!_OS onto your virtual machine, as well as guide how to make sure that the installation finishes successfully.
Firstly, download the Pop!_OS ISO file from the System76 website. Select the correct version for your system architecture (32-bit or 64-bit). Once the download finishes, launch your virtual machine platform and create a new virtual machine, selecting the option to install an operating system from an ISO file.
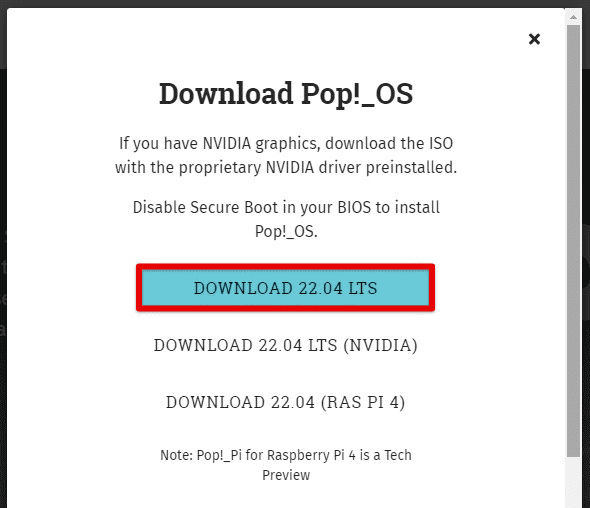
Downloading Pop!_OS ISO file
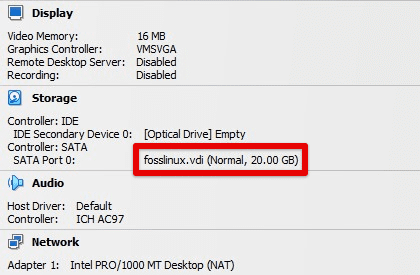
Next, configure your virtual machine settings, such as the amount of memory and storage allocated to the virtual machine. Giving at least 2GB of RAM and 20GB of storage is recommended for a basic installation of Pop!_OS. Also, enable hardware virtualization support, as this can improve performance.
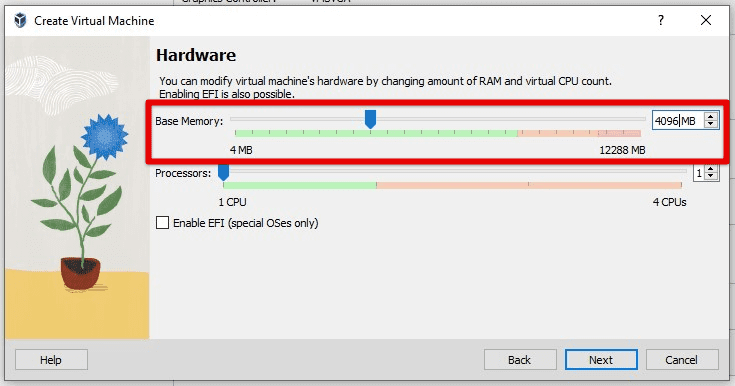
Allocating memory and storage
Once you have configured the virtual machine settings, insert the Pop!_OS ISO file into the virtual CD/DVD drive and start the machine. The virtual machine should boot from the ISO file, and you will be presented with the Pop!_OS installation screen. Follow the on-screen prompts to install Pop!_OS. During this process, you will be asked to select the language, time zone, and keyboard layout. Make sure to choose the correct options according to your location and preferences.
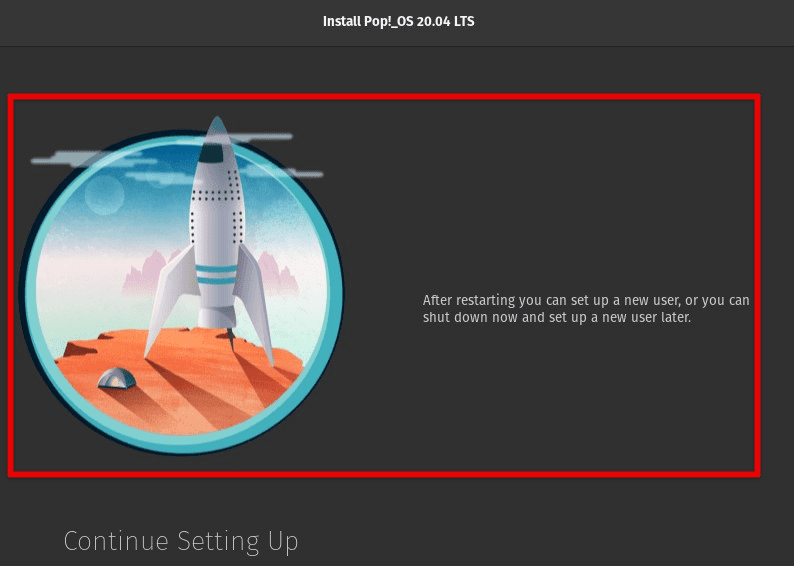
Pop!_OS installation screen
Next, you will be prompted to select the installation type. Next, choose to erase the disk and install a fresh system. Afterward, you will be asked to create a user account and set up the system administrator (sudo) password. Ensure to put in a strong password and always keep it secure. Finally, wait for the installation to complete, which may take several minutes, depending on the machine configuration. Restart the machine and log in with the newly created user account when the installation finishes.
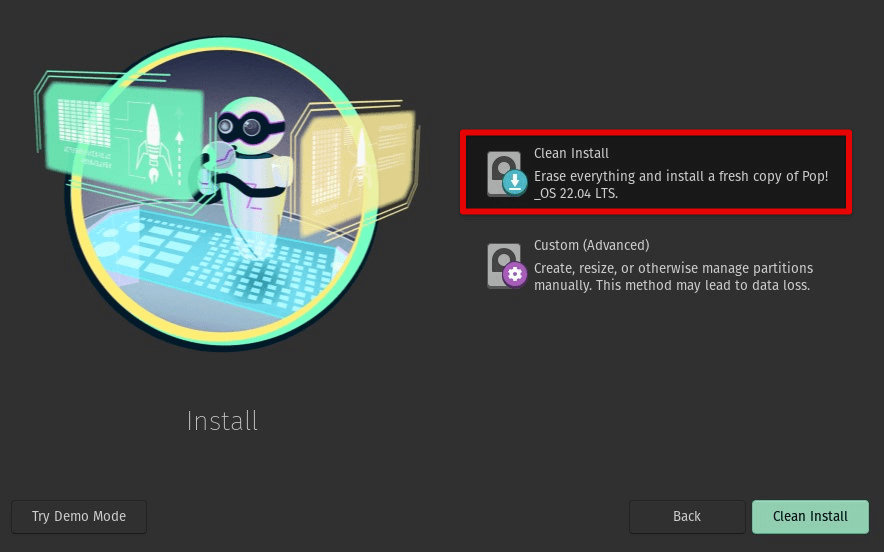
Selecting the installation type
To ensure the installation’s success, verify that all hardware is detected and functioning correctly. Also, update the system using the package manager for the latest security updates and bug fixes.
Configuring the virtual machine
After installing Pop!_OS, you must configure the virtual machine to ensure it runs correctly. This section will discuss various configuration settings that need to be set up, including network, storage, and more.
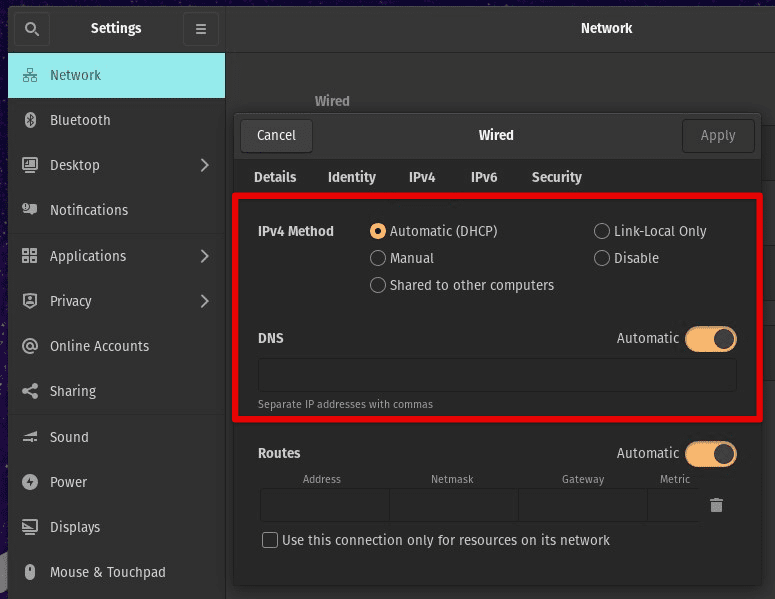
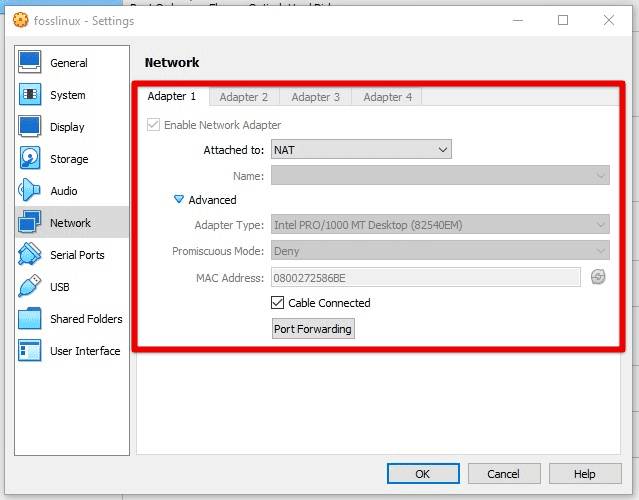
Let’s start with the network settings. By default, your virtual machine is likely configured to use NAT (Network Address Translation), which allows the virtual machine to access the internet but does not allow other computers on the network to access this machine. You must configure the virtual machine to use a bridged network adapter to change this default behavior.
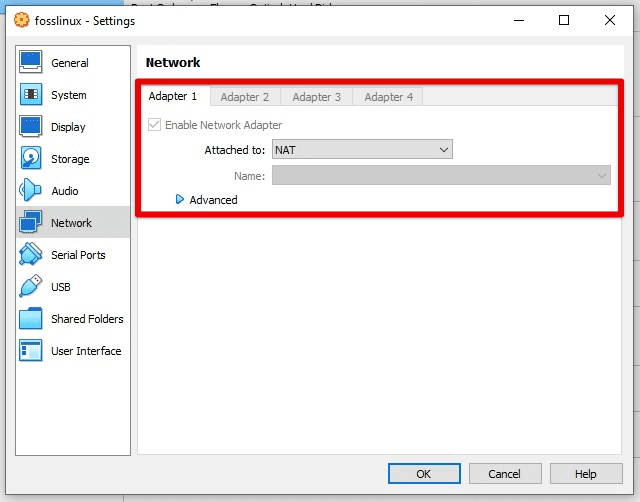
Virtual machine’s network settings
To do this, go to the virtual machine settings and select the network adapter. Change the adapter type to “Bridged Adapter” and select the network adapter of your physical machine. Save the settings and restart the virtual machine. It will now be accessible from other computers on the same network.
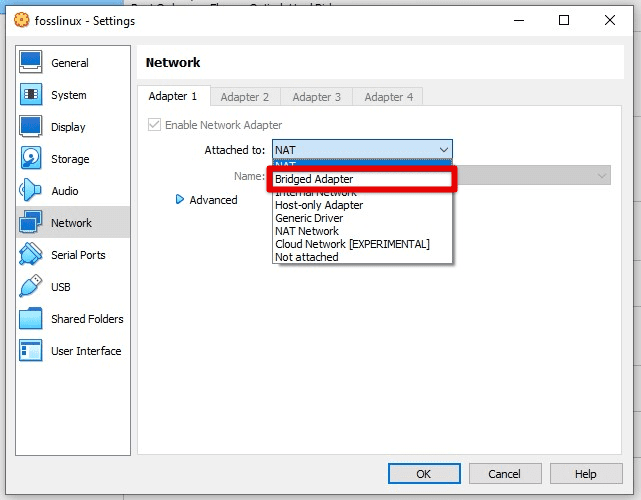
Using a bridged network adapter
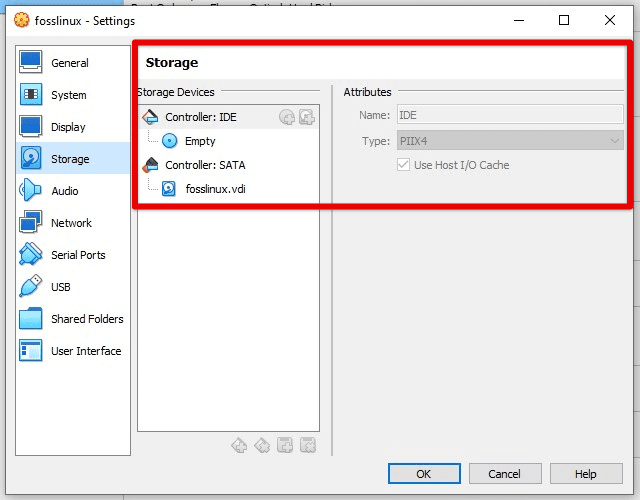
Your virtual machine is likely configured with a single virtual hard disk by default. You can add additional disks if you need more storage space. Go to the virtual machine settings and select the “Storage” tab to do so. Click the “Add Hard Disk” button and follow the prompts to create a new virtual hard disk. Depending on your requirements, you can choose the size and type of the virtual hard disk.

Creating a new virtual hard disk
Configure other settings such as the number of CPUs, the amount of memory allocated to the virtual machine, and more. These settings are configured in the main tab and may be adjusted as required.
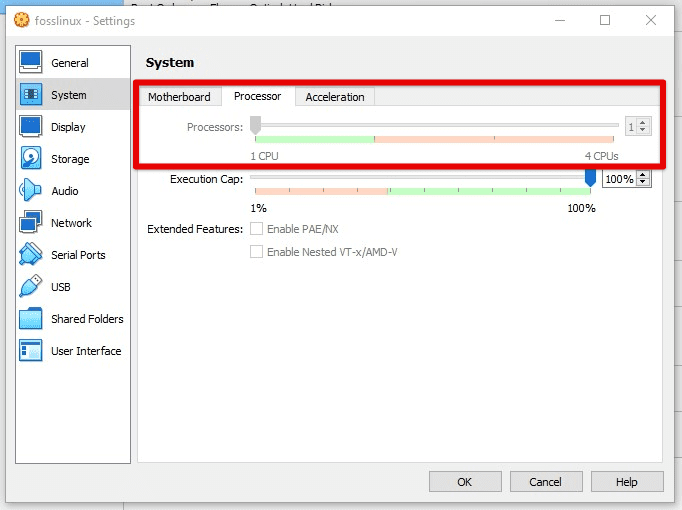
Configuring the number of processors
It is also essential to install virtual tools, which provide additional drivers and utilities that improve the performance and functionality of the virtual machine. Go to the “Devices” menu in machine settings and select “Insert Guest Additions CD Image”. After that, follow the on-screen prompts to install all virtual tools.
Installing software
The first thing you will want to do is open the terminal. It is a command line interface that allows you to execute commands and run scripts. To open the terminal in Pop!_OS, click the “Activities” button in the top left corner of the screen and type “Terminal” in the search bar.
Once you have the terminal open, you can start installing software. Pop!_OS uses the apt package manager to manage software installations. Apt is a command-line tool that enables users to search for and install software packages. To update the apt package list, run the following command:
sudo apt update
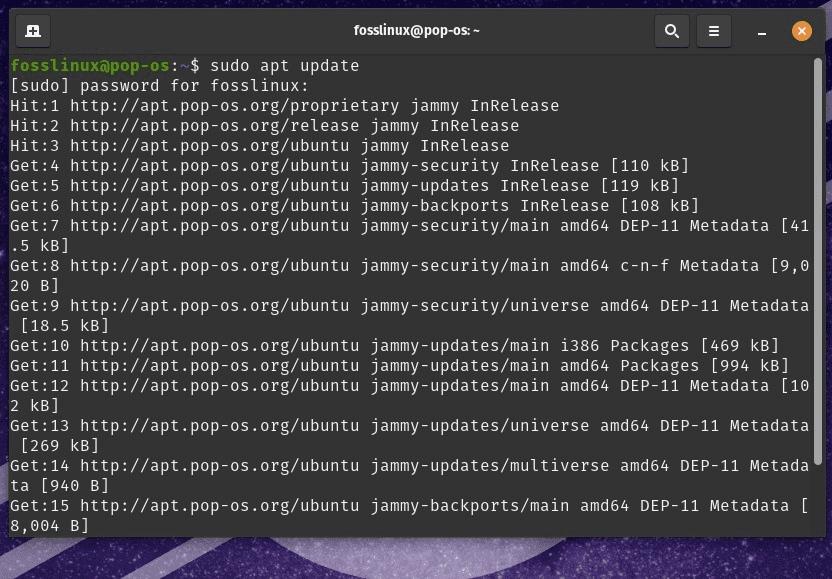
Updating the apt package list
This will ensure you have the latest list of available software packages. Once the update is complete, you can start installing the software. To do so, run the following command in the terminal:
sudo apt install firefox
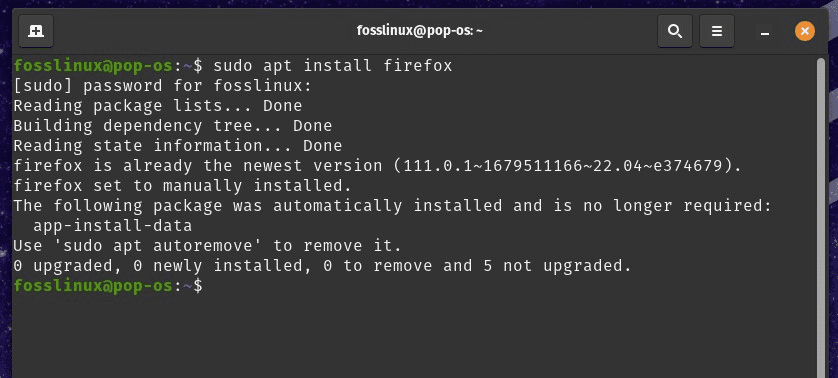
Installing software
Replace “firefox” with the package name you want to install. You can install multiple packages simultaneously by separating the package names with a space. For example:
sudo apt install firefox chromium
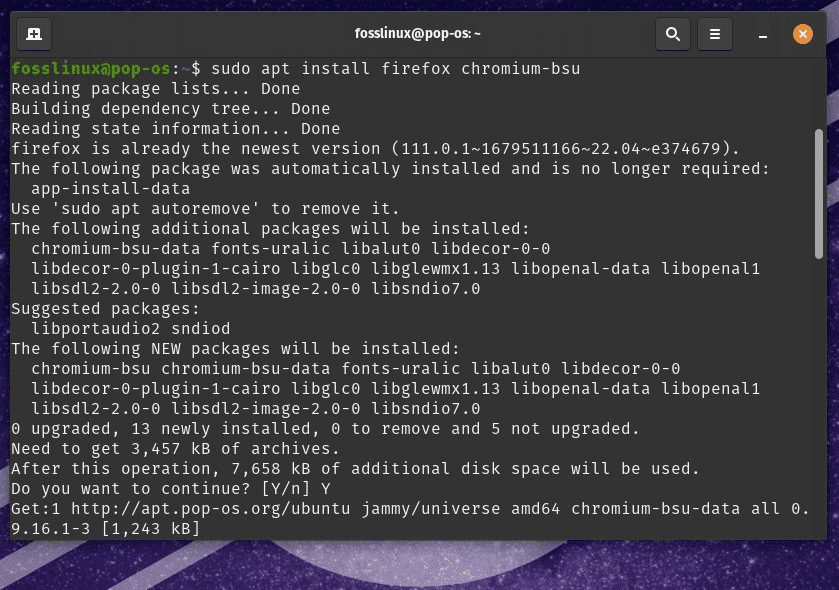
Installing various packages at once
This will install both Firefox and Chromium web browsers. You can also install software using the Pop!_Shop graphical package manager. To open Pop!_Shop, click on the “Activities” button in the top left corner of the screen and type “Pop!_Shop” in the search bar. This collection of repositories and applications lets you install software packages using a graphical interface. Did you know that running Android on Linux distributions is also possible? Learn how to do so using a virtual machine.
Configuring security settings
Configuring your virtual machine’s security settings is essential to protect it from potential threats. Pop!_OS comes with a pre-installed firewall. To enable it, open the terminal and run the following command:
sudo ufw enable
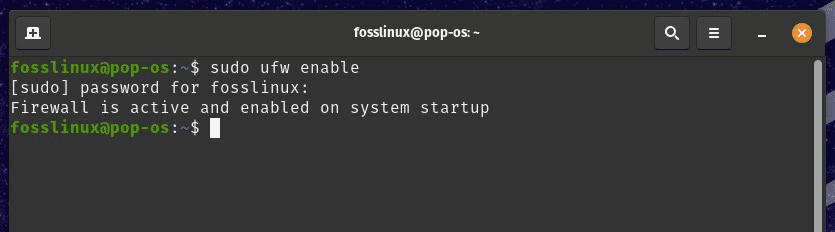
Enabling the firewall
This enables the Uncomplicated Firewall (UFW) on your system. The firewall is configured to block all incoming traffic by default but allows all outgoing traffic. By default, UFW is configured to block all incoming traffic, but it’s up to you to decide which traffic should be allowed.
sudo ufw allow ssh
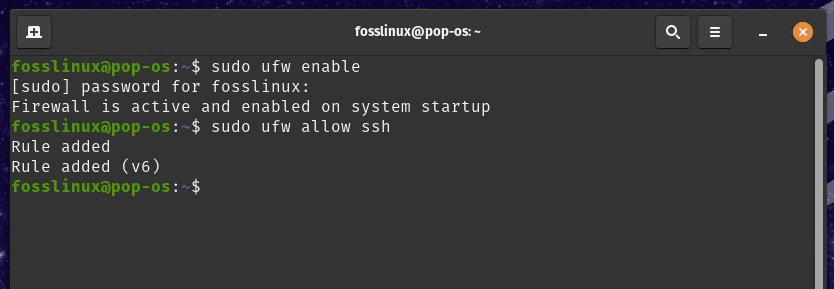
Allowing SSH traffic
sudo ufw allow http
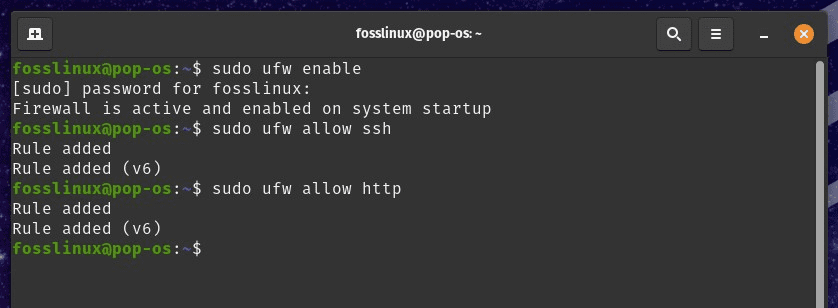
Allowing HTTP traffic
sudo ufw allow https
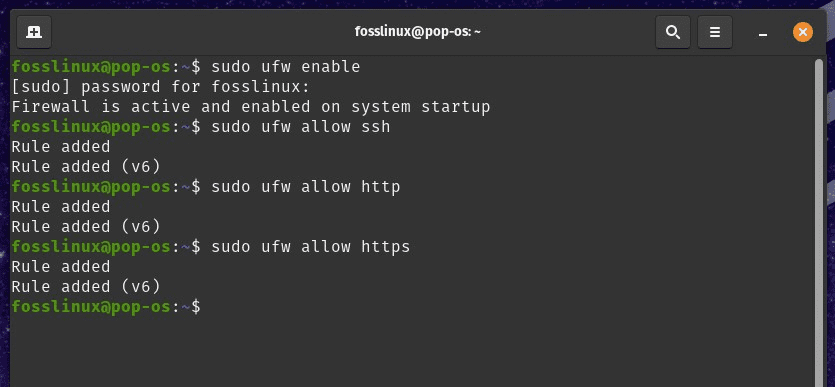
Allowing HTTPS traffic
To protect your data in case a virtual machine is stolen or lost, it’s recommended to enable disk encryption. Pop!_OS provides a built-in disk encryption tool called LUKS (Linux Unified Key Setup). During the system installation, you can choose to enable disk encryption. If you didn’t enable it, then remember to do it afterward. Open the “Settings” app and go to “Encryption & Security”. Click on the “Encrypt Installation” button. Follow the on-screen instructions to set up encryption.
Pop!_OS delivers automatic security updates by default. However, it’s always a good practice to make sure that your system is up-to-date by running the following command in the terminal:
sudo apt update && sudo apt upgrade

Updating the system
This updates all installed packages to their latest versions. Another critical step is to disable unnecessary services. Doing so reduces the attack surface of your virtual machine. You can use the following command to see a list of running services:
sudo systemctl list-unit-files --type=service --state=running
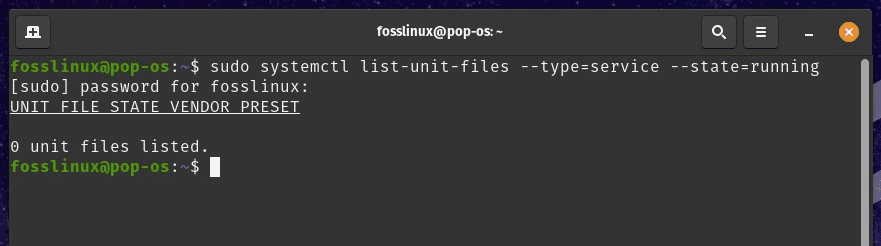
Disabling unnecessary services
The Linux community has created several virtualization tools, such as QEMU, KVM, Libvert, or libguestfs which are the basis for making open-source virtualization software. Here are the top open-source virtualization software for Linux in general.
Network and storage issues
Setting up a virtual machine can sometimes result in network and storage issues. This section will guide you through troubleshooting some of the most common network and storage issues that may arise when setting up your Pop!_OS virtual machine.
Unable to connect to the internet: If you cannot connect to the internet, check if your virtual machine’s network settings are configured correctly. Go to the virtual machine settings and ensure the network adapter is enabled and set to the correct network mode (bridged, NAT, or host-only). If those settings were already configured correctly, try resetting the network again. Open the terminal and run the following command:
sudo service network-manager restart
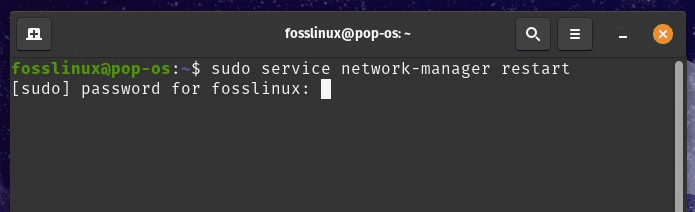
Restarting the network manager
Slow internet connection: If your internet connection is slow, it may be due to network congestion or an issue with the virtual machine’s network settings. Try changing the network mode or contacting your network administrator for assistance.
Changing the network mode
Disk space issues: For those running out of disk space on a virtual machine, it is always possible to increase its size from machine settings. Open the virtual machine settings and manually increase the virtual disk size. Then, reboot the machine and extend the existing partitions using a partitioning tool.
Disk space issues
Unable to mount a shared folder: If you cannot mount a shared folder on your virtual machine, ensure the shared folder is configured correctly on the host machine. Check the network settings to verify that the shared folder is accessible. In case the issue persists, try reinstalling the VirtualBox Guest Additions.
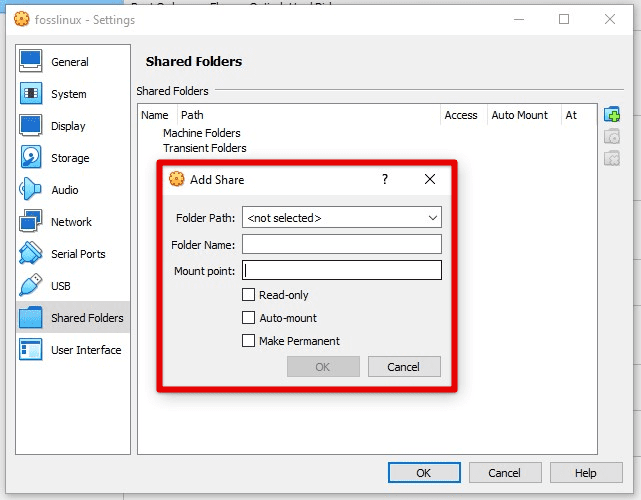
Unable to mount a shared folder
Slow disk performance: A virtual machine’s disk performance may remain sluggish due to insufficient resources. Check machine settings and confirm the virtual machine has enough CPU and RAM allocated. You can also try defragmenting the virtual disk or using a different disk format.
Advanced topics
Once you have mastered setting up a virtual machine with Pop!_OS, you may want to explore some advanced topics.
Configuring virtual networks: Virtual networks may isolate virtual machines from each other or connect them to the host machine. To set up a virtual network, go to the machine settings and create a new network interface. Then, assign the virtual network interface to the machine itself.
Creating a new network interface
Setting up virtual storage: Virtual storage allows you to add more storage to a virtual machine without physically adding more hardware. To set up virtual storage, go to the machine settings and add a new virtual disk. Then, boot the virtual machine and use a partitioning tool to partition and format the new disk.
Setting up virtual storage
Snapshots: Snapshots let you save the state of a virtual machine at any particular point in time. If something goes wrong, you can use snapshots to revert to a previous state. To create a snapshot, go to machine settings and click on the “Snapshots” tab. Then, click on the “Take Snapshot” button to finish the process.
Snapshots
Cloning: Cloning refers to creating a copy of your virtual machine. This can be useful for setting up multiple devices with similar configurations. To clone a virtual machine, go to the VirtualBox Manager, select the machine, and click the “Clone” button to proceed.
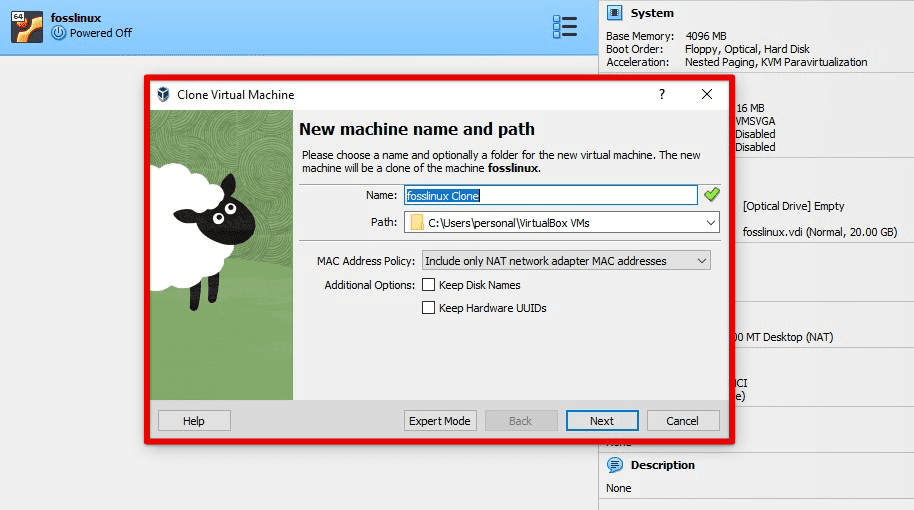
Cloning
Remote display: If you need to access your virtual machine remotely, set up a remote display. To do so, go to machine settings and enable remote display. Then, connect to the virtual machine using a remote desktop client and configure the display for that particular system.
Conclusion
Setting up a virtual machine with Pop!_OS can be pretty helpful for various purposes. When you want to test software, run multiple operating systems on one device, or experiment with new technology, virtual machines provide a flexible and powerful platform to work on.
In this article, we have covered the basics of setting up a virtual machine with Pop!_OS, including understanding what virtual machines are, choosing a suitable platform, installing and configuring Pop!_OS, installing software, and configuring security settings. We also discussed advanced topics, such as setting up virtual storage, taking snapshots, cloning, and enabling remote display.