
Congratulations on installing Pop!_OS, one of the most popular Linux distributions available today. Whether you’re a seasoned Linux user or a newcomer to the open-source world, this article will guide you through the essential steps to optimize your Pop!_OS experience. By following these 15 important tasks, you’ll be able to enhance your system’s performance, customize your desktop environment, and unlock its full potential.
Pop!_OS, developed by System76, is known for its sleek design, stability, and compatibility with both desktop and laptop systems. It’s based on Ubuntu but offers several unique features and optimizations that make it stand out among other Linux distributions. While the default installation provides a solid foundation, certain post-installation tasks can further enhance your experience and improve functionality.
15 things to do after installing Pop!_OS
In this article, we’ll cover the 15 essential tasks, highlighting their importance to the Pop!_OS system and explaining why users should consider implementing them. We’ll also provide detailed instructions for installing and configuring each task where necessary. By the end of this guide, you’ll have a fully customized and optimized Pop!_OS setup tailored to your specific needs.
Note: If you stick to this article guide to the end, I will provide five additional post-installation things you can do to make your Pop!_OS system stand out. Therefore, don’t miss out on this opportunity.
1. Empower Your Recovery: Update Your Partition
The recovery partition is an essential component of your system that allows you to restore or repair your installation in case of any issues. It’s crucial to update this partition to ensure you have the latest recovery tools and features available.
To update the recovery partition, follow these steps:
- Open the terminal.
- Execute the command:
sudo apt update && sudo apt upgrade -y && sudo apt autoremove -y
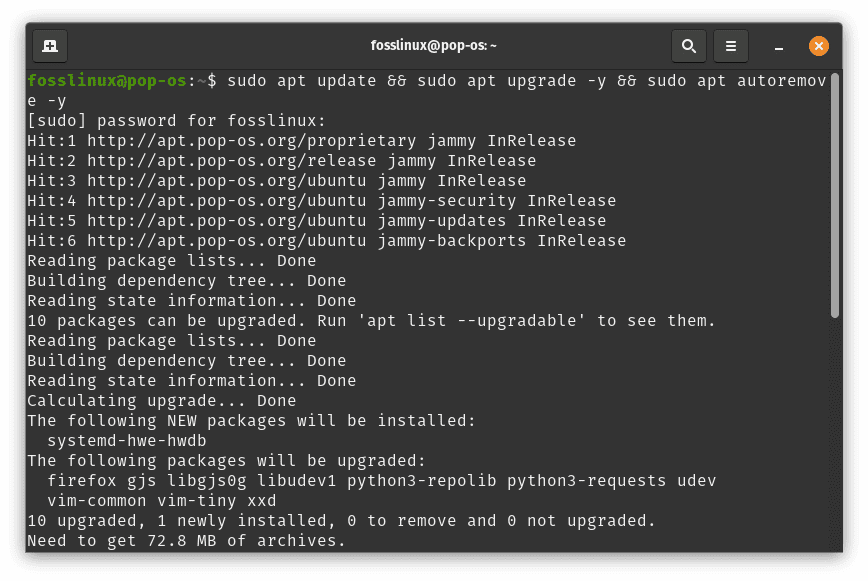
Update your partition
By keeping your recovery partition up to date, you can be ready for any unforeseen circumstances and have peace of mind knowing that your system can be easily restored if needed.
2. Graphics on Steroids: Switch to Hybrid Graphics
Switching to hybrid graphics can help optimize power consumption and extend your battery life if you’re using a laptop with both integrated and discrete graphics. This feature allows your system to automatically switch between graphics modes based on the demand of your applications.
To switch to hybrid graphics, follow these steps:
- Open the “Power” settings from the system menu.
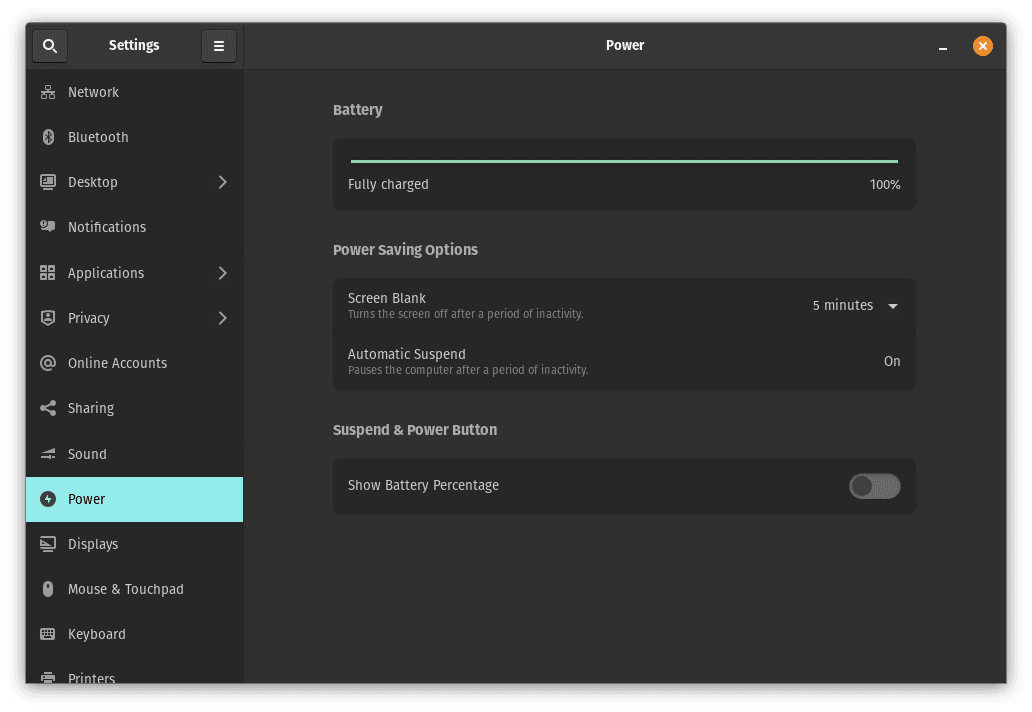
Open power settings
- Under the “Graphics” tab, select the “Hybrid” option. (Mine does not have since it lacks the Hybrid drivers)
By utilizing hybrid graphics, you’ll strike a balance between performance and power efficiency, ensuring that your laptop runs smoothly while conserving battery life when necessary.
3. Stay Ahead of the Game: Update Your Firmware
Firmware updates often contain important bug fixes, security patches, and performance improvements for your hardware. Keeping your system’s firmware up to date is crucial for stability and compatibility with the latest software.
To update the firmware, follow these steps:
- Open the “Settings” from the system menu.
Open Settings application
- Go to the “Firmware” tab.
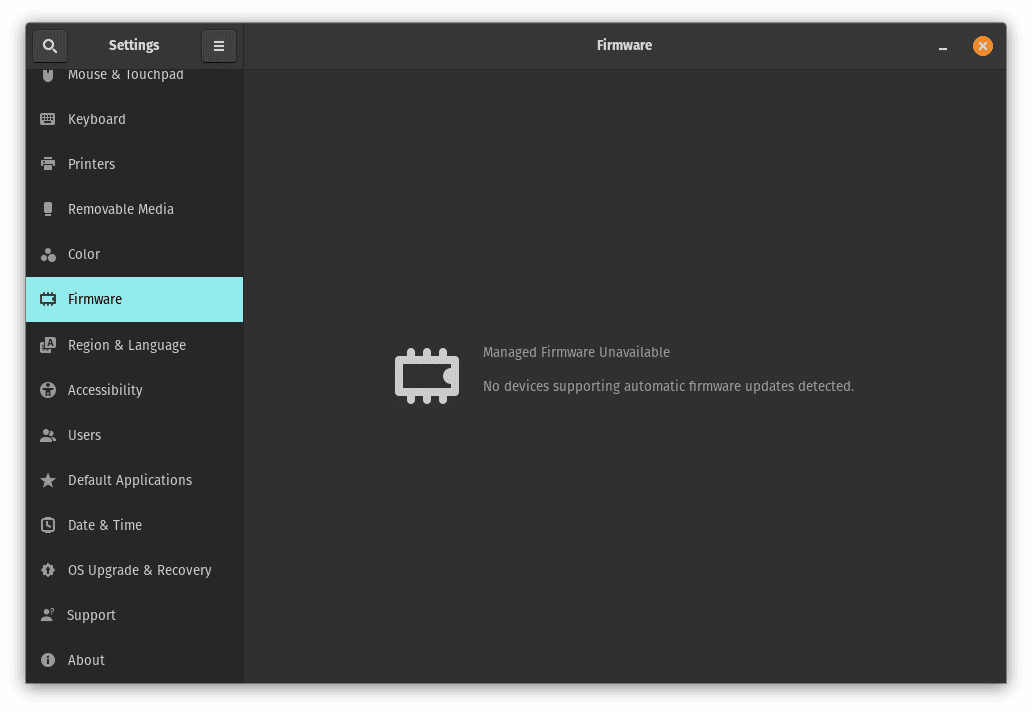
Click the Firmware tab
- If there are any new updates, follow the on-screen instructions to install them.
Regularly updating your firmware will ensure that your hardware operates optimally and takes full advantage of the advancements and bug fixes provided by the manufacturer.
4. Hi-DPI Delight: Configure Your Display for Perfection
If you’re using a high-resolution display, such as a 4K monitor or a Hi-DPI laptop screen, configuring the display settings correctly is important to ensure a crisp and visually pleasing experience. Pop!_OS provides built-in options to adjust the scaling and optimize the interface for Hi-DPI displays.
To configure Hi-DPI display settings, follow these steps:
- Open the “Settings” from the system menu.
Open Settings application
- Go to the “Displays” tab.
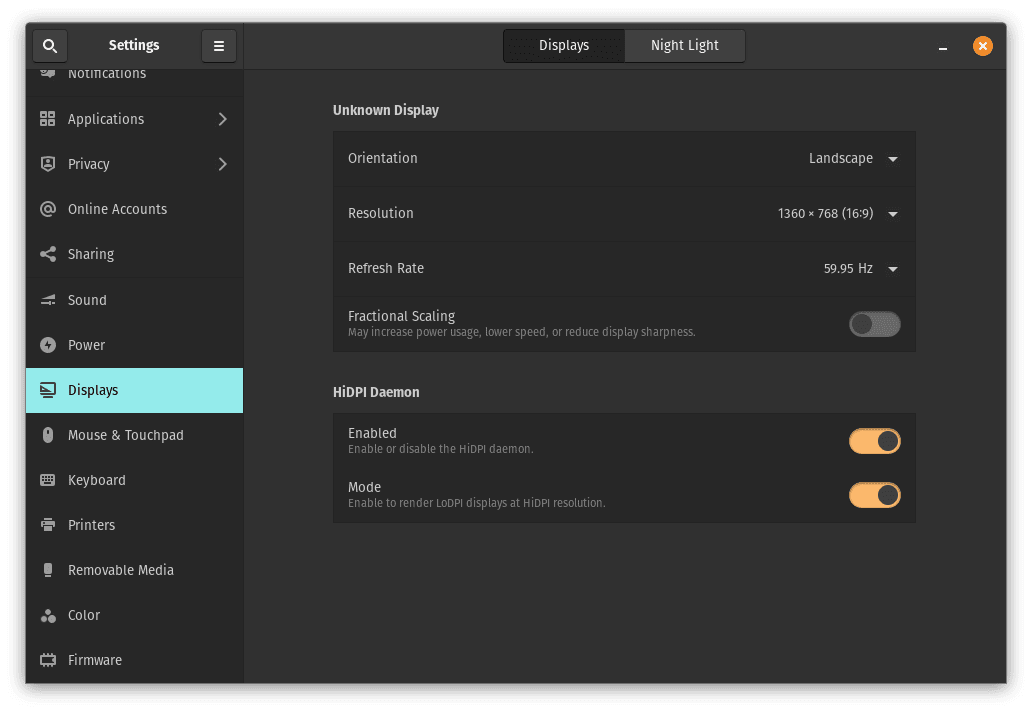
Displays
- Adjust the “Scale” slider to your preference.
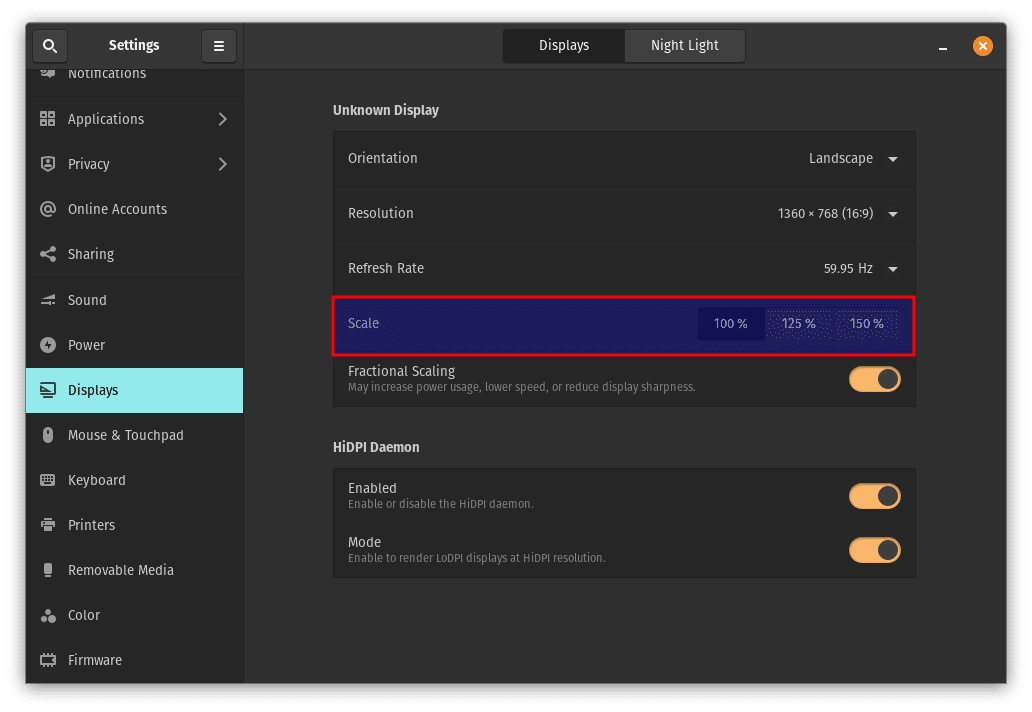
Adjust scale
- Enable “Fractional Scaling” if needed.
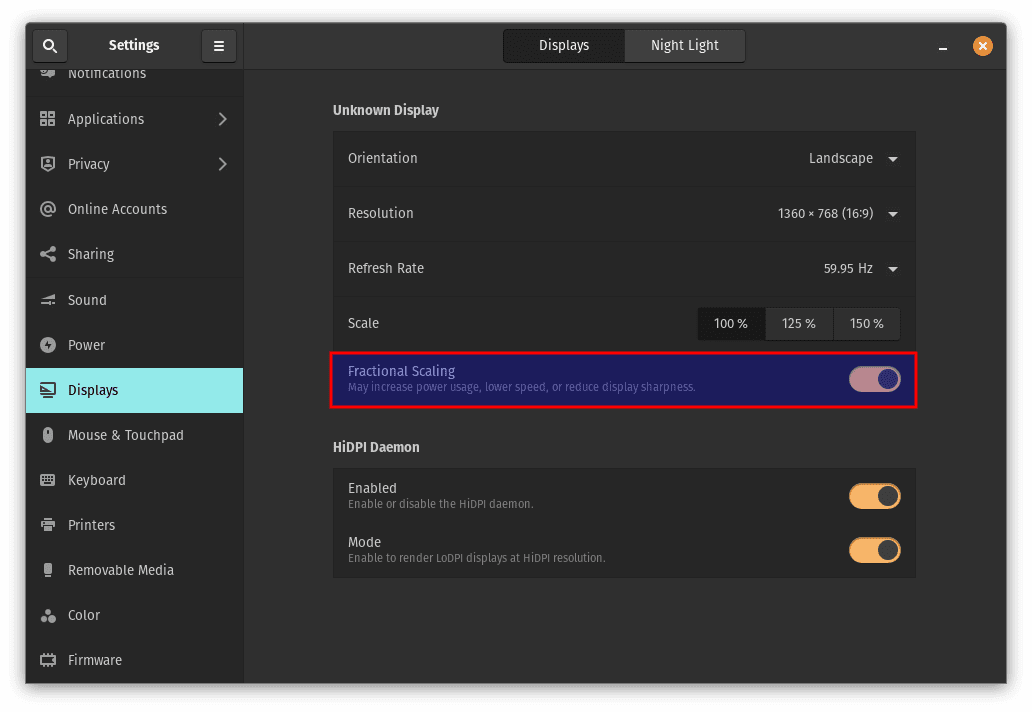
Enable fractional scaling
- Apply the changes.
Properly configuring your Hi-DPI display will ensure the user interface and text are rendered appropriately, avoiding blurry or pixelated elements.
5. Master of Packages: Install Synaptic Package Manager
Synaptic is a powerful graphical package manager that provides a more advanced and flexible way to manage software installations and updates than the default Pop!_Shop. It offers a wide scope of features, including package search, filtering, and customization options.
To install Synaptic, follow these steps:
- Open the terminal.
- Run the command:
sudo apt install synaptic
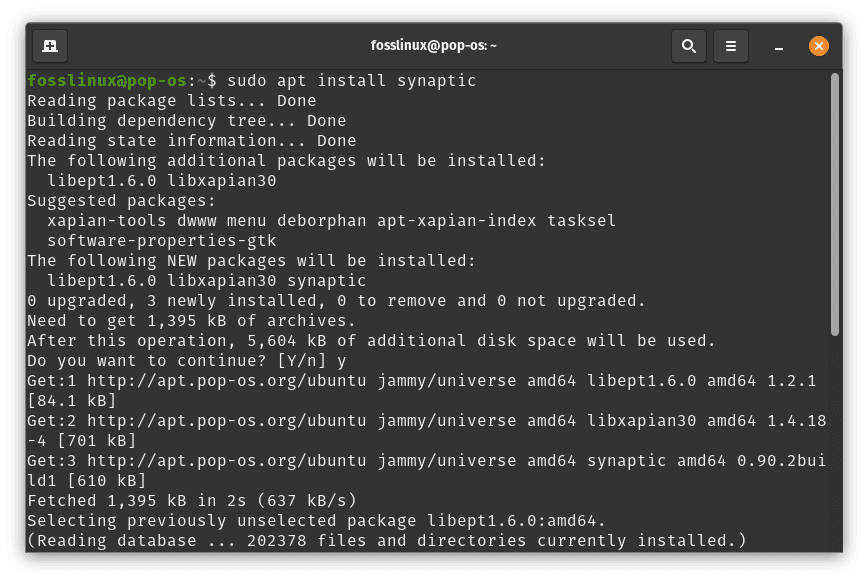
Install synaptic package manager
Once installed, you can launch Synaptic from the applications menu and take advantage of its advanced package management capabilities.

Synaptic package manager
6. Unleash Multimedia Magic: Codecs and Microsoft Fonts
Pop!_OS strives to provide a hassle-free, out-of-the-box experience. However, certain proprietary codecs and Microsoft fonts are not included by default due to legal and licensing restrictions. Installing these additional components allows you to play various multimedia formats and enhance font rendering.
To install codecs and Microsoft fonts, follow these steps:
- Open the terminal.
- Run the command:
sudo apt install ubuntu-restricted-extras ttf-mscorefonts-installer
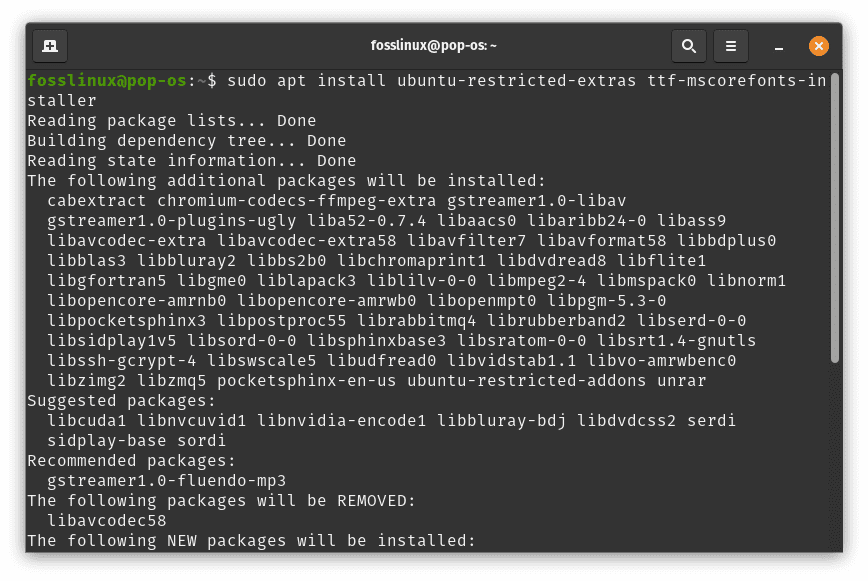
Install codecs and microsoft fonts
During installation, you may be prompted to accept the license terms for the Microsoft fonts. Follow the on-screen prompts/guides to finish the installation.
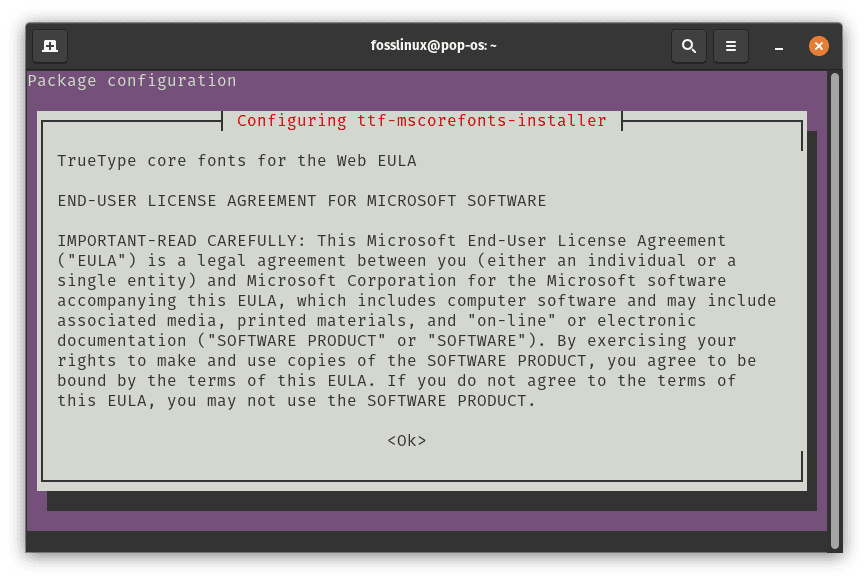
Accept license terms
Note: Microsoft Fonts Installation bug in Pop!_OS. As of the latest version of Pop!_OS, a known bug prevents the successful installation of Microsoft fonts using the above method. System76, the developers of Pop!_OS, are actively working on a fix. In the meantime, you can manually configure the fonts by downloading the font files from the Microsoft website and copying them to the appropriate font directory if you encounter the bug in your OS.
7. Guard Your Data: Back Up Files Like a Pro
No matter how reliable your system is, it’s always a good practice to regularly back up your important files and data. In case of accidental deletion, hardware failure, or system issues, having a recent backup ensures you won’t lose valuable information.
To back up your files, consider the following options:
- External Storage: Use an external hard drive or USB flash drive to copy your important files manually.
- Cloud Storage: Utilize cloud storage services like Google Drive, Dropbox, or Nextcloud to synchronize and back up your files automatically.
- Backup Software: Install backup software like Déjà Dup or Timeshift to create system snapshots or incremental backups.
By backing up your files, you’ll have peace of mind knowing that your important data is secure and can be easily restored if needed.
8. Fortify Your Fortress: Enable the Built-in Firewall
A firewall is a protective barrier between your system and potential network threats. Enabling the firewall prevents unauthorized access, strengthening your system’s security.
To enable the firewall, follow these steps:
- Open the “Settings” from the system menu.
Open Settings application
- Go to the “Privacy” tab.
Privacy tab
- Enable the “Firewall” option.
Enabling the firewall is a vital security measure that prevents unauthorized network access and adds an extra layer of protection to your system.
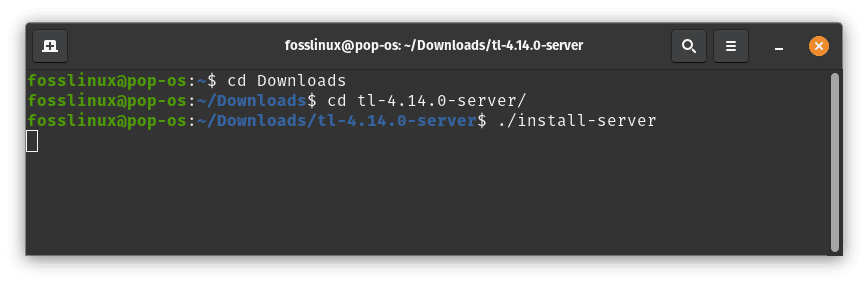
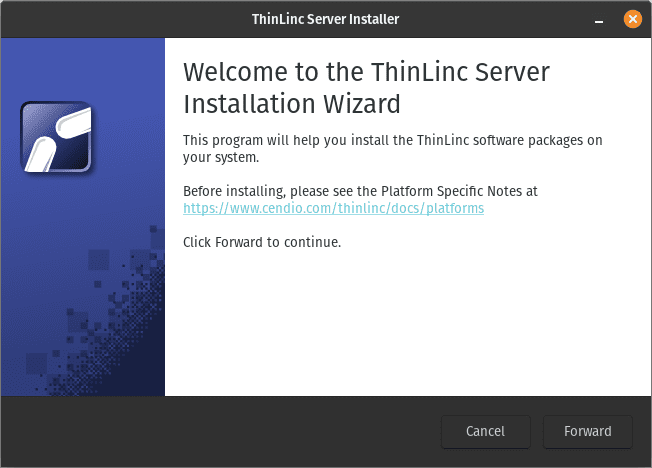
9. Anywhere, Anytime: Install ThinLinc for Remote Access
ThinLinc is a powerful remote desktop solution that allows you to access your Pop!_OS system from anywhere, providing seamless remote access and collaboration capabilities.
To install ThinLinc, follow these steps:
- Download the thinclinc server from: https://www.cendio.com/thinlinc/how-to-get-started
- Extract the downloaded package
- Open the terminal.
- Run the commands below:
cd Downloads
cd tl-4.14.0-server/
./install-server
Install thinclinc server
Once installed, you can configure ThinLinc to connect to your remote system and enjoy the convenience of accessing your Pop!_OS desktop from any device.
Thinclinc server
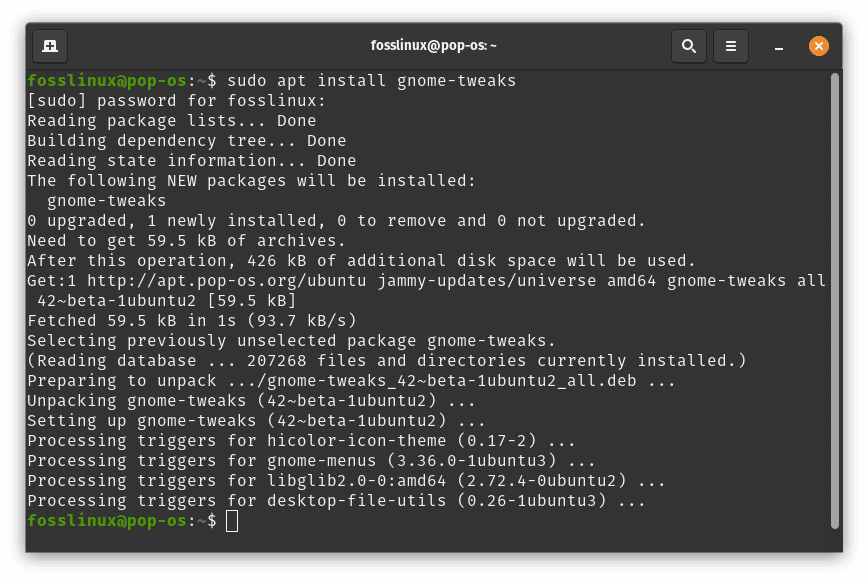
10. Tweak to Perfection: Unleash the Power of GNOME Tweaks
GNOME Tweaks is a versatile tool that enables you to customize and personalize your GNOME desktop environment. It provides an array of options to modify themes, icons, fonts, extensions, and other user interface aspects.
To install GNOME Tweaks, follow these steps:
- Open the terminal.
- Run the command:
sudo apt install gnome-tweaks
Install Gnome tweaks
Once installed, launch GNOME Tweaks from the applications menu and explore the various customization options to tailor your desktop environment to your liking.
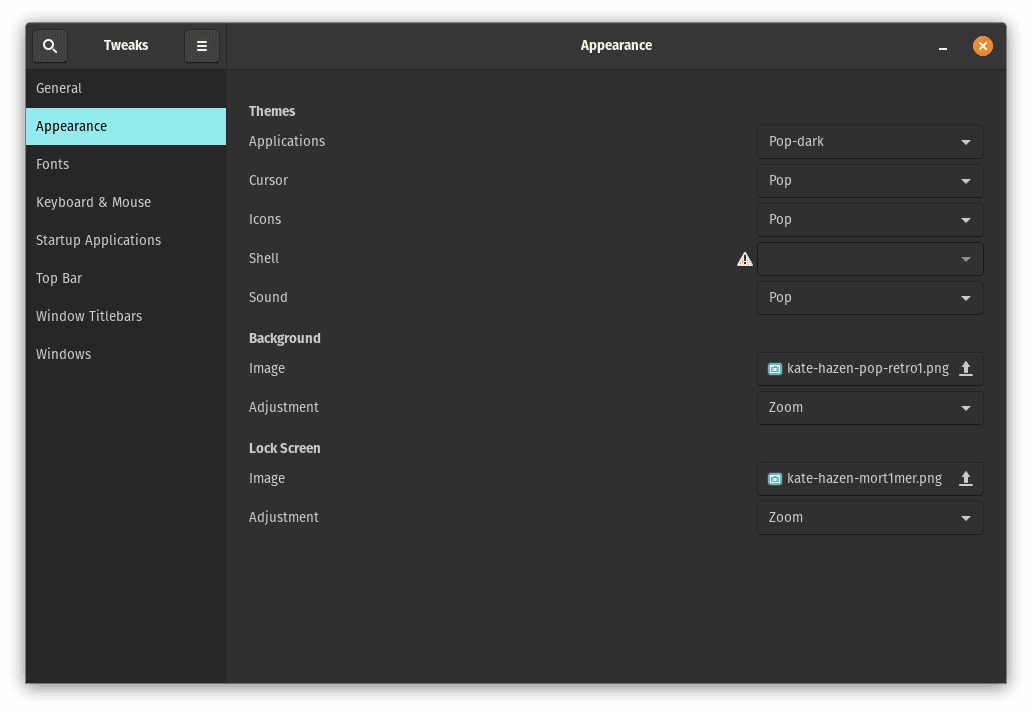
Launch Gnome tweaks
11. Supercharge Your Desktop: Enable Awesome GNOME Extensions
GNOME Extensions expand the functionality of your GNOME desktop by adding new features, enhancing productivity, and providing additional customization options. Enabling GNOME Extensions allows you to extend the capabilities of your Pop!_OS system.
To enable GNOME Extensions, follow these steps:
- Open a web browser and visit the GNOME Extensions website (extensions.gnome.org).
- Install the GNOME Shell integration browser extension when prompted.
- Browse the available extensions, select the ones you want, and click the toggle switch to enable them.
By enabling GNOME Extensions, you can enhance your desktop experience with features such as system monitoring, weather displays, productivity tools, and more.
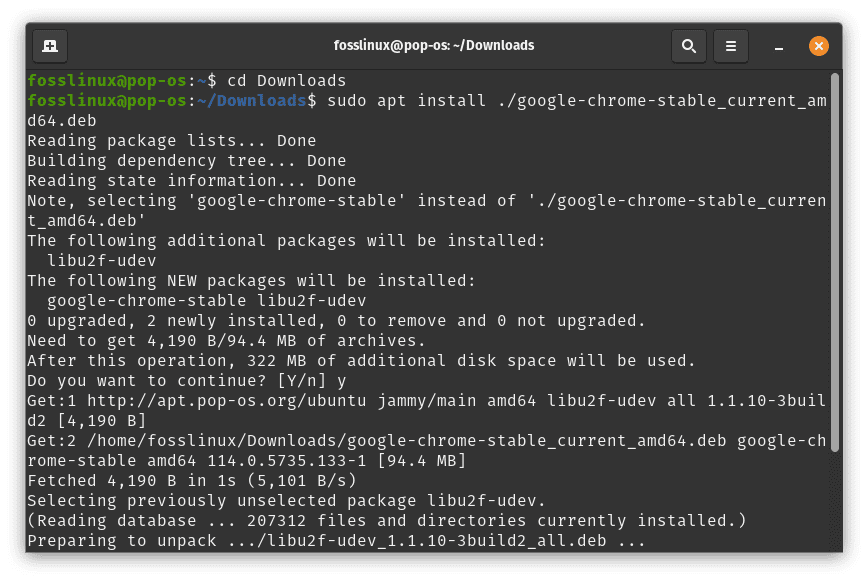
12. Surf in Style: Install Google Chrome for Ultimate Browsing
While Pop!_OS comes with the Firefox web browser preinstalled, some users prefer Google Chrome for its extensive feature set and compatibility. Installing Google Chrome provides an alternative browser option with seamless synchronization across devices.
To install Google Chrome, follow these steps:
- Open a web browser.
- Visit the Google Chrome website (www.google.com/chrome).
- Click on the “Download” button.
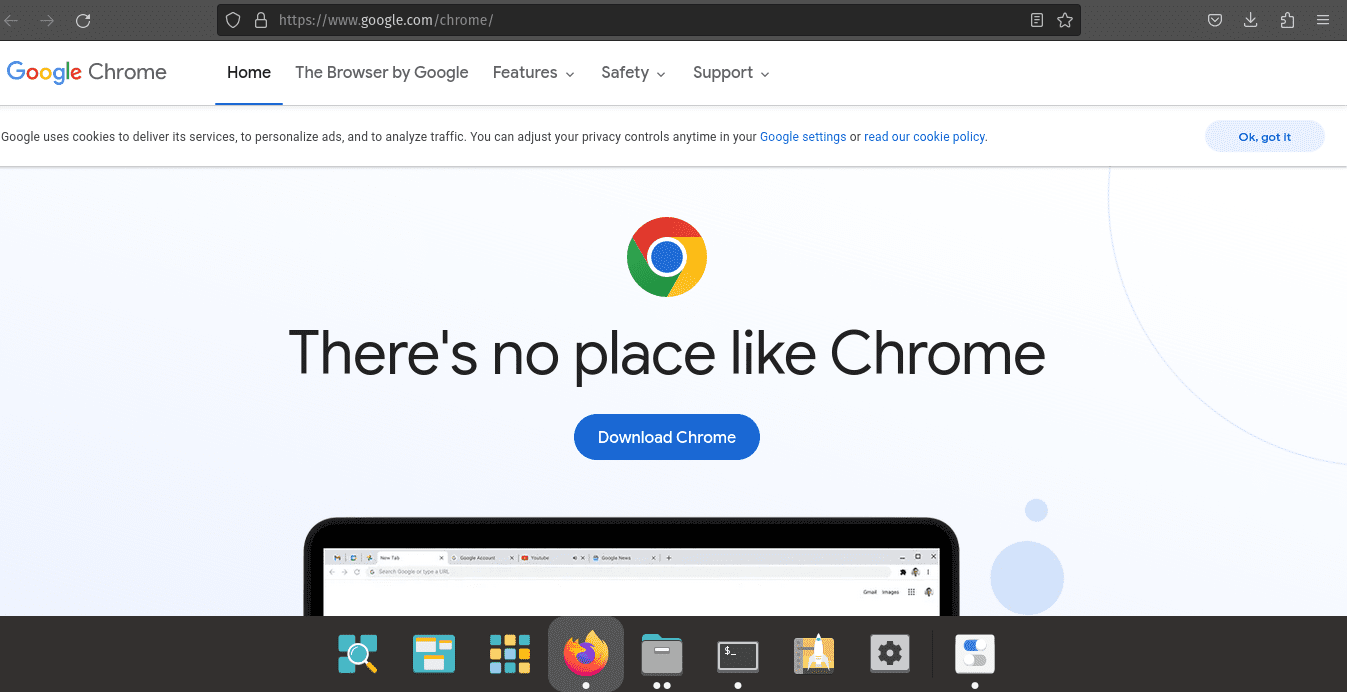
Download chrome
- Follow the on-screen instructions to download the .deb package.
- Open the terminal.
- Navigate to the directory where the .deb package was downloaded.
- Run the command:
sudo apt install ./google-chrome-stable_current_amd64.deb
Install google chrome
Once installed, you can launch Google Chrome from the applications menu and enjoy its features and performance.
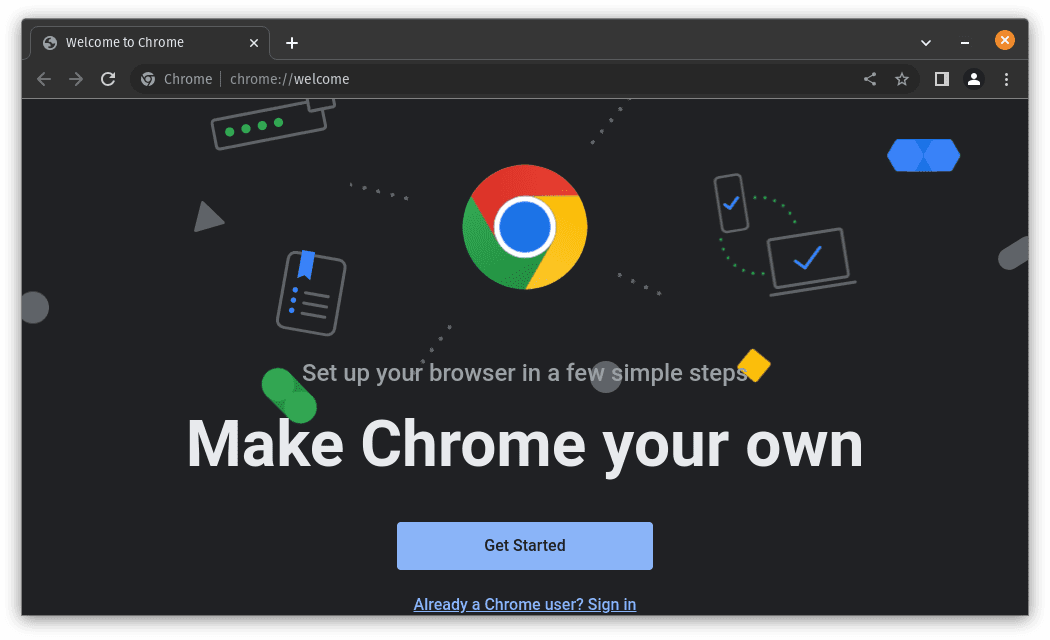
Launch google chrome
13. Netflix and More: Unlock Streaming in Firefox and Beyond
If you enjoy streaming content from services like Netflix, you may encounter playback issues on some browsers due to digital rights management (DRM) restrictions. Configuring Firefox and enabling the necessary settings allows you to enjoy smooth streaming on Netflix and other DRM-protected platforms.
To enable Netflix support in Firefox, follow these steps:
- Open Firefox.
- Visit the Netflix website (www.netflix.com).
- Search for any movie or show and attempt to play it.
- Firefox will prompt you to install the necessary DRM components. Follow the on-screen prompts/guides to finish the installation.
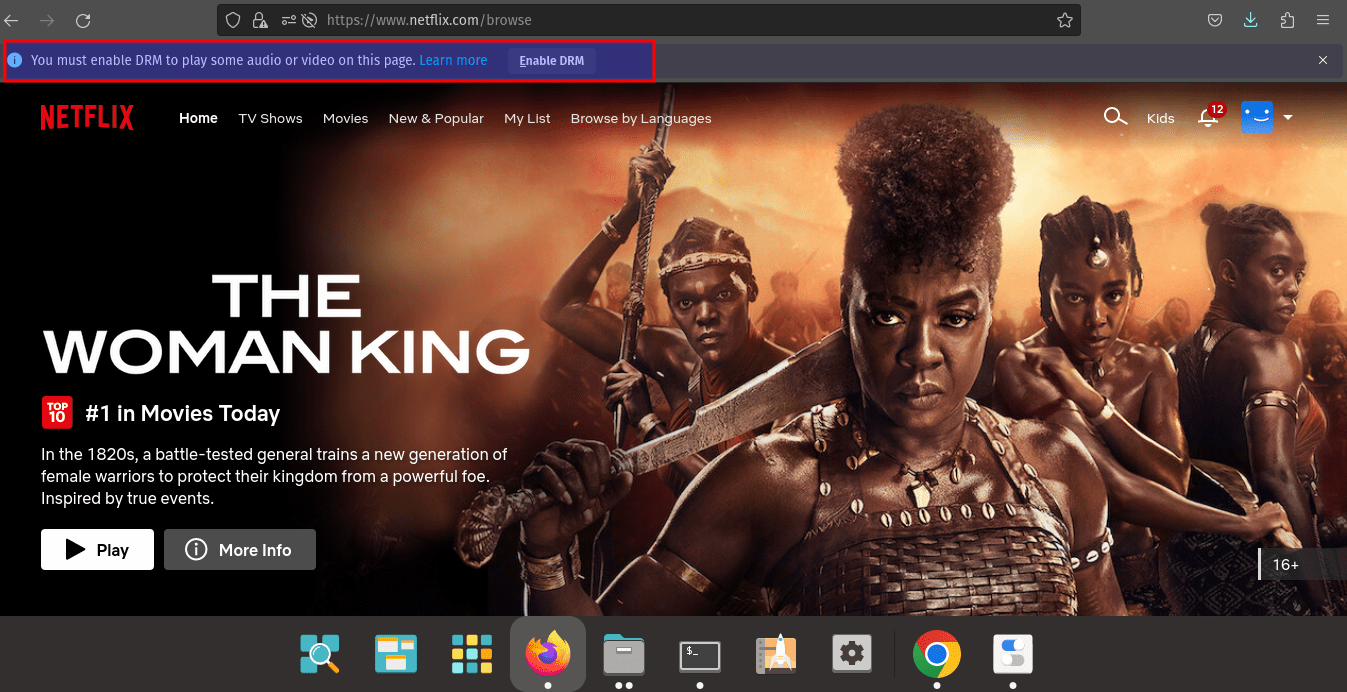
Install DRM
You can savor your favorite movies and shows without playback issues by enabling Netflix support in Firefox. Additionally, you can explore other browser settings and extensions to enhance your browsing experience further.
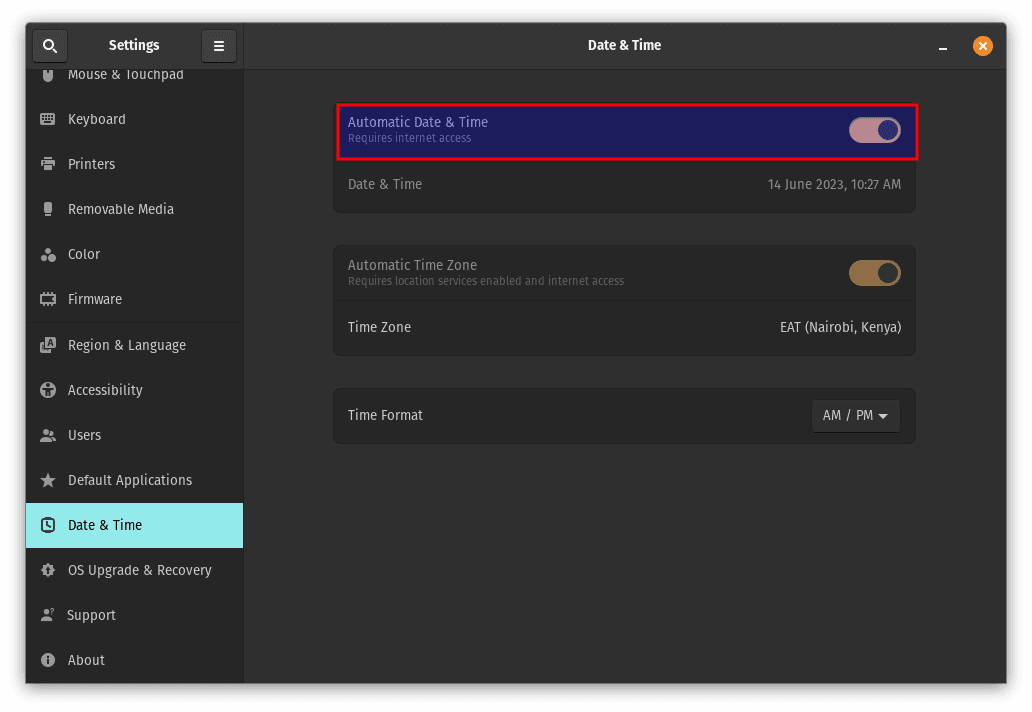
14. Time is Everything: Activate Automatic Date and Time
Ensuring that your system’s date and time are accurate is essential for various tasks, including scheduling, time-sensitive applications, and system synchronization. Enabling automatic date and time ensures that your Pop!_OS system stays synchronized with the correct time.
To enable automatic date and time, follow these steps:
- Open the “Settings” from the system menu.
Open Settings application
- Go to the “Date & Time” tab.
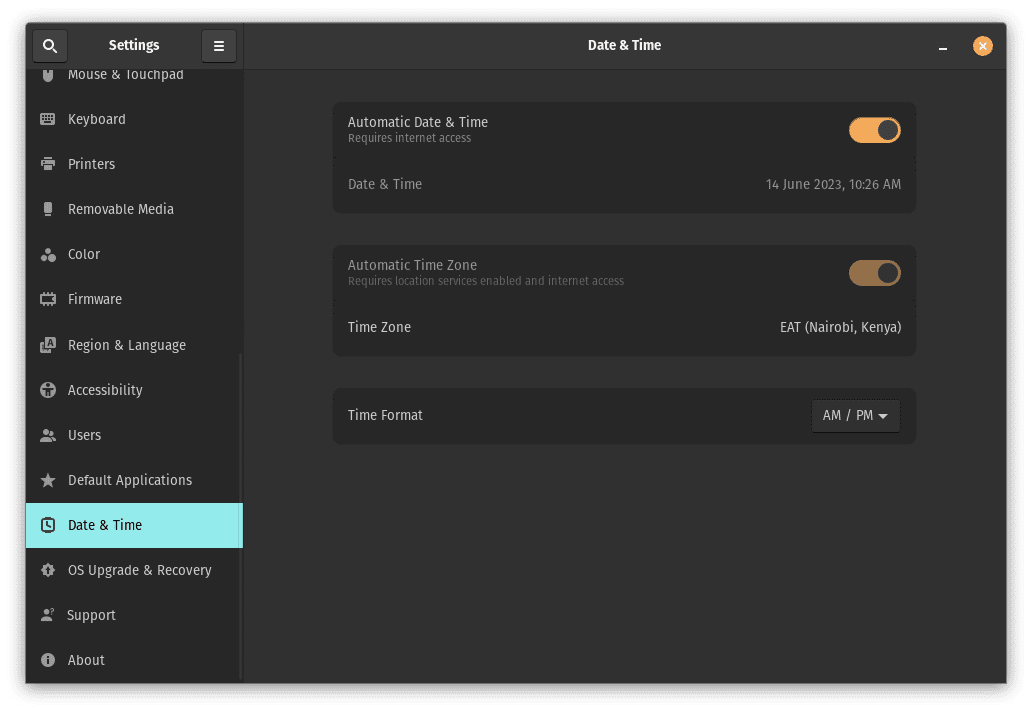
Date and time
- Enable the “Automatic Date & Time” option.
Enable automatic date and time
By enabling automatic date and time, you eliminate the need to manually adjust the system clock and ensure accurate timekeeping on your Pop!_OS system.
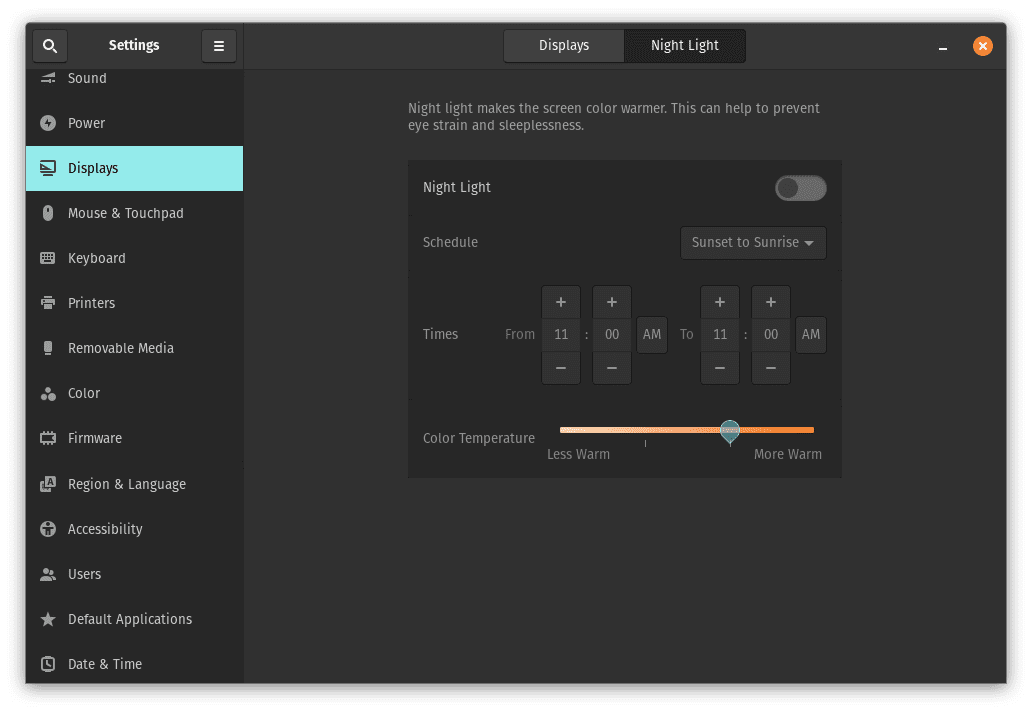
15. Eyes Deserve Rest: Embrace the Night with Night Light
Night Light is a feature that adjusts your display’s color temperature to reduce eye strain and promote better sleep, especially when using your system at night or in low-light conditions. Activating Night Light creates a warmer display color that is easier on the eyes.
To activate Night Light, follow these steps:
- Open the “Settings” from the system menu.
Open Settings application
- Go to the “Displays” tab.
Displays
- Enable the “Night Light” option.
Night light
Once activated, Night Light will automatically adjust your display’s color temperature based on your preferences and the time of day.
Now that you have come this far, I want to thank you sincerely, and in light of that, I will keep my promise by providing you with the additional five post-installation things. Thanks again, and keep it FossLinux for such offers!!!
Five additional Post-Installation things
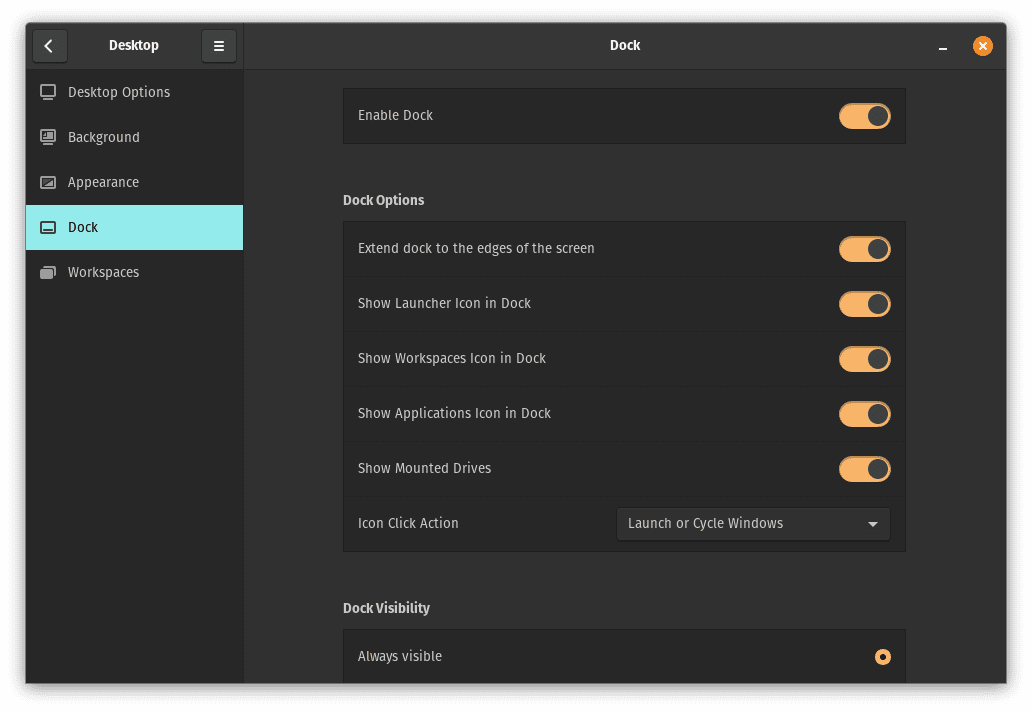
1. Dock It Your Way: Customize and Configure the Dock
The Pop!_OS dock provides quick access to your favorite applications, making it convenient to launch them with a single click. Configuring the dock allows you to customize its appearance, behavior, and the applications displayed.
To configure the dock, follow these steps:
- Right-click on the dock or go to Settings> Desktop > Dock
- Select “Preferences” from the context menu.
- Adjust the settings according to your preferences, such as position, icon size, and behavior.
Dock settings
By configuring the dock, you can personalize your desktop and optimize how you access and manage your applications.
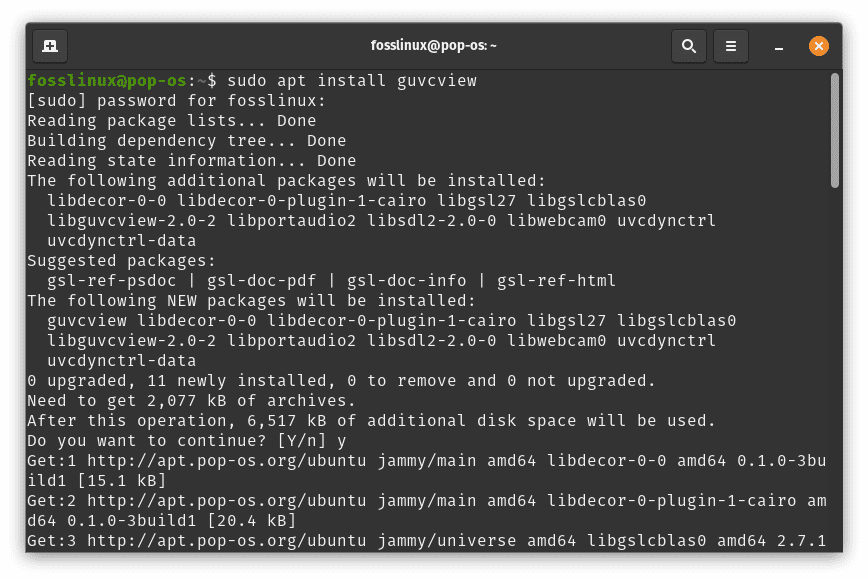
2. Webcam Wonders: Enhance Video with Guvcview
Suppose you use a webcam for video calls, streaming, or capturing videos. In that case, installing Guvcview provides a feature-rich application to control and adjust webcam settings, including resolution, exposure, brightness, and more.
To install Guvcview, follow these steps:
- Open the terminal.
- Run the command:
sudo apt install guvcview
Install guvcview
Once installed, you can launch Guvcview from the applications menu and access its various webcam configuration options.

Launch guvcview
3. Cut the Cord: Disable Bluetooth for Battery and Security
If you don’t use Bluetooth devices or want to conserve battery power on your laptop, disabling Bluetooth can be useful. Disabling Bluetooth when not in use reduces power consumption and eliminates potential security risks associated with Bluetooth vulnerabilities.
To disable Bluetooth, follow these steps:
- Open the “Settings” from the system menu.
Open Settings application
- Go to the “Bluetooth” tab.
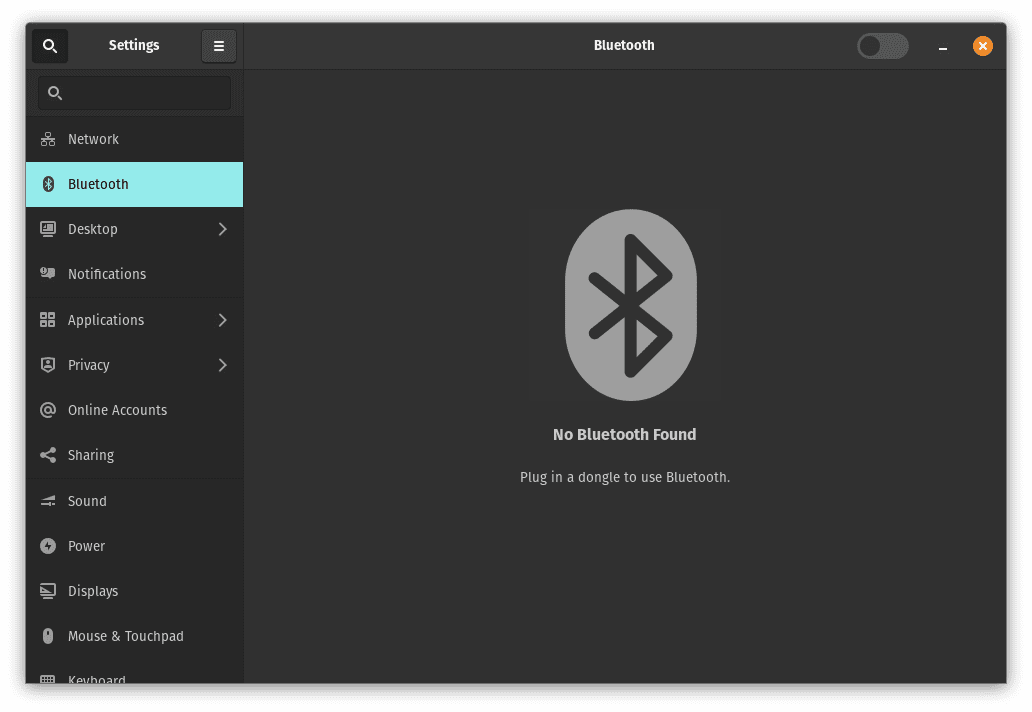
Bluetooth’s tab
- Toggle the “Bluetooth” switch to the off position.
By disabling Bluetooth when not needed, you can optimize power usage and enhance the security of your Pop!_OS system.
4. Power Awareness: Show Battery Percentage with Style
Displaying the battery percentage on your laptop’s status bar provides a quick, straightforward, and convenient way to monitor your battery’s remaining capacity. This information is especially useful for planning your work sessions and ensuring you have enough power to complete tasks.
To show the battery percentage, follow these steps:
- Open the “Settings” from the system menu.
Open Settings application
- Go to the “Power” tab.
- Enable the “Show Percentage” option.
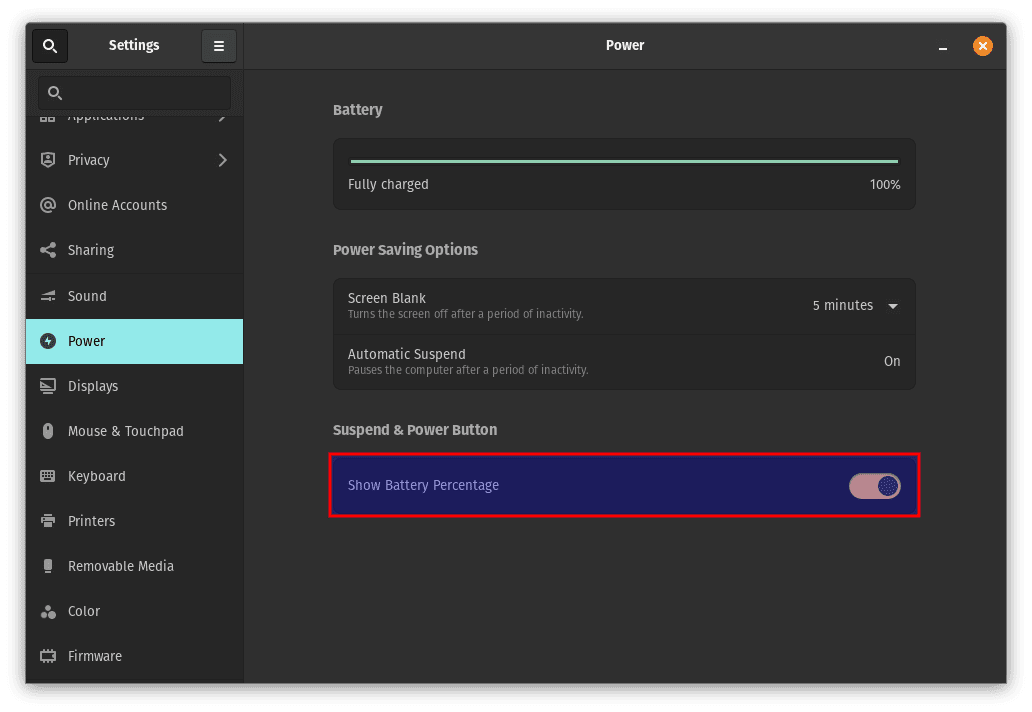
Show battery percentage
By showing the battery percentage, you have a clear indication of the remaining battery life and can manage your power usage more effectively.
5. Sparkling Clean: Optimize Performance with Ubuntu-Cleaner
Over time, temporary files, cached data, and system logs can accumulate, occupying valuable disk space and potentially affecting system performance. Installing Ubuntu-Cleaner provides a simple and effective way to clean up your system and reclaim disk space.
To install Ubuntu-Cleaner, follow these steps:
- Open the terminal.
- Run the command:
sudo apt install git software-properties-common -y

sudo add-apt-repository ppa:gerardpuig/ppa

sudo apt update -y

sudo apt install ubuntu-cleaner
Install Ubuntu-cleaner
Once installed, you can launch Ubuntu-Cleaner from the applications menu and utilize its features to scan for and remove unnecessary files, cache, and other system clutter.
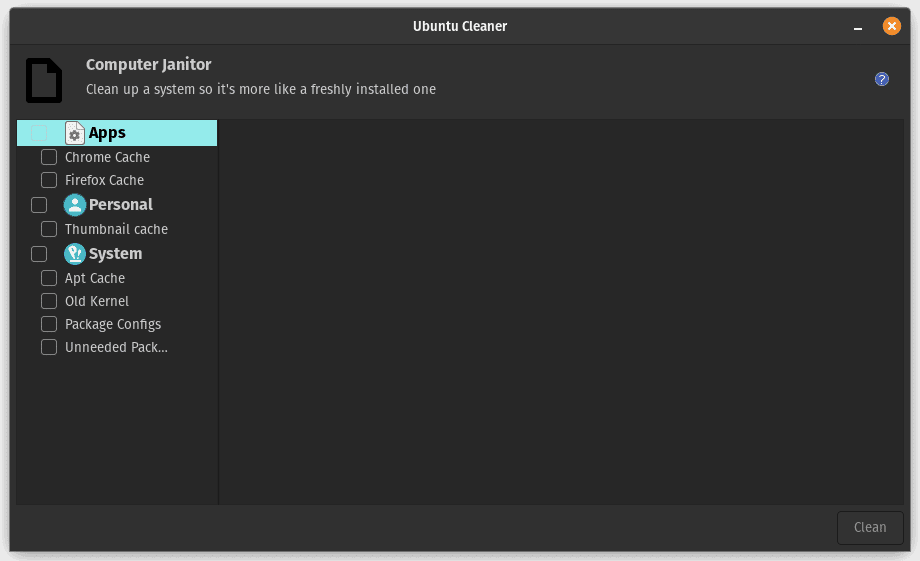
Launch Ubuntu cleaner
Conclusion
Congratulations! By following these 15 essential tasks after installing Pop!_OS, you have taken significant steps toward optimizing your Linux experience. We have covered a range of important aspects, from system updates to customization options and security measures. Each task is crucial in enhancing your Pop!_OS system, providing a more seamless and personalized user experience.
By updating your recovery partition, switching to hybrid graphics, and updating your firmware, you ensure your system’s stability, compatibility, and security. Configuring Hi-DPI displays, installing Synaptic, and enabling codecs and Microsoft fonts contribute to better visual aesthetics and enhanced functionality. Backing up files, enabling the firewall, and installing ThinLinc safeguard your data and enhance remote access capabilities.
Further customization options include installing GNOME Tweaks, enabling GNOME extensions, and configuring the dock. These tasks allow you to personalize your Pop!_OS system to suit your preferences and streamline your workflow. Additionally, we covered important settings and applications such as Google Chrome, Netflix support in Firefox, automatic date and time, and Night Light, which further enhance your browsing experience, display quality, and system performance.
Lastly, we discussed the significance of installing Guvcview, disabling Bluetooth when not in use, showing battery percentage, and installing Ubuntu-Cleaner. These tasks optimize webcam settings, conserve power, monitor battery life, and maintain a clean and efficient system.
1 comment
Number 8 is incorrect, that’s for constant connectivity check, why are you labeling that as firewall?
Please fix it and don’t mislead the readers.