Regarding screen recording in Linux, specifically Ubuntu, Kazam should be your go-to tool. The tool offers an easy-to-use and well-designed interface for capturing screenshots and screencasts. This software records desktop video and multiple audio streams concurrently with control over audio levels and the captured screen region. Kazam newbies should find it easy to configure the software as it requires a small configuration setup. With Kazam, you can capture a particular window, an entire screen, or even a selected screen area.
You can make use of Kazam’s hotkeys that aid in helping you start, pause, resume and finish recording. With the current version of Kazam that we will install, you can even record your mouse clicks and keyboard presses. Also, it is vital to remember that the videos intended to be captured by Kazam can be played by any video player that supports VP8/WebM video format. Just so you know, Kazam records a crystal-clear sound, and the recorded video can be saved in several different file formats.
This guide will introduce and install Kazam on Ubuntu for you. Let’s get underway!
Features of Kazam
- It records in well-known formats like MP4, AVI, and much more.
- Captures key presses and mouse clicks.
- Records webcam video.
- Captures audio from the speaker while recording the screen.
- Broadcast to youtube live video.
- Keyboard shortcut support for easy pause and resumption while screen recording.
- Screenshots capabilities.
- It can record specified applications, all monitors or windows, a part of the screen, or the entire screen.
- Inserts a webcam window on the side.
Note: A key point to remember is Kazam does not support the record video editing functionality. As such, you can’t trim, crop, split, and much more.
Installing Kazam on Ubuntu
Section 1: How to install Kazam via Sylvain Pineau PPA using the terminal
Personal Package Archives(PPA) that we will employ in this guide are just software repos designed for ubuntu users and are simpler to set up than other third-party repos. PPAs are frequently used to distribute pre-release software so it can be tested. In this event, the Sylvain Pineau PPA repo is integrated with the latest version of Kazam, that is, Kazam 1.4.5. Here is a step-by-step procedural breakdown of using this repo to add Kazam to your Ubuntu system.
Step 1: Add the Sylvain Pineau PPA repo for Kazam
This section will use the Ubuntu terminal to install Kazam on our system. As such, hit the “Ctrl+Alt+T” keyboard shortcut combinations to open the terminal, that is, if you did not tamper with the default shortcut to open the terminal. If you did, use the shortcut you replaced with the “Ctrl+Alt+T,” and the terminal should be open.
After that, type in /copy and paste the following command to add the Sylvain Pineau PPA software repo for Kazam to your Ubuntu system:
sudo add-apt-repository ppa:sylvain-pineau/kazam
It is also significant to note that only authorized users can append, remove and configure software on Ubuntu. The authorized user, in this case, is the sudo user with the root password. So after running the above command, you will be requested to enter the password for the sudo user. After inputting, the PPA repo will automatically be added to your system, as shown below:
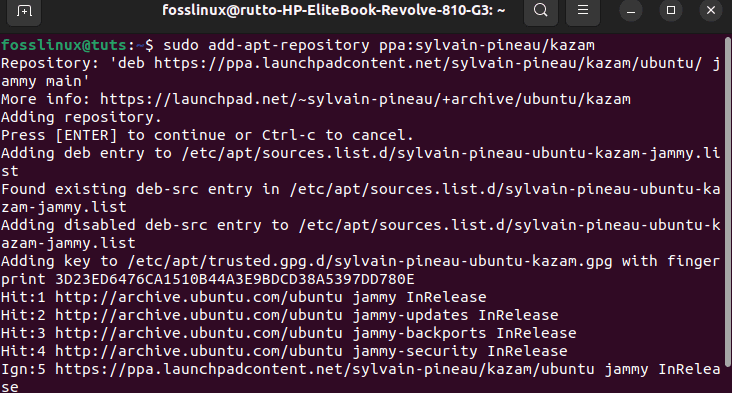
Add Sylvain PPA
Hint: Instead of typing the entire command, you can copy the normal “Ctr+C” command and paste it into your terminal using the “Ctrl+shift+V” commands or right-clicking the terminal menu and then using the paste. For more on how to copy and paste from the Ubuntu terminal, look at our other guide that comprehensively covers this.
Step 2: Update and upgrade your system’s repository index
Next, update your system’s repo index via the following command:
sudo apt-get update
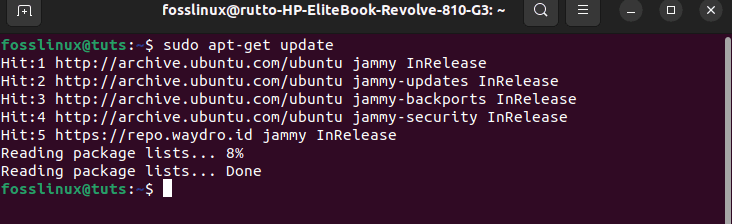
Update system
The above-given command helps you set up the latest available version of the software on the internet.
At the tail end of running the update command, you may or may not receive several packages that need an upgrade. In case you get packages that need to be upgraded, then issue the following command:
sudo apt-get upgrade
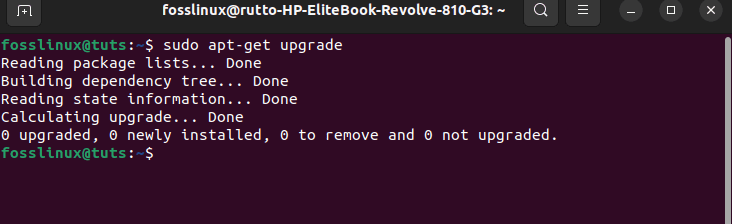
Upgrade system
Step 3: Install Kazam
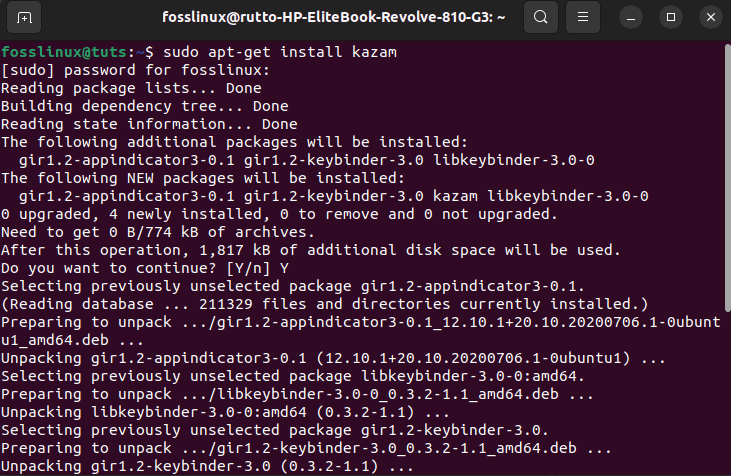
Now that all the requirements to set up Kazam are in place, execute the following command as sudo to install Kazam on your system:
sudo apt-get install kazam
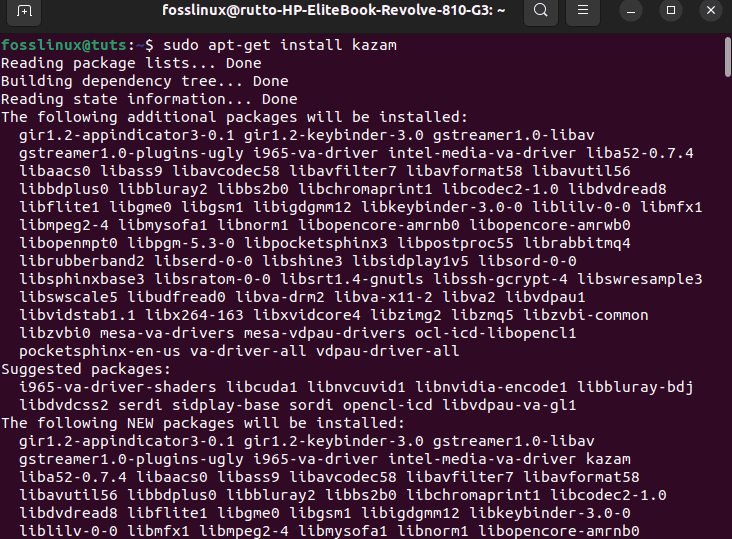
install Kazam
During the installation, the system will request you to affirm your decision to proceed with the installation procedure. To confirm, type “y or Y” and click “Enter” on your keyboard. Alternatively, you can just hit the “Enter” button on your keyboard, and the installation should proceed.
Step 4: Install a few additional libraries
After that, you will have to append this library to your system to help in recording things like keyboard hits and mouse clicks. This can be attained by issuing the following command:
sudo apt-get install python3-xlib python3-cairo
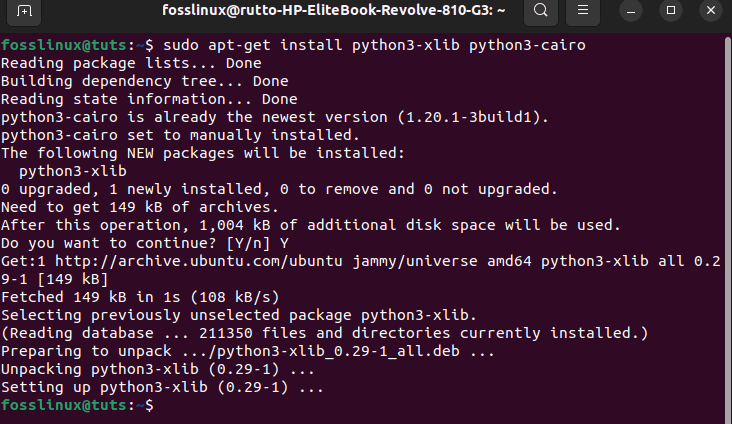
Install additional libraries
Step 5: Verify Kazam installation
After setting up Kazam, you can run the following commands to check or confirm whether or not Kazam is indeed installed on your system:
kazam --version

Version
Alternatively:
kazam -v

Check version
The above output clearly shows that Kazam version 1.4.5, the latest version of Kazam at the time of this writing(2022), is set up on our system.
Let’s look at how we can use the official Ubuntu repository.
Section 2: How to install Kazam in Ubuntu using the GUI
Ubuntu software center, or simply software center, is a discontinued high-level graphical front end for the dpkg/apt package management system. This free software is written in Python, PyGTK/PyGObject based on GTK. Its main reason for inception is to add and manage repos and Ubuntu PPAs. It also allows users to purchase commercial applications. In this section, we will use this GUI to install Kazam, which should be more user-friendly and welcoming than the first approach; so if you aren’t a terminal fanatic, this section is for you.
Step 1: Open the Software center
On your Ubuntu desktop, click the “Activities” toolbar and then search “software center” in the search bar. Finally, click the Ubuntu Software icon, as shown below:

Search for software
Step 2: Click on the search icon
In the next window, click on the search icon and input “Kazam” as the keyword in the search bar. The search results will show Kazam as follows:
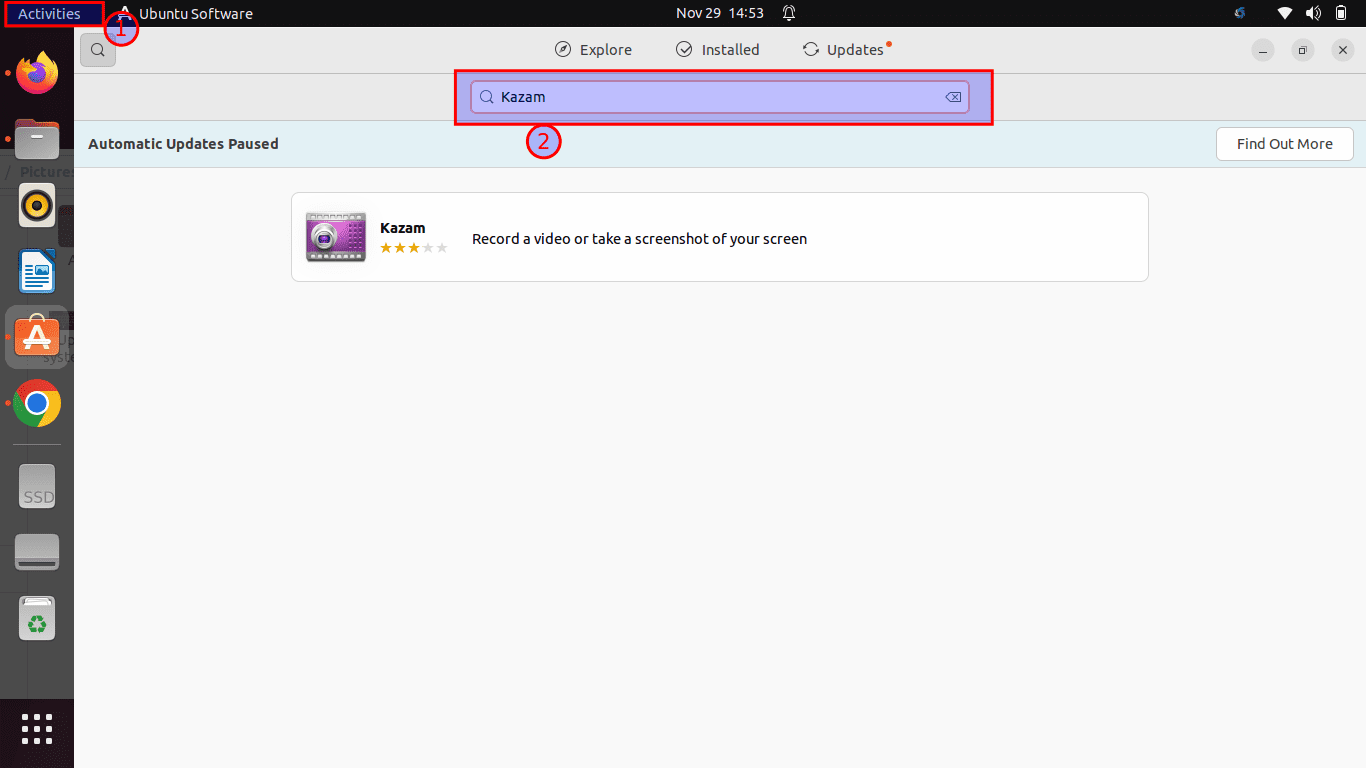
Search for Kazam
This is the package maintained by the Ubuntu Bionic Universe repository. Nevertheless, this might not be the latest version of Kazam, which at the time of this writing is Kazam 1.4.5. If you want to install the current version of this software, we suggest you go to the first section of this post.
From the software manager search results, click on the Kazam entry to open the following view:
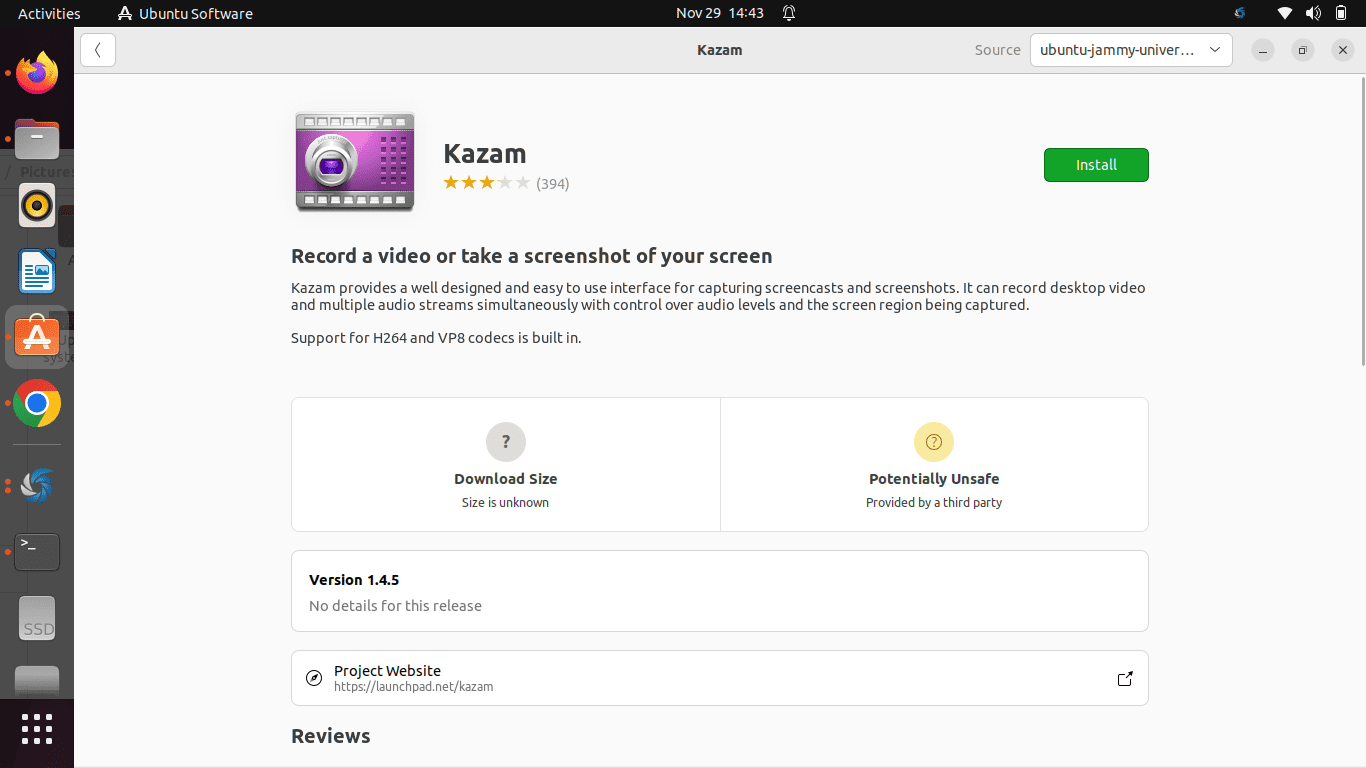
View
Step 3: Click on install
Now, click the install button to initiate the installation process.
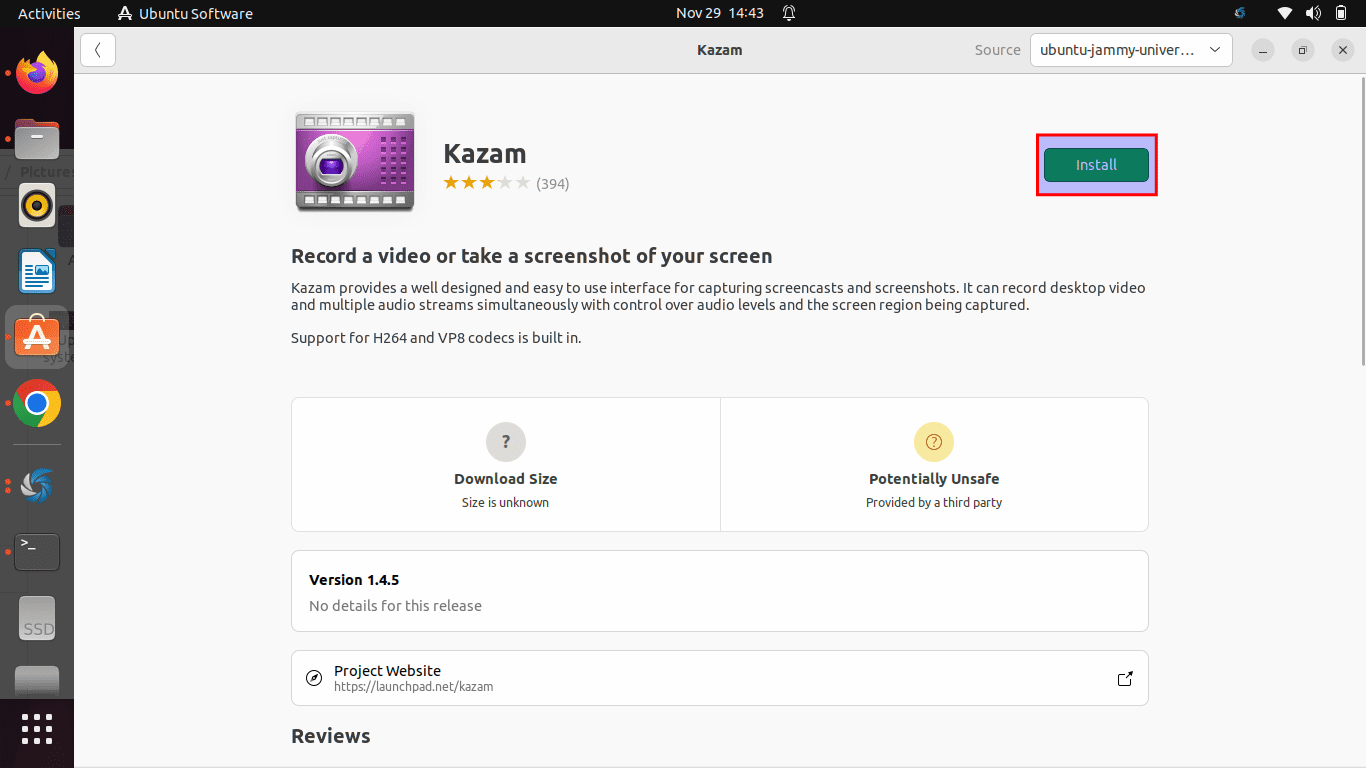
Click the install button.
The following authentication dialogue will allow you to give your login credentials, as only sudo or authorized users can install the software on Ubuntu. The credentials in this event only refer to the password you always use to open up your PC:
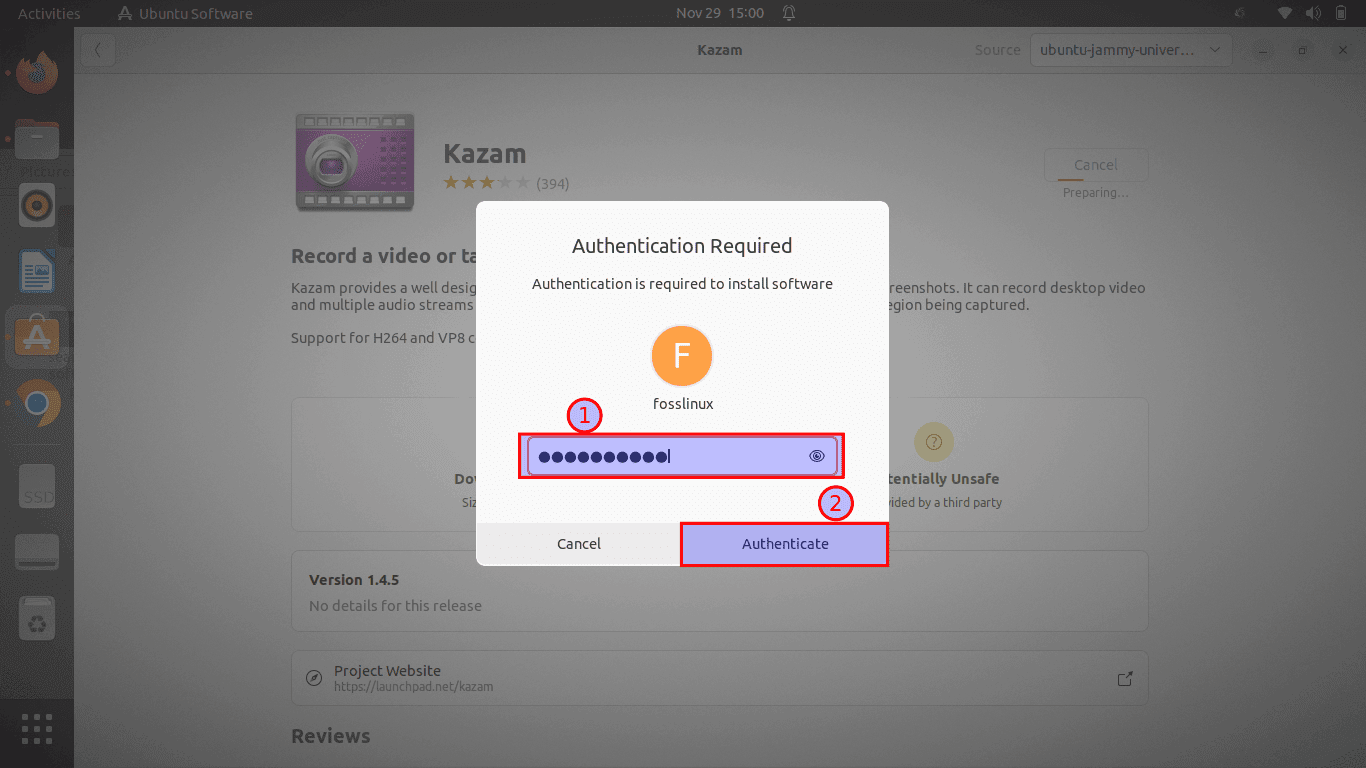
Credentials window
Step 4: Authenticate the process
After inputting the password, click the “Authenticate” button as highlighted “2” in the snapshot above. After that, the installation process will start displaying a progress bar, as shown in the snapshot below:
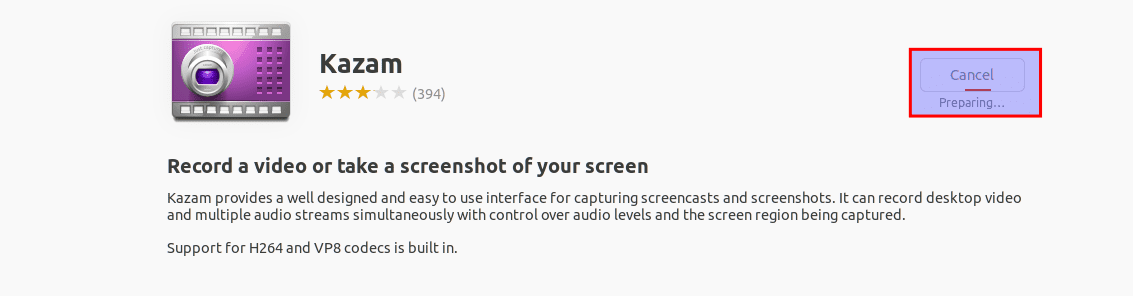
progress bar
For a successful installation, Kazam will give you a red remove button that should tell you the software has successfully been installed on your system.

Uninstall button
On the other hand, the same software version can be set up via the command line without adding any repositories. This can be done using the apt-get command from the official Ubuntu bionic universe repository:
sudo apt-get install kazam
install Kazam
Now that we are done with the installation phase let us see how we can launch this application.
How to launch Kazam
Now that Kazam is in our system, it makes sense to grasp some key shortcuts and approaches you can use to launch this outstanding software. You can launch Kazam on your Ubuntu using two methods. The first is the command-line or terminal approach, and then the graphical user interface approach. Let us start with the first approach.
To launch using the terminal, run the following command:
kazam
And the software should open as shown in the snapshot below:
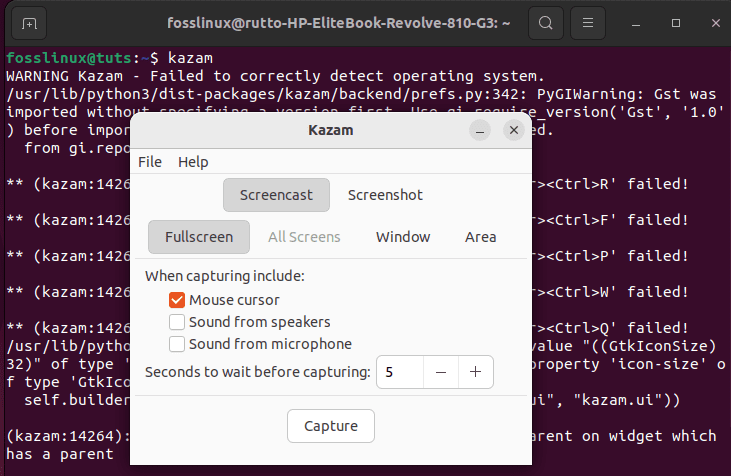
Launch Kazam
On the flip side, you can click the “Activities” toolbar on your Ubuntu desktop. Then use the search menu bar to search for “kazam.” This should display such an icon; click on it to open the software.
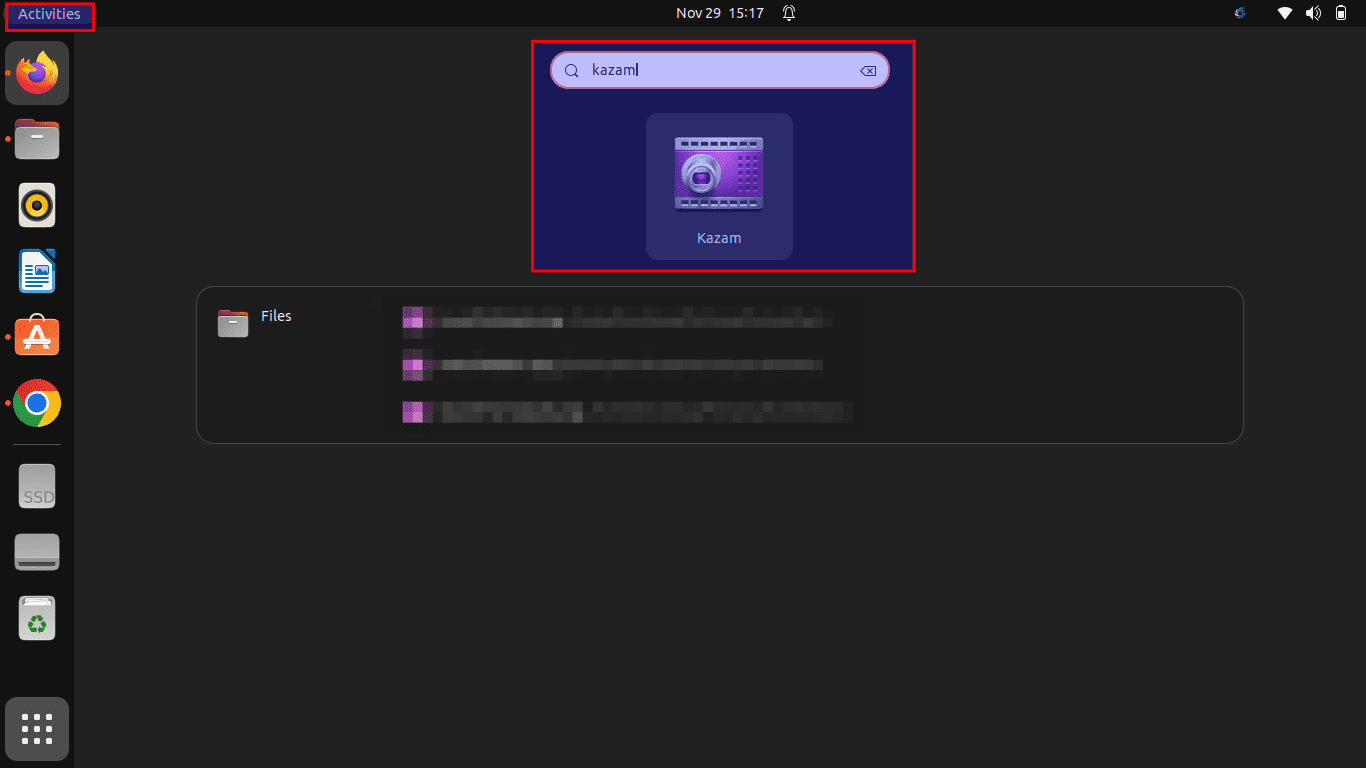
Open Kazam
And that is for the launch phase. So now let us turn our focus and look at using this software.
How to use Kazam on Ubuntu
Once you have installed Kazam and launched it, you should see a screen with several options. You can visit the options as per your requirements and click capture to start recording screen with Kazam:
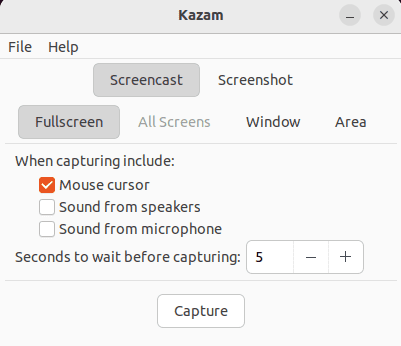
Kazam window
Before recording the screen after you click “capture,” Kazam will show you a countdown:
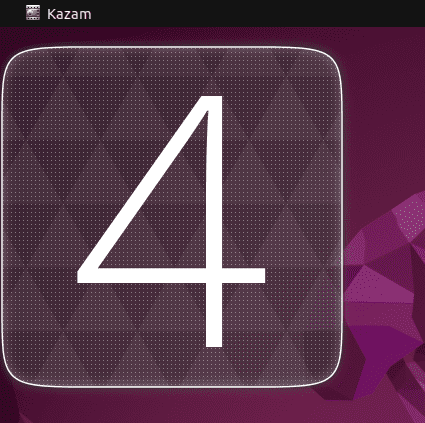
The count down
This gives you the breath time to prepare for your recording adequately. By default, the wait time is set at 5 seconds. But this default setting is flexible as it allows you to modify it right from the Kazam interface, as shown below:
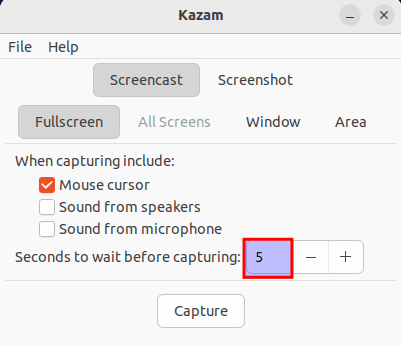
Wait time
Once the recording initiates, the main Kazam interface disappears, and an indicator appears in your Ubuntu panel. So if you want to pause the recording or finish the recording, you can do it from this indicator:
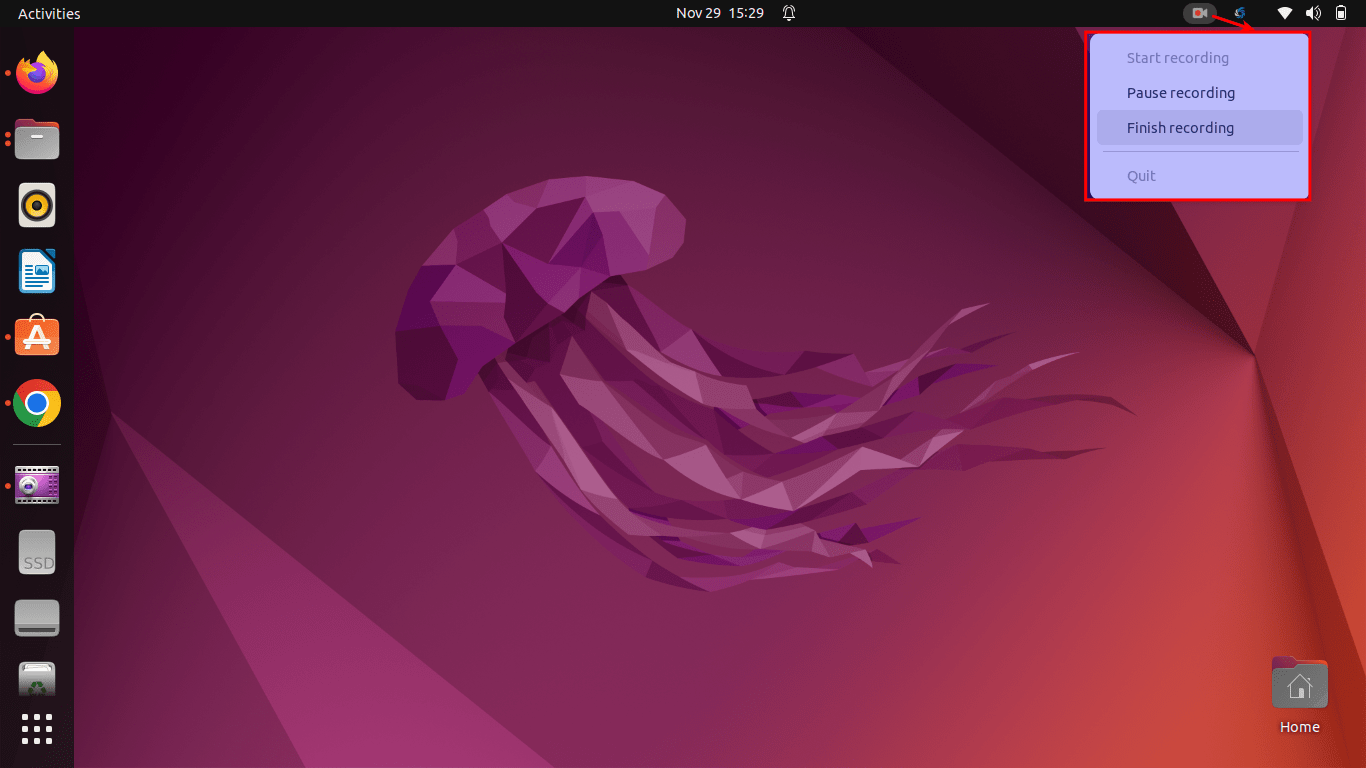
Options in the panel
If you are done recording, click “finish recording,” You will be given a window with the option to “Save for later” use. If you have a video editor installed on your Linux system, you can edit the recording from the “Edit with” section:
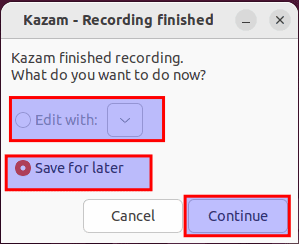
Save for later use
Kazam will, by default, prompt you to store the recorded videos in the Videos folder or directory on your Ubuntu system. Still, you can modify this and change the location to somewhere you are comfortable.
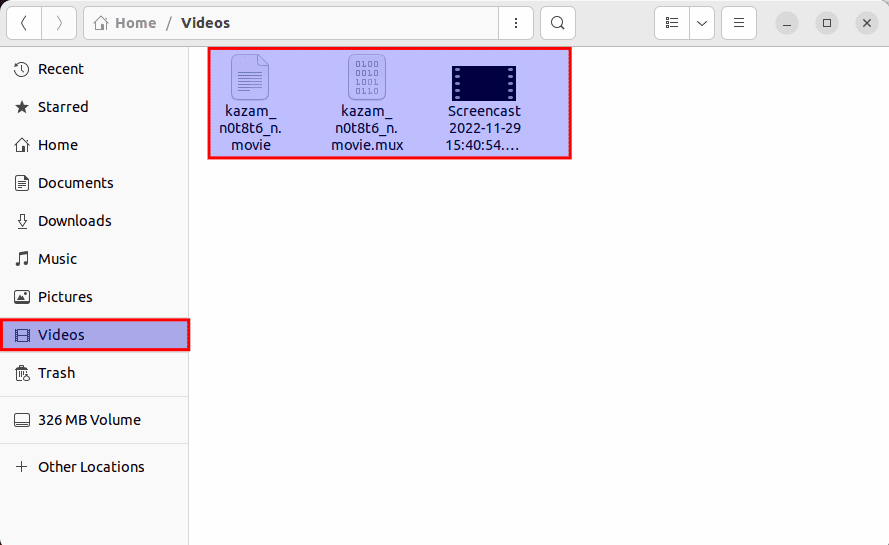
default location
That is the least basics you need to get started with screen recording in Linux with Kazam. Let us now give you a few more tips on using Kazam’s features.
Getting more out of Kazam screen recording software
Kazam is a featureful screen software for Linux. You can access its advanced or additional features from the preferences buttons, as shown below:
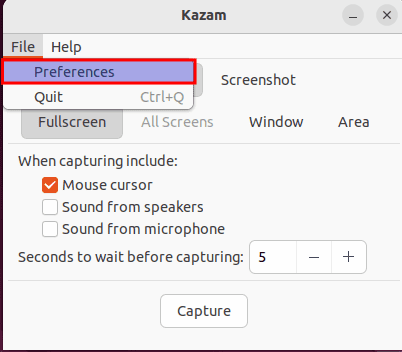
Preferences
How to autosave a screen recording in a specified location?
You can select to save the screen recordings in Kazam spontaneously. As earlier said, the default location is Videos. Still, you can change it to any other location by clicking the down arrow key in the Directory section and selecting your preferred location:

Storage directory
Avoid screen recording in RAW mode
Kazam allows you to save your screen recording in several file formats like MP4, WEBM, AVI, and more. You are, therefore, free to select whichever suits you best. However, we specifically advise avoiding the RAW(AVI) file format. If you use RAW file formats, the recorded files will be in GBs even for a few minutes of recordings.
It is recommended that you verify that Kazam is not using the RAW file format for recording. If you ask for our recommendation, we prefer H264 with MP4 file format as shown below:
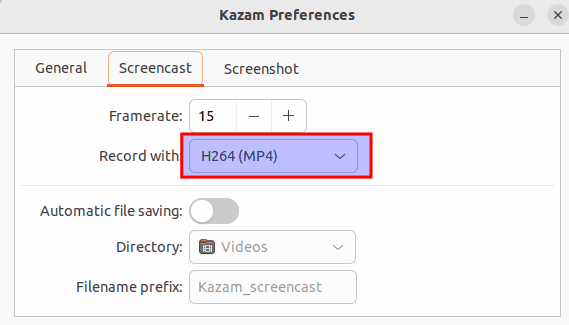
format type
How to capture mouse clicks and key presses while screen recording
If you want to highlight when a mouse was clicked, you can do that in the newer version of Kazam.
All you have to do is to check the “Key presses and mouse clicks” option on the Kazam GUI (the same window you press capture).
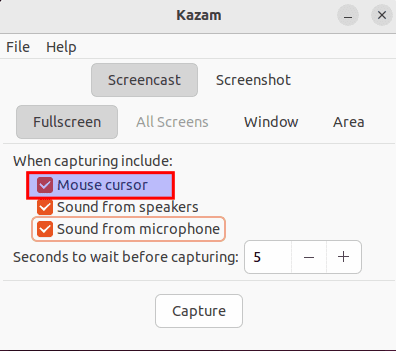
Mouse clicks
Let us now show you some keyboard shortcuts to help boost the recording functionality in Kazam.
How to use keyboard shortcuts for more enhanced screen recordings
Take an instance where you are recording the screen in Linux, and suddenly, you realize that you have to pause the recording for one reason or another. Now, you can pause the recording by going to the Kazam indicator and selecting the pause option. But the entire activity before the pause option will also be recorded, forcing you to edit and remove this section later. Still, it unnecessarily appends cumbersome unplanned tasks that can be done.
A better and recommended option is to use Ubuntu’s keyboard shortcuts. Screen recording will be easier and more enjoyable if you deploy these shortcuts.
While Kazam is running, you can use the following hotkeys:
- Super+Ctrl+R: to start recording.
- Super+Ctrl+F: to finish recording.
- Super+Ctrl+Q: to quit recording.
- Super+Ctrl+P: to pause the recording, press again to resume the recording
Hint: The super key in this event refers to the Windows key on your keyboard.
The most important shortcut in the above-listed options is the Super+Ctrl+P for pausing and resuming the recording. Furthermore, you can further explore the Kazam preferences for webcam recording, and YouTube live broadcasting options.
Now let us see how we can remove this software from our Ubuntu software.
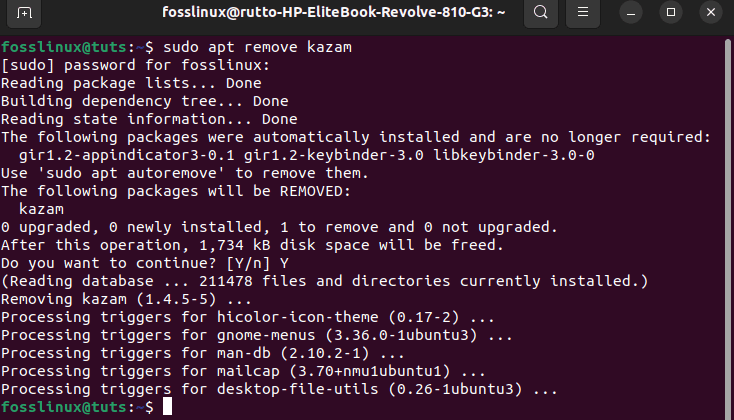
How to uninstall Kazam from Ubuntu 22.04
If you no longer need Kazam’s services, you can remove it from your system by issuing the following command:
sudo apt remove kazam
Remove Kazam
Or
sudo apt-get purge kazam
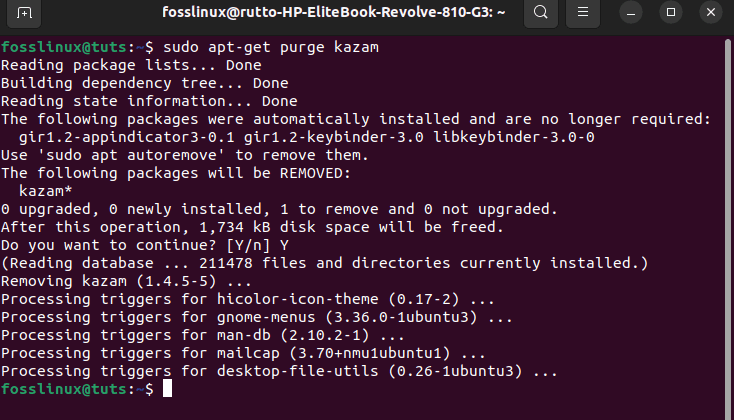
Purge Kazam
When prompted by the system, if you want to remove this software from your system, hit “y/Y” and click the “Enter” button on your keyboard. Once this is done, Kazam will be uninstalled.
Wrapping up
And that is undoubtedly it. This guide showed how to install Kazam on your Ubuntu system. Kazam is an essential utility for screen capturing and recording videos and audio, plus some added functionalities. If you want to explore this software’s full potential, use the two approaches to install it on your system.