
Pop!_OS is a Linux distribution that has gained popularity recently for its user-friendly interface and robust features. However, even with its default settings, Pop!_OS can sometimes feel limited in terms of customization. Fortunately, a tool available allows users to tweak and personalize the Pop!_OS experience to their liking: the GNOME Tweak Tool.
This article will explore how to use it to customize Pop!_OS. We will cover various customization aspects, including changing the appearance of the top bar, dock, and workspace, tweaking the Pop!_OS theme and icons, configuring the keyboard and mouse, managing GNOME extensions, and more. So, let’s get started right away!
A beginner’s guide to customizing GNOME using Tweak Tool
Installing the GNOME Tweak tool
The GNOME Tweak Tool is a powerful and versatile application that allows users to customize their GNOME desktop environment in many ways. It is an essential application for users who want to personalize their Pop!_OS experience beyond the default settings.
GNOME Tweak Tool
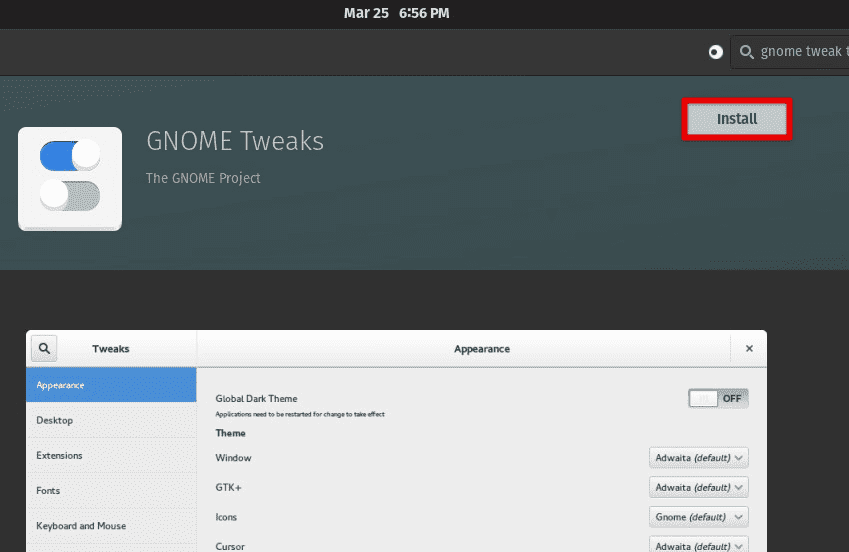
This section will explain how to install the GNOME Tweak Tool on Pop!_OS and start customizing your desktop. The GNOME Tweak Tool is available in the official Pop!_OS repositories, so installing it is straightforward. But first, open the Pop!_Shop application from the Applications menu.
Opening the Pop!_Shop application
Type “GNOME Tweak Tool” in the search bar and press Enter. The Pop!_Shop will show you the GNOME Tweak Tool package. Next, click on the “Install” button next to it. The installation process may take a few minutes, depending on your internet speed and the system’s resources. You can monitor the progress of the installation by clicking on the “Installed” tab in the Pop!_Shop.
Installing GNOME Tweaks Tool from Pop!_Shop
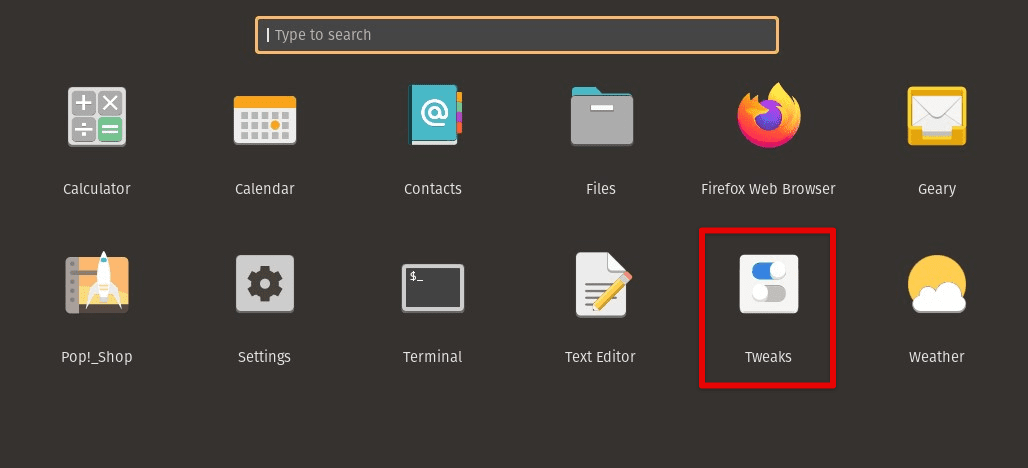
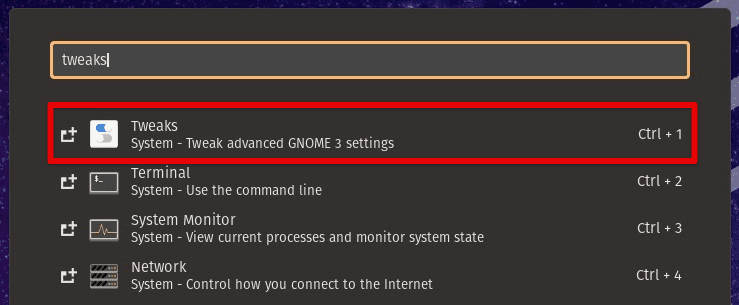
Once the installation is complete, you can launch the GNOME Tweak Tool from the Applications menu or by pressing the Super key and typing “tweaks”. Alternatively, you can install the GNOME Tweak Tool using the terminal. Open the terminal by pressing the Super key and typing “terminal”. Run the following command to proceed:
sudo apt install gnome-tweak-tool

Installing GNOME Tweak Tool from terminal
Type your password when prompted, and press Enter. The system will download and install the GNOME Tweak Tool package. Once the installation finishes, you can launch the GNOME Tweak Tool from the terminal by running “gnome-tweaks”.
That’s it! You have successfully installed the GNOME Tweak Tool on your Pop!_OS system. In the following sections, we will explore this tool’s various features and learn how to use them to customize the desktop environment.
Tweaking GNOME shell
The GNOME Shell is the GNOME desktop environment’s graphical user interface (GUI). It provides a modern and intuitive interface that is easy for beginners and advanced users.
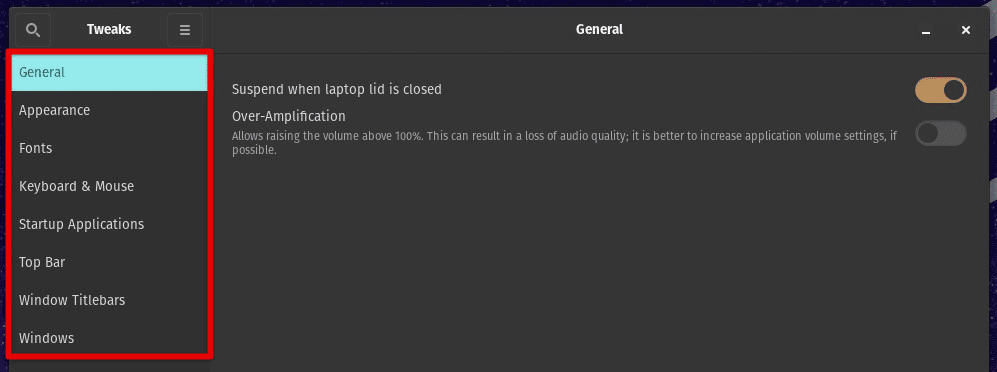
The top bar, dock, and workspace are three essential components of the GNOME Shell. They provide easy access to various applications, settings, and workspaces. Open the GNOME Tweak Tool by launching it from the Applications menu or pressing the Super key and typing “tweaks”.
Opening the GNOME Tweaks Tool
In the GNOME Tweak Tool, click on the “Appearance” tab. Under the “Themes” section, you can choose from several pre-installed themes or install new themes by clicking the “Get more themes” button.
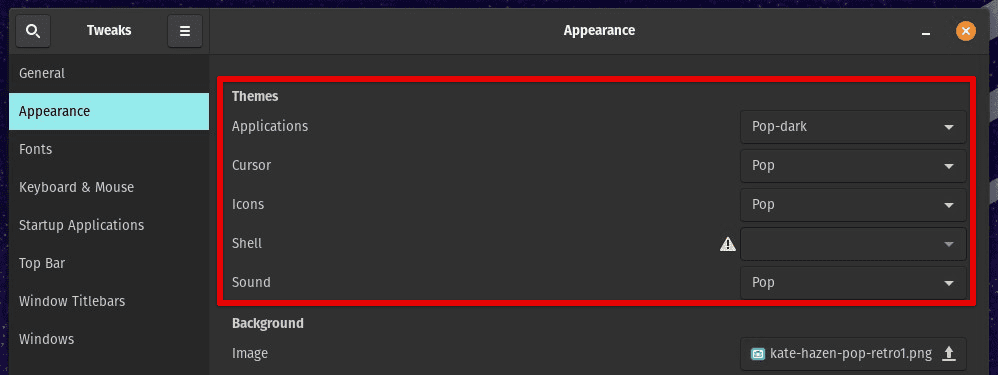
Customizing themes
Go to the “Icons” section to choose from several pre-installed icon sets, or install new ones by clicking “Get more icons”. In the “Fonts” section, you can select the system font, document font, and monospaced font.
Customizing icons
Under the “Top Bar” section, you can customize the appearance and behavior of the top bar. Choose to show or hide the date, seconds, battery percentage, etc. You can also change the position of the top bar to the left, center, or right.
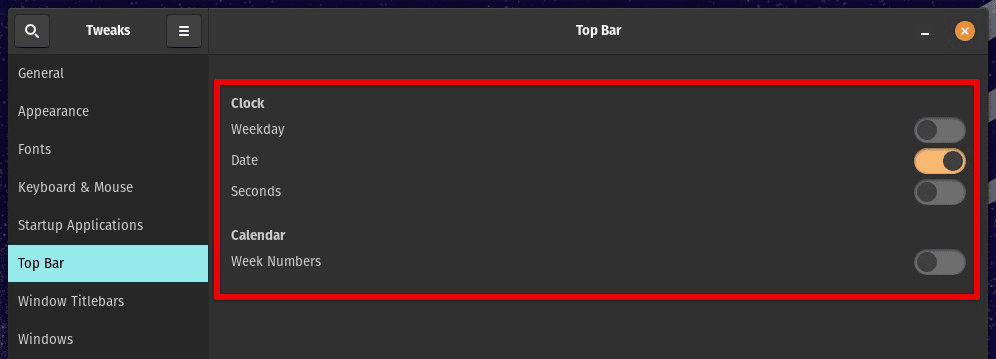
Customizing the top bar
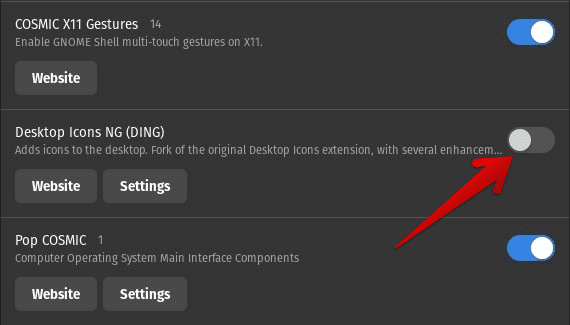
In the “Extensions” section, enabling or disabling GNOME Shell extensions is possible. Extensions are small programs that add new features and functionality to the GNOME Shell. Under “Workspaces,” you may customize the number of workspaces, their names, and the workspace switcher behavior.
Enabling / Disabling GNOME Shell extensions: GNOME Shell extensions are tiny programs that enhance Shell’s functionality. You can enable or disable these extensions using the GNOME Tweak Tool. Open the tool by launching it from the Applications menu or pressing the Super key and typing “tweaks”.
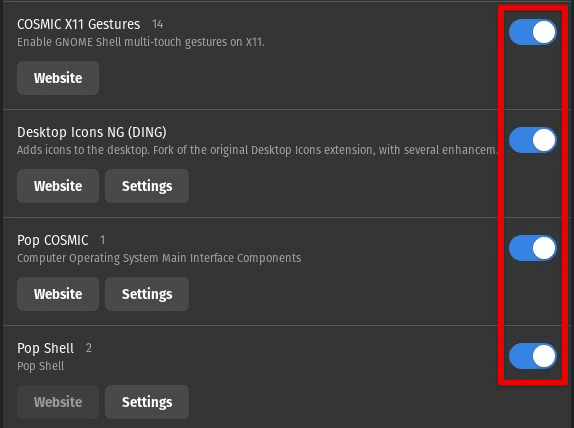
In the GNOME Tweak Tool, click on the “Extensions” tab. You will see a list of installed extensions. To enable an extension, click on the toggle switch next to it. To disable one, click on the same toggle switch one more time.
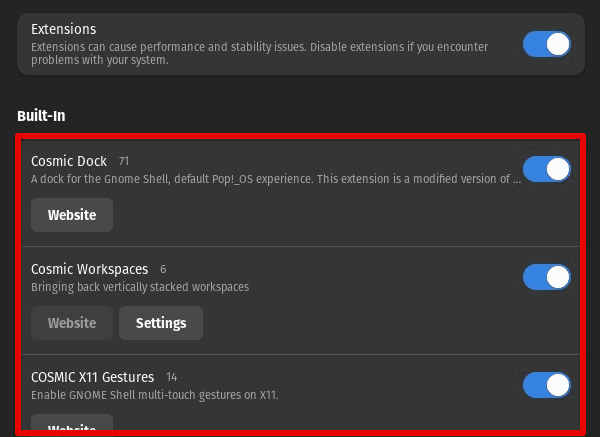
Enabling or disabling GNOME Shell extensions
You can also manage extensions by clicking the Settings button next to the extension’s name. From there, configure the extension’s settings or remove it entirely from the system.
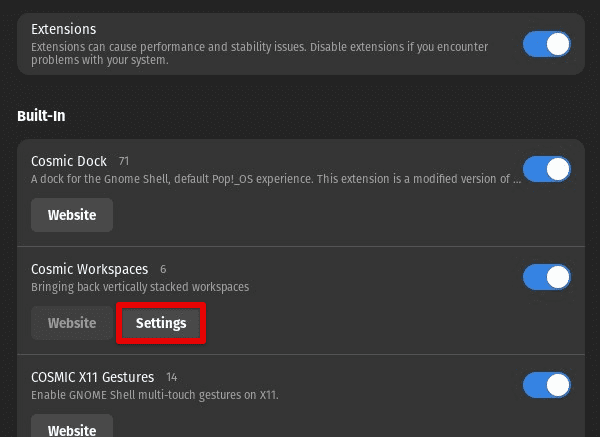
Configuring extension settings
By using the GNOME Tweak Tool, you can customize the appearance and behavior of the GNOME Shell to suit your preferences. You can change the theme, icons, fonts, cursor, top bar, dock, and workspace. It is also possible to enable or disable GNOME Shell extensions to add new features and functionality to your desktop. With these tweaks, you can make your Pop!_OS desktop your own.
Customizing Pop!_OS
Pop!_OS has several unique features that set it apart from other Linux distributions, such as the Pop!_Shop app store, the Pop!_OS Recovery Partition, and the ability to seamlessly switch between Intel and NVIDIA graphics. This section will explore how to customize Pop!_OS appearance with the GNOME Tweak Tool.
Customizing theme and icons: The default theme and icons of Pop!_OS are sleek and modern, but you may want to change them to your liking. Open the GNOME Tweak Tool by launching it from the Applications menu or pressing the Super key and typing “tweaks”.
In the GNOME Tweak Tool, click on the “Appearance” tab. Under the “Themes” section, you can choose from several pre-installed themes or install new themes by clicking the “Get more themes” button.

Customizing themes in Pop!_OS
Go to the “Icons” section, choose from several pre-installed icon sets, or install new icon sets by clicking on the “+” button. Once you have selected your preferred theme and icons, you can apply them by clicking on the respective links.
Customizing icons in Pop!_OS
Changing the system font and cursor: The default system font and cursor of Pop!_OS may not be suited to your liking. Open the GNOME Tweak Tool by launching it from the Applications menu or pressing the Super key and typing “tweaks”.
In the GNOME Tweak Tool, click on the “Appearance” tab. Under the “Fonts” section, you can choose the system font, document font, and monospaced font.
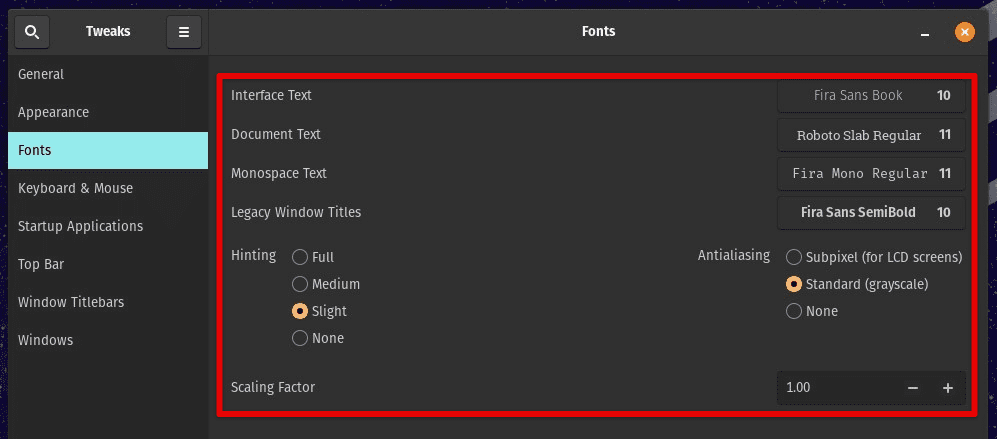
Customizing fonts in Pop!_OS
From the “Cursor” section, you can choose several pre-installed cursor themes or install new ones by clicking on the “Get more” button. Once you have selected your preferred system font and cursor, you can apply them by clicking on the corresponding links.
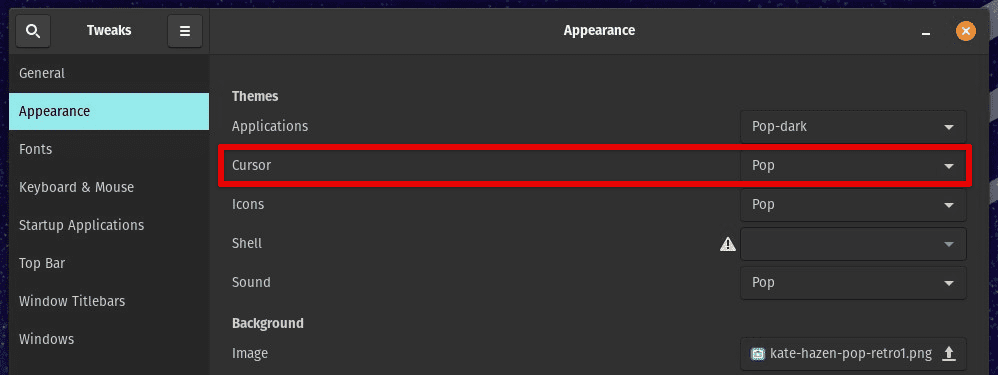
Customizing cursor in Pop!_OS
In addition to the appearance adjustments, Pop!_OS has several other customization features, such as changing the desktop wallpaper and the lock screen background. You can access these by right-clicking on the desktop and selecting “Change Background” or by launching the Settings app and navigating to the “Background” and “Lock Screen” tabs.
Configuring keyboard and mouse
The GNOME Tweak Tool also allows you to customize your keyboard and mouse settings. This section will explore how to configure keyboard shortcuts and mouse buttons for optimal functionality.
GNOME keyboard and mouse settings: The GNOME keyboard and mouse settings provide you with many options to customize the behavior of your input devices. Open the Settings app by launching it from the Applications menu or pressing the Super key and typing “settings”.
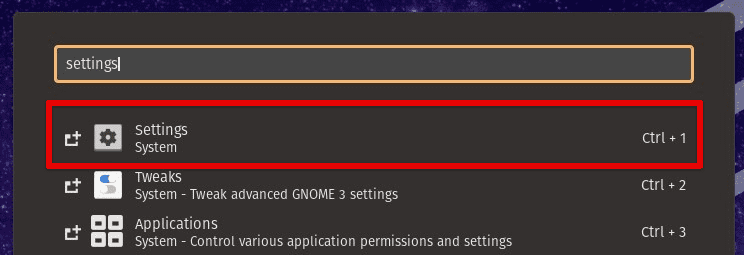
Opening system settings
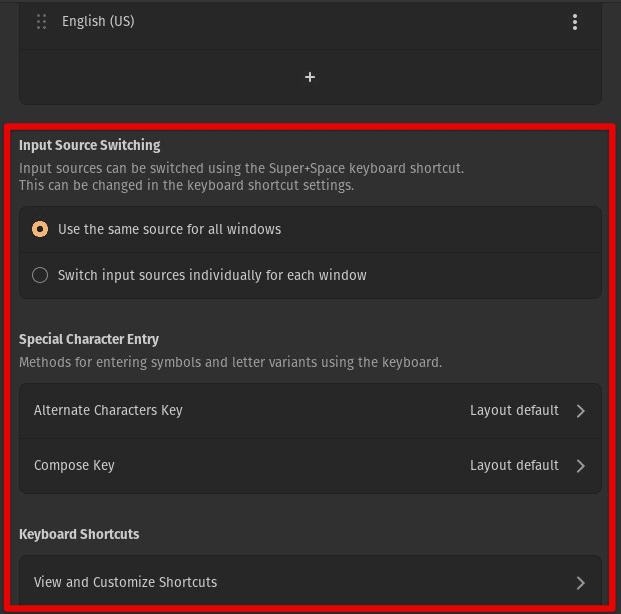
In the Settings app, navigate to the “Keyboard & Mouse” section. Under the “Keyboard” tab, you can modify the keyboard’s behavior by changing the repeat delay, repeat speed, and other settings. You can also create custom keyboard shortcuts to launch applications or perform actions.
Keyboard and mouse section
In the “Mouse” tab, modify the behavior of the mouse by changing the pointer speed, natural scrolling, and other settings. Configure the mouse buttons and gestures according to your working requirements.
Configuring keyboard shortcuts and mouse buttons: Pop!_OS allows you to configure custom keyboard shortcuts and mouse buttons using the GNOME Settings app. Open the Settings app by launching it from the Applications menu or pressing the Super key and typing “settings”.
In the Settings app, navigate to the “Keyboard Shortcuts” or “Mouse & Touchpad” section. Inside the “Keyboard Shortcuts” tab, you can view the existing keyboard shortcuts and create new ones by clicking the “+” button.
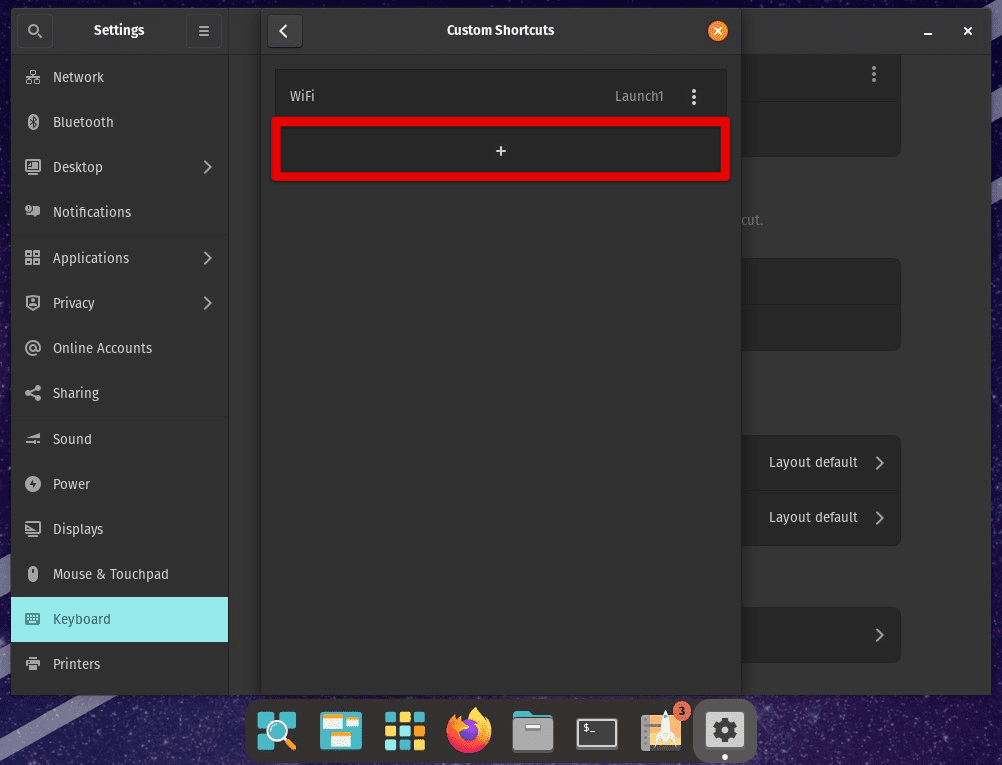
Creating a new keyboard shortcut
Under the “Mouse & Touchpad” tab, you can view the existing mouse gestures and customize them by clicking the button or gesture and assigning a new action.
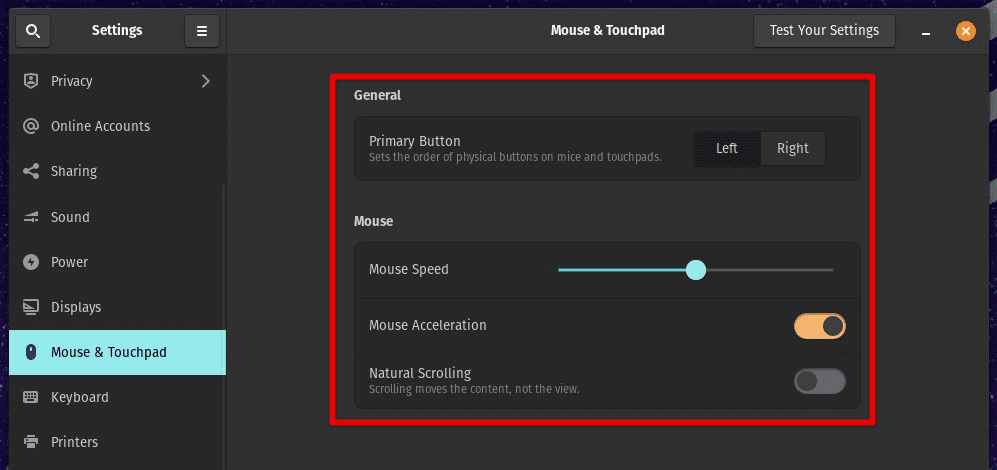
Mouse and touchpad settings
Once you have set up the custom keyboard shortcuts and mouse buttons, they will be available for use immediately. Python is an extremely powerful programming language widely used in various fields, including web development, data analysis, machine learning, and scientific computing. Learn how to install and configure Python on a Linux Mint machine.
Managing GNOME extensions
GNOME extensions are small add-ons that you can install to enhance the functionality of your desktop environment. In this section, we will explore GNOME extensions, how to find and install them, and how to manage the ones you have already installed.
Managing GNOME extensions
These extensions can add new functionalities, improve the user interface, or change the system settings. They are available from the GNOME Extensions website and can be installed using the GNOME Tweak Tool. GNOME extensions are written in JavaScript, and the source code is available on GitLab for developers to modify and improve.
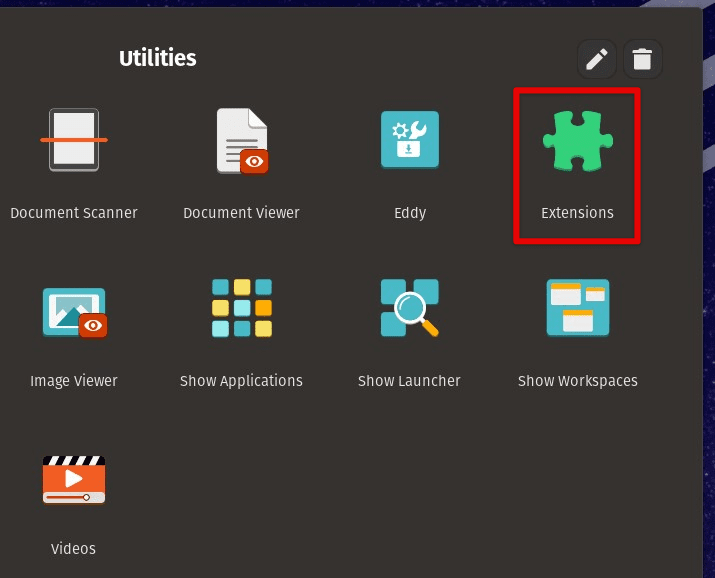
Finding and installing GNOME extensions: The GNOME Extensions website is the primary source for discovering and installing new extensions. Open the GNOME Tweak Tool by launching it from the Applications menu or pressing the Super key and typing “tweaks”.

Opening the GNOME Tweak Tool
In the GNOME Tweak Tool, click on the “Extensions” tab. Next, click the “Get more extensions” link to open the GNOME Extensions website in your default web browser. Browse the available extensions, and when you find one you want to install, click on the “ON/OFF” switch to enable it.
Enabling GNOME extensions
After enabling an extension, the GNOME Tweak Tool will prompt you to confirm the installation. Click on the “Install” button to complete the process.
Managing installed GNOME extensions: Once you have installed them, you can also manage them using the same tool. First, open the GNOME Tweak Tool by launching it from the Applications menu or pressing the Super key and typing “tweaks”.
System- Tweak advanced GNOME 3 settings
In the GNOME Tweak Tool, click on the “Extensions” tab. You can view the list of already installed extensions from here and toggle their status on or off using the “ON/OFF” switch.
You can also configure the settings for each extension by clicking on the gear icon next to the extension. If you want to remove an extension, click on the “X” icon next to it, and doing so will immediately uninstall the extension from your system.
Removing or disabling an extension
GNOME extensions are essential to the GNOME desktop environment, providing users with a flexible and customizable experience. By finding and installing the right GNOME extensions, you can enhance the functionality and appearance of your desktop environment. With the GNOME Tweak Tool, managing extensions has become as easy as ever, and you can easily enable, disable, and remove them with just a few clicks.
Advanced and experimental features
The GNOME Tweak Tool also provides access to some advanced and experimental features that are unavailable in standard settings. This section will explore some of these features and how to use them effectively.
Enabling advanced settings: To access advanced settings in the GNOME Tweak Tool, you must first enable the “User Themes” and “Experimental Features” options.
Pop!_OS experimental features
Open the GNOME Tweak Tool by launching it from the Applications menu or pressing the Super key and typing “tweaks”. Next, click on the “Extensions” tab, and then click on the gear icon next to “User Themes.” Toggle the “User Themes” switch to the on position. Next, click on the “Tweaks” tab, and then toggle the “Experimental Features” switch to “On.” Now that you have enabled advanced settings, you can explore some of the following features:
Customizing the Shell theme: The Shell theme controls the appearance of the top bar, the dock, and the workspace in the GNOME desktop environment. With advanced settings enabled, you can customize its theme as well.
Open the GNOME Tweak Tool by launching it from the Applications menu or pressing the Super key and typing “tweaks”. Next, click on the “Appearance” tab. Under “Shell,” click the “Choose Shell Theme” button.
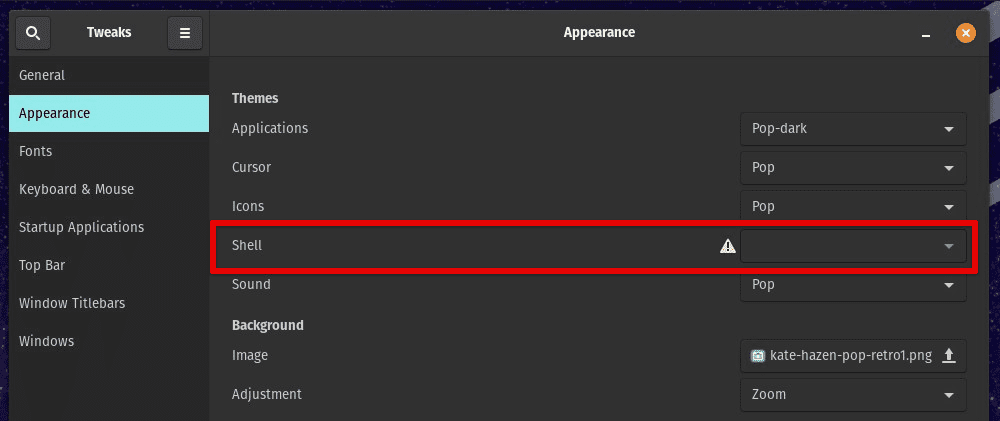
Choosing the Shell theme
Select a Shell theme from the list of available themes, or click the “+” button to install a new one from the web. To customize the colors of the installed theme, click on the “Customize” button next to the “Shell” option. Here, you can adjust the colors of various elements, such as the background, text, and icons.
Using custom fonts: With advanced settings enabled, you can use custom fonts in the GNOME desktop environment.
Open the GNOME Tweak Tool by launching it from the Applications menu or pressing the Super key and typing “tweaks”. Click on the “Fonts” tab to proceed.
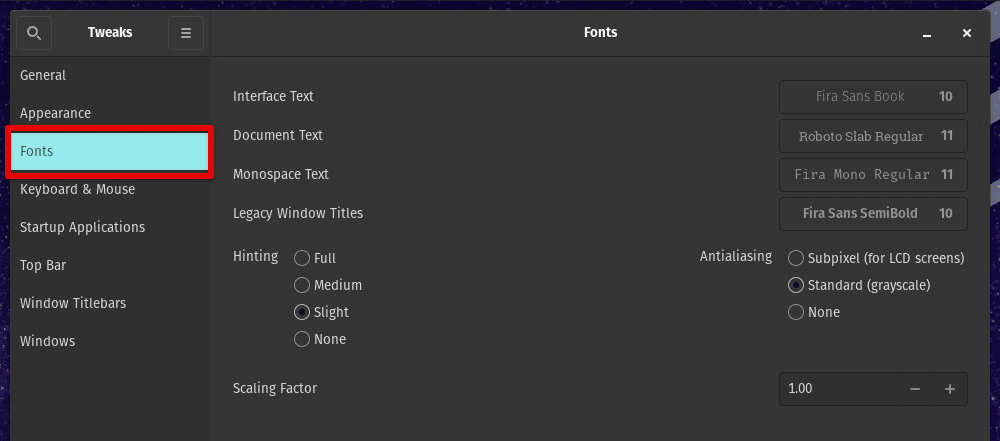
Fonts tab in the GNOME Tweaks tool
Under “Window Titles”, “Interface”, and “Documents”, you can select the font family, size, and weight that you want to use. You can also click the “+” button to add a new font to the system.
Using custom icon themes: You can also use custom icon themes in the GNOME desktop environment. Open the GNOME Tweak Tool by launching it from the Applications menu or pressing the Super key and typing “tweaks”. Go to the “Appearance” tab.
Using custom icon themes
Under “Icons”, click the “Choose Icon Theme” button. Select an icon theme from the list of available themes, or click on the “+” button to install some new ones from the web.
Enabling advanced and experimental features in the GNOME Tweak Tool can provide a range of customization options for users who want to fine-tune their desktop environment. With access to advanced settings, you can customize the Shell theme, use custom fonts, and new icon packages. While these features may be experimental, they can provide a more personalized and unique experience for users who want to go beyond the standard settings.
Tips and tricks
In this section, we will provide some tips and tricks to help you get the most out of the GNOME Tweak Tool and customize your Pop!_OS experience to the fullest.
GNOME Look: If you want to find new themes and icons to use with your Pop!_OS desktop, GNOME Look is a great resource. It is a community-driven website that provides a collection of themes, icons, and other customizations for the GNOME desktop environment. You can download new themes and icons from the website and install them using the GNOME Tweak Tool like regular packages.
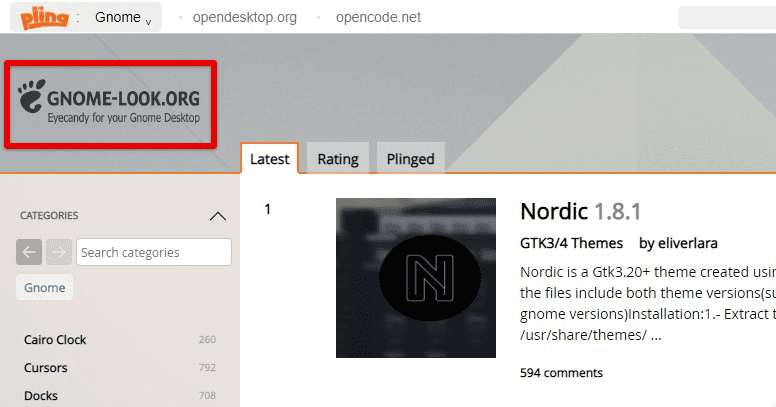
GNOME Look
Keyboard shortcuts: One of the notable benefits of using Pop!_OS is the efficient use of keyboard shortcuts. By default, Pop!_OS comes with a wide range of available shortcuts that can be used to launch applications, switch between workspaces, and do a lot more. However, you can customize these to your liking using the GNOME Tweak Tool.
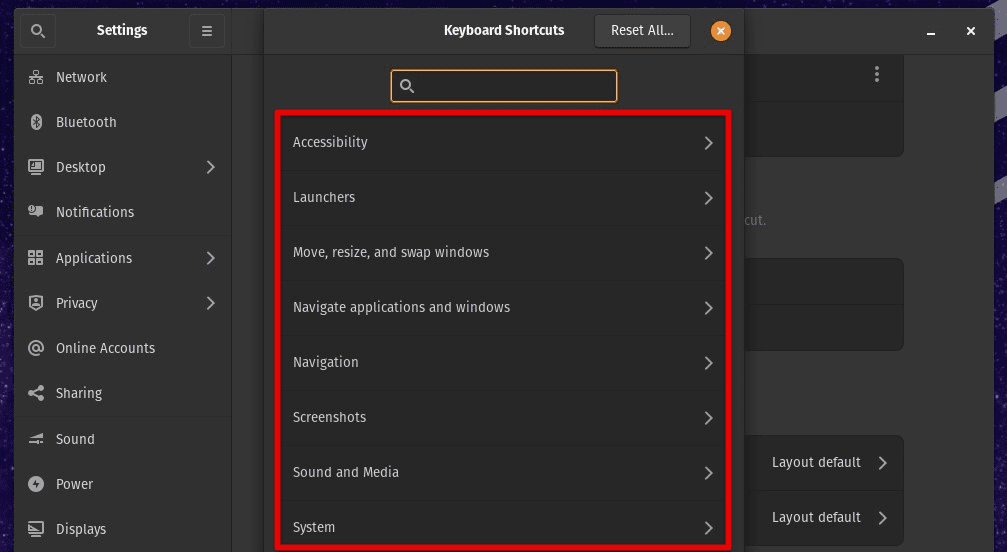
Pop!_OS keyboard shortcuts
To customize keyboard shortcuts, open the GNOME Tweak Tool and click on the “Keyboard & Mouse” tab. Here, you can assign new keyboard shortcuts to these pre-defined tasks.
Organizing your desktop: Workspaces are a great way to organize your desktop and improve productivity. Pop!_OS comes with four workspaces by default, but you can add more if needed. You can also customize their behavior with the GNOME Tweak Tool.
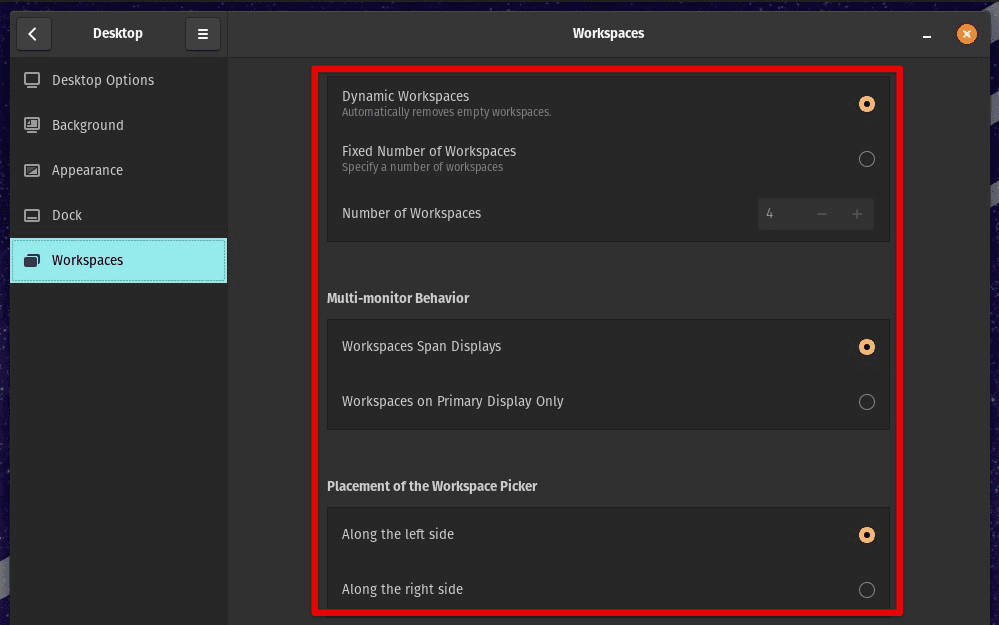
Workspace settings
For customizing workspaces, open the GNOME Tweak Tool and click the “Workspaces” tab. Here, you can customize the number of workspaces and how they interact with other elements of your system.
Night light: If you work on your system for long periods, you may experience eye strain. To alleviate this, Pop!_OS has a built-in Night Light feature that reduces the blue light emitted by your screen.
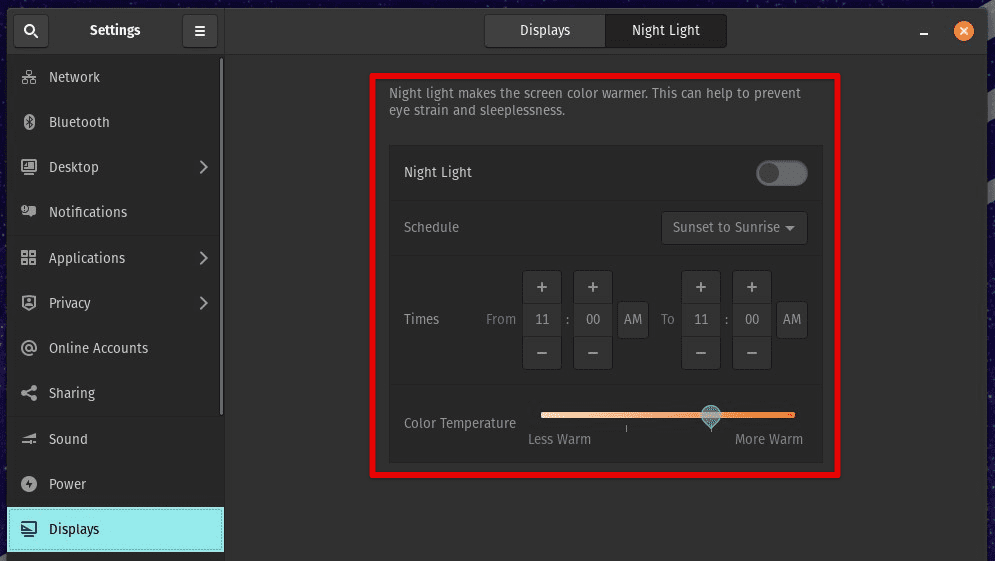
Night Light
To customize Night Light, open the GNOME Tweak Tool and click the “Night Light” tab. Here, you can customize the color temperature, set a schedule for this mode, and change how it affects different display sections.
Conclusion
The GNOME Tweak Tool allows users to customize their Pop!_OS desktop experience. From changing the appearance of the top bar and dock to configuring keyboard shortcuts and mouse buttons to installing and managing GNOME extensions, the GNOME Tweak Tool offers a wide range of customization options. Additionally, advanced and experimental features like the GNOME Shell performance mode and the experimental fractional scaling option provide even more ways to tailor your Pop!_OS system.
Tmux is one of the best applications on a Linux/Unix-based operating system. It is a beefed-up GNU screen version commonly called a terminal multiplexer. Learn how to customize the tmux configuration.
1 comment
John, it looks like the name of the package isn’t “gnome-tweak-tool” but instead “gnome-tweaks”.
Attempting to install “gnome-tweak-tool” doesn’t work.