
Taking screenshots is essential for any operating system, whether you want to capture a funny meme, document a bug for tech support, or show off your desktop customization. Pop!_OS, the Ubuntu-based Linux distribution from System76, offers several built-in and third-party options for taking screenshots.
This article will explore various ways to take screenshots in Pop!_OS, such as the GNOME screenshot tool, third-party applications, and keyboard shortcuts. We’ll also provide tips for customizing screenshot preferences and editing or sharing captured screenshots. Comparing two files in Linux can be helpful when you want to identify their differences. Several commands are available in the Terminal, such as diff and cmp. Learn how to compare two files in Linux using terminal commands.
Overview of Pop!_OS screenshot options
Pop!_OS provides numerous options for taking screenshots, depending on your preferences and needs. You can choose from the built-in GNOME screenshot tool, third-party applications like Flameshot or Shutter, or keyboard shortcuts to quickly capture what’s on your screen. Let’s take a closer look at each one of these options.
Taking a screenshot in Pop!_OS
GNOME screenshot tool: Pop!_OS has a built-in GNOME screenshot tool that allows you to take screenshots of your entire screen, a specific window, or a custom area. To access the tool, you can use the “Screenshot” application found in the Applications menu, the keyboard shortcut “Print Screen” key, or by running the command “gnome-screenshot” in the terminal. Once you have taken a screenshot, save it as a PNG image file, copy it to the clipboard, or share it directly with other applications.
GNOME screenshot tool
Third-party applications: Several third-party applications are available for Pop!_OS that offer more advanced features and customization options than the built-in GNOME tool. Flameshot, for example, allows you to annotate your screenshots with text, arrows, and other shapes. At the same time, Shutter provides a more comprehensive set of editing tools, such as adding borders or blurring specific areas. To use these applications, you’ll need to install them from Pop!_Shop or with the command line using a package manager like apt or snap.
Third-party applications
Keyboard shortcuts: If you prefer to use keyboard shortcuts to take screenshots, Pop!_OS contains different options for that as well. In addition to the “Print Screen” key mentioned earlier, you can also use the “Alt + Print Screen” combination to take a screenshot of the active window or “Shift + Print Screen” to select a custom area instead. If you want to customize these shortcuts or create new ones, you can do so through Keyboard settings.
Keyboard shortcuts
Pop!_OS offers a range of screenshot options, whether you prefer a simple built-in tool, a more feature-rich third-party application, or keyboard shortcuts for quick captures. By understanding the options available, you can choose the best method for you and take screenshots with ease.
Taking screenshots in Pop!_OS
1. Using the GNOME screenshot tool
The built-in GNOME screenshot tool in Pop!_OS is a convenient way to take screenshots of your entire screen, a specific window, or a custom area.
Taking a screenshot of the entire screen: Press the “Print Screen” key on your keyboard. This will capture a screenshot of the whole screen at once. A notification will appear in the top right corner of your screen, indicating that the screenshot has been taken.
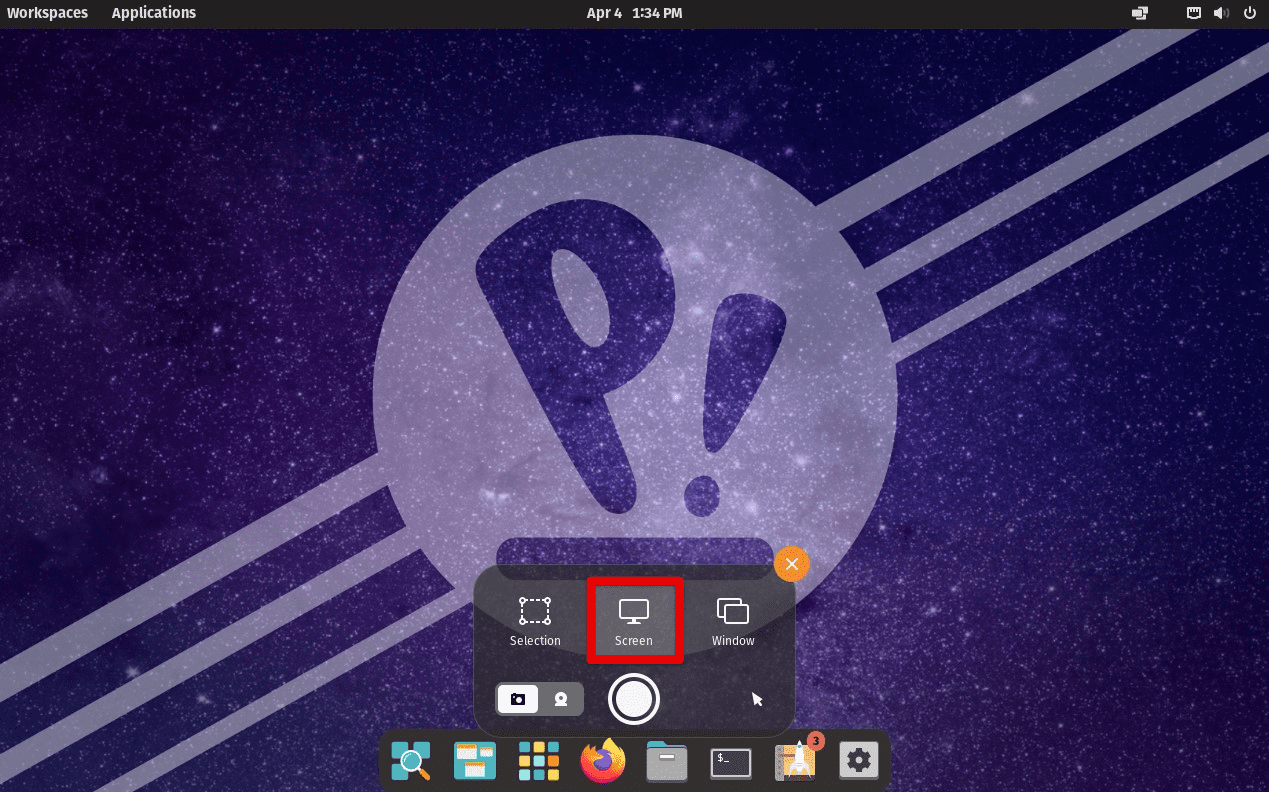
Taking a screenshot of the entire screen
Click on the notification to open the “Screenshot” application. In the “Screenshot” application, you can save the screenshot as a PNG image file, copy it to the clipboard, or share it directly with other applications.
Taking a screenshot of a specific window: Click on the window that you want to capture. Press the “Alt + Print Screen” keys on your keyboard. Doing so captures a screenshot of the active window only. A notification will appear in the top right corner of your screen, indicating that the screenshot has been taken.
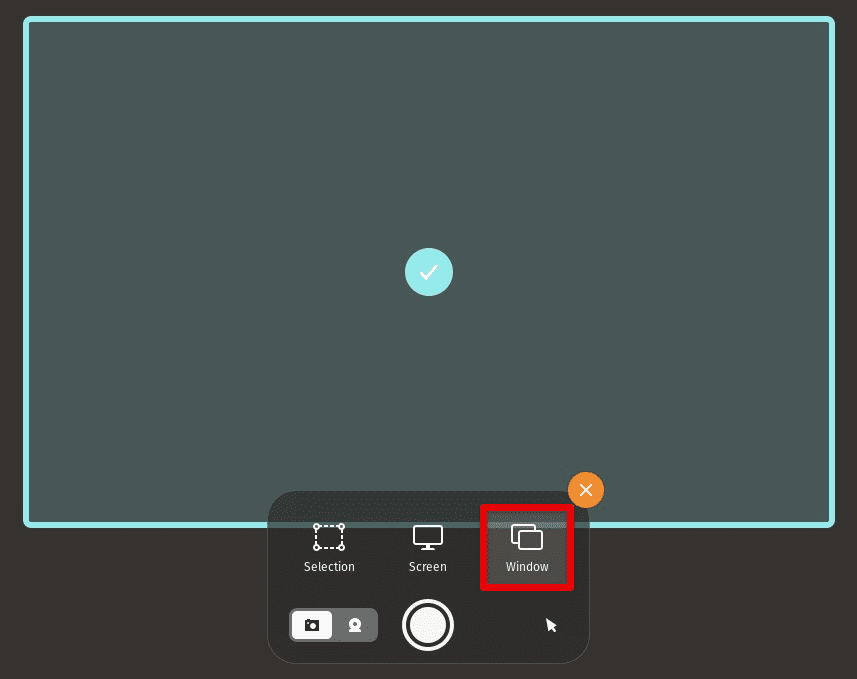
Taking a screenshot of a specific window
Click on the notification to open the “Screenshot” application. In the “Screenshot” application, you can save the screenshot as a PNG image file, copy it to the clipboard, or share it directly with other applications.
Taking a screenshot of a custom area: Press the “Shift + Print Screen” keys on your keyboard. This will change your cursor to a crosshair. Next, click and drag your cursor to select the area that you want to capture.
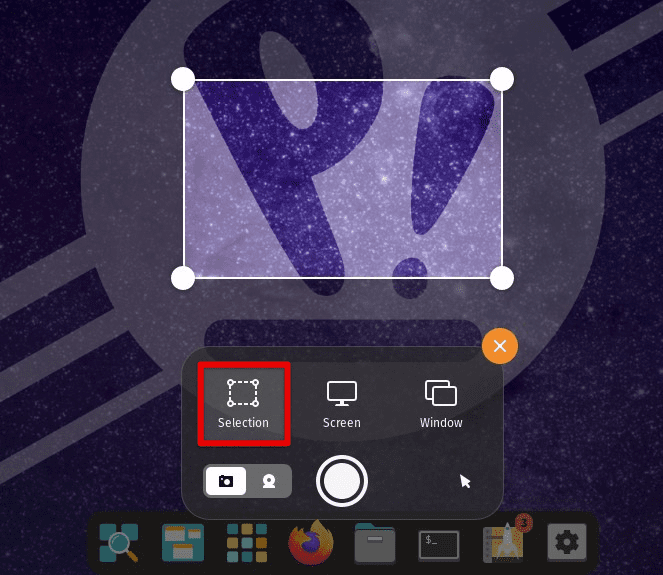
Taking a screenshot of a custom area
A notification will appear in the top right corner of your screen, indicating that the screenshot has been taken. Click on the information to open the “Screenshot” application. Here, you can select to save it as a PNG file, copy it to the clipboard, or share it with other applications.
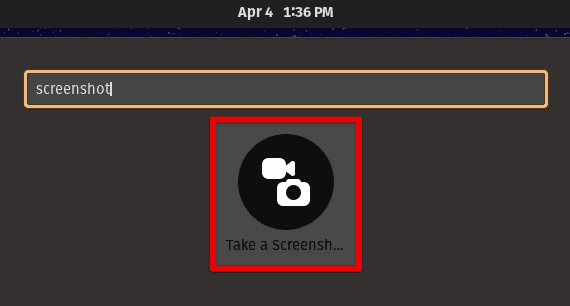
In addition to using these keyboard shortcuts, you can access the GNOME screenshot tool through the Applications menu or the command line. To access the tool through the Applications menu, click the “Activities” button in the top left corner of your screen, search for “Screenshot”, and click on the application.
Opening the screenshot application
To access it via the command line, open a terminal window and type “gnome-screenshot”. Doing so launches the tool and allows you to take screenshots using the abovementioned methods.
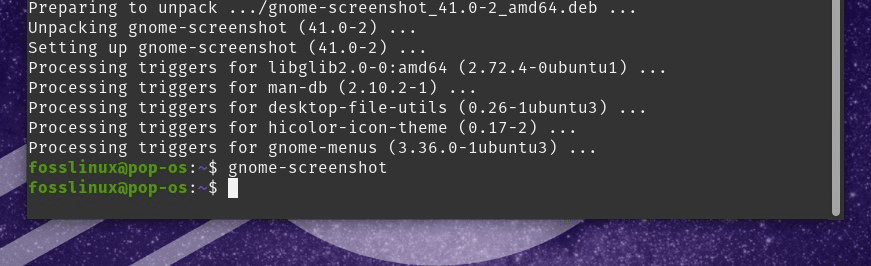
Accessing the GNOME screenshot tool from the command line
A window manager is software responsible for the placement and appearance of windows of various applications. It allows you to use any number of displays and utilize the screen to its full potential. Here are the top 15 window managers for Linux.
Customizing GNOME screenshot preferences
The GNOME screenshot tool in Pop!_OS has several customization options that can be accessed through the “Preferences” menu.
Changing the default save location: Open the “Screenshot” application using the keyboard shortcut “Print Screen” or search for it in the Applications menu. Click on the menu button in the top right corner of the “Screenshot” window. Select “Preferences” from the drop-down menu.
Changing the default save location
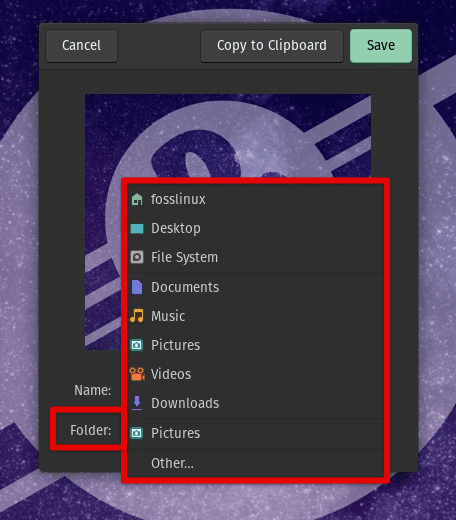
In the “Preferences” window, click on the “Save Location” drop-down menu. Next, select the folder where you want your screenshots to be saved. You can create a new folder by clicking the “Other…” option and selecting “Create Folder”.
Disabling the delay timer: Open the “Screenshot” application using the keyboard shortcut “Print Screen” or search for it in the Applications menu. Click on the menu button in the top right corner of the “Screenshot” window.
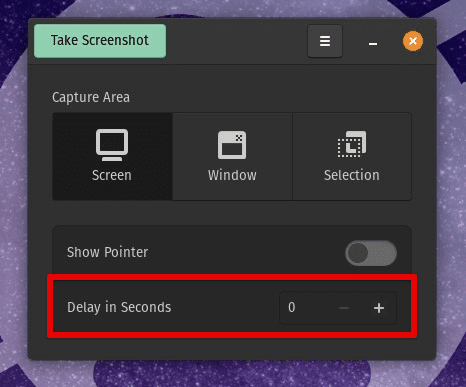
Disabling the delay timer
Select “Preferences” from the drop-down menu. In the “Preferences” window, toggle off the “Enable Timer” option. Once disabled, there will be no delay when taking a screenshot in Pop!_OS.
Changing the screenshot file format: Open the “Screenshot” application using the keyboard shortcut “Print Screen” or search for it in the Applications menu. Click on the menu button in the top right corner of the “Screenshot” window.
Changing the screenshot file format
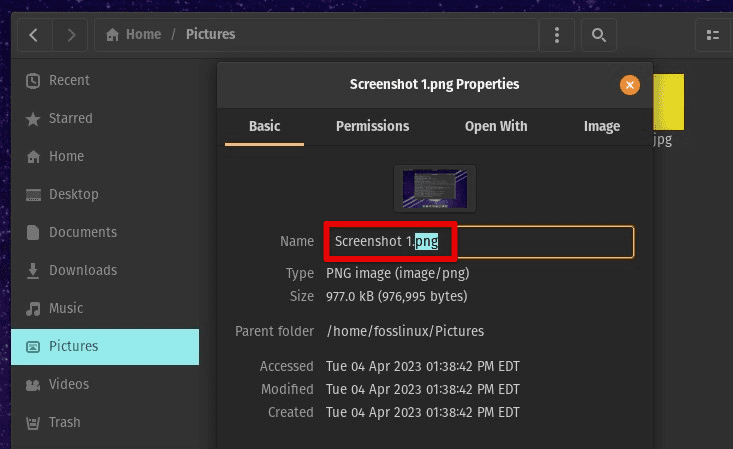
Select “Preferences” from the drop-down menu. In the “Preferences” window, click on the “Image Type” drop-down menu. Next, select the desired file format, such as PNG, JPEG, or TIFF.
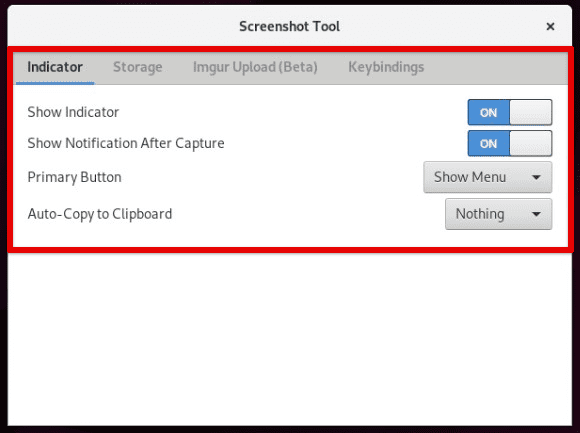
Toggling off sound effects & on-screen notification: Open the “Screenshot” application by either using the keyboard shortcut “Print Screen” or searching for it in the Applications menu. Click on the menu button in the top right corner of the “Screenshot” window.
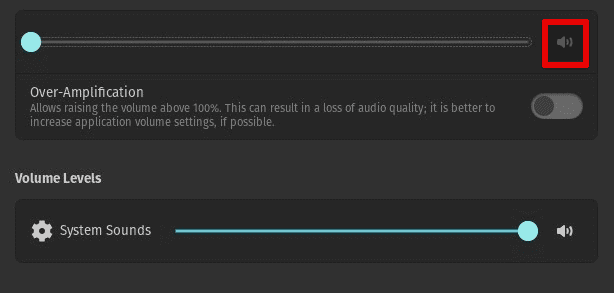
Toggling off sound effect
Select “Preferences” from the drop-down menu. In the “Preferences” window, toggle off the “Play sound effects” and “Show on-screen notification” options.
Changing the keyboard shortcut: Open the “Screenshot” application using the “Print Screen” keyboard shortcut or search for it in the Applications menu. Click on the menu button in the top right corner of the “Screenshot” window.
Changing the keyboard shortcut
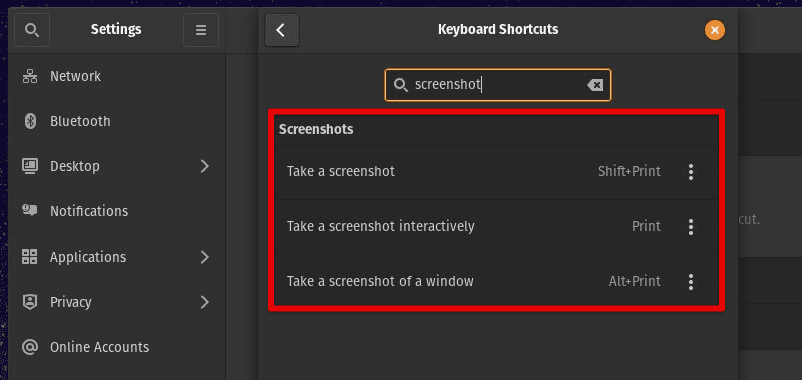
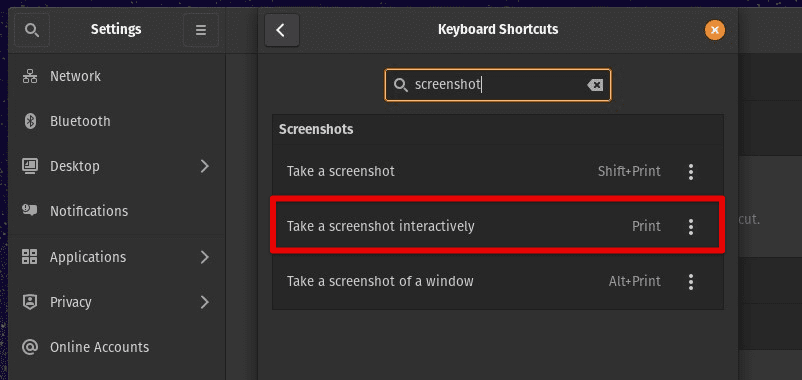
Select “Preferences” from the drop-down menu. In the “Preferences” window, click on the “Keyboard Shortcuts” tab. Select the desired keyboard shortcut for taking screenshots. You can also change these shortcuts from the Keyboard section in system settings.
2. Using third-party screenshot applications
In addition to the built-in GNOME screenshot tool, several third-party applications are available for taking screenshots in Pop!_OS. Following is an overview of some popular options.
Flameshot:
Flameshot is a free and open-source screenshot tool that offers a variety of annotation and editing features. It allows you to capture screenshots of the entire screen, a selected window, or a specific area.
Open the terminal by pressing “Ctrl + Alt + T”. Run the following command in the terminal:
sudo apt install flameshot
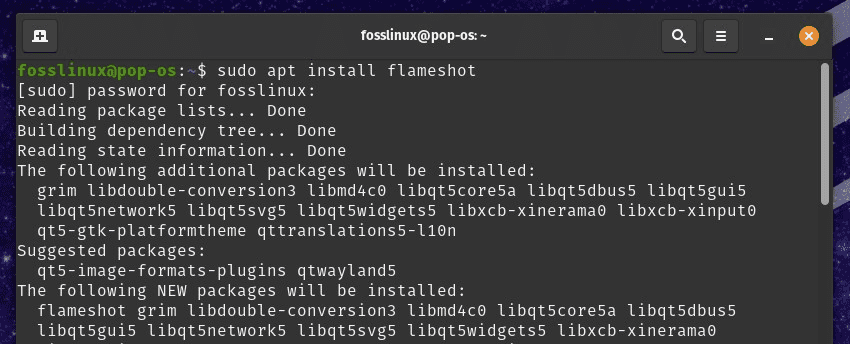
Installing Flameshot on Pop!_OS
This installs the Flameshot application on your system. Once the installation finishes, launch Flameshot from the Applications menu. To take a screenshot, click the Flameshot icon in the system tray or use the keyboard shortcut “Print Screen”.
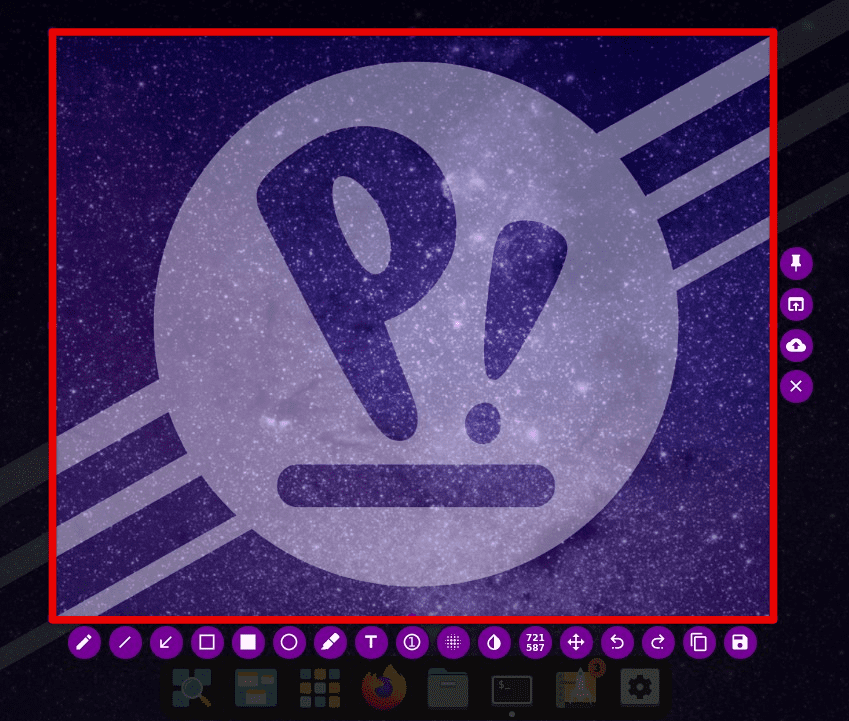
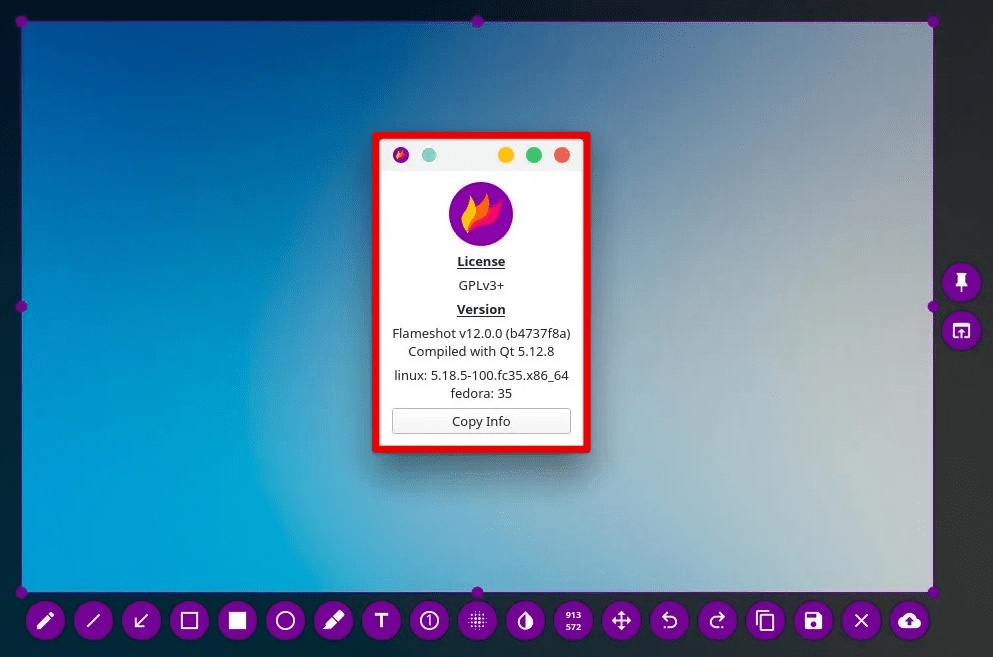
Taking a screenshot with Flameshot
After capturing the screenshot, you can annotate and modify the image using the editing tools. To save the screenshot, click the “Save” button in the top right corner of the Flameshot window.
Shutter:
Shutter is another popular screenshot tool for Linux that offers advanced features. Open the terminal by pressing “Ctrl + Alt + T”. Run the following command in the terminal:
sudo apt install shutter
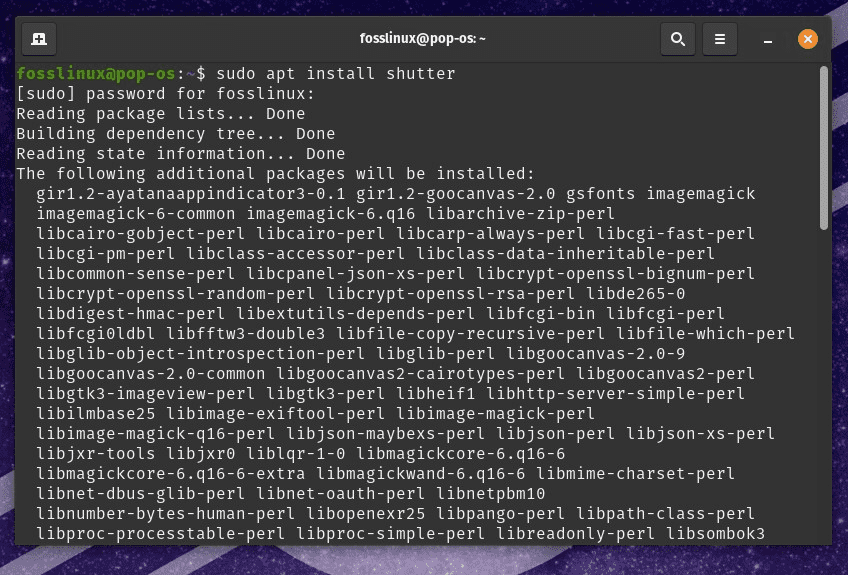
Installing Shutter on Pop!_OS
This installs the Shutter application on your system. Once the installation finishes, launch Shutter from the Applications menu. To take a screenshot, click on the “Selection” or “Window” buttons in the Shutter window or use the keyboard shortcut “Print Screen”.
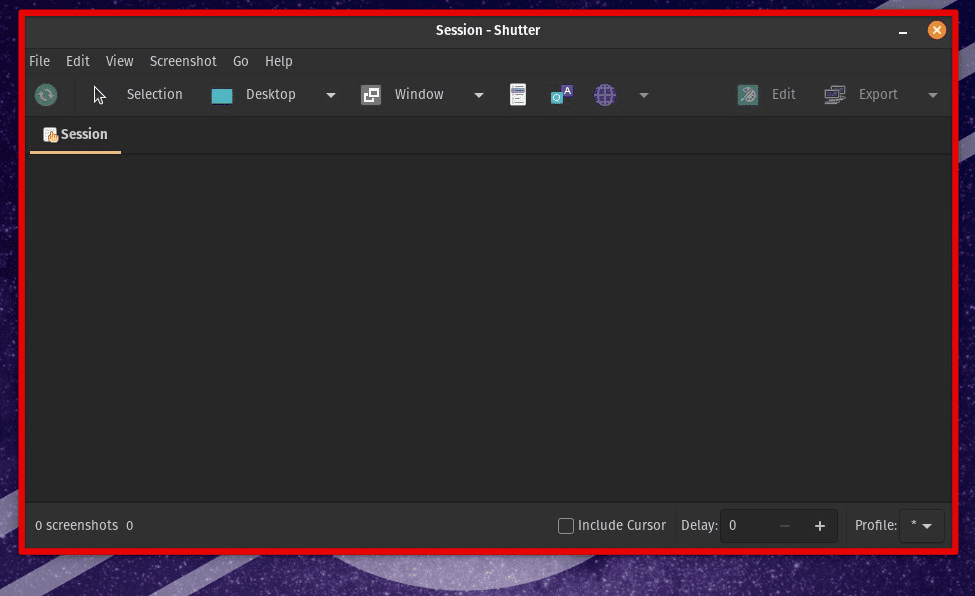
Taking a screenshot with Shutter
After capturing the screenshot, you can annotate and modify the image using the editing tools. To save the screenshot, click on the “Save” button in the top right corner of the Shutter window.
Other third-party screenshot tools for Pop!_OS include Ksnip, Deepin Screenshot, and Spectacle. Each of these offers unique features and settings, so it’s worth exploring them to find the one that best suits your requirements.
3. Using keyboard shortcuts for screenshots
As described earlier, keyboard shortcuts provide a quick and convenient way to take screenshots in Pop!_OS.
Print Screen key: The Print Screen key on your keyboard can be used to capture a screenshot of the entire screen at once.
Print screen key
Press the Print Screen key on your keyboard. The screenshot will be saved to the default location in the GNOME tool preferences. To customize the save location or other settings, refer to the “Customizing GNOME screenshot preferences” section above.
Custom keyboard shortcuts: You can also configure a custom keyboard shortcut to take screenshots in Pop!_OS. Click on the “Activities” button in the top left corner of the screen and type “Settings” in the search bar. Click on the “Settings” icon to open the settings menu.
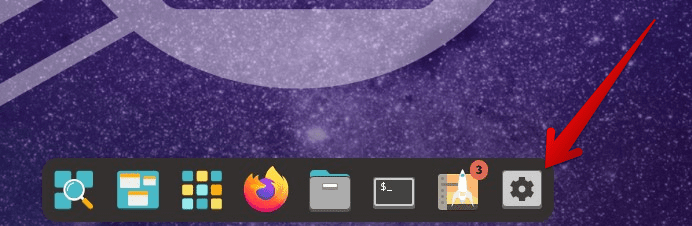
Opening the settings menu
Click on the “Keyboard” option in the left sidebar. Scroll down to the “Custom Shortcuts” section and click the “+” button to add a new shortcut.
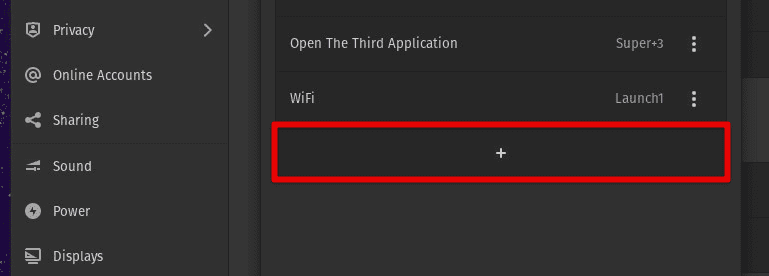
Adding a new shortcut
In the “Command” field, type the command for the screenshot tool you want to use (e.g., “gnome-screenshot -a” for capturing a selected area with the GNOME screenshot tool).
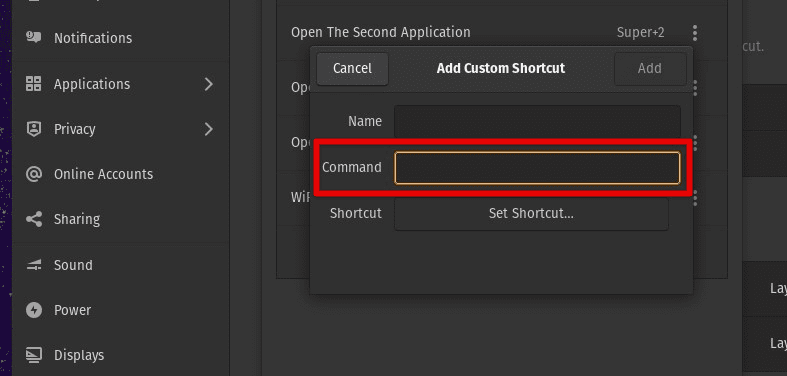
Command for the screenshot
In the “Name” field, give your shortcut a descriptive name (e.g., “Capture selected area”).
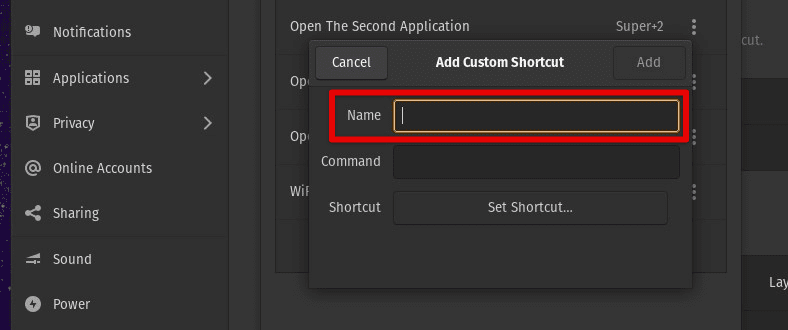
Name for the screenshot
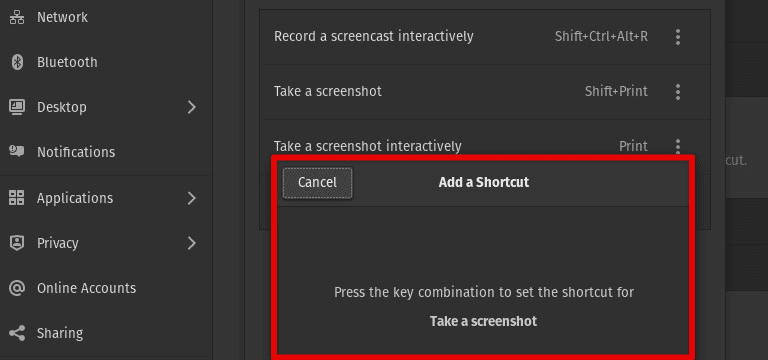
Click on the “Set Shortcut” button and press the keyboard combination you want for the shortcut.
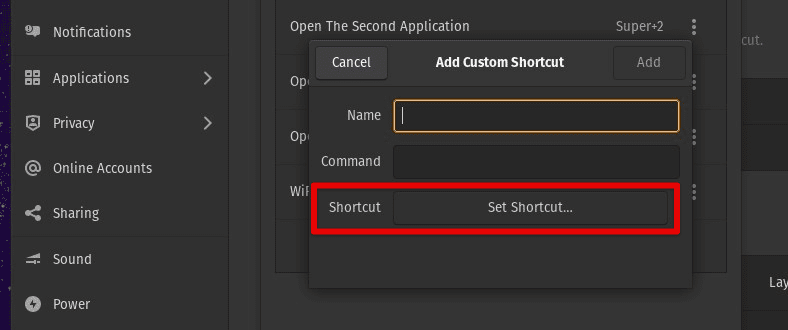
Key combination for the screenshot
Your custom shortcut is now set up and ready to use. By default, the GNOME screenshot tool uses the “Print Screen” key to capture the entire screen and the “Shift + Print Screen” to capture a selected area. However, following the abovementioned steps, you can easily change these default keys.
Editing and sharing screenshots
After taking a screenshot, you may want to edit or share the image with others. Let us see how you can do that in Pop!_OS.
Editing screenshots:
If you need to change your screenshot before sharing it, there are several ways. The GNOME screenshot tool includes a basic image editor that allows you to crop, resize, and add annotations to your screenshots. Besides that, GIMP is a free and open-source image editor offering more advanced editing features than the GNOME screenshot tool. To install GIMP, open Pop!_Shop and search for “gimp”. Once installed, you can open your screenshots in GIMP to make more extensive edits.
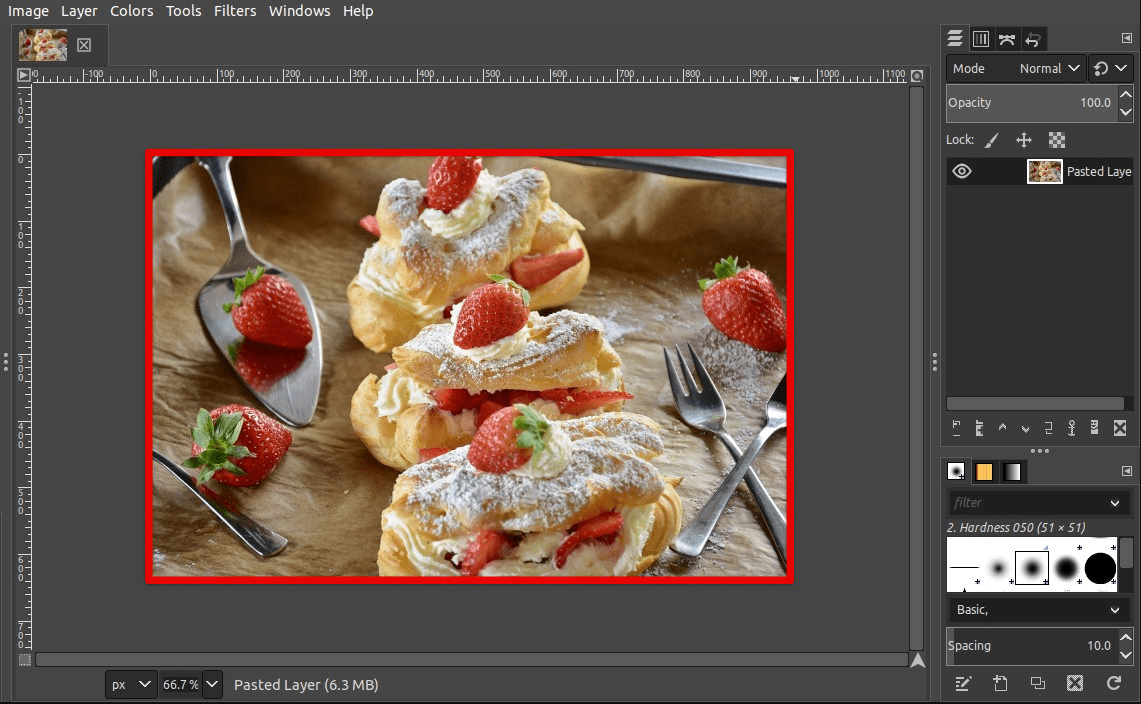
Editing screenshots with GIMP
Many online image editors, such as Pixlr or Canva, can also edit screenshots without installing software on your system.
Sharing screenshots:
Once you’ve edited your screenshot (or if you’re happy with it as-is), you can share it with others using one of the following methods:
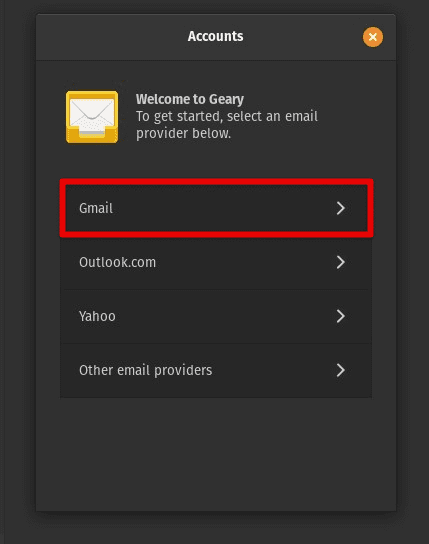
Email: Attach the screenshot to an email and send it to the recipient directly.
Cloud storage services: Upload your screenshot to a cloud storage service like Dropbox or Google Drive and share the link with others. To do this, open the service’s website in your browser, create a new folder or select an existing one, and upload the screenshot.
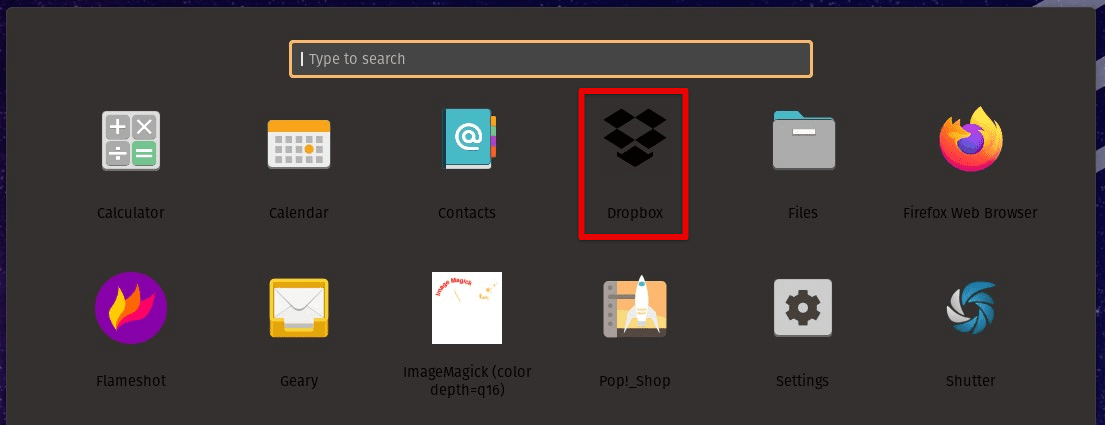
Cloud storage services
Instant messaging apps: Many instant messaging apps, such as Slack or WhatsApp, allow you to share images directly in the chat. Then, attach the screenshot to the message and send it to the recipient.
Conclusion
Several options are available for capturing and customizing screenshots in Pop!_OS. The built-in GNOME screenshot tool offers a range of features for taking screenshots, while third-party applications like Flameshot or Shutter provide additional tools for more advanced use cases. Additionally, keyboard shortcuts offer a quick and easy way to take screenshots without navigating menus or launching applications.
Once you’ve taken a screenshot, there are many possibilities for editing and sharing your images, from basic cropping and annotation tools to cloud storage services and third-party applications. With these tools and techniques, capturing and sharing screenshots in Pop!_OS is a breeze. Kazam offers an easy-to-use and well-designed interface for capturing screenshots and screencasts. Learn how to install and use Kazam on Ubuntu.