
Python is an extremely powerful programming language widely used in various fields, including web development, data analysis, machine learning, and scientific computing. If you are a Linux Mint user and want to start learning or working with Python, you may wonder how to install and configure it on your system.
This article will guide you through installing Python on Linux Mint and configuring its environment. You will learn to check the current Python version, install it using the package manager, set up a virtual environment, manage Python packages with pip, configure the environment, and run a Python script. Following this article lets you have a fully functional Python environment on your Linux Mint system.
Checking the current Python version
Before installing or configuring Python, it is essential to check the current version of Python installed on your Linux Mint system. To check the current Python version, follow the steps below:
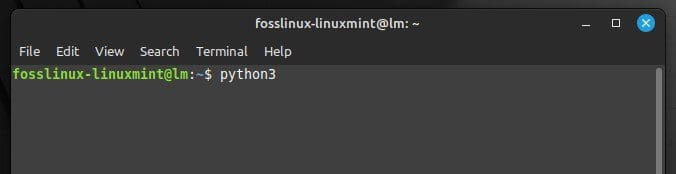
Open the terminal by pressing the “Ctrl + Alt + T” shortcut key or click the terminal icon in the menu bar at the bottom. Once the terminal is open, use the command “python –version” to check the current version of Python installed on your system.
python3
Checking the current version of Python
The output will display the version of Python installed on your system. For example, if you have Python 3.10.6 installed on your system, the output will be as follows:
Python 3.10.6
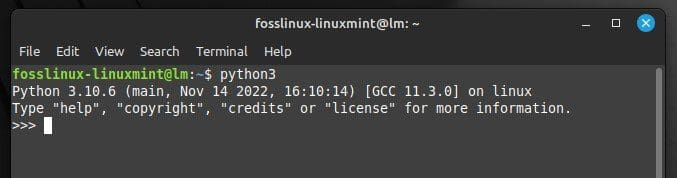
Python 3.10.6
Checking the current Python version is important because some libraries and packages may require a specific version to work correctly. By knowing the current version, you ensure that you will install the correct dependencies and packages to avoid any compatibility issues.
Installing Python in Linux Mint
There are multiple ways to install Python on a Linux Mint system. This section will cover three methods: using the terminal, via the package manager (APT), and from the official website.
Using the terminal to install Python: One of the easiest ways to install Python in Linux Mint is by using terminal commands. Open the terminal by pressing the “Ctrl + Alt + T” shortcut key or clicking the terminal icon in the menu bar at the bottom. Run the following command to update the package list:
sudo apt update

Updating the package list
After that, run the following command to install Python:
sudo apt install python3
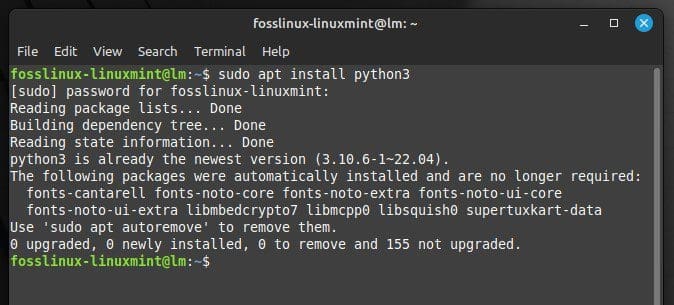
Installing Python with the terminal
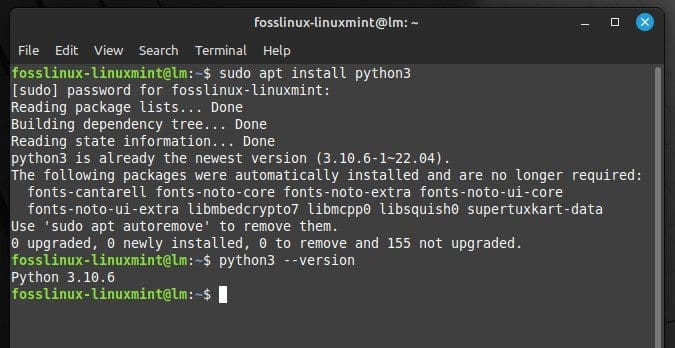
Once the installation finishes, check the installed Python version by running the command “python –version” in the terminal.
Installing Python via the package manager (APT): Another method to install Python in Linux Mint is the package manager APT. Open the terminal by pressing the “Ctrl + Alt + T” shortcut key or clicking the terminal icon in the menu bar at the bottom. Run the following command to update the package list:
sudo apt update

Updating the package list for the manager
After that, run the following command to install Python:
sudo apt install python3
Installing Python with APT
Once the installation finishes, you can check the installed Python version by running the command “python3 –version” in the Terminal.
Installing Python from the official website: If you want to install the latest version of Python or a specific version unavailable in the package manager, you can download and install it from the official website. Open the web browser and visit the official Python website (https://www.python.org/downloads/).
Click on the “Download Python” button to download the latest version of Python. Once the download finishes, open the terminal and navigate to the directory where the downloaded file was saved.
Run the following command to extract the downloaded file:
tar -xf python.tar.xz
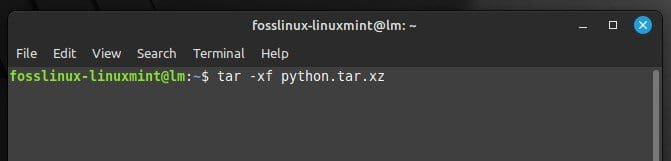
Extracting the downloaded file
Make sure to replace “python.tar.xz” with the downloaded file’s name. Navigate to the extracted directory by running the following command:
cd Python-3.10.6
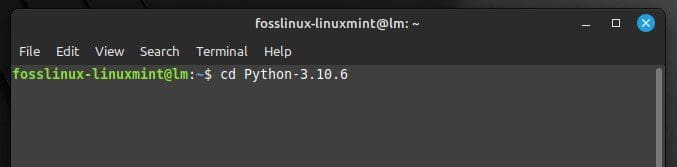
Navigating to the extracted directory
Replace “3.10.6” with the version number of Python you downloaded. Run the following commands to configure and install Python:
./configure

make

sudo make install
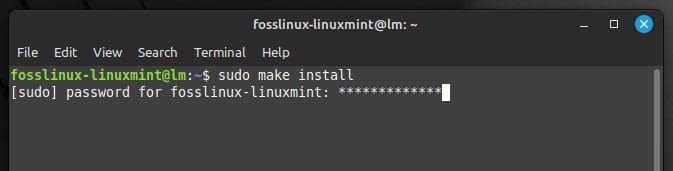
Installing the downloaded file
Once the installation finishes, check the installed Python version by running the command “python3 –version” in the Terminal. We have covered all three methods for installing Python in Linux Mint. You can choose one which suits your specific style of workflow.
Setting up a virtual environment for Python
When working on a Python project, creating a separate virtual environment is essential to avoid conflicts between different versions of Python and libraries. In this section, we will cover how to set up a virtual environment for Python using venv in Linux Mint.
What is a virtual environment?
A virtual environment is an isolated Python environment with its own Python executable and library dependencies. Creating a virtual environment allows you to install and manage project-specific Python packages and libraries without affecting the system-wide Python installation or other projects. Different projects may require different versions, and installing them system-wide may cause conflicts and dependency issues.
How to create a virtual environment using venv?
The venv module is available in Python 3.3 and higher versions and can create virtual environments in a system like Linux Mint. Open the terminal and navigate to the project directory where you want to create the virtual environment. Run the following command to create a new virtual environment:
python3 -m venv foss-env

Creating a new virtual environment
Remember to replace “foss-env” with the name you want to give to your virtual environment. Once the virtual environment has been created, install the required packages and libraries specific to your project in this environment.
How to activate and deactivate the virtual environment?
To use the virtual environment, you need to activate it first. To do so, run the following command in the Linux Mint terminal:
source foss-env/bin/activate
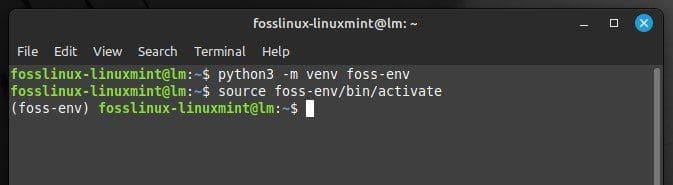
Activating the virtual environment
Again, remember to replace ” foss-env” with the name of your virtual environment. Once the virtual environment has been activated, the name of the virtual environment will start appearing in the command prompt. You can now install and use project-specific packages.
To deactivate the virtual environment, run the following command in the terminal:
deactivate
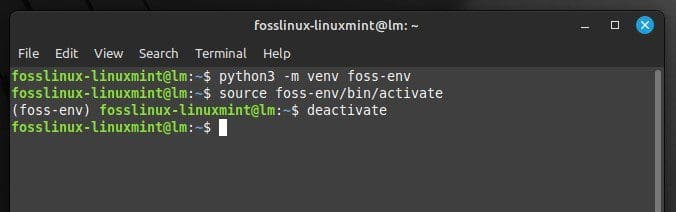
Deactivating the virtual environment
Doing so returns you to the system-wide Python installation. By setting up a virtual environment for your project, you ensure that the dependencies and packages required are installed and managed in an isolated environment without affecting the system-wide installation.
Installing and managing Python packages with pip
Pip is the standard package manager for Python that allows you to install, upgrade, and uninstall Python packages and libraries. This section will cover how to install pip and use it to manage these packages in Linux Mint.
What is pip?
Pip is a command-line tool that simplifies installing and managing Python packages and libraries. It is used for installing, upgrading, or removing packages, making it an important tool for working with Python.
How to install pip in Linux Mint?
Pip is usually included with Python installations of version 3.4 or later. If pip is not already installed, you can install it using the following command in the terminal:
sudo apt install python3-pip
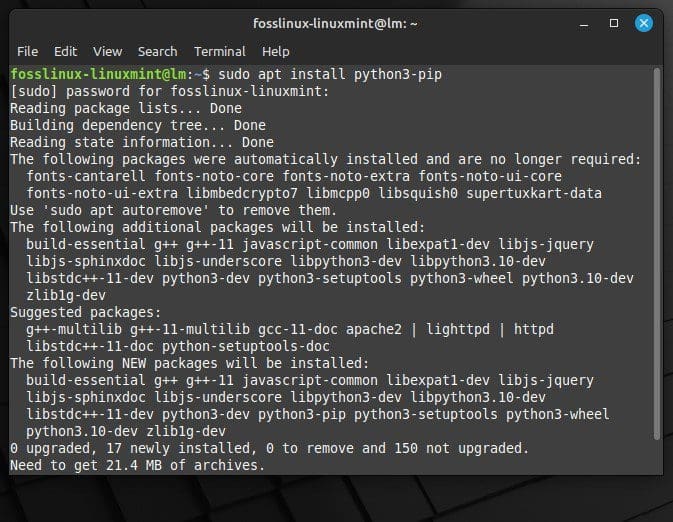
Installing pip on Linux Mint
This will install pip for Python 3. If you want to install pip for Python 2, use the following command instead:
sudo apt install python-pip
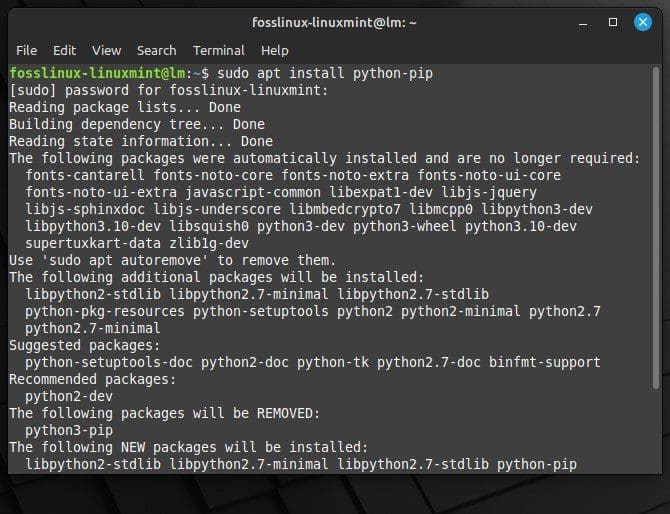
Installing pip for Python 2
Command-line applications are one of the oldest and most used types of apps in Linux-based systems. Learn the basics of parsing command line arguments in Python.
How to install Python packages with pip?
Once pip has been installed on your system, use it to install Python packages and libraries. Open the terminal and activate your virtual environment if you have created one. Run the following command to install a package:
pip install numpy

Installing numpy
Replace “numpy” with the package name you want to install. Pip will start downloading the package and its dependencies immediately. After installation, the package will become available for the Python project.
How to uninstall Python packages with pip?
You can use pip to uninstall packages that you no longer need. Open the terminal and activate your virtual environment if you have created one. Run the following command to uninstall a package:
pip uninstall numpy
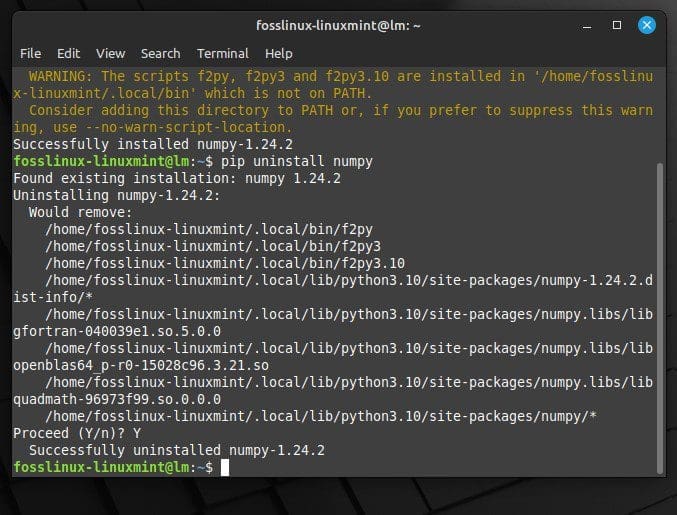
Uninstalling numpy
Again, do not forget to replace “numpy” with the package name you want to uninstall. Pip will remove the package and its dependencies from your system as soon as the command is executed.
Configuring the Python environment
Configuring the Python environment is crucial for ensuring that the Python projects run smoothly. This section will cover how to set environment variables, the default version of Python, and the Python path on your system.
How to set environment variables for Python?
Environment variables are values accessed by programs running on your system. They can store configuration information and settings for your Python projects. To set environment variables for Python in Linux Mint, open the terminal and activate your virtual environment. Run the following command to open the bashrc file:
nano ~/.bashrc
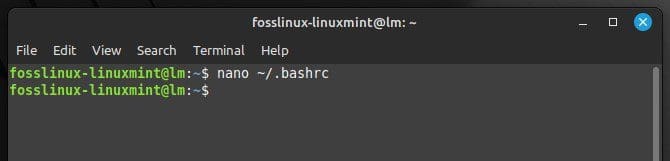
Opening the bashrc file
Scroll to the bottom of the file and add the following lines:
export PYTHONPATH=$PYTHONPATH: /home/desktop/python/packages

export PATH=/home/desktop/python/bin:$PATH

Setting environment variables
Replace “/home/desktop/python/packages” with the path to your Python packages and “/home/desktop/python/bin” with the path to your Python binary. Press “Ctrl + X” to save and exit the file in the nano editor.
Run the following command to apply these changes:
source ~/.bashrc
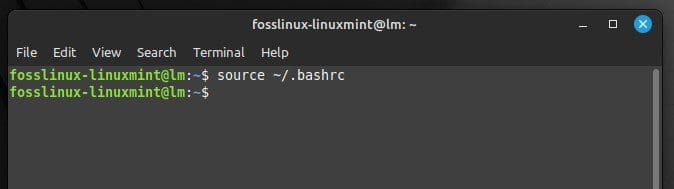
Applying changes
Finding hardware and system information in Linux is a handy and interesting task for any developer or regular user. Learn how to do so using Python.
Setting the default version: If you have multiple versions of Python installed on your system, you may want to set a default. Open the terminal and run the following command to list the installed versions of Python:
ls /usr/bin/python*
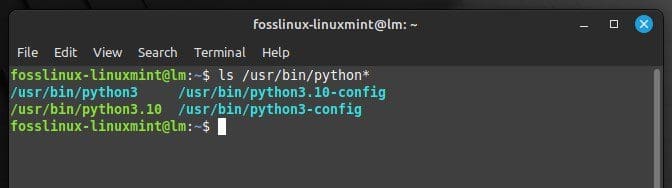
Listing all installed versions
Identify the version of Python that you want to use as the default. Run the following command to set it as one:
sudo ln -sfn /usr/bin/python3.10.6 /usr/bin/python

Setting Python 3.10.6 as the default
Replace “3.10.6” with the version of Python that you want to use as the default. Run the following command to verify that the default version of Python has been set:
python --version
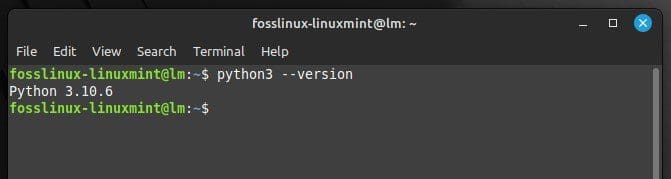
Verifying the default Python version
Configuring the Python path: The Python path is a list of directories where Python looks for modules and packages. To configure this in Linux Mint, open the terminal and activate your virtual environment. Run the following command to open the pythonpath file in a text editor:
nano ~/.pythonpath
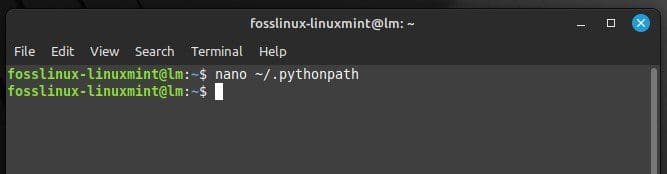
Opening the pythonpath file
Add the directories you want to include in the Python path, one per line. Press “Ctrl + X” to save and exit the file. Run the following command to apply these changes:
source ~/.bashrc
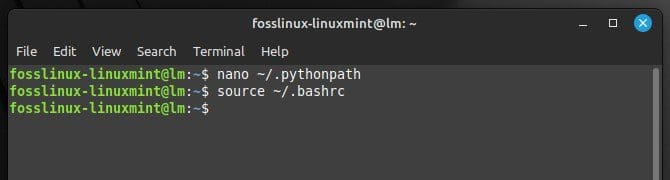
Applying changes to bashrc
Running a Python script
Now that you have installed and configured Python on your Linux Mint system, it’s time to run your first Python script. This section will cover how to write a simple Python script, run it from the terminal, and troubleshoot some common errors.
Writing a simple Python script in a text editor: You need a text editor to write a Python script. You can use any editor like Atom, Sublime Text, or VS Code. Here is an example of a simple Python script that prints “Hello, world!” to the console:
print("Hello, world!")
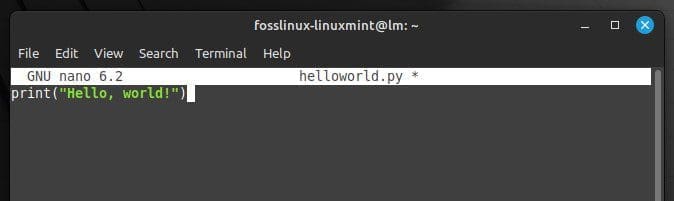
A simple Python script
Save the file with a .py extension, such as hello_world.py.
Running a Python script from the terminal: Open the terminal and navigate to the directory where your script is saved. Run the following command in the terminal for running that script:
python hello_world.py
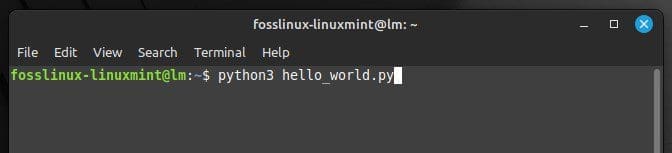
Running Python script
Do not forget to replace “hello_world.py” with the name of your script file. Then, press Enter to execute the command. The output should log “Hello, world!” to the terminal.
Troubleshooting common errors
You may encounter errors while running Python scripts in Linux Mint. Following are some common errors as well as their solutions:
SyntaxError: invalid syntax: It occurs if your script has a syntax error. Check your script for any typos or missing punctuation marks.
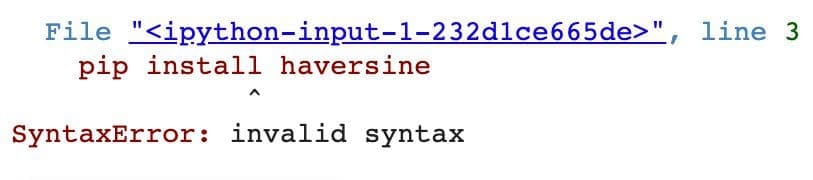
SyntaxError invalid syntax
NameError: name ‘x’ is not defined: It occurs if you try to use a variable that has not been defined. Make sure that all your variables are correctly defined before using them.
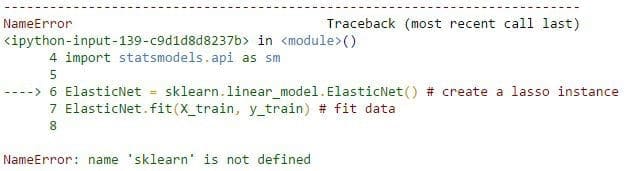
NameError name ‘x’ is not defined
IndentationError: unexpected indent: It occurs if you have an inconsistent indentation in the script. Python relies on indentation to identify code blocks, so ensure your indentation is consistent.

IndentationError unexpected indent
ModuleNotFoundError: No module named ‘module_name’: It occurs if you are trying to import a module that has not already been installed on the system. Use pip to install the missing module and then rerun the same script.
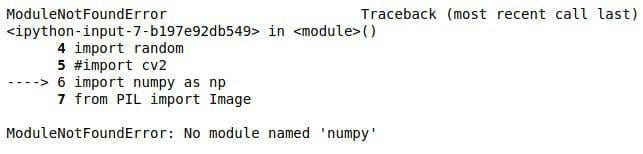
ModuleNotFoundError no module named numpy
Conclusion
Python is a versatile programming language widely used in web development, data science, and machine learning. With Python installed on your Linux Mint system, you can take advantage of the language’s many benefits, including its simplicity, ease of use, and vast ecosystem of libraries and tools.
You can write and run scripts, install and manage packages, or set up a virtual environment. Additionally, it is possible to configure the Python environment by setting environment variables, configuring its path, and setting a default version to run all scripts on Linux Mint. Lists are one of Python’s most used data types and can be used for many operations. Go through our article on learning everything there is to Python lists.
2 comments
this is why everyone hates linux… what a nightmare of work and stress JUST to install python.
i dont seem to have packages – god knows where they are…
i made a typo in that file about paths, and now nano ~/… doesnt work, so i cant correct it…..
linux=Gggggrrrrrrrrrrrrrrrrrrrrrrr
Mint should make a flatpack Python