
Media consumption has turned out to be an integral part of our lives in this digital age. Whether it’s streaming movies, TV shows, music, or organizing a personal media collection, having a reliable and user-friendly media center is essential. Kodi, an open-source media player, has emerged as one of the most popular choices due to its versatility and vast range of features.
This article will take you through setting up a media center using Kodi on Pop!_OS, a Linux distribution known for its simplicity and performance.
Kodi and its Features
Before we delve into the setup process, let’s briefly explore what Kodi is and what makes it so popular among media enthusiasts. Kodi, formerly known as XBMC (Xbox Media Center), is a powerful, open-source media player software designed to transform your device into a centralized entertainment hub. It is available for various operating systems, including Linux, Windows, macOS, Android, and more.
Key features
Kodi comes equipped with a plethora of features, making it a comprehensive media management tool. Some of its key features include:
- Media Playback: Kodi supports a wide range of audio, video, and image formats, ensuring compatibility with most media files.
- Customization: Users can install a variety of skins and addons to personalize the user interface and extend the functionality of Kodi.
- Media Library Management: Kodi allows users to organize their media collection by automatically fetching metadata, artwork, and additional information for movies, TV shows, and music.
- Live TV and DVR: With addons and a compatible TV tuner, Kodi can stream live TV and even act as a digital video recorder (DVR) for your favorite shows.
- Remote Control: Kodi can be controlled using remote apps, making operating from a mobile device convenient.
Step-by-Step Guide to Install Kodi on Pop!_OS
Before installing Kodi, ensure you have the following prerequisites:
- A stable internet connection
- An up-to-date Pop!_OS installation
- Basic knowledge of the Linux terminal
Now, let’s move on to the installation process:
Method 1: Installing Kodi from Pop!_Shop (Recommended)
Installing Kodi through the Pop!_Shop is the most straightforward and user-friendly method, making it ideal for beginners or those who prefer a graphical interface. Here’s a step-by-step illustration to walk you through the process:
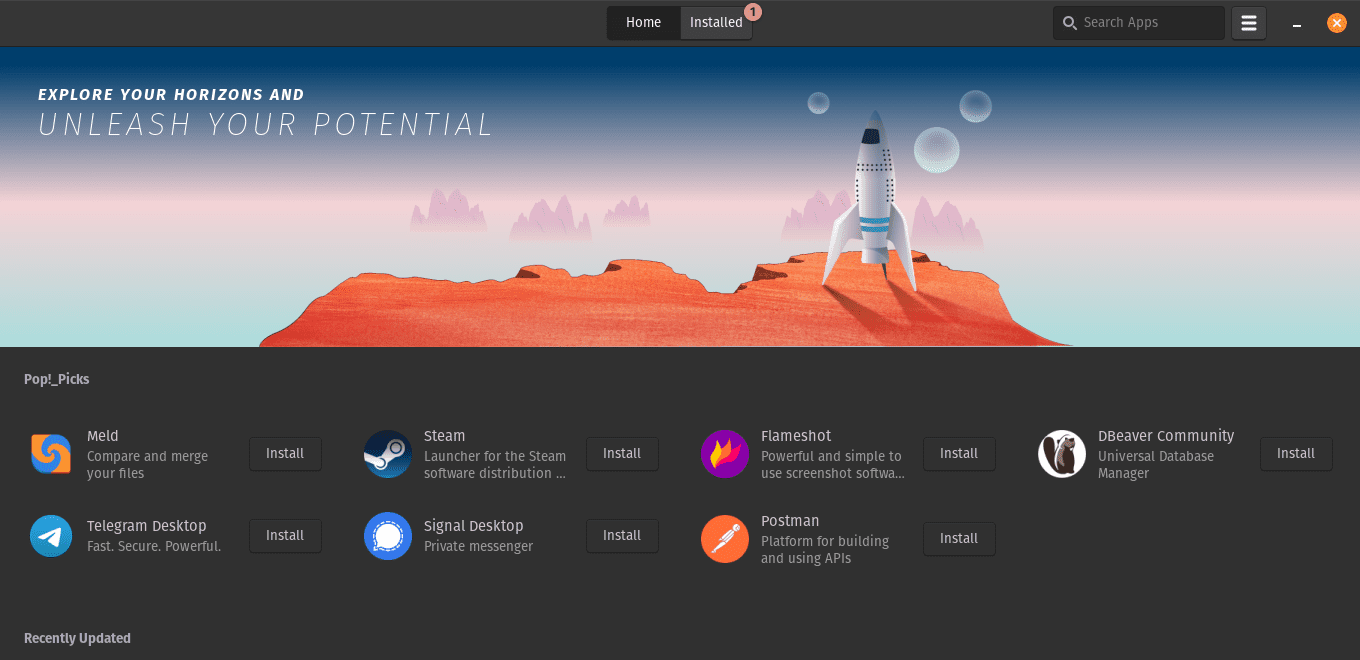
Step 1: Launch Pop!_Shop
To begin the installation process, locate and click on the “Pop!_Shop” icon in the application launcher. Pop!_Shop is the default software center in Pop!_OS, providing a streamlined way to discover and install applications.
Launch Pop!_OS Shop
Step 2: Search for Kodi
Once Pop!_Shop opens, you will find a search bar at the top. Type “Kodi” into the search bar, and Pop!_Shop will immediately display relevant results. As you type, the search findings will dynamically update, making it easy to find what you’re looking for.
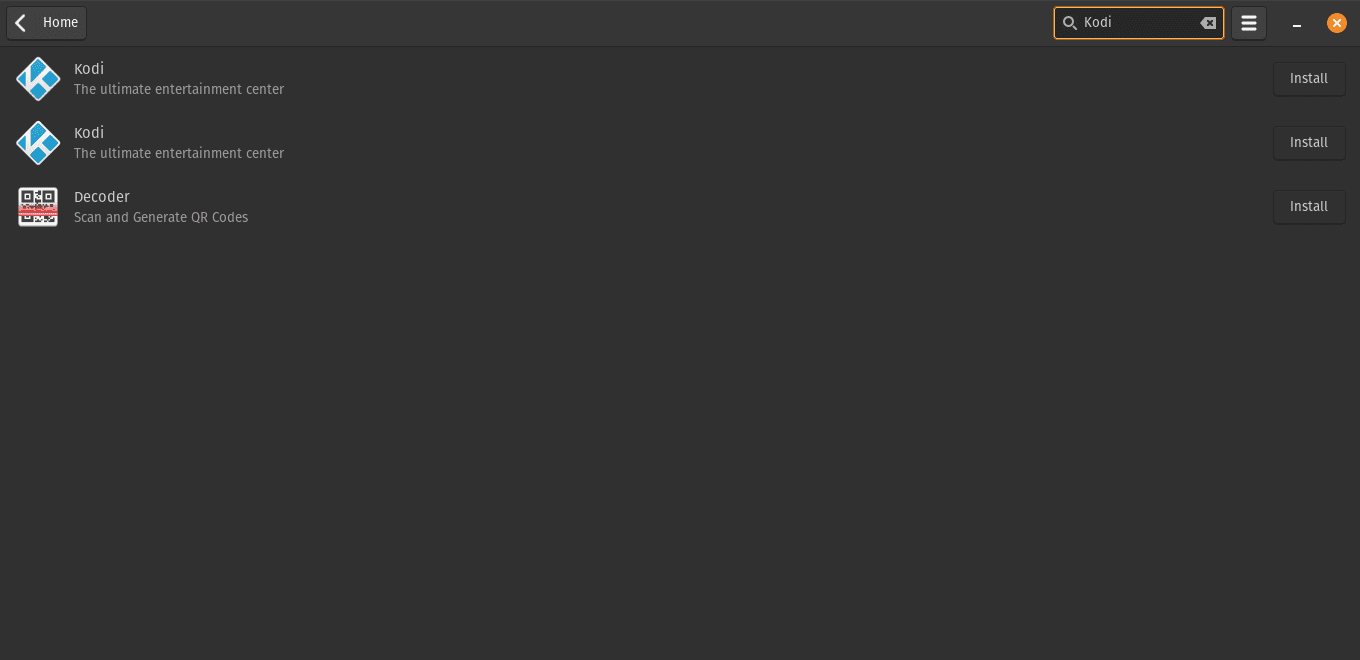
Search for Kodi
Step 3: Install Kodi
In the search results, locate the Kodi application and click its icon. This will take you to the Kodi application page, where you can find more information about Kodi and its features. To proceed with the installation process, click the “Install” button. Depending on your system’s configuration, you may need to enter your user credentials to authenticate the installation.
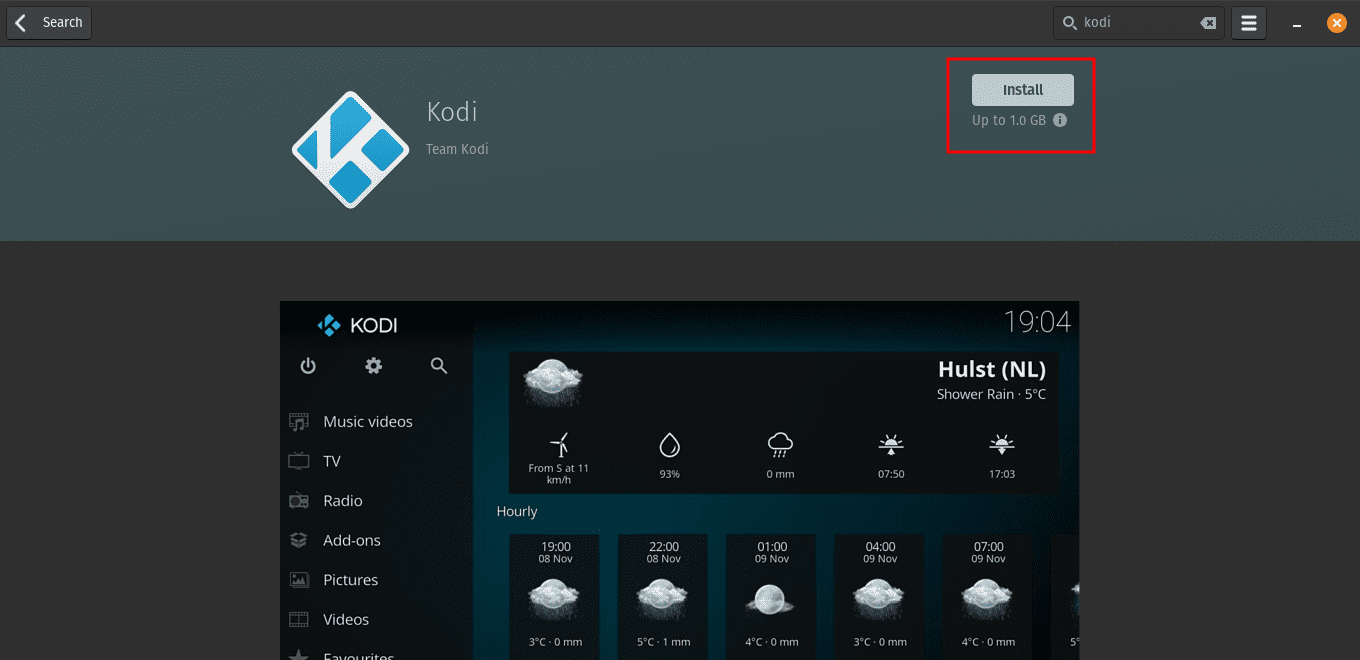
Install Kodi
Step 4: Launch Kodi
After the installation process is complete, you can either find Kodi in the application launcher or use the search functionality to locate it quickly. Click on the Kodi icon to launch the media center. Once Kodi opens, you can begin customizing and using it to organize and enjoy your media collection.
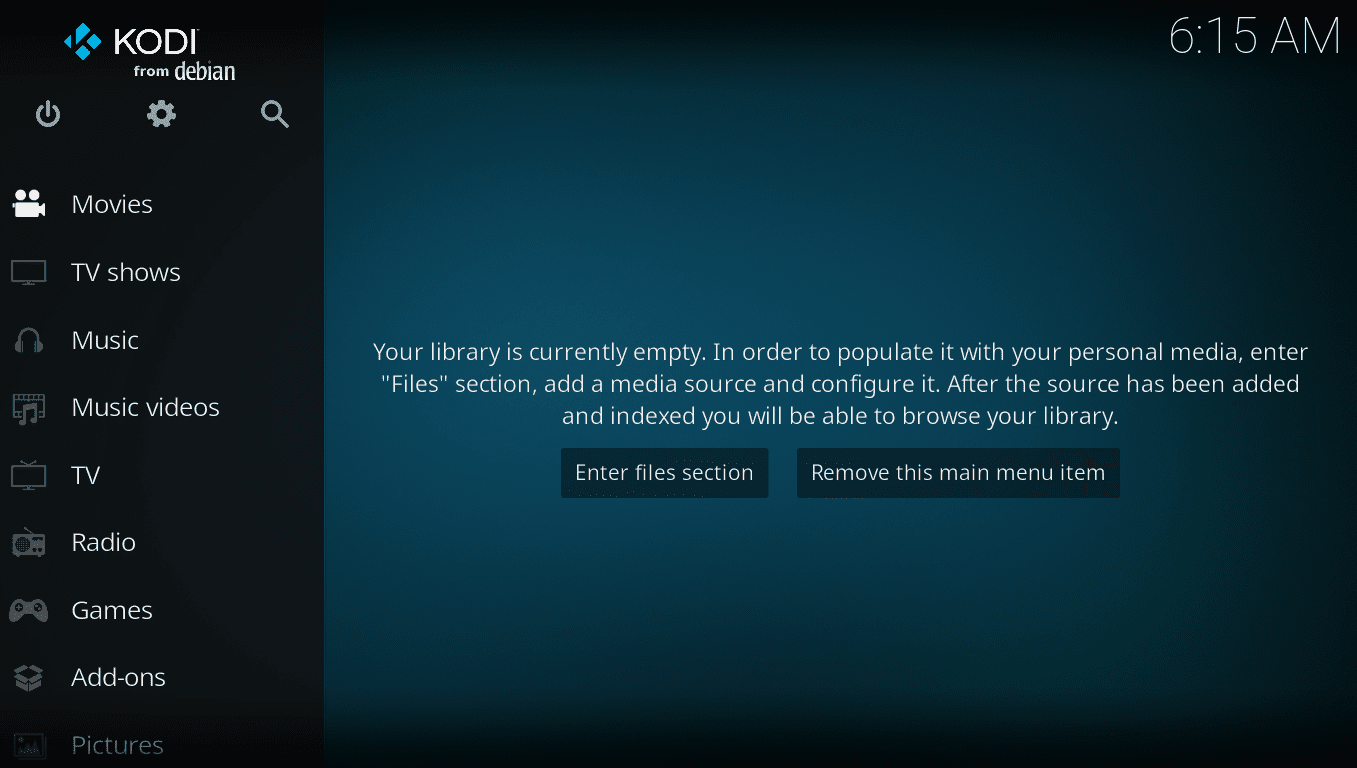
Kodi home screen
The Pop!_Shop method is not only convenient but also ensures that you have the latest version of Kodi, as the software center automatically handles updates. With Kodi now installed on your Pop!_OS system, you are well on your way to creating your very own powerful and feature-rich media center.
Method 2: Installing Kodi via Terminal
For users who are more comfortable with the command line interface and prefer a hands-on approach, installing Kodi via the terminal provides greater control over the installation process. Here’s a detailed guide to help you install Kodi on Pop!_OS using the terminal:
Step 1: Open Terminal
Press “Ctrl + Alt + T” on your keyboard to get started. This keyboard shortcut will launch the terminal, a command line interface where you can interact with your system using text-based commands.
Step 2: Add Kodi Repository
The first step in installing Kodi is to add the official Kodi repository to your Pop!_OS system. The repository ensures that you receive the most up-to-date version of Kodi and allows for easy updates in the future. Enter the following commands one by one:
sudo apt-get install software-properties-common
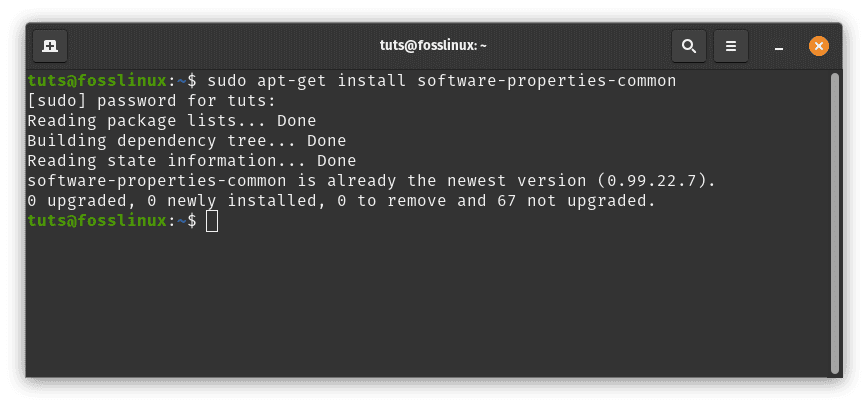
Install software-properties-common
This command installs the “software-properties-common” package, which is necessary to manage software repositories on your system.
sudo add-apt-repository ppa:team-xbmc/ppa
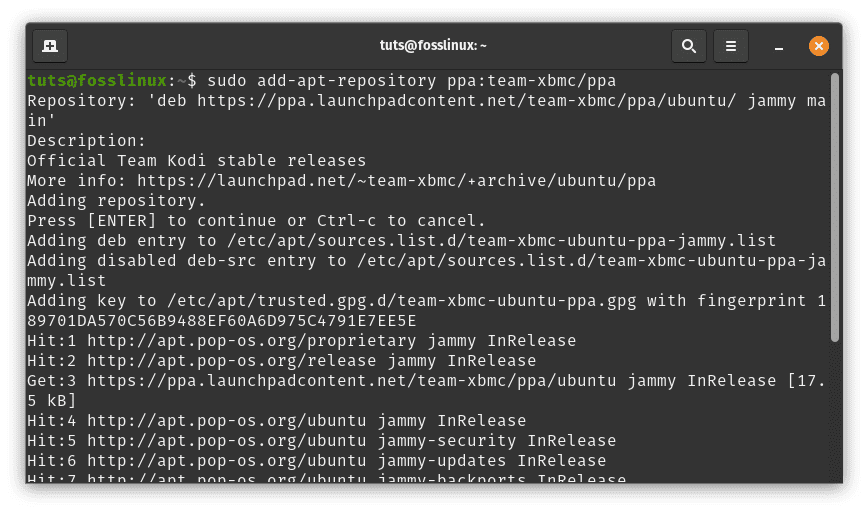
Add Kodi PPA
By executing this command, you add the Kodi PPA (Personal Package Archive) to your system. PPAs provide a way to distribute software packages not included in the official Ubuntu repositories.
sudo apt-get update
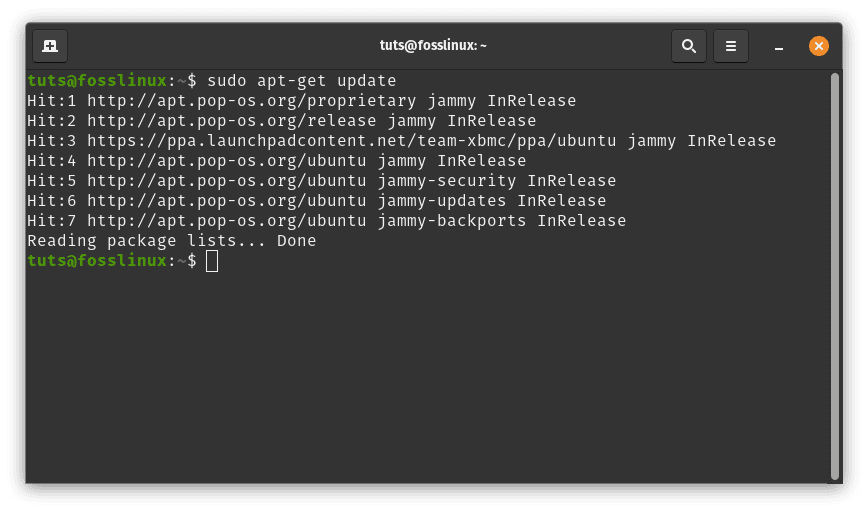
Update system resources
After adding the PPA, you need to update the package list on your system to include the packages from the new repository.
Step 3: Install Kodi
Now that you have added the Kodi repository and updated the package list, you can proceed to install Kodi on your system. Enter the following command:
sudo apt-get install kodi
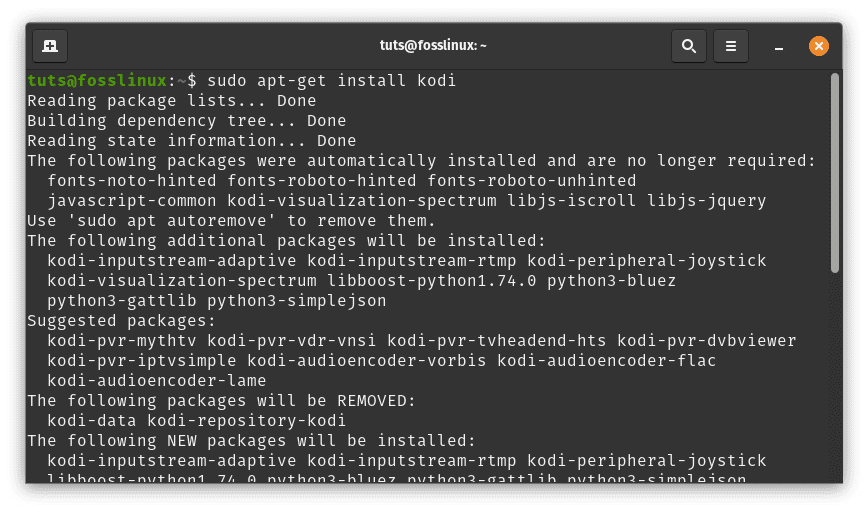
Install Kodi via the commandline
The package manager will manage the installation process and download all the necessary files to set up Kodi on your Pop!_OS system.
Step 4: Launch Kodi
Once the installation is complete, you can launch Kodi directly from the terminal using the following command:
kodi
With Kodi successfully installed through the terminal, you are now ready to explore its vast features and enjoy your media collection. Installing Kodi via the terminal provides a sense of control and ensures that you have the latest version available, giving you access to the latest features and improvements.
Kodi home screen
Setting Up a Media Center with Pop!_OS and Kodi
Now that Kodi is successfully installed on your Pop!_OS system, it’s time to transform it into a personalized media center that caters to your preferences. Follow these essential steps to configure Kodi and unlock its full potential:
Step 1: Adding Media Sources
To begin enjoying your media collection through Kodi, you need to add media sources. Kodi allows you to aggregate all your media content into a single, organized library. Here’s how to add media sources:
Click on “Settings” (the gear icon) located in the upper left portion of the Kodi main menu. This will open the settings menu.
Click the setting icon
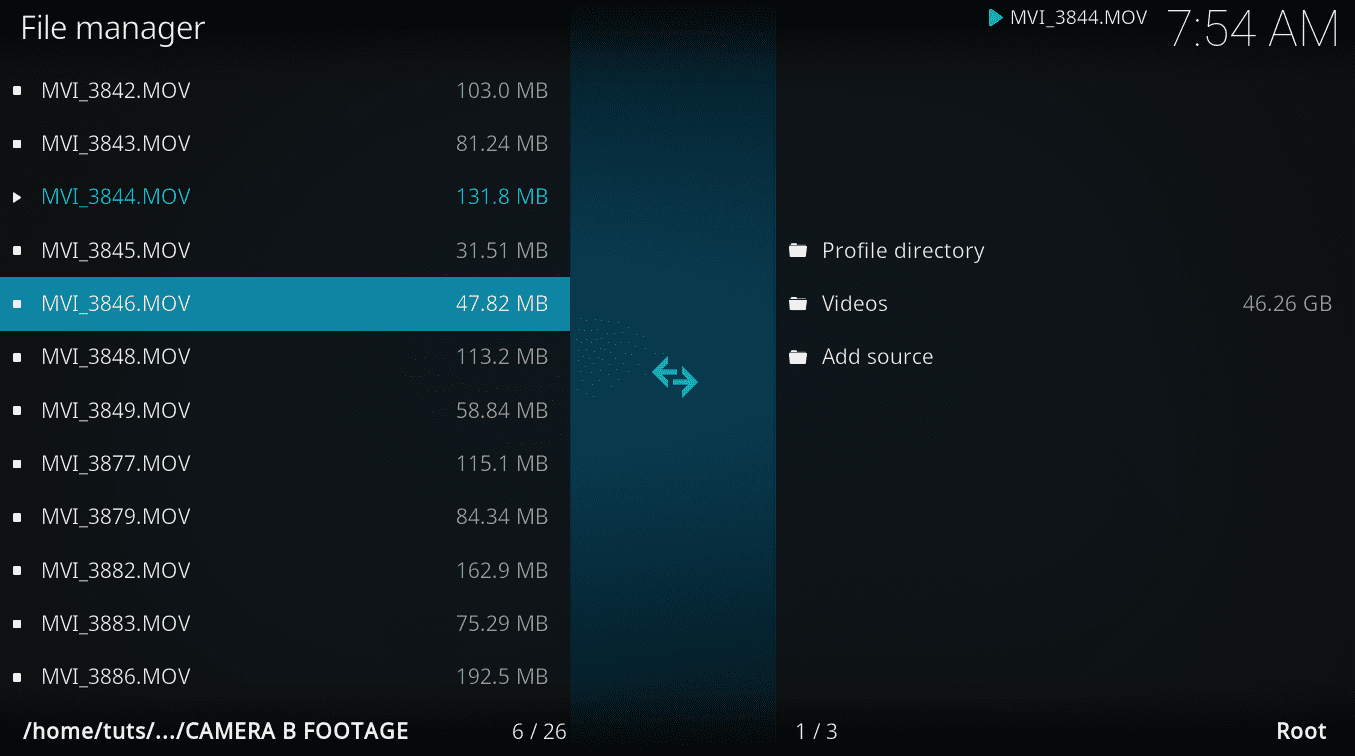
Select “File Manager” in the settings menu and then click “Add Source.” A new window will appear.
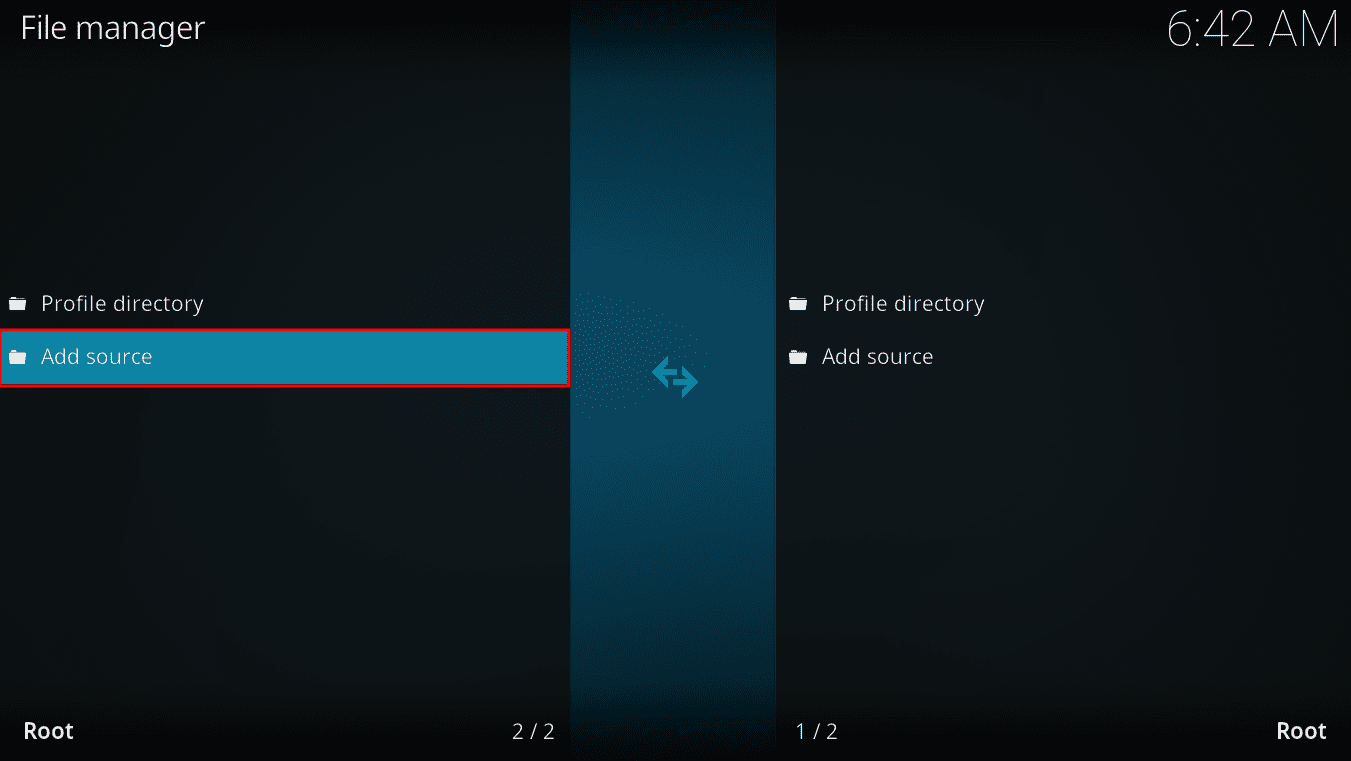
Click file manager then add source
In the “Add File Source” window, you need to provide the path to your media files. You can either enter the path manually or browse to the location using the “Browse” button.
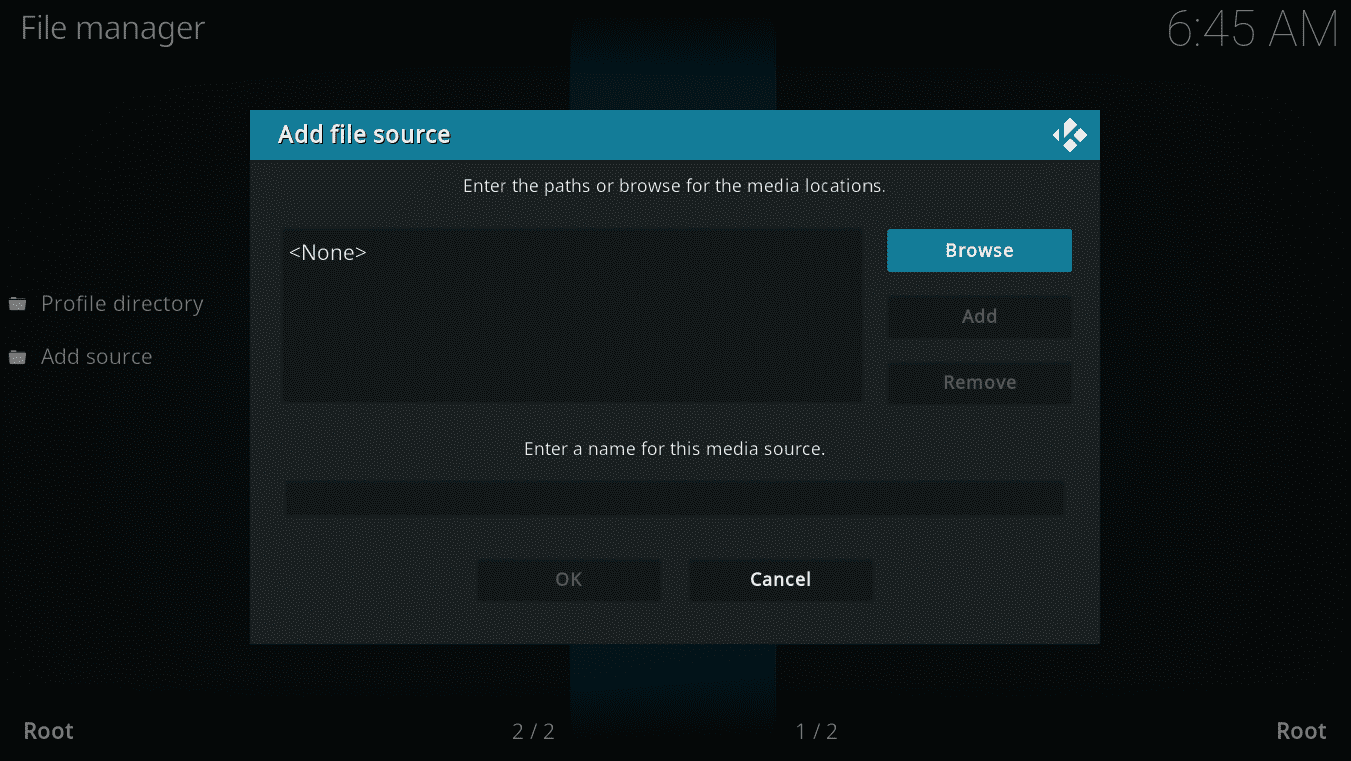
Add file source
After entering the path, assign a name to the media source, making it easier to identify. Click “OK” to save the media source.

After adding path click Ok
Once the source is added, Kodi will automatically scan the folder for media files and fetch metadata like cover art, plot summaries, and more.
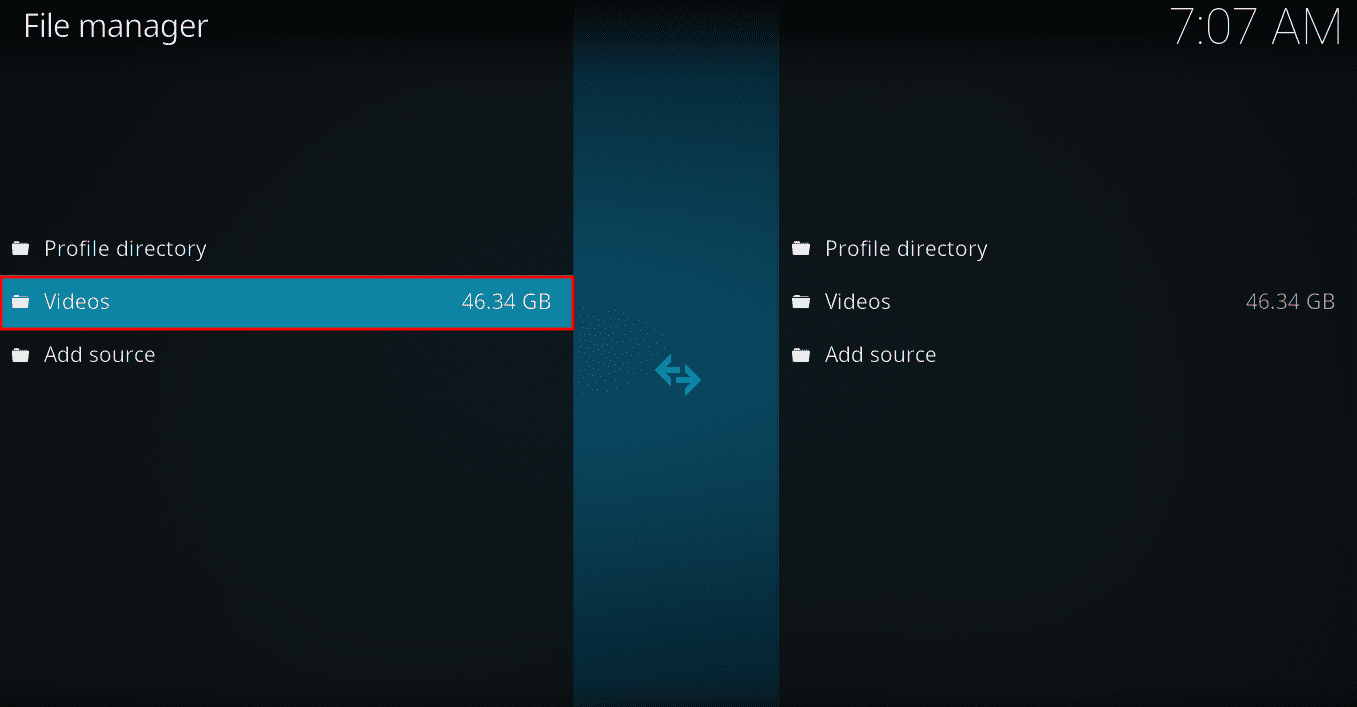
Added media folder (videos)
Step 2: Customizing Kodi with Skins and Addons
One of the remarkable features of Kodi is its flexibility in appearance and functionality. You can personalize Kodi to suit your taste by changing its skin and installing addons for additional features. Here’s how to customize Kodi:
From the main menu, navigate to “Settings,” then select “Interface.”
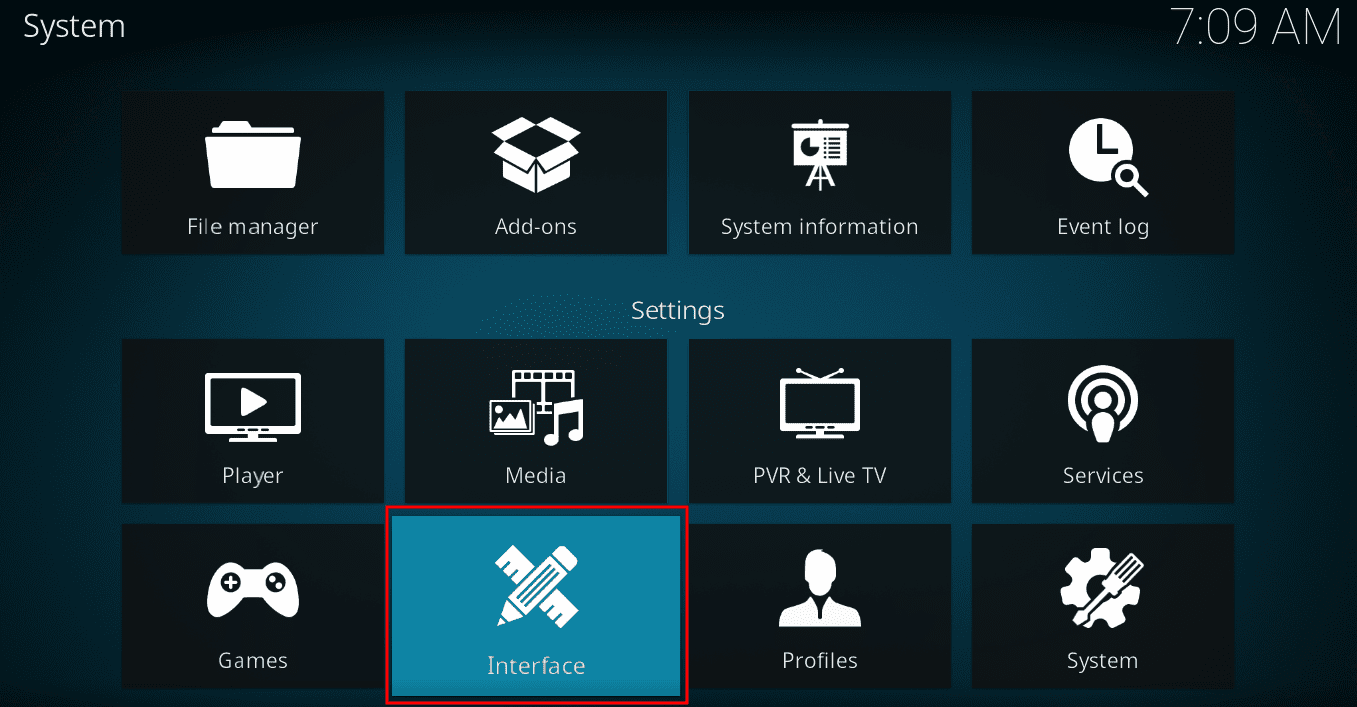
Navigate to settings then select interface
Choose “Skin” in the Interface settings.
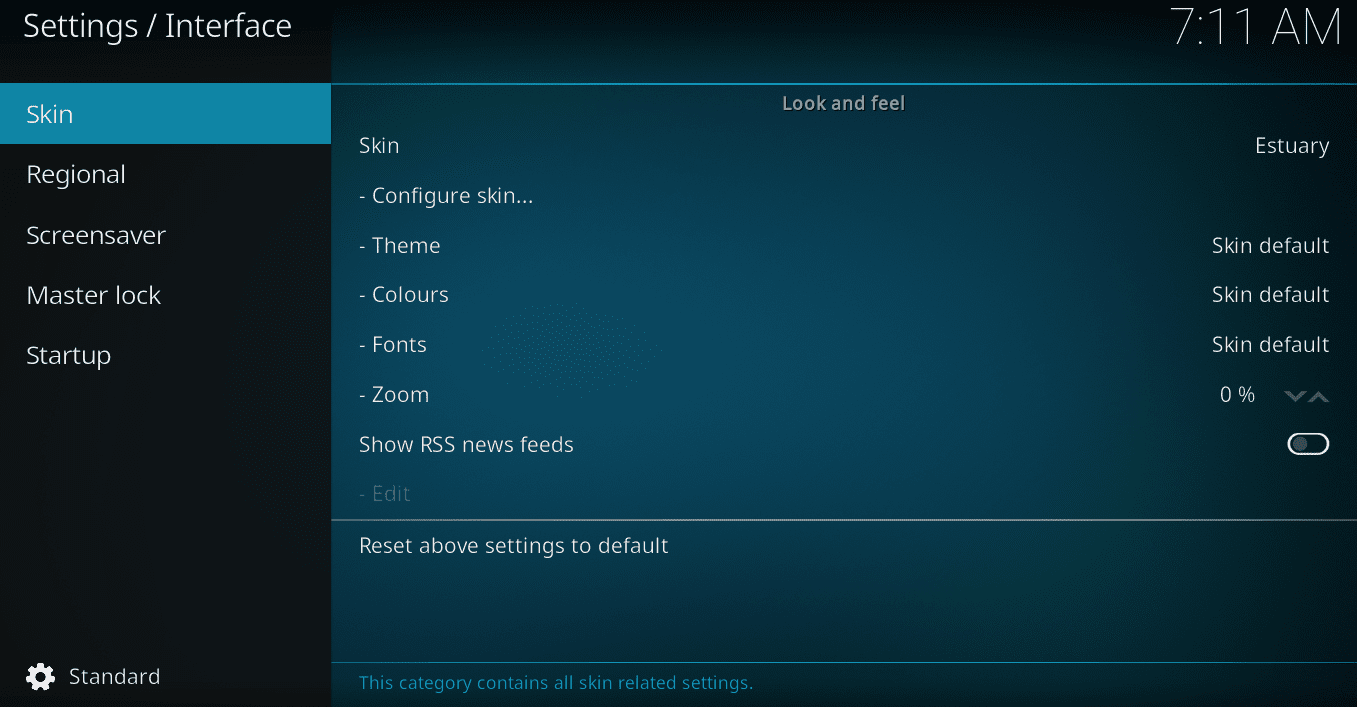
Choose skin
Here, you can browse through various available skins and choose the one that appeals to you the most. You can preview how each skin will look before applying it.
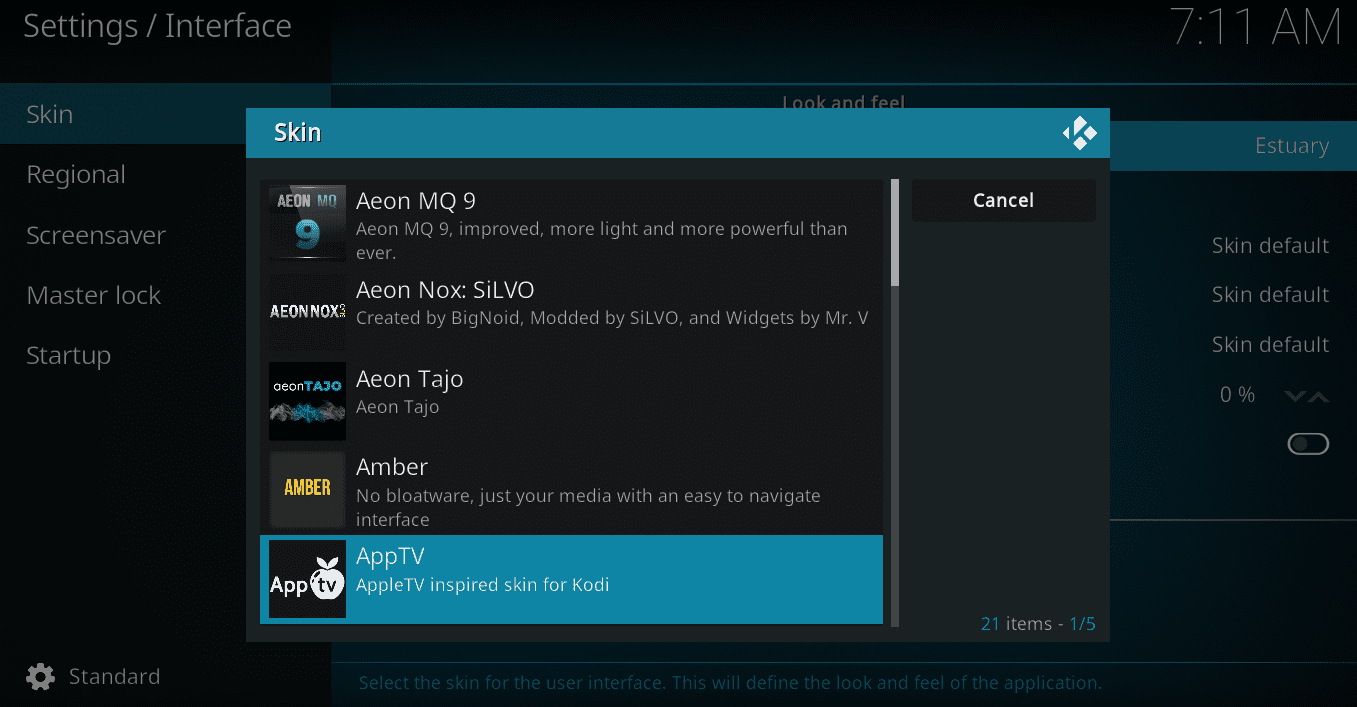
Check out more available skins
After selecting a skin, click “Yes” to confirm the change.
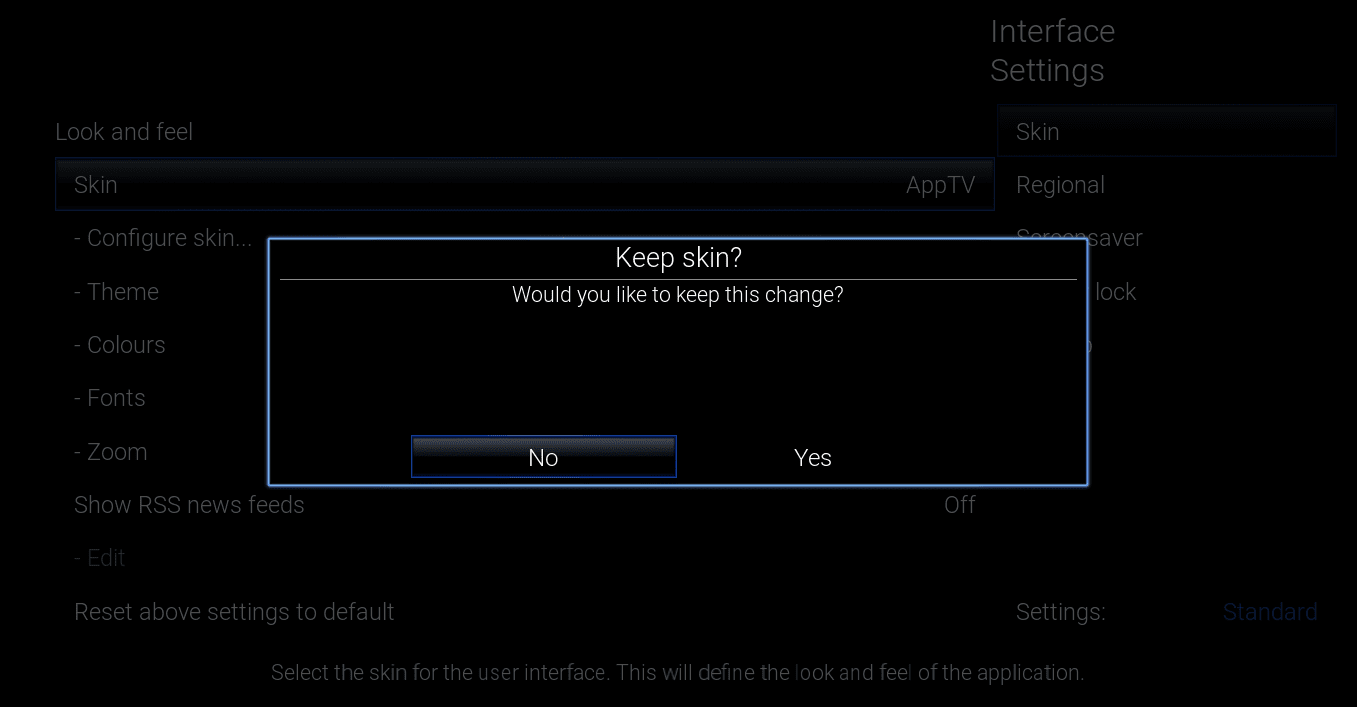
Click yes to apply Kodi skin
Kodi will then install and apply the new skin.
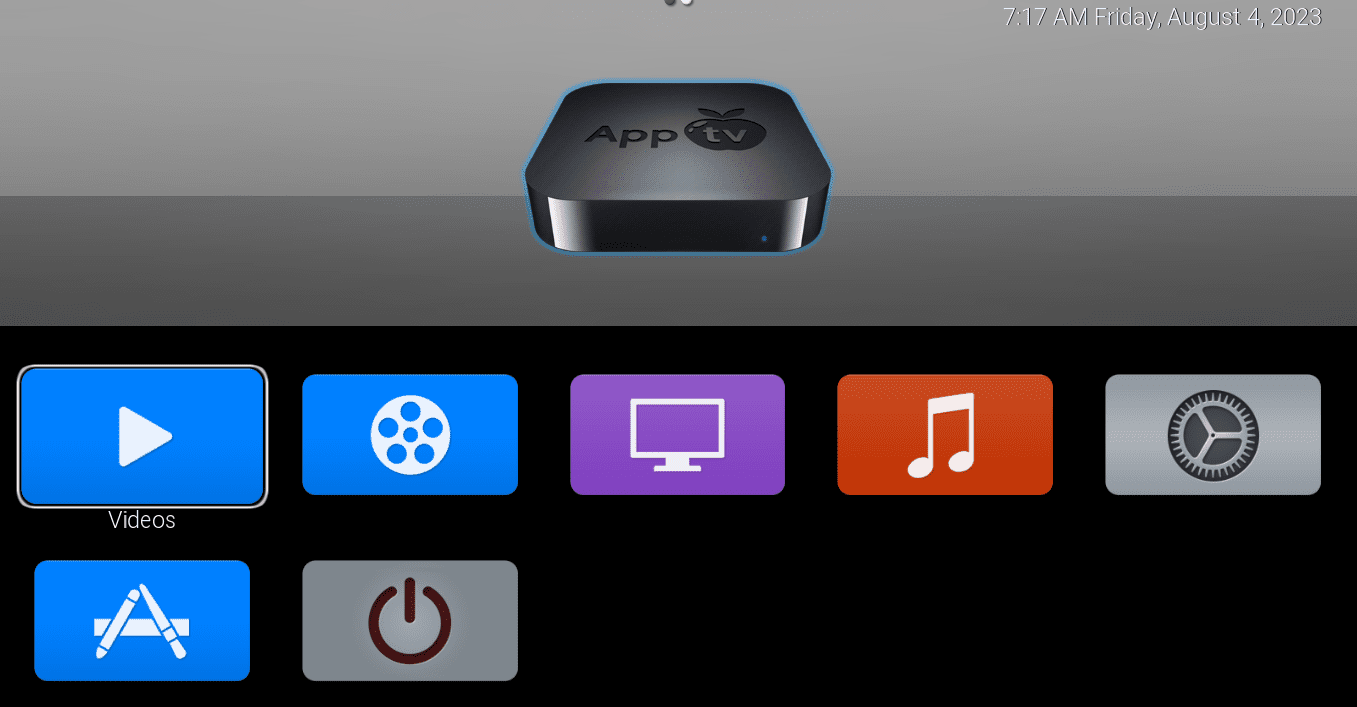
AppTv Skin
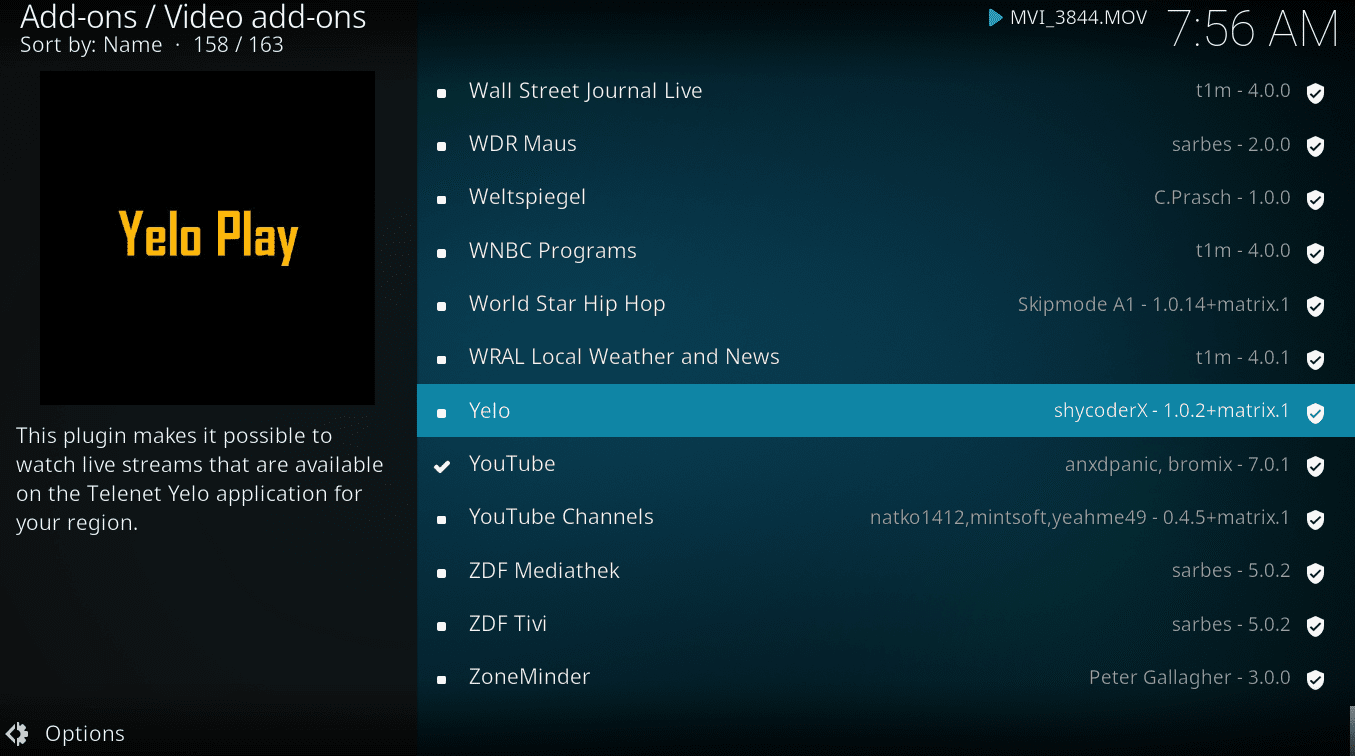
To extend Kodi’s functionality, explore the official Kodi Addon Repository. From the main menu, navigate to “Addons” and click “Download.” Here, you’ll find a vast selection of addons for streaming services, media management tools, subtitles, weather forecasts, and more.
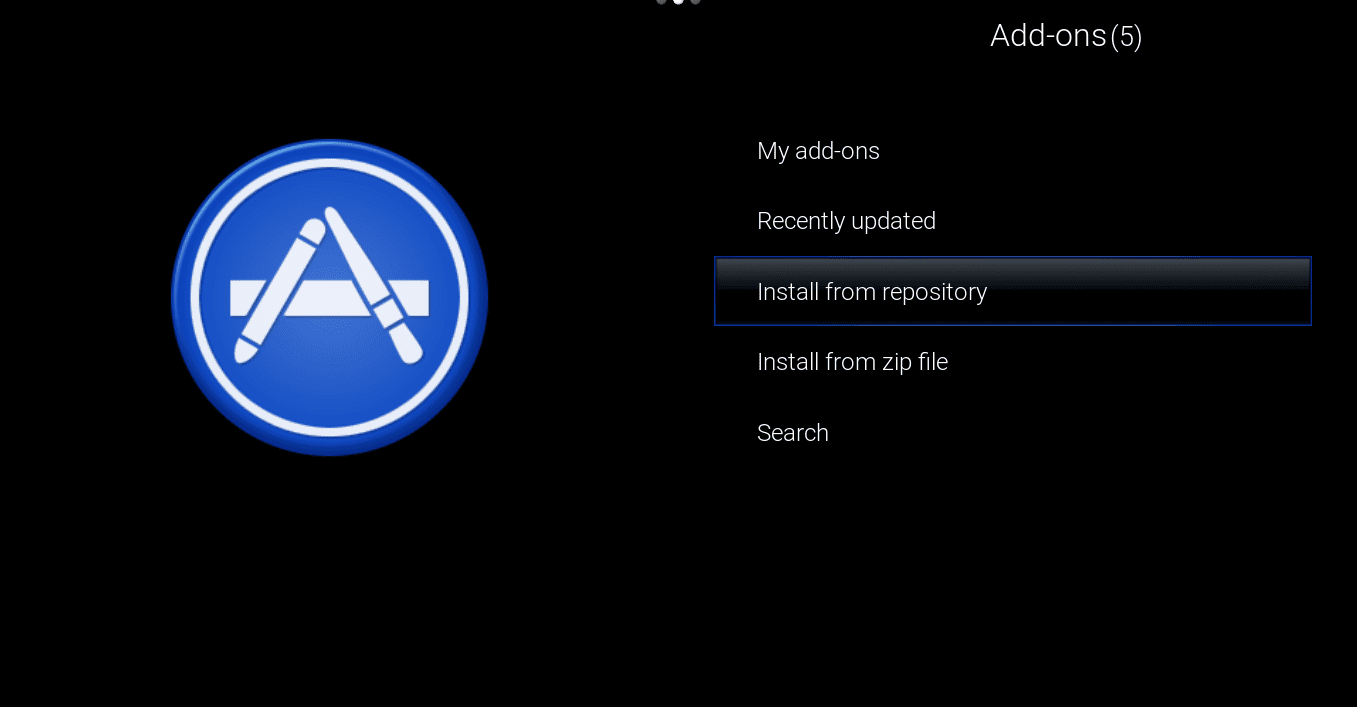
Install addons from repository
Select the addon category you’re interested in, then browse through the available addons. Click on an addon to view its details, and click “Install” to add it to your Kodi setup.

Install addon
Step 3: Configuring Audio and Video Settings
Fine-tuning Kodi’s audio and video settings ensures you get the best possible media playback experience. Here’s how to configure these settings:
From the main menu, navigate to “Settings,” then select “System.”
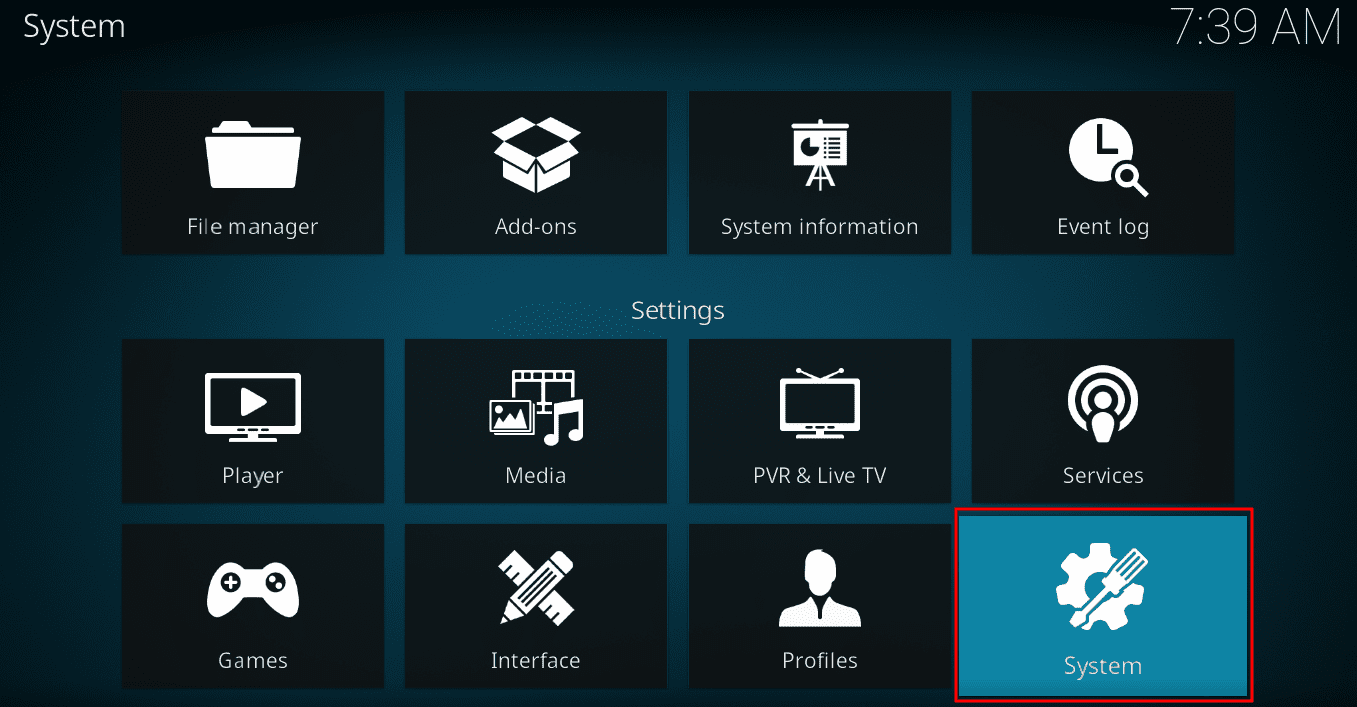
Navigate to settings then select system
Select “Audio” or “Video” in the System settings based on the settings you want to adjust.

Select audio settings
In the Audio settings, you can choose the audio output device, adjust volume levels, configure audio passthrough for supported devices, and select audio codecs.
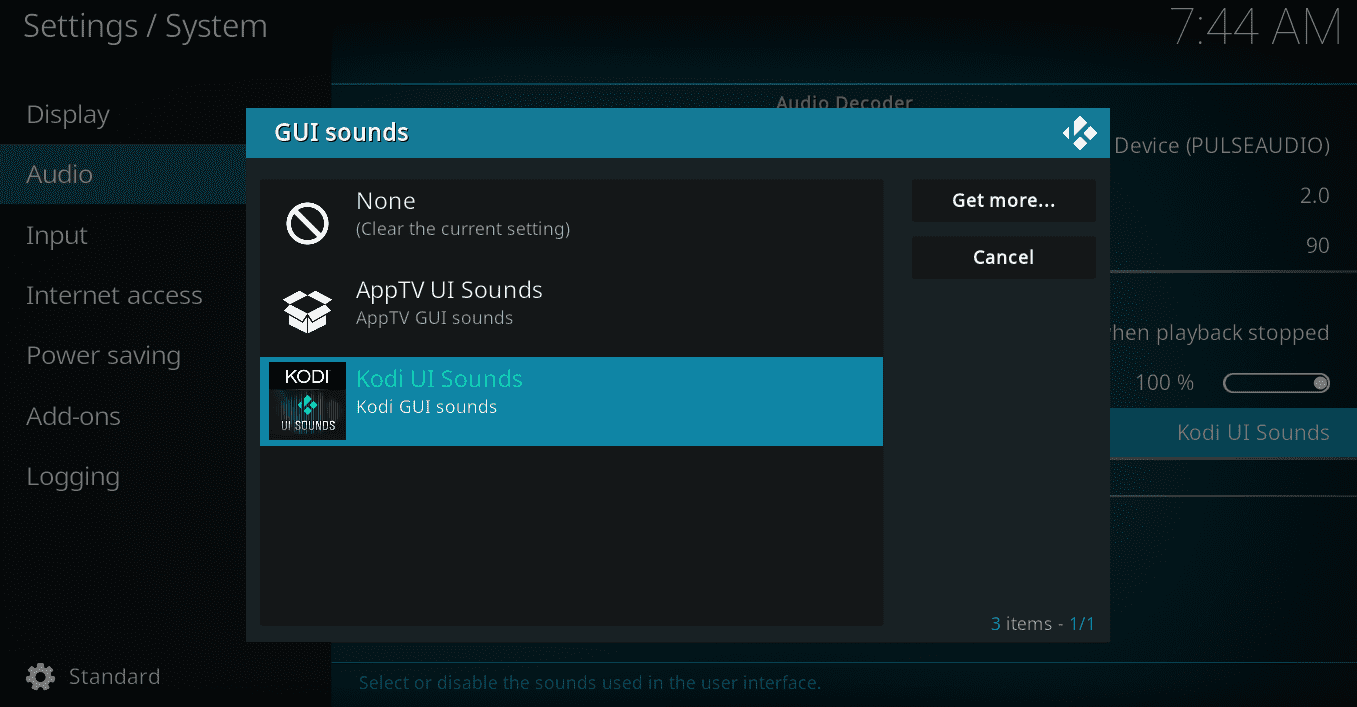
Change the audio settings you intend
In the Video settings, you can set the display resolution, adjust video calibration, turn hardware acceleration on/off, and select preferred video codecs.
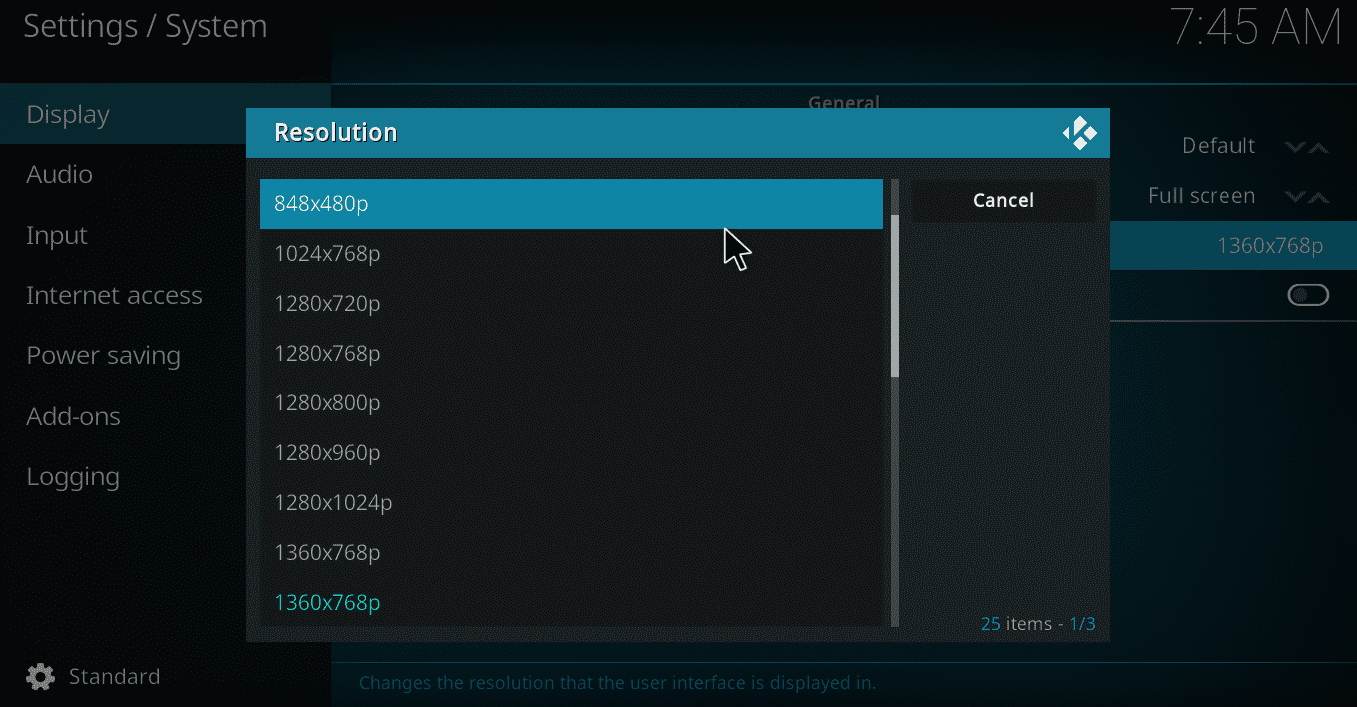
Append display settings
Make the necessary adjustments to suit your hardware and preferences, then click “Apply” to save the changes.
Following these steps, you can customize a personalized media center with Kodi on your Pop!_OS system. Enjoy seamless media playback, a visually appealing interface, and a wealth of features that will elevate your media consumption experience to new heights. Take your time to explore Kodi’s capabilities and addons, as it’s a platform that keeps evolving with continuous community contributions.
Explore Your Media Library
Since you’ve added media sources during the setup process, Kodi will automatically index and organize your media content. Navigate to the relevant section (e.g., Movies or TV Shows) and explore your collection. You’ll find beautifully presented artwork, plot summaries, and other information fetched by Kodi.
Explore your media directory
Enjoy Addons and Streaming
Kodi’s Addons section allows you to enhance your media center with a plethora of features. From the main menu, click “Addons” to access a range of options, including streaming services, weather forecasts, news, and more. Explore the official Kodi Addon Repository to find addons that cater to your interests.
Explore Kodi addons
Playback Your Media
To start watching or listening to your media content, simply click on the respective file or title within Kodi’s interface. Kodi supports a wide variety of media formats, ensuring compatibility with most of your media collection.
Uninstalling Kodi from Pop!_OS
If, for any reason, you decide to remove Kodi from your Pop!_OS system.
Step 1: Open the Terminal
To initiate the removal process via the terminal, press “Ctrl + Alt + T” on your keyboard. This keyboard shortcut will launch the terminal, providing access to the command line interface.
Step 2: Enter the Uninstall Command
In the terminal, type the following command to remove Kodi from your system:
sudo apt-get remove kodi
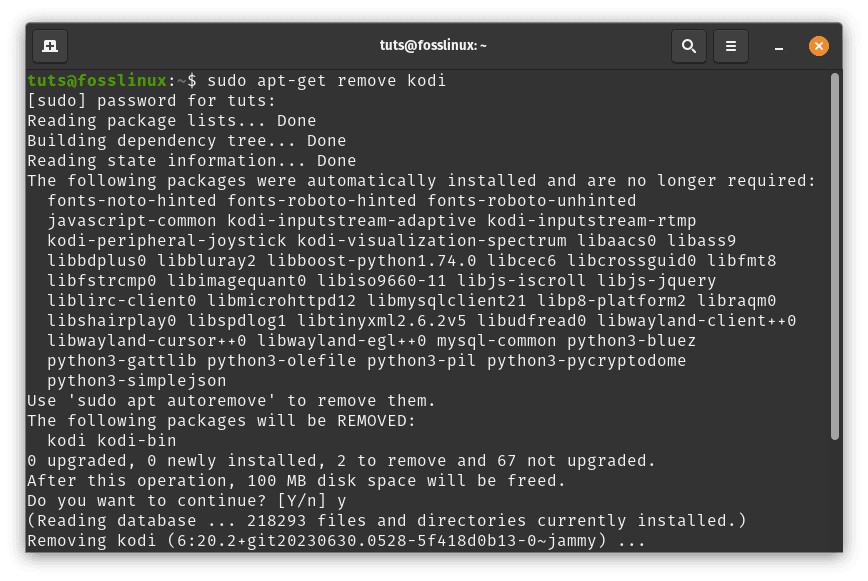
Uninstall Kodi using terminal
Press “Enter” after typing the line of code above, and your system will prompt you to enter your user password. This step is necessary to authenticate the removal process.
Step 3: Confirm Uninstallation
After entering your password, the terminal will proceed with removing Kodi. Depending on the application size and your system’s performance, the process may take a few moments to complete.
Once the process is finished, Kodi will be successfully uninstalled from your Pop!_OS system.
Final Thoughts
Setting up a media center with Pop!_OS and Kodi opens up a world of entertainment possibilities. Kodi’s versatility and extensive feature set make it an excellent choice for managing and enjoying your media collection. With Pop!_OS providing a stable and user-friendly environment, the installation and customization process becomes a seamless experience. By following the step-by-step guide in this article, you can create your own ultimate media center tailored to your preferences.