
As developers, having a well-optimized and efficient development environment is critical for productivity and success in coding projects. With the growing popularity of Pop!_OS, a Linux-based operating system known for its focus on performance, many developers are turning to it as their preferred choice for setting up a robust development environment.
In this detailed article, we will explore the process of setting up a development environment with Pop!_OS, covering customization, package management, containerization, development environments for different programming languages, debugging, testing, version control, and deployment strategies.
Customizing Pop!_OS for development
Pop!_OS provides a flexible environment optimized for a seamless development experience.
Adjusting system settings: Pop!_OS allows you to fine-tune system settings to suit your development needs. This includes configuring display settings, keyboard shortcuts, power management, and system updates. You may configure multiple monitors, customize keyboard shortcuts for frequently used development tools, adjust power management settings to prevent system suspensions during long coding sessions, and keep your system up-to-date with the latest security patches and updates.
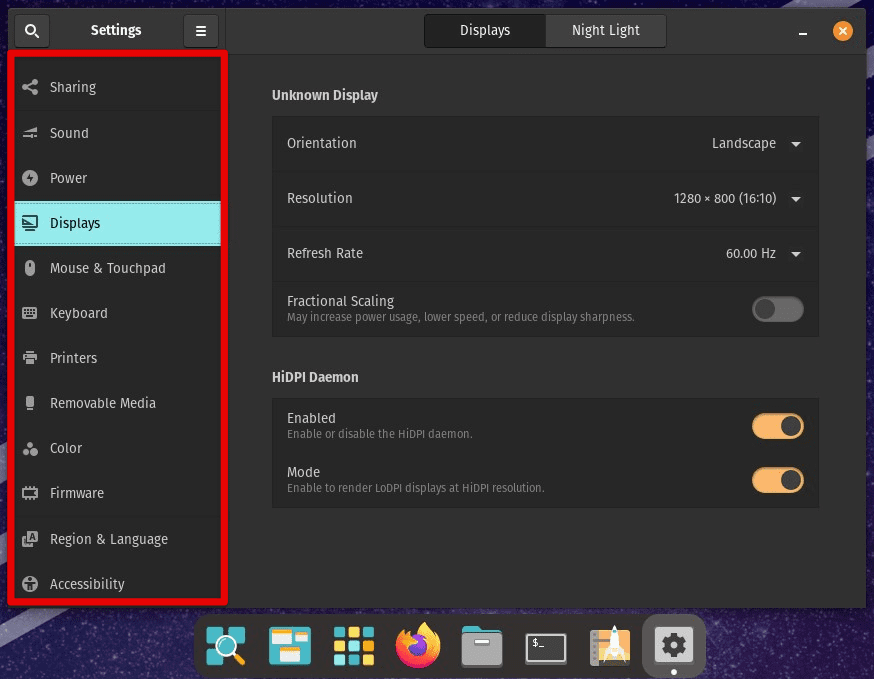
Adjusting system settings
Installing essential developer tools: The system has a wide range of pre-installed developer tools, but you may need to install additional ones based on your development requirements. This may include compilers, libraries, debugging tools, package managers, databases, and other essential software. Use the apt package manager to easily install and manage software packages on Pop!_OS.
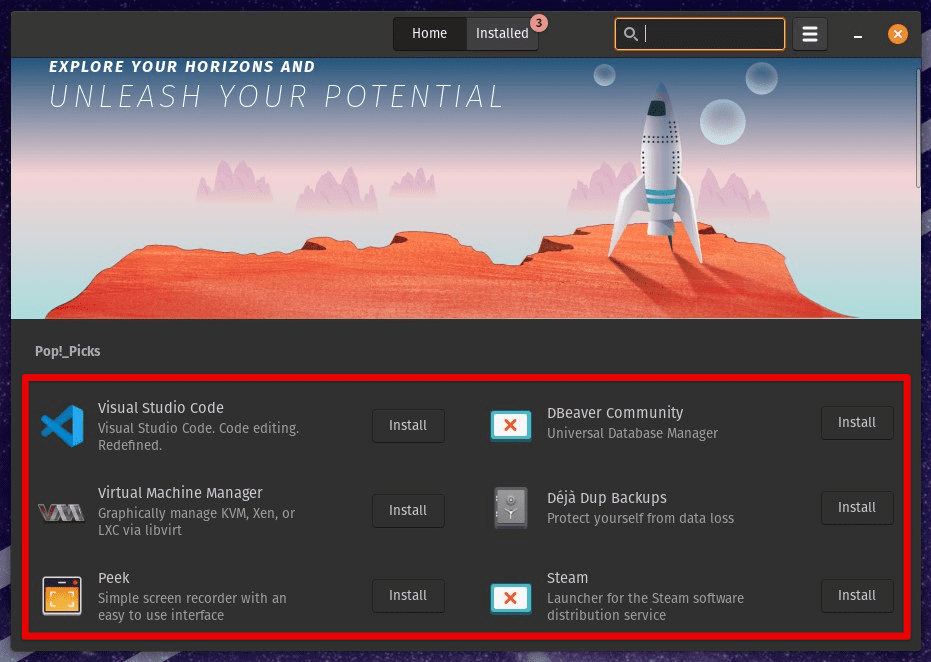
Installing essential developer tools
Configuring development environments: Pop!_OS supports a variety of development environments, such as integrated development environments (IDEs), text editors, and code editors. You can customize these environments to suit your preferences and workflow. Configure IDEs like Visual Studio Code, PyCharm, or Eclipse with plugins, extensions, and themes that enhance productivity. Customizing text editors such as Vim, Emacs, or Sublime Text with personalized configurations, keybindings, and plugins are possible. This helps streamline your coding process.
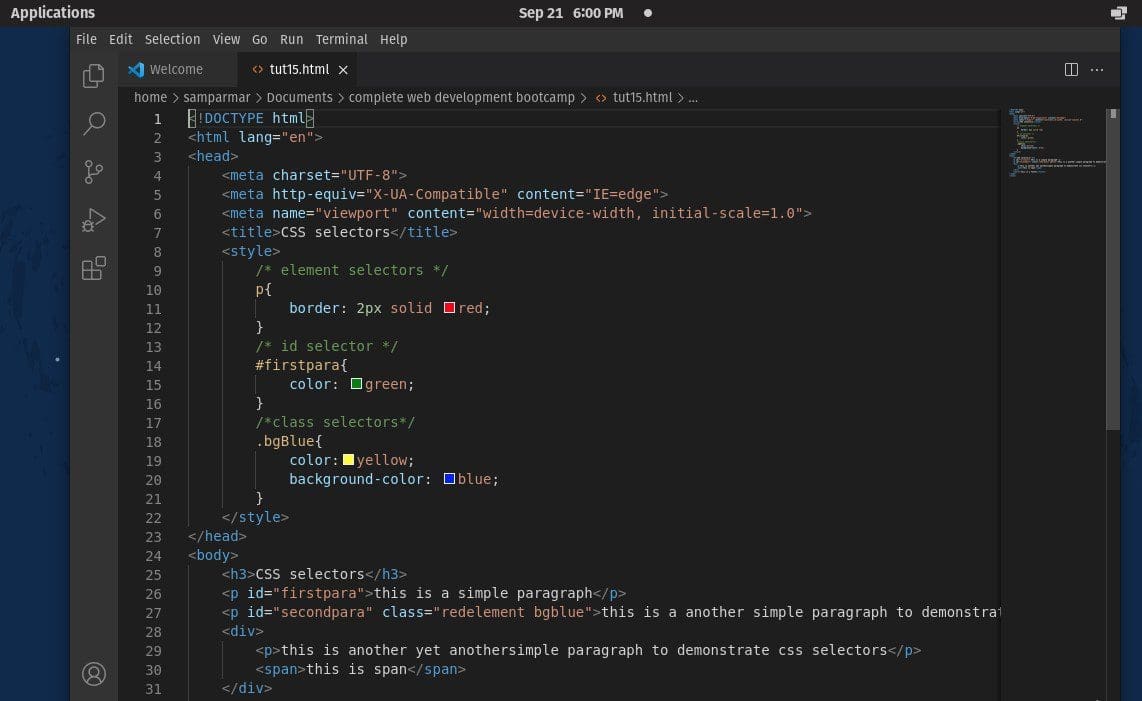
Configuring development environments
Setting up version control systems: Version control is a crucial aspect of software development, and Pop!_OS supports popular version control systems, Git and Mercurial. You can install and configure these systems on Pop!_OS to manage your source code efficiently. This includes setting up repositories, configuring user profiles, setting up SSH keys for secure access, and integrating version control tools with your development environments. Their proper configuration helps you collaborate with team members and track changes.

Setting up version control systems
Creating custom scripts and aliases: Pop!_OS lets you create custom scripts and aliases to automate repetitive tasks. You can create scripts to build and deploy your applications, automate testing, or perform other routine tasks. You can also create aliases for frequently used commands to save the time you spend typing in the terminal.
Creating custom scripts and aliases
Theming and customization: This system offers a range of visual theming options, including dark and light themes, icon packs, and desktop wallpapers. You can customize the appearance of your Pop!_OS desktop to suit your aesthetic preferences and create a visually pleasing development environment. Customizing the terminal emulator, file manager, and other system components is possible to enhance your overall user experience.
Package management
Pop!_OS utilizes Advanced Package Tool (APT) as its default package manager, which enables developers to easily install, update, and manage software packages for development.
Repositories: APT uses repositories, which are collections of software packages, to manage software installations. Pop!_OS comes with its official repositories that contain a wide range of software packages optimized for the system. Additionally, you can add third-party repositories to access additional software packages not available in the official repositories. Configure these repositories with the sources.list file located in the /etc/apt/ directory or using graphical tools instead.
The sources.list file is critical for keeping your Linux system up-to-date and functional, but sometimes, it can become corrupted, necessitating a reset. Learn how to fix repo issues by resetting your sources.list file.
Package installation: You can use the apt command to install software packages in Pop!_OS. The basic syntax for installing a package is as follows:
sudo apt install firefox
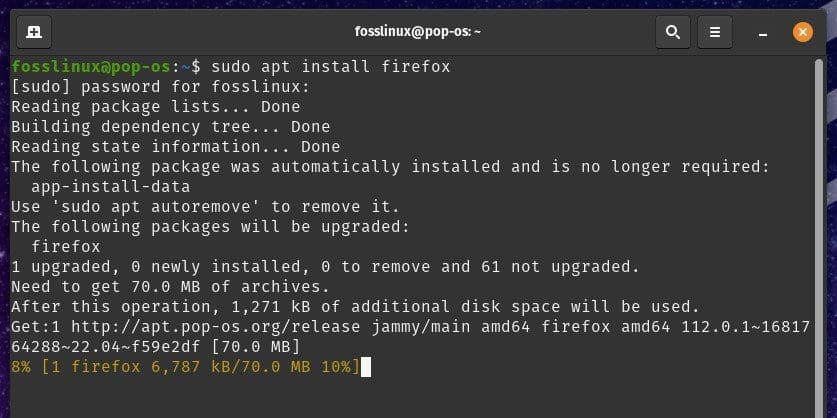
Installing a package
Where “firefox” is to be replaced with the name of the software package you want to install. You may need to use “sudo” to gain administrative privileges for installing packages. APT will automatically handle dependencies, which are other software packages required for the package you are installing, and download and install them as needed.
Package updates: Keeping your software packages up-to-date is crucial for security and stability. APT lets you easily update the installed packages on your Pop!_OS system. You can use the following command to update the package lists and install available updates:
sudo apt update

sudo apt upgrade
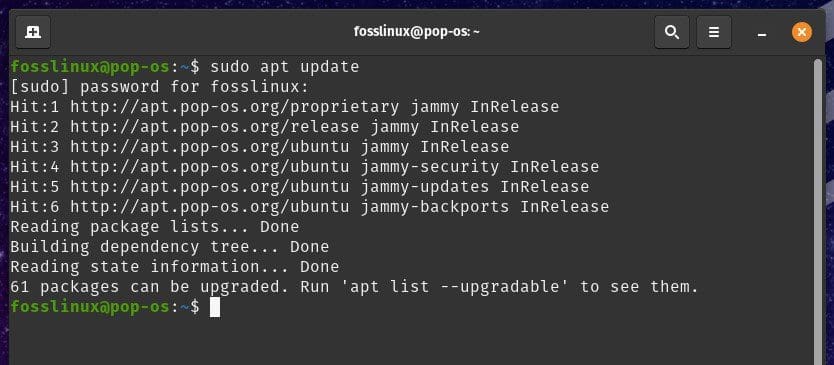
Updating the package lists
The “apt update” command updates the package lists from the repositories, and the “apt upgrade” command installs available updates for the installed packages.
Package removal: If you want to remove a software package from your system, use the apt command with the “remove” option, followed by the package name. For example:
sudo apt remove firefox
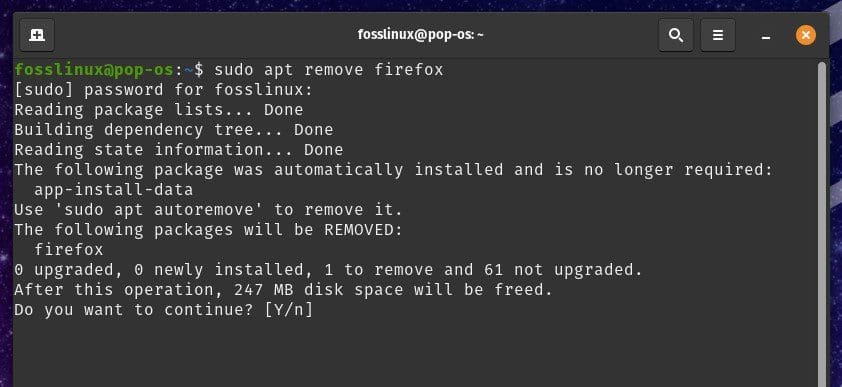
Removing a software package
This will remove the package from your system, but it will not remove any configuration files associated with the package. If you want to remove the package along with its configuration files, you can use the “purge” option instead of “remove”:
sudo apt purge firefox
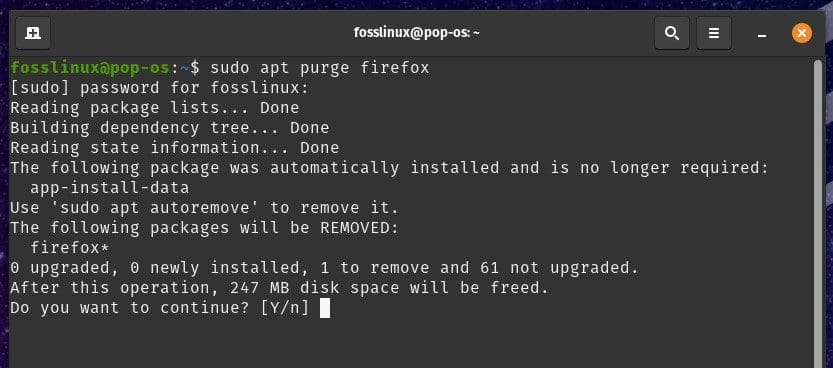
Removing a package with configuration files
Dependency management: APT automatically handles dependencies when installing or removing packages, ensuring all required packages are installed or removed as needed. However, sometimes you may need to manually manage dependencies, resolve conflicts or specify specific versions of packages. APT provides options to manage dependencies through “apt-cache” and “dpkg” commands, which search, list, and inspect package information, dependencies, and conflicts.
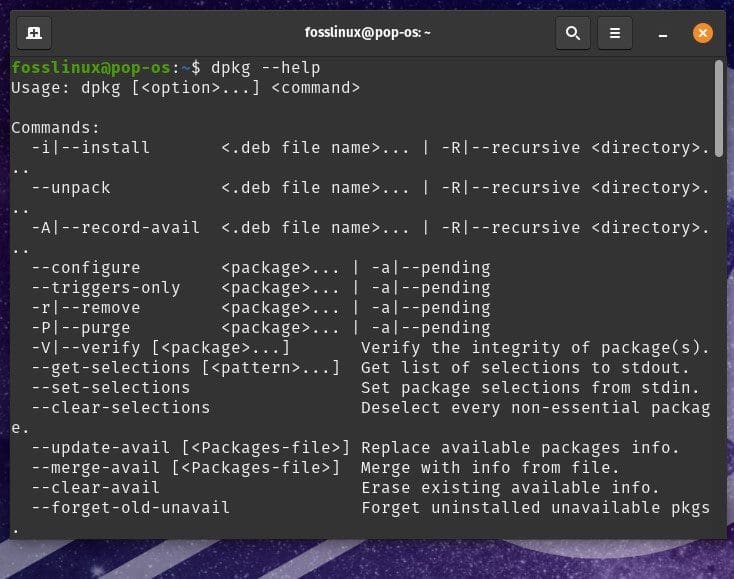
Dependency management
Additional APT commands: APT contains a rich set of commands for managing packages, “apt show” to display detailed information about a package, “apt search” to search for packages, “apt list” to list installed packages, and “apt autoremove” to remove orphaned packages. These commands can help manage packages efficiently and troubleshoot potential issues.
Containerization with Docker
Docker is a widely-used containerization platform for creating, deploying, and running applications in lightweight, portable containers.
Docker installation: To install Docker on Pop!_OS, you will have to follow the steps mentioned below:
Update package lists and install dependencies.
sudo apt update

sudo apt install apt-transport-https ca-certificates curl software-properties-common
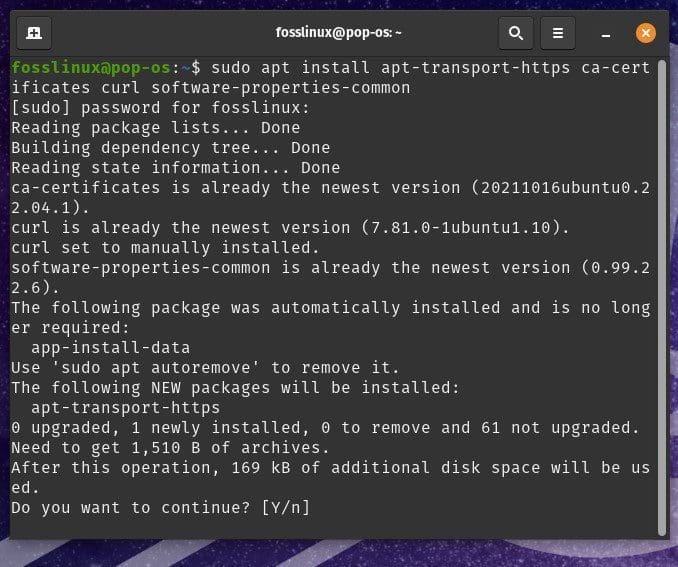
Installing dependencies
Add Docker GPG key and repository.
curl -fsSL https://download.docker.com/linux/ubuntu/gpg | sudo gpg --dearmor -o /etc/apt/trusted.gpg.d/docker.gpg

sudo add-apt-repository "deb [arch=$(dpkg --print-architecture)] https://download.docker.com/linux/ubuntu $(lsb_release -cs) stable"
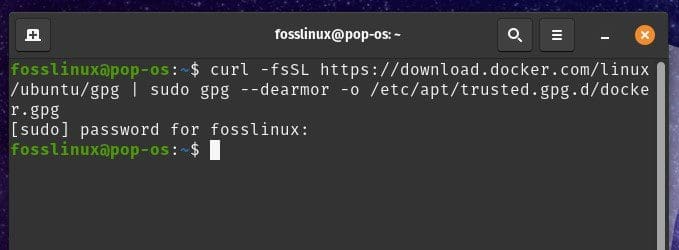
Adding Docker GPG key
Install Docker.
sudo apt update

sudo apt install docker-ce

Installing Docker
Start and enable the Docker service.
sudo systemctl start docker

sudo systemctl enable docker
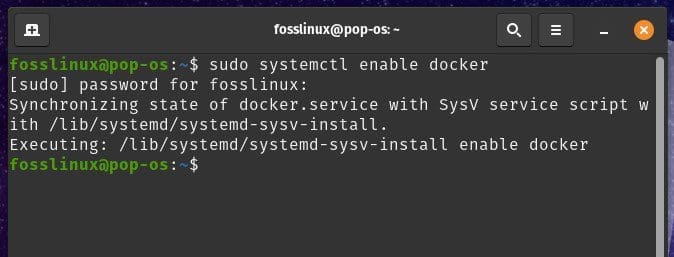
Enabling Docker service
Container creation: Once installed, you can create containers to run applications. Pull the Docker image from the Docker Hub.
sudo docker pull postgres:latest
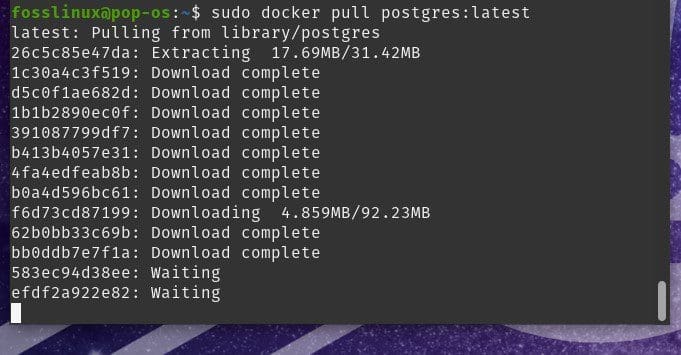
Pulling docker images from Docker Hub
where “postgres” is the name of the Docker image you want to pull and “latest” is the version tag of the image. Create a container from the pulled image.
sudo docker create --name container_name postgres:latest

Creating a container from the pulled image
where “container_name” is the name you want to assign to the container and “postgres:latest” is the name and tag of the Docker image. Start the container.
sudo docker start container_name
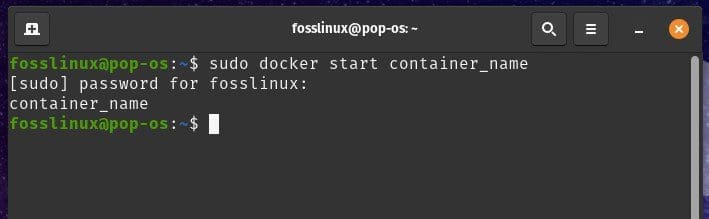
Starting the container
This will start the container and run the application inside it.
Dockerfile creation: Docker allows you to create custom Docker images using Dockerfiles, which are text files containing instructions for building Docker images. Create a directory for your Docker project.
mkdir docker_project

cd docker_project
Creating a directory for the Docker project
Create a Dockerfile using a text editor.
nano Dockerfile
Creating Dockerfile using nano
This will open a new file where you can define instructions for building your Docker image. Write Dockerfile instructions.
# Use a base image

FROM base_image:tag

# Set working directory

WORKDIR /app

# Copy application files to the container

COPY . /app
Where “base_image:tag” is the name and tag of the base image you want to use, “package_name” is the name of the package you wish to install, “port_number” is the port number you want to expose for your application, and “command_name” is the command you want to run when the container starts.
Setting up development environments
Pop!_OS provides a powerful platform for developers to set up their preferred development environments.
Python:
Pop!_OS comes with Python pre-installed. However, you can install additional Python packages using the package manager apt or create a virtual environment with virtualenv.
sudo apt install python3-dev python3-pip
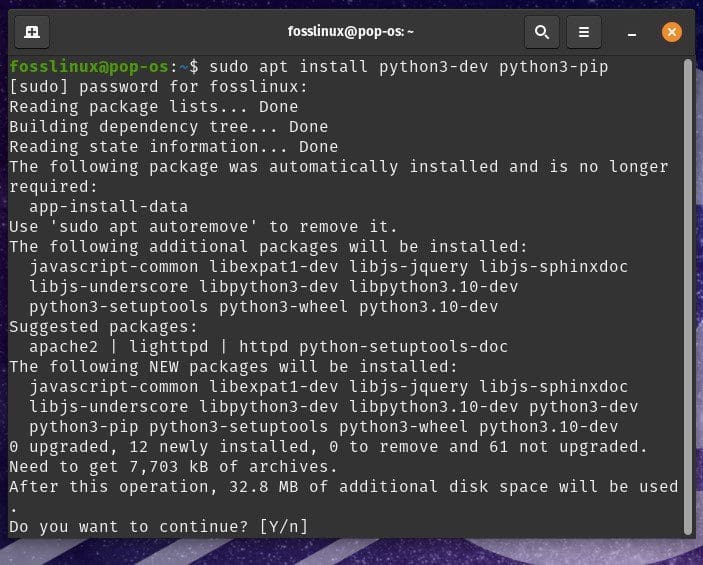
Installing additional Python packages
You can configure your Python development environment by setting up virtual environments using tools like virtualenv or conda. This allows you to effectively isolate Python packages for each project and manage dependencies.
pip3 install virtualenv
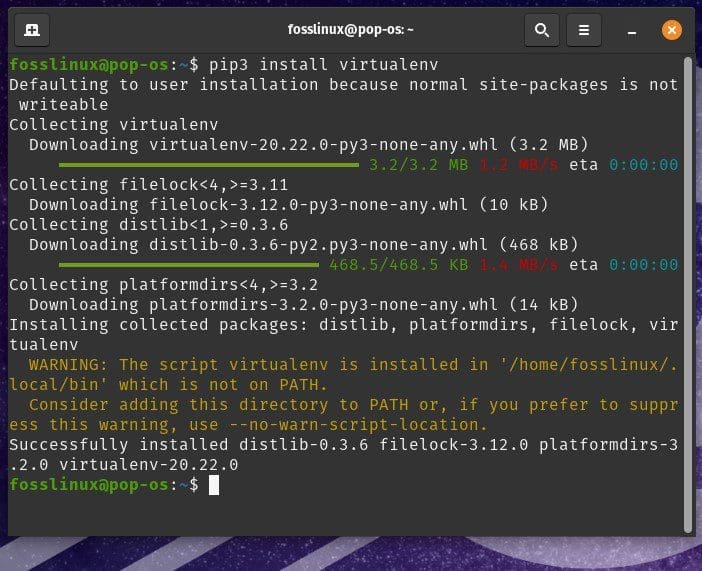
Installing virtualenv
Using virtual environments to manage Python dependencies is recommended, as it helps avoid conflicts between different projects and ensures reproducibility. Additionally, using a version control system like Git and following coding best practices can significantly enhance your Python development workflow.
Node.js:
You can install Node.js, a popular JavaScript runtime, using a package manager like apt or downloading it from the official Node.js website.
curl -fsSL https://deb.nodesource.com/setup_16.x | sudo -E bash -

sudo apt install -y nodejs
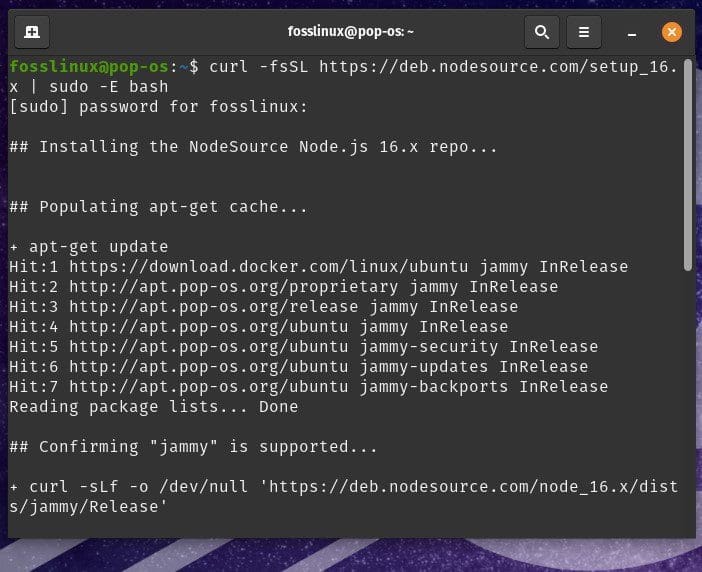
Installing Node.js
Once Node.js is installed, you can use npm, the package manager for Node.js, to install global and local dependencies for your Node.js projects.
npm install -g express
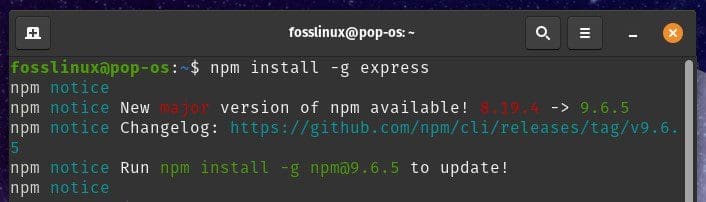
Installing dependencies with npm
Employ a version manager like nvm or n to manage multiple Node.js versions and switch between them as needed. This can help avoid version conflicts and ensure consistency across your Node.js projects.
Java:
Unlike Java, Pop!_OS does not come with Java pre-installed. However, you can install OpenJDK or Oracle JDK using apt or downloading it from the official Java website.
sudo apt install openjdk-11-jdk
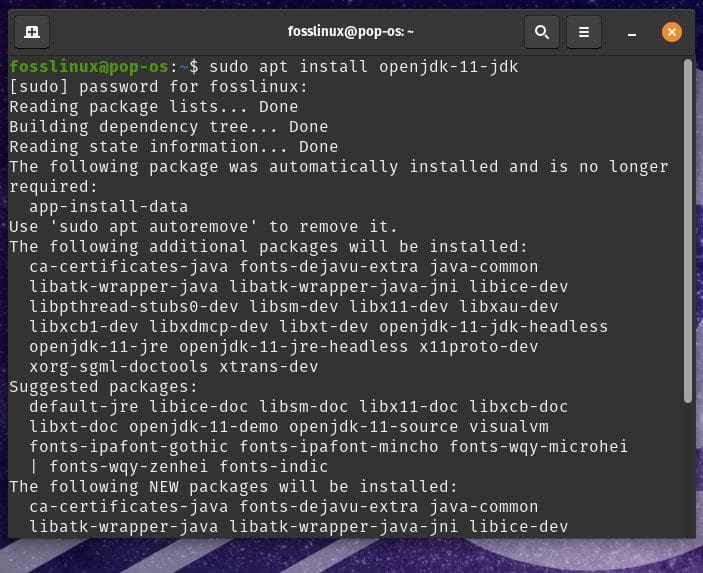
Installing OpenJDK
Once Java has been installed, you can configure your development environment by setting up environment variables, such as JAVA_HOME, to point to the installed JDK.
export JAVA_HOME=/usr/lib/jvm/java-11-openjdk-amd64
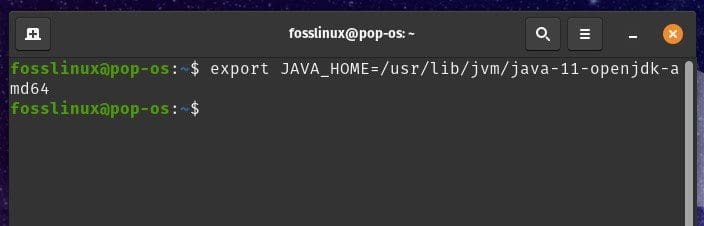
Setting up environment variables
Use a build automation tool like Maven or Gradle to manage dependencies and build Java projects. Following best practices, such as using a version control system and writing unit tests, can also improve your Java development workflow.
C/C++:
You can install C/C++ compilers and build tools using apt, such as gcc and make, to set up a C/C++ development environment on Pop!_OS.
sudo apt install build-essential
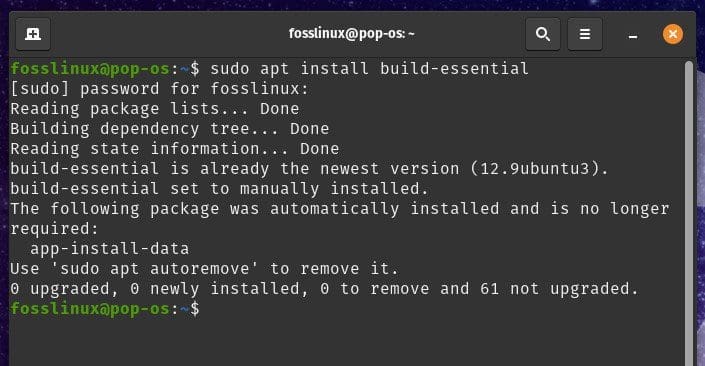
Installing C++ compiler
Once the necessary tools have been installed, configure your C/C++ development environment by setting up build configurations, and linker options, and include paths in your IDE or text editor.
gcc -o output_file input_file.c
A version control system like Git is recommended with C/C++ as well. Use proper memory management techniques, especially when working with C.
Debugging and testing
Debugging and testing are crucial steps in the software development process to ensure the quality and reliability of applications.
Debugging techniques: Logging is a common technique used for debugging applications. You can use logging libraries, such as Log4j or Python’s logging module, to print debug statements or log messages at various points in your code to track the flow of execution and identify issues.
import logging

logging.basicConfig(level=logging.DEBUG)

logging.debug('This is a debug message.')
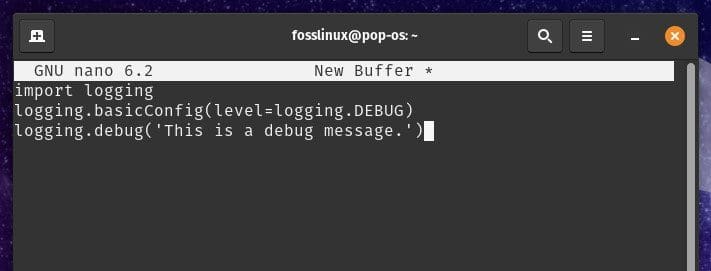
Debugging techniques
Debugging Tools: Pop!_OS provides various debugging tools that can help identify and fix issues in your applications. Tools like GDB (GNU Debugger) for C/C++ applications, pdb for Python applications, and Chrome DevTools for web applications can be used to step through code, set breakpoints, inspect variables, and analyze runtime behavior.
gdb ./executable
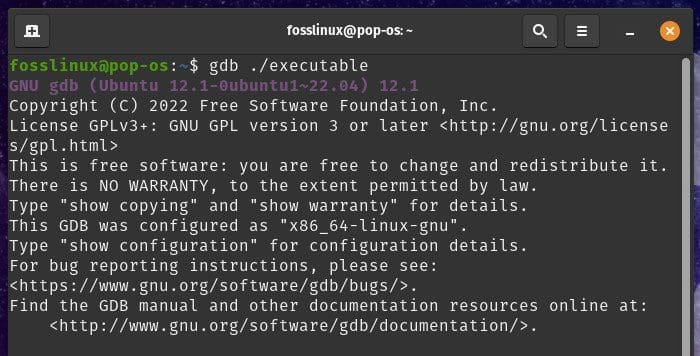
Using debugging tools
Error handling: Proper error handling is essential for effective debugging. You can use try-catch blocks or exception-handling mechanisms in your code to handle errors gracefully and provide meaningful error messages. This can help pinpoint the root cause of issues and provide valuable insights.
try:

   # Code block

except Exception as e:

   print("Error occurred: ", e)
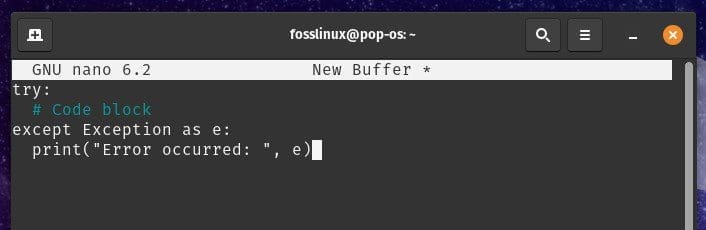
Error handling
Unit Testing: Writing unit tests is an important practice to ensure the correctness of individual components or functions in your code. You can use testing frameworks, JUnit for Java, unittest for Python, or Jest for JavaScript, to write and execute these tests.
import unittest

class MyTest(unittest.TestCase):

    def test_addition(self):

        self.assertEqual(1+1, 2)
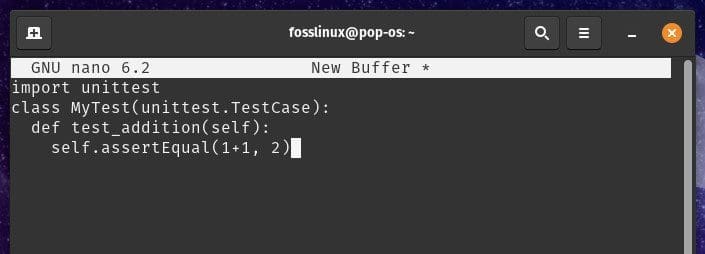
Unit Testing
Writing code has never been an easy task. Most of the applications require you to write hundreds of lines of code. Maintaining it and ensuring that it stays sustainable is not straightforward. Luckily, we have several tools available to help you manage source code. Learn about PMD, a source code analyzer, to find programming flaws.
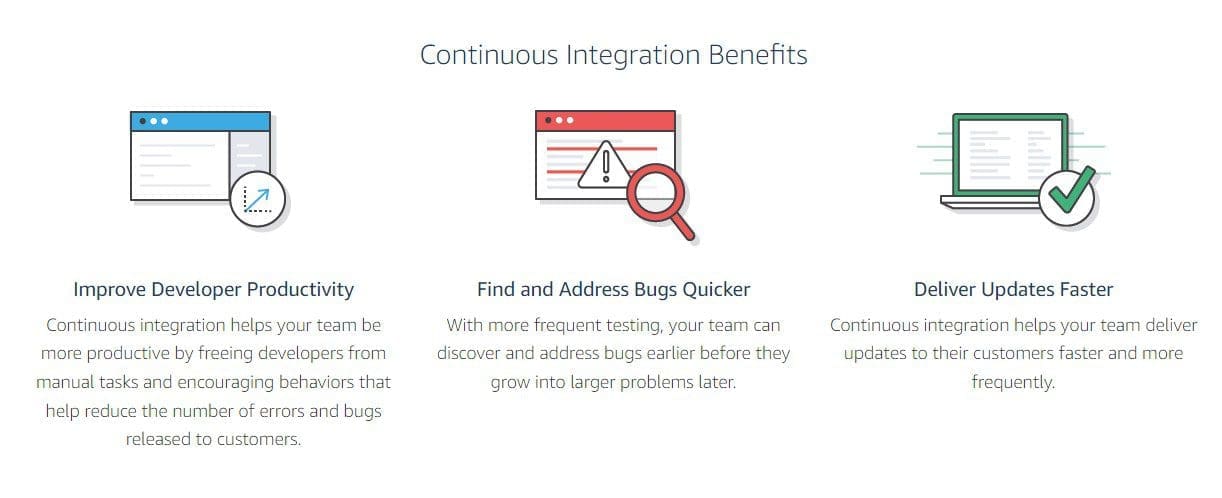
Test automation: Automating unit tests can save time and effort in the long run. Use Continuous Integration (CI) tools like Jenkins, Travis CI, or GitLab CI/CD to automatically run unit tests on each code commit and get instant feedback on code changes.
Code coverage: Code coverage measures the percentage of code covered by unit tests. Use JaCoCo for Java, coverage.py for Python, or Istanbul for JavaScript to generate code coverage reports and identify areas of your code that lack proper test coverage.
Integration and regression testing: Integration testing is the process of testing the interactions between different components or modules of an application to ensure they work together as expected. Use Selenium for web applications, Postman for APIs, or Mockito for Java to perform integration testing.
Regression testing is the process of testing an application to ensure that recent changes or fixes do not introduce new issues or regressions in previously working functionality. Git bisect is usually employed for such purposes. This is a built-in command in Git for performing regression testing and identifying issues promptly.
Version control
Version control is a critical tool in software development that enables developers to track changes, collaborate, and manage different versions of their code. Open a terminal window in Pop!_OS and run the following command to install Git:
sudo apt-get update

sudo apt-get install git
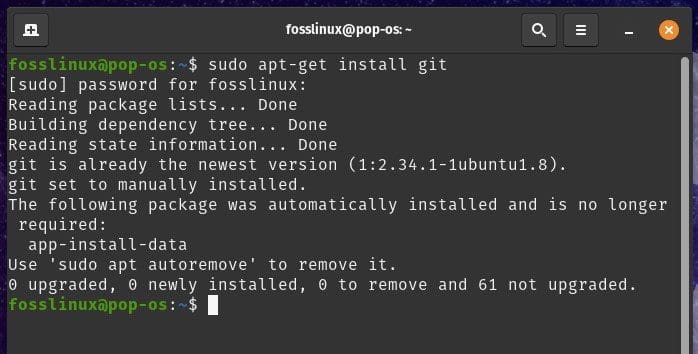
Installing Git
Once the installation is complete, verify the Git version by running the following command:
git --version
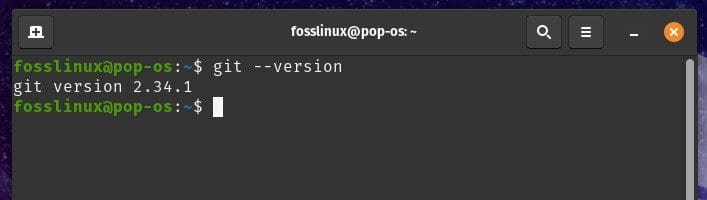
Verifying the Git version
Git is now installed, ready to be configured, and used for version control. Set up your name and email address for Git to associate with your commits using the following commands:
git config --global user.name "John Horan"

git config --global user.email "jhoran@gmail.com"
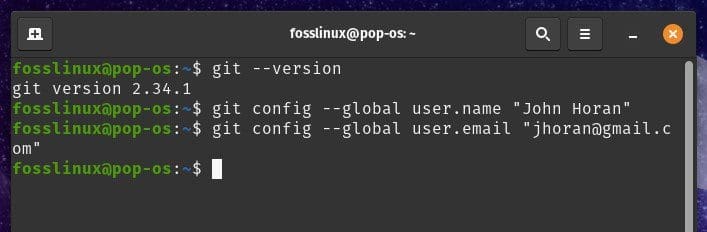
Setting up name and email
You can also configure other Git settings, such as default text editor, merge strategy, and line endings, with Git configuration commands. Navigate to the directory where you want to create a Git repository using the terminal. Run the following command to initialize a new Git repository in that directory:
git init
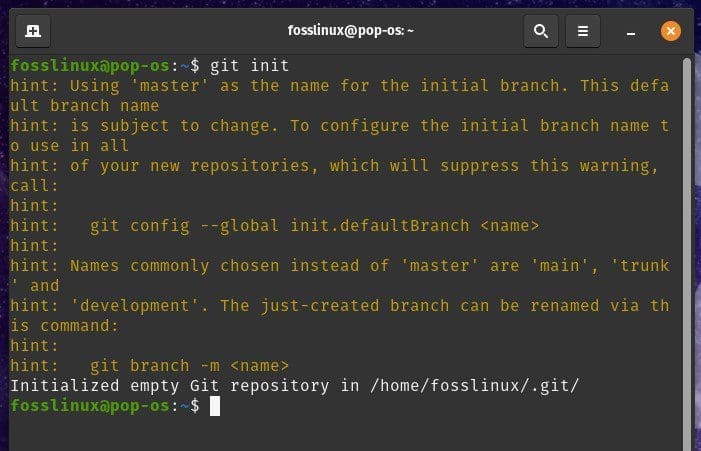
Initializing a new Git repository
This will create a new empty Git repository in the specified directory, and you can start adding files and making commits to track changes. Use the following command to stage changes for a commit:
git add logging
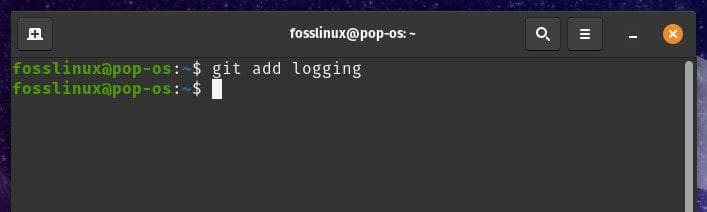
Staging changes for a commit
Run the following command to create a new commit with the staged changes:
git commit -m "Commit message"
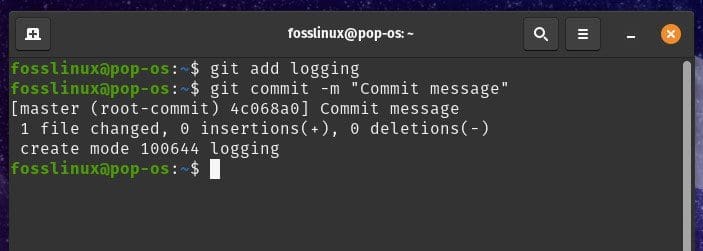
Creating a new commit with staged changes
Sign up for a GitHub account if you don’t have one already at https://github.com/. Create a new repository on GitHub by clicking the “New” button and providing a repository name, description, and other optional settings. Follow the instructions provided by GitHub to add your local Git repository.
You can now push your local commits to GitHub using the git push command and collaborate with other developers by making pull requests, reviewing code, and managing issues.
Deployment and strategies
Cloud-based deployments: Cloud-based deployments involve hosting and deploying applications on cloud platforms. These include Amazon Web Services (AWS), Google Cloud Platform (GCP), and Microsoft Azure. They offer various services and tools for deploying applications, managing resources, scaling, and monitoring.

Cloud-based deployments
Sign up for an account with the cloud provider of your choice and familiarize yourself with their documentation and services. Depending on your requirements, choose the appropriate cloud service for your application, such as virtual machines (VMs), containers, serverless computing, or platform-as-a-service (PaaS) offerings.
Provision the necessary resources, such as virtual machines, storage, databases, and networking, based on your application’s needs. Deploy your application to the cloud platform using the appropriate deployment tools and techniques, which include virtual machine images, container images, cloud formation templates, or PaaS platforms.
Container-based deployments: Containerization is a popular deployment strategy that involves encapsulating an application and its dependencies into a container image that can be run consistently across different environments. Docker is a widely used containerization platform that allows developers to package applications into containers and deploy them to production environments.
Container-based deployments
Install Docker on your Pop!_OS system using the Docker installation instructions mentioned earlier. Build a Docker image of your application by creating a Dockerfile that specifies the application’s dependencies, configuration, and runtime environment.
Build the Docker image using the Docker build command and push it to a container registry, such as Docker Hub, or a private container registry. Next, pull the Docker image from the container registry to the production environment. Finally, run the Docker container on the production environment, specifying the necessary configuration and networking settings.
Common deployment practices: Besides cloud-based and container-based deployments, other common deployment practices can be used to deploy applications to production environments on Pop!_OS.
Traditional server deployments: This involves deploying applications to physical or virtual servers using traditional methods, such as FTP, SSH, or configuration management tools. It requires manual configuration and management of servers and may not be as scalable or flexible as cloud-based or container-based deployments.
Traditional server deployments
Continuous integration and deployment (CI/CD): This includes setting up automated pipelines for building, testing, and deploying applications to production environments. CI/CD pipelines automate the deployment process, allowing faster and more reliable deployments with less risk of human error.
Continuous integration and deployment
Blue/Green or canary deployments: These deployment strategies involve deploying new versions of an application alongside the existing production version, allowing for gradual rollout. This reduces downtime or performance issues during deployment.
Conclusion
Setting up a development environment is the most fundamental step in the software development process, and it requires careful planning, configuration, and monitoring. This detailed guide discussed steps, techniques, and strategies for doing so on Pop!_OS. With a solid understanding of how to set up development environments for different general-purpose programming languages, you can confidently start coding in this Linux system. Looking for new hardware to start your programming journey on Pop!_OS? Here are the best laptops for Linux and Apps development.