
Spreed isn’t like any other video chat platform – it is much better and powerful in every way. It is a free and open-source audio/video call server designed with privacy in mind. Spreed uses WebRTC (Web Real-Time Communication), which enables web browsers and mobile apps to communicate in real-time via APIs (Application Programming Interfaces). WebRTC enables peer-to-peer communication making it possible for audio and video to work inside web pages.
Additionally, Spreed WebRTC uses end-to-end encryption, thus ensuring ultimate privacy and security to users’ data.
Some of the tasks you can perform with Spreed include:
- Secure Audio/Video calls and Text chat
- Video conferencing
- One to one video chat
Installing Spreed WebRTC Server on Ubuntu
If you are wondering how to get started with Spreed, you will be on the right track. This post will give you a step by step guide on Installing and getting started with Spreed WebRTC Server on Ubuntu. Let’s dive in!
Step 1. Install Spreed on Ubuntu
We will look at two ways which you can use to install Spreed.
- Install Spreed from the official PPA
- Install Spreed via Snap
Note: Installing Spreed via the PPA will only work on Ubuntu 16.04. If you are on Ubuntu 18.04, Ubuntu 20.04, or any other Ubuntu variant, you will need to use Snap.
-
Install Spreed from the official PPA
Launch the Terminal (Ctrl + Alt + T) and execute the commands below on the Terminal.
sudo apt-add-repository ppa:strukturag/spreed-webrtc
sudo apt update
sudo apt install spreed-webrtc
-
Install Spreed via Snap
To get started, first install Snap with the commands below.
sudo apt update
sudo apt install snapd
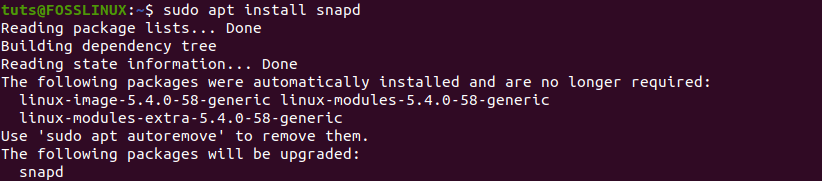
Install Snapd
Once you have Snap installed on your system, proceed to install Spreed WebRTC with the command below:
sudo snap install spreed-webrtc-snap

Install Spreed-WebRTC
Once you have successfully installed Spreed-WebRTC via Snap, it will start its built-in webserver via localhost on port 8084 (127.0.0:8084). You can confirm its status on whether it’s running with the command below.
snap info spreed-webrtc-snap
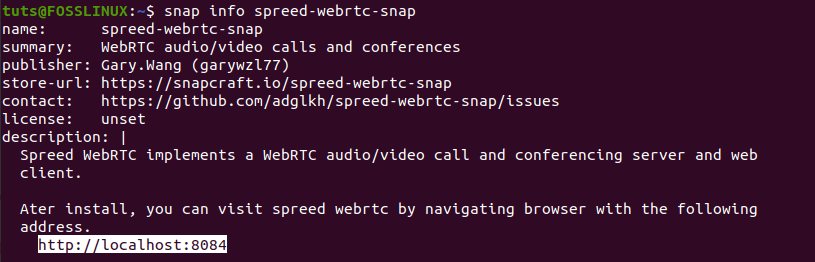
Spreed-WebRTC Status Snap
If it’s not running, you can start Spreed snap with the command below:
sudo snap start spreed-webrtc-snap

Start Spreed Snap
You can also enable Spreed to start automatically when the system boots with the command below:
sudo snap start --enable spreed-webrtc-snap

Enable Spreed to start on boot
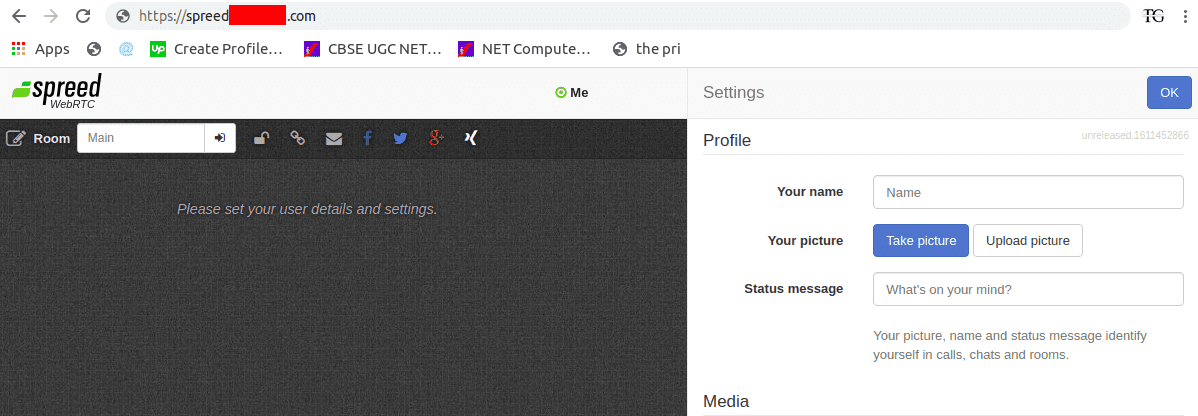
You can confirm whether the Spreed web server is running by searching the address 127.0.01:8084 on the web browser. You should see the Spreed web page as shown in the image below.
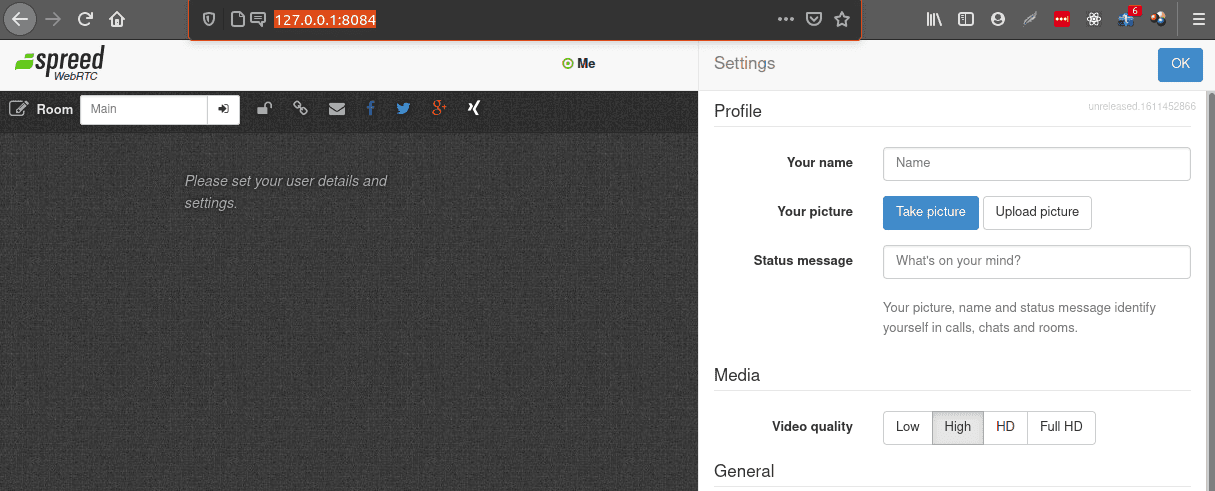
Spreed Web Interface
Step 2: Setting Up Reverse Proxy
As you can see from the above information, Spreed-WebRTC, by default, is only accessible via localhost. Therefore, another user on a different network from you will not access Spreed-WebRTC. To overcome this issue, you will need to set up a reverse proxy.
Tip: A Reverse Proxy is a proxy server that requests network resources on behalf of a client from the appropriate backend server.
We will look at how to set up a reverse proxy using Nginx and Apache. You can use any of them.
-
Nginx
To install Nginx on Ubuntu, execute the command below:
sudo apt install nginx
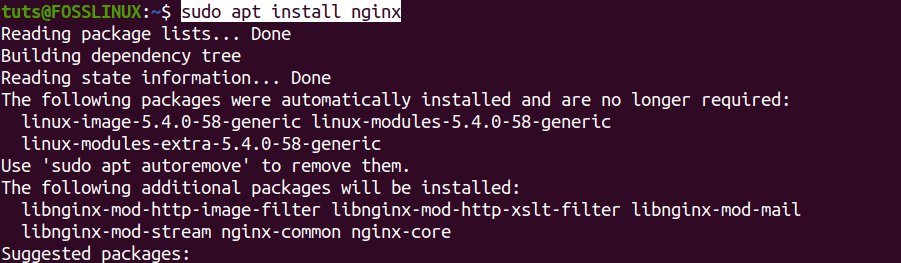
Install Nginx
Once the command is executed successfully, proceed to create a server block for Spreed-WebRTC on Nginx. Execute the command below to create the spreed-webrtc.conf file with the nano editor.
sudo nano /etc/nginx/conf.d/spreed-webrtc.conf
Now, please copy the contents below and paste them on the nano editor. Remember to replace the domain spreed.example.com with your preferred domain name. Also, don’t forget to set up an A record.
Tip: A DNS-A record points subdomain or domain name to an IP address.
server {
        listen 80;
        server_name spreed.example.com;
        location / {
                proxy_pass http://127.0.0.1:8080;
                proxy_http_version 1.1;
                proxy_set_header Upgrade $http_upgrade;
                proxy_set_header Connection "upgrade";
                proxy_set_header X-Forwarded-Proto $scheme;
                proxy_set_header Host $http_host;
                proxy_set_header X-Real-IP $remote_addr;
                proxy_set_header X-Forwarded-For $proxy_add_x_forwarded_for;

                proxy_buffering             on;
                proxy_ignore_client_abort   off;
                proxy_redirect              off;
                proxy_connect_timeout       90;
                proxy_send_timeout          90;
                proxy_read_timeout          90;
                proxy_buffer_size           4k;
                proxy_buffers               4 32k;
                proxy_busy_buffers_size     64k;
                proxy_temp_file_write_size  64k;
                proxy_next_upstream         error timeout invalid_header http_502 http_503 http_504;
        }

        location ~ /.well-known/acme-challenge {
             root /usr/share/nginx/spreed/;
             allow all;
        }
}

Spreed-WebRTC configuratiion file
Save and close the file. (Ctrl + O then Enter to save, Ctrl + X to exit).
You can now test your configurations and reload Nginx with the commands below.
sudo nginx -t
sudo systemctl reload nginx

Reload Nginx
Now, Spreed-WebRTC should be accessible via a web browser via the assigned domain. See the image below.
Spreed-WebRTC Nginx server
-
Apache
If you want to use Apache, start by first installing it with the command below:
sudo apt install apache2
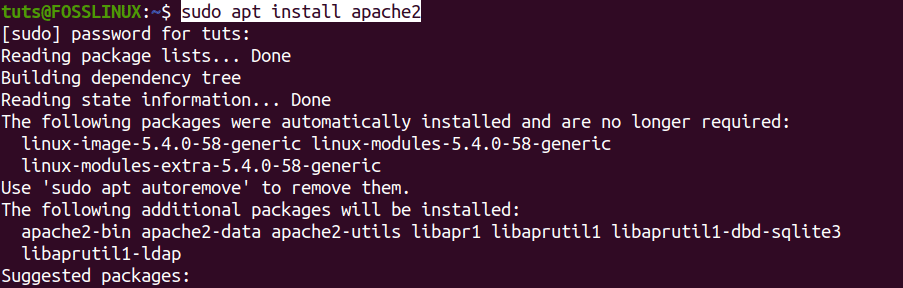
Install Apache
Once done, just like we did with Nginx, create a Spreed-WebRTC server block file. Execute the command to create and open the file with nano editor.
sudo nano /etc/apache2/sites-available/spreed-webrtc.conf
Now, please copy the contents below and paste them on the nano editor. Remember to replace the domain spreed.example.com with your preferred domain name. Also, don’t forget to set up an A record.
<VirtualHost *:80>
    ServerName spreed.example.com
    <Location />
      ProxyPass http://127.0.0.1:8080/
      ProxyPassReverse http://127.0.0.1:8080/
    </Location>

    <Location /ws>
       ProxyPass ws://127.0.0.1:8080/
    </Location>
    ProxyVia On
    ProxyPreserveHost On
</VirtualHost>
Save and close the file. (Ctrl + O then Enter to save, Ctrl + X to exit).
Next, we need to enable proxy_http
Execute the command below:
sudo a2enmod proxy_http

Enable proxy_http
Once done, enable the virtual host. Execute the command below:
sudo a2ensite spreed-webrtc.conf

Enable Virtual host
You can proceed to test your configurations and reload your Apache server.
sudo apachectl configtest
sudo systemctl reload apache2
Now, Spreed-WebRTC should be accessible via a web browser via the assigned domain. See the image below.
Spreed-WebRTC
Step 3: Enable HTTPS
Up to now, our Spreed-WebRTC server is only accessible via HTTP, which might raise some security concerns. To enable HTTPS, we will need to obtain an SSL/TLS certificate.
This tutorial will use Let’s Encrypt to obtain a free TLS certificate. Execute the commands below to install the Let’s Encrypt client -Certbot- from the official PPA.
sudo apt install certbot
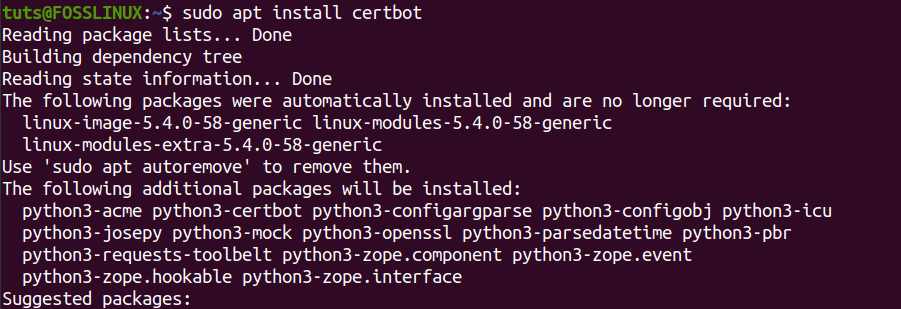
Install Certbot
For Apache users, you will be required to install the Certbot Apache plugin with the command below:
sudo apt install python3-certbot-apache
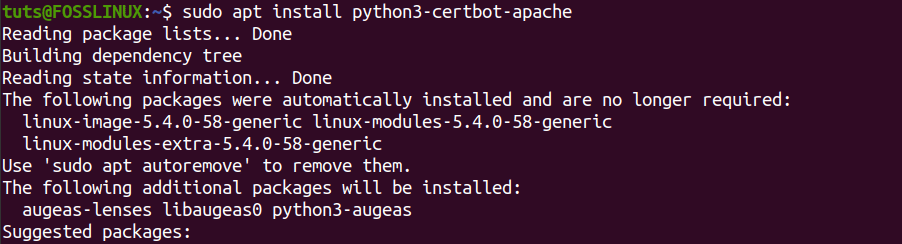
Certbot Apache Plugin
For Nginx users, install the Certbot Nginx plugin with the command below:
sudo apt install python3-certbot-nginx
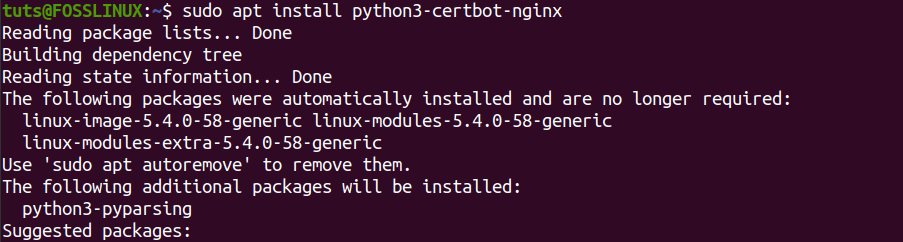
Nginx Certbot plugin
To obtain the TLS certificate for the Apache server, execute the command below:
sudo certbot --apache --agree-tos --redirect --hsts --staple-ocsp --email you@example.com -d spreed.example.com
To obtain a TLS certificate for the Nginx server, execute the command below:
sudo certbot --nginx --agree-tos --redirect --hsts --staple-ocsp --email you@example.com -d spreed.example.com
Note: With the two commands above, remember to replace you@example.com with your official email for registration and spreed.example.com with the domain name, you used for your Spreed-WebRTC.
You should get the message below if you successfully obtained the certificate.
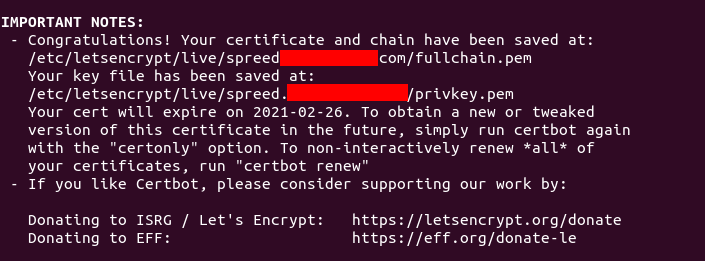
spreed-webtrc-certbot-https
Step 4: Install a TURN/STUN Server
The Spreed-WebRTC server is well set up and accessible online to this point. However, there is one issue we need to resolve. If you have users behind a NAT network, they will be blocked, and WebRTC won’t work. To overcome this, we will set up a TURN/STUN server, which will act as a relay between web browsers. TURN stands for Traversal Using Relays around NAT, and STUN stands for Session Traversal Utilities.
We will use the Coturn server, which facilitates Video/Audio calls and conferencing by implementing TURN and STUN protocols.
To get started, install Coturn with the command below:
sudo apt install coturn
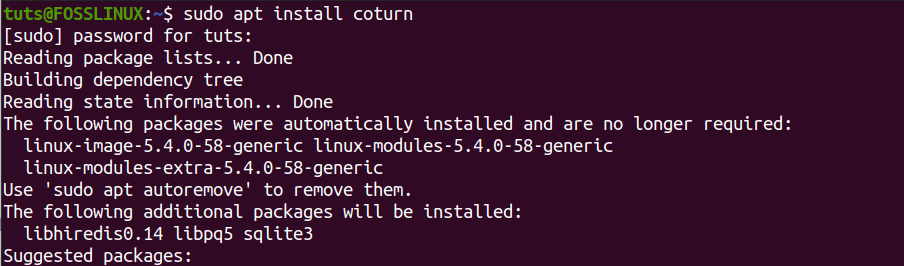
Install Coturn
Once the command executes successfully, coturn service will start automatically. You can check the status with the command below:
systemctl status coturn

Install Coturn
If coturn is not running, start it with the command below:
sudo systemctl start coturn
Also, for convenience, you can set it to start automatically on boot with the command below:
sudo systemctl enable coturn

Start Coturn on boot
Step 5: Configure Coturn
With Coturn installed and running, we can configure it for Spreed-WebRTC.
Execute the command below to edit the turnserver configuration file.
sudo nano /etc/turnserver.conf
You will notice that all the lines are commented from the output you get. As shown in the image below:
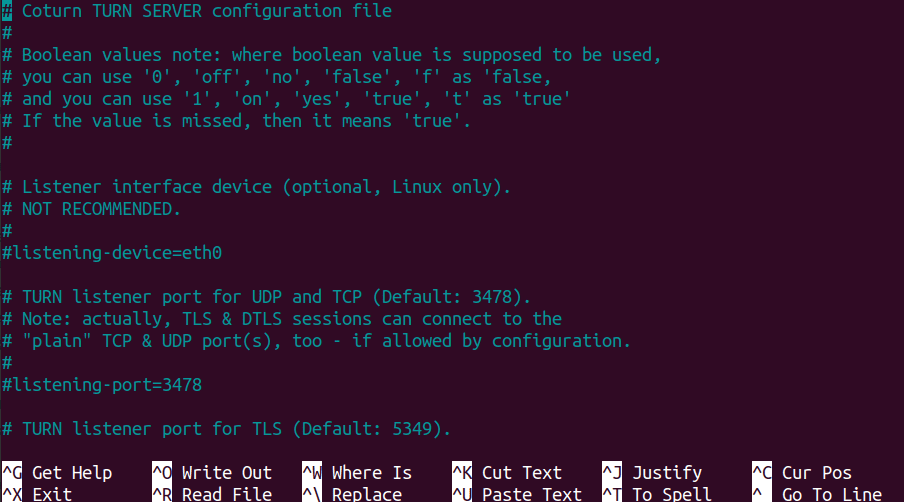
Turn server conf file
To make your work a whole lot easier, copy the contents below and paste them at the end of your configuration turnserver file. However, remember to make the changes below:
- Replace example.com with the domain name you assigned Spreed-WebRTC.
- Replace the IP address
10.16.1.1with the public IP address of your server. - Replace
sample-auth-secretwith your own. Please make it long and secure – preferably a randomly generated string.
# Specify listening port. Change to 80 or 443 to go around some strict NATs.
listening-port=8443
tls-listening-port=5349

# Specify listening IP, if not set then Coturn listens on all system IPs.
listening-ip=10.16.1.1
relay-ip=10.16.1.1

# These lines enable support for WebRTC
fingerprint
lt-cred-mech
realm=example.com

# Authentication method
use-auth-secret
static-auth-secret=sample-auth-secret

total-quota=100

# Total bytes-per-second bandwidth the TURN server is allowed to allocate
# for the sessions, combined (input and output network streams are treated separately).
bps-capacity=0

# This line provides extra security.
stale-nonce

log-file=/var/log/turnserver/turn.log
no-loopback-peers
no-multicast-peers
Save the configuration file and restart coturn with the command below:
sudo systemctl restart coturn
Now, we will need to configure Spreed-WEbRTC for Coturn. Execute the command below to open the server configuration file.
If you installed Spreed via PPA, use the command below:
sudo nano /etc/spreed/server.conf
If you installed Spreed via Snap, use the command below:
sudo nano /var/snap/spreed-webrtc-snap/common/server.conf
Locate the app section and add the lines below. Remember to replace the highlighted text accordingly.
turnURIs = turn:coturn-server-ip:8443?transport=udp
turnSecret = example-auth-secret
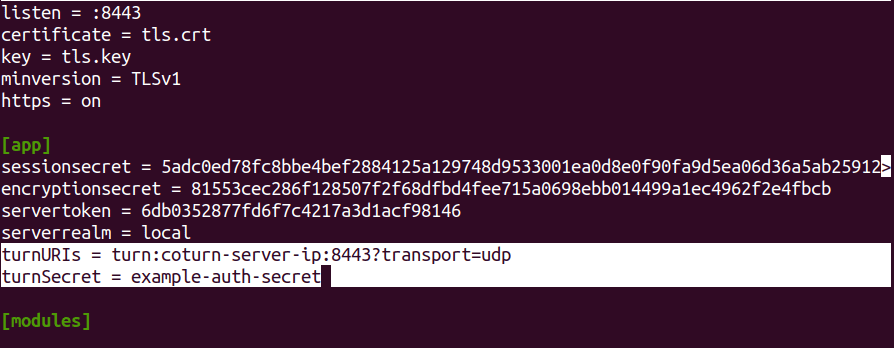
Spreed Server file
Save and close the file. Once again, restart the Spreed-WebRTC server with the command below:
If you installed Spreed via PPA, use the command below:
sudo systemctl restart spreed-webrtc
If you installed Spreed via Snap, use the command below:
sudo snap restart spreed-webrtc-snap
The last step you need to do is to enable port 8843 on your Firewall. That’s because Coturn listens on port 8843. Execute the commands for the UFW firewall.
sudo ufw allow 8443/tcp
sudo ufw allow 8443/udp

Allow port 8843
Now, with both Coturn and Spreed-WebRTC setup, even users behind a NAT network should be able to make Audio/Video calls and even hold online conferences.
I hope this post gave you a clear guide on installing Spreed WebRTC Server on Ubuntu. Some configurations like Setting a DNS A record can be quite challenging for beginners, but I believe there are guide articles on the site you purchased your domain. In case you come across any issue, please feel free to leave a comment below.