
In today’s tutorial, we are going to use the GitLab container registry to store images. Please refer to our GitLab guide for GitLab installation and configurations.
Let’s get started with installing container first.
1. Configure Container Registry
Navigate to the admin area, and the first thing you notice is the Container registry is turned off by default setting.
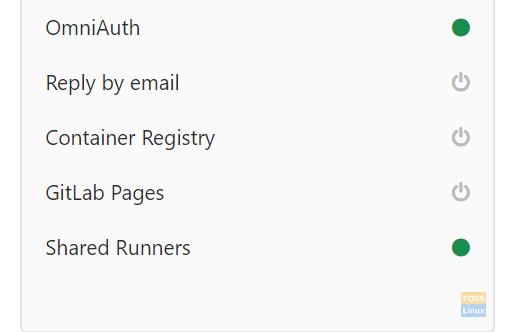
Container Registry turned off
Install Container registry
We should modify the GitLab configuration file. Enter the following command:
a) Modify gitlab.rb
vim /etc/gitlab/gitlab.rb
Change the following line:
registry_external_url 'https://gitlab.fosslinux.com:5050'
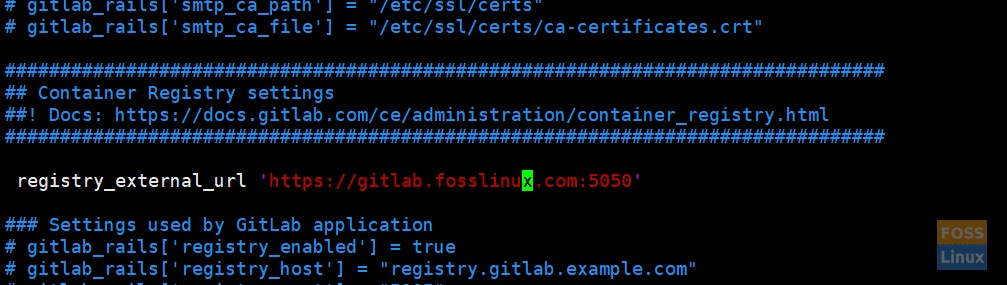
Registry Url
Now the registry URL is listening on HTTPS under the existing GitLab URL with a different port.
b) After modification, you need to reconfigure Gitlab.
gitlab-ctl reconfigure
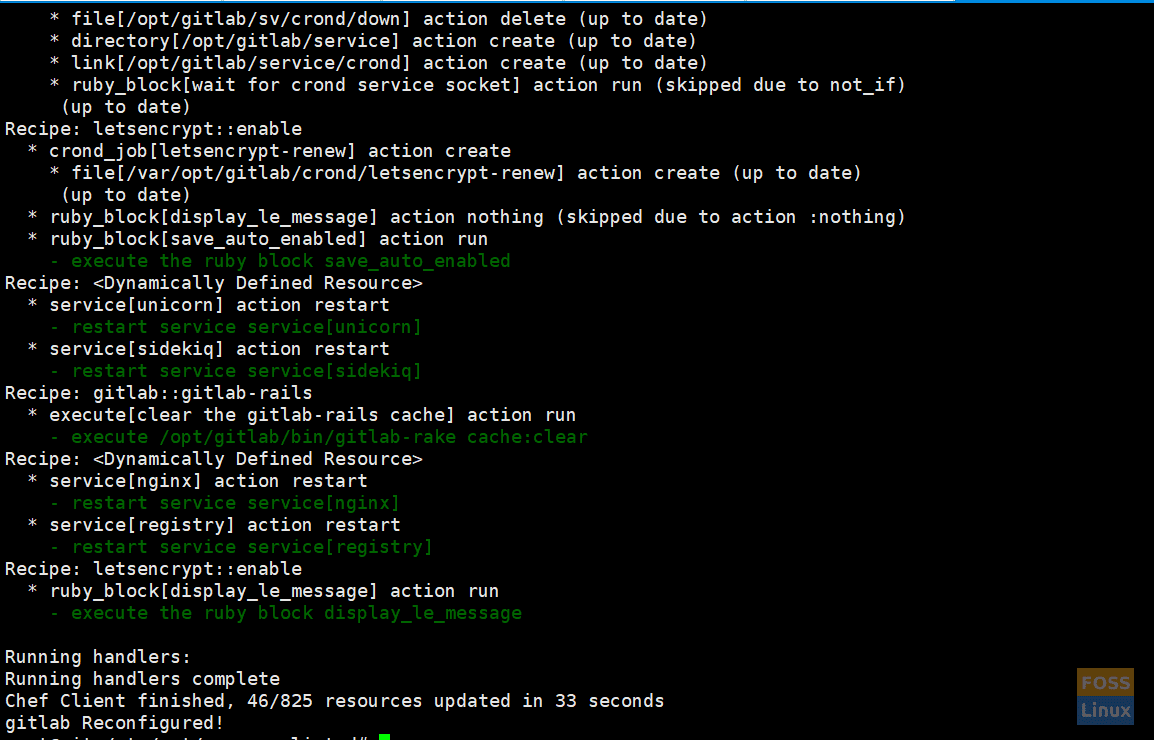
Reconfigure
Once done, go to the admin area, and this time, you should see it enabled.
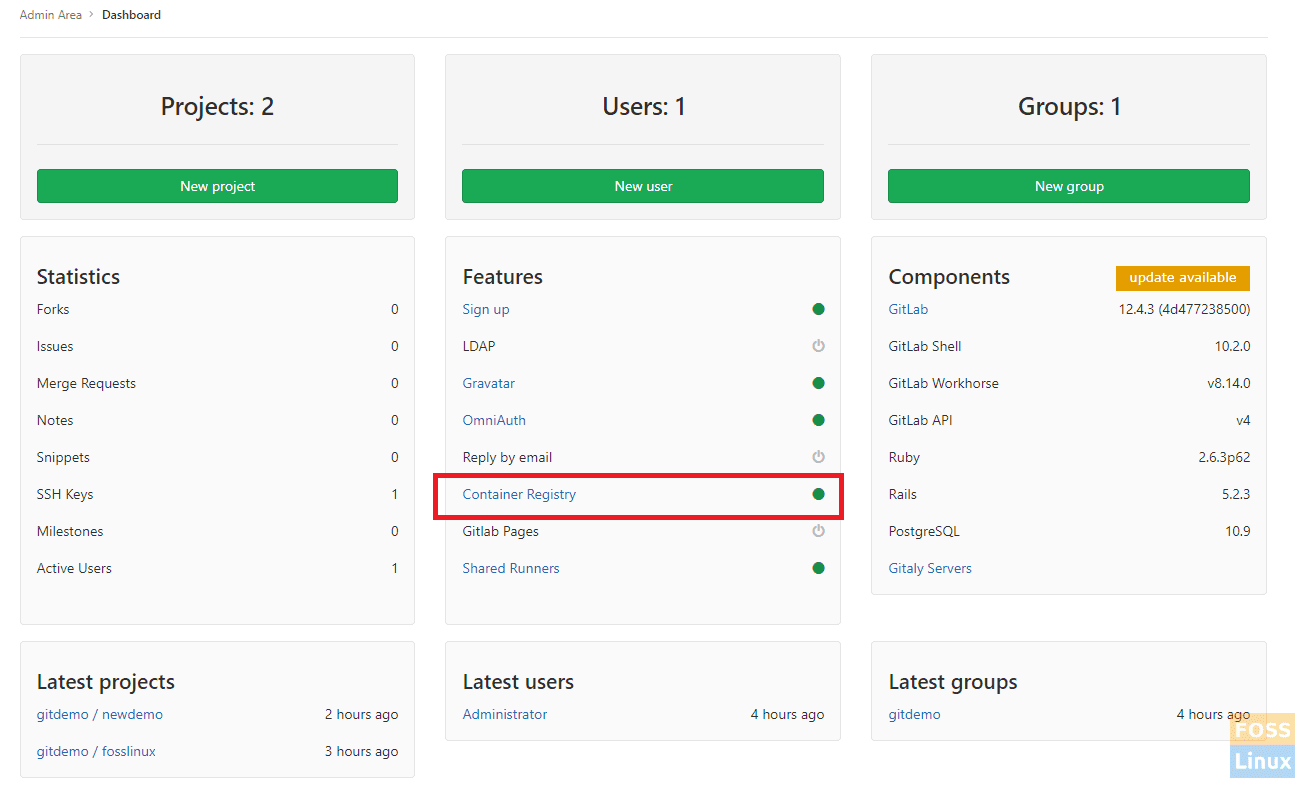
Container Registry
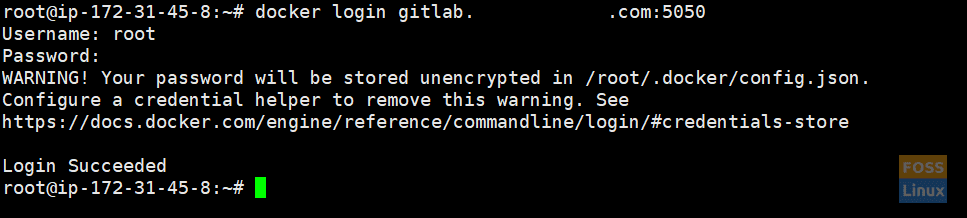
c) Test the container login from a different machine. However, note that the Docker should be installed on that system.
docker login gitlab.fosslinux.com:5050
The default images store location is as follows:
/var/opt/gitlab/gitlab-rails/shared/registry
If you want to change the path, use VIM to edit it.
vim /etc/gitlab/gitlab.rb
Change the following line:
gitlab_rails['registry_path'] = "/path/to/registry/storage"
Then reconfigure.
gitlab-ctl reconfigure
2. Creating a Project
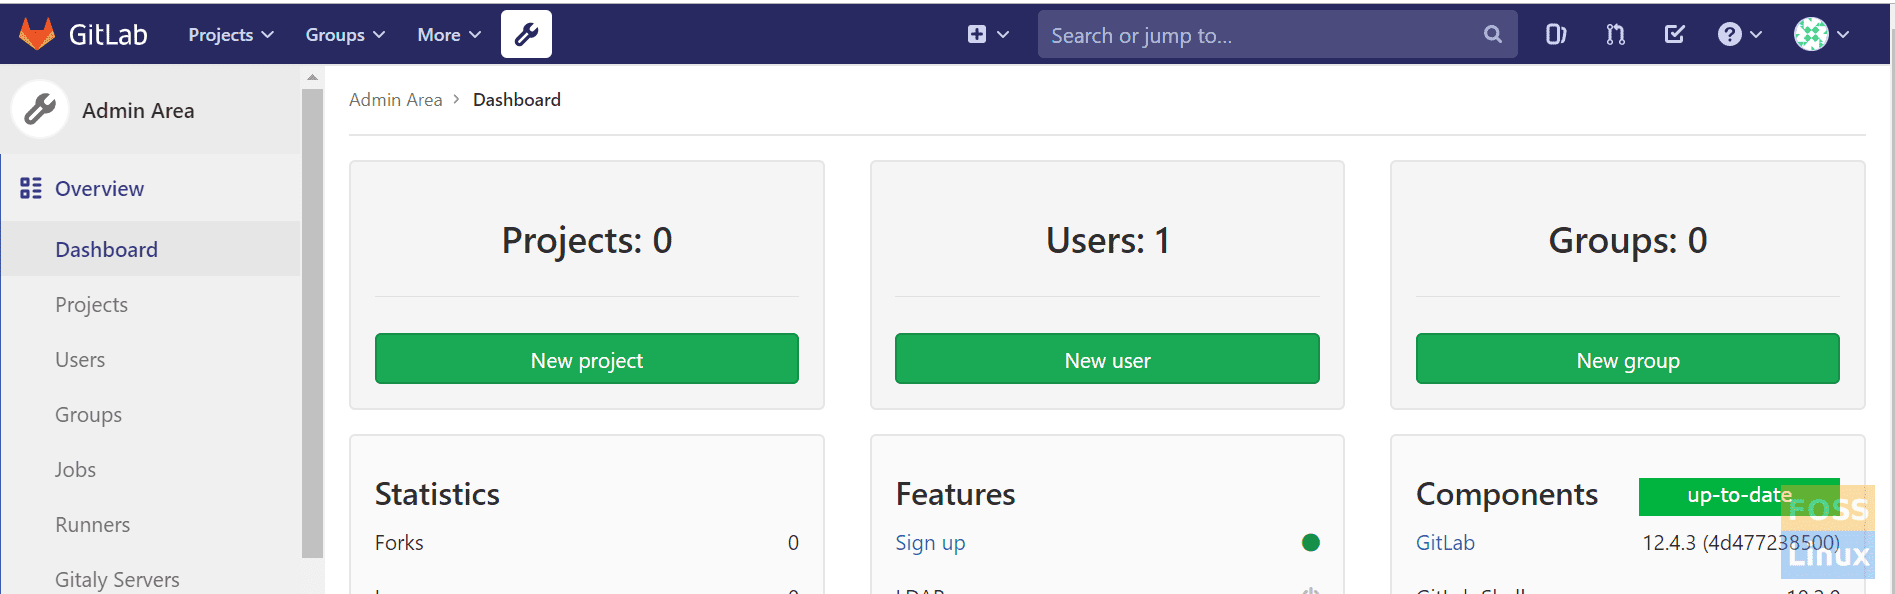
We shall create a new project for a pipeline. To do that, go to the Admin Area.

Click On Admin
You should see Admin Area similar to this:
Then click on the New Group.
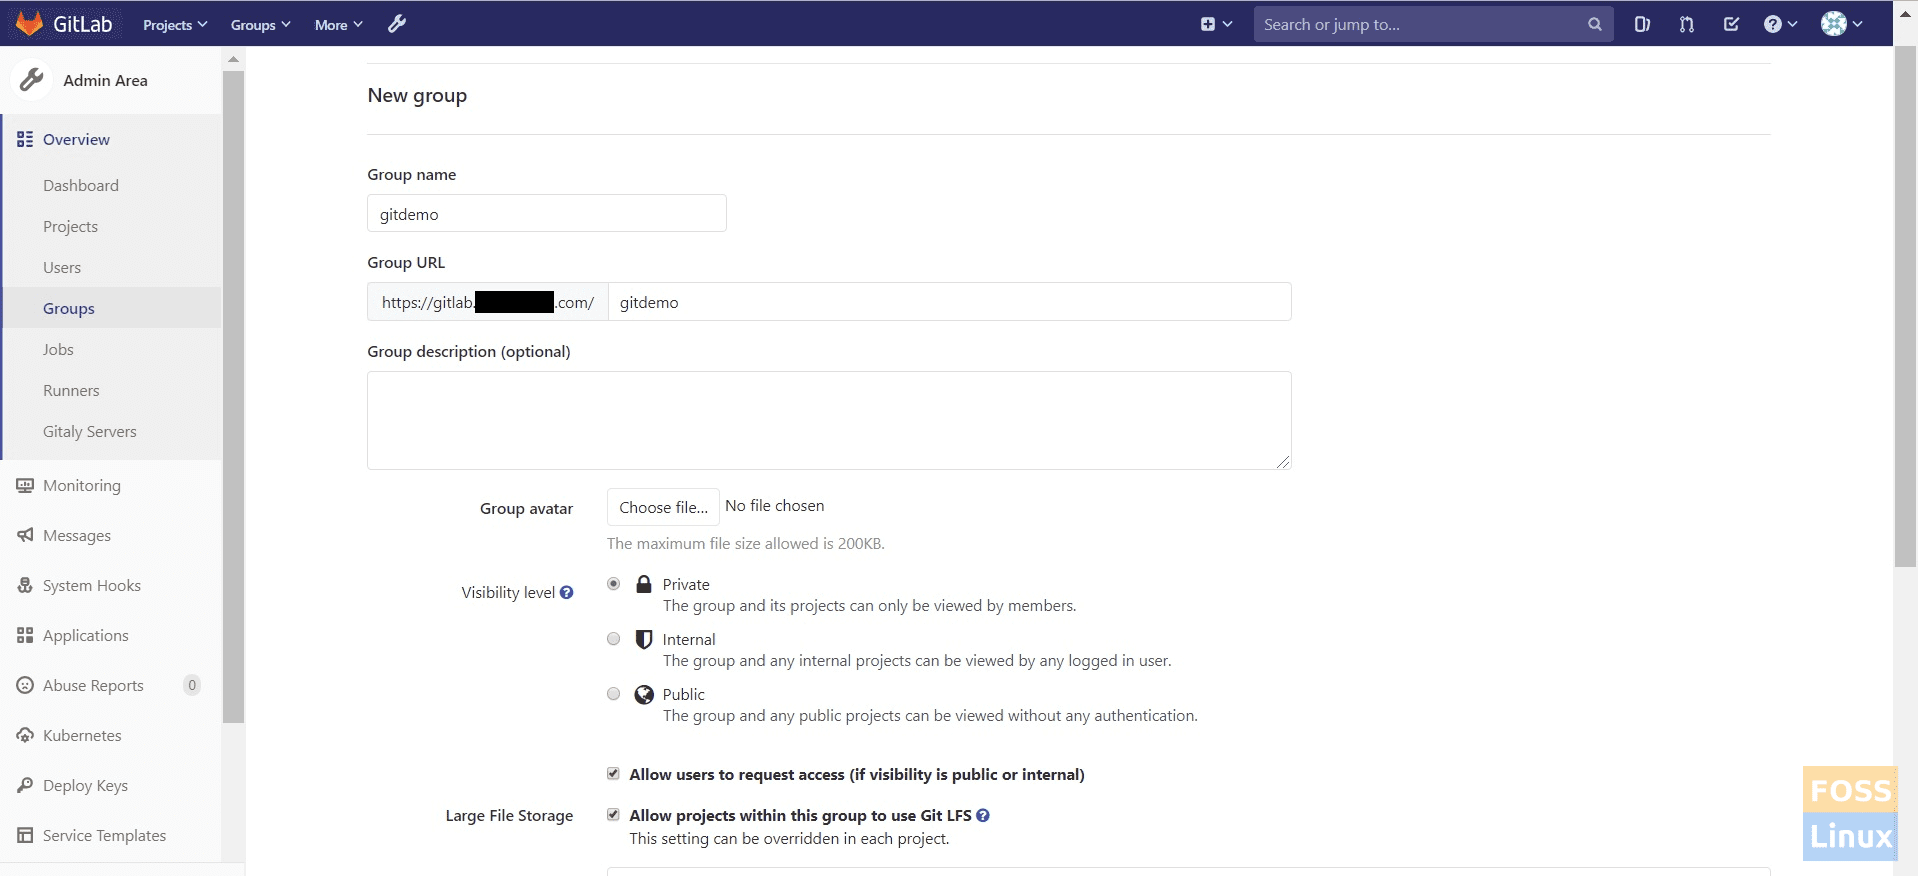
Create a Group
You can give any name to your group. Then type a name for the project URL. Visibility level is “Private” here; we created a group called “gitdemo.”
Then again Go to Admin Area -> New Project
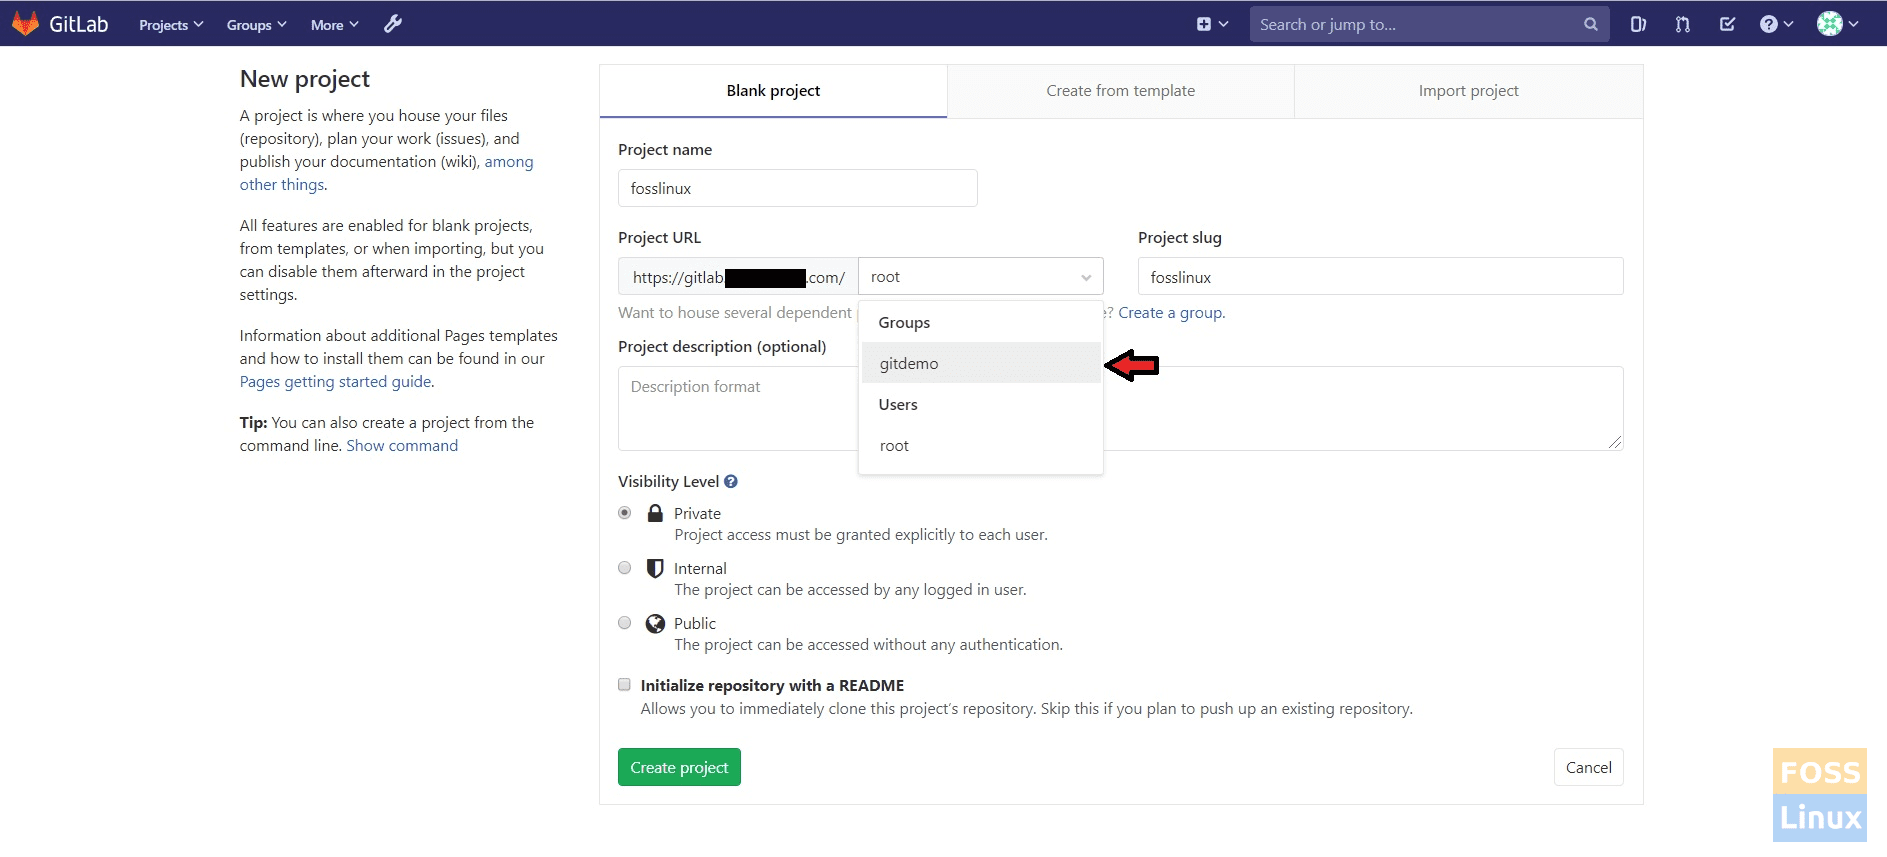
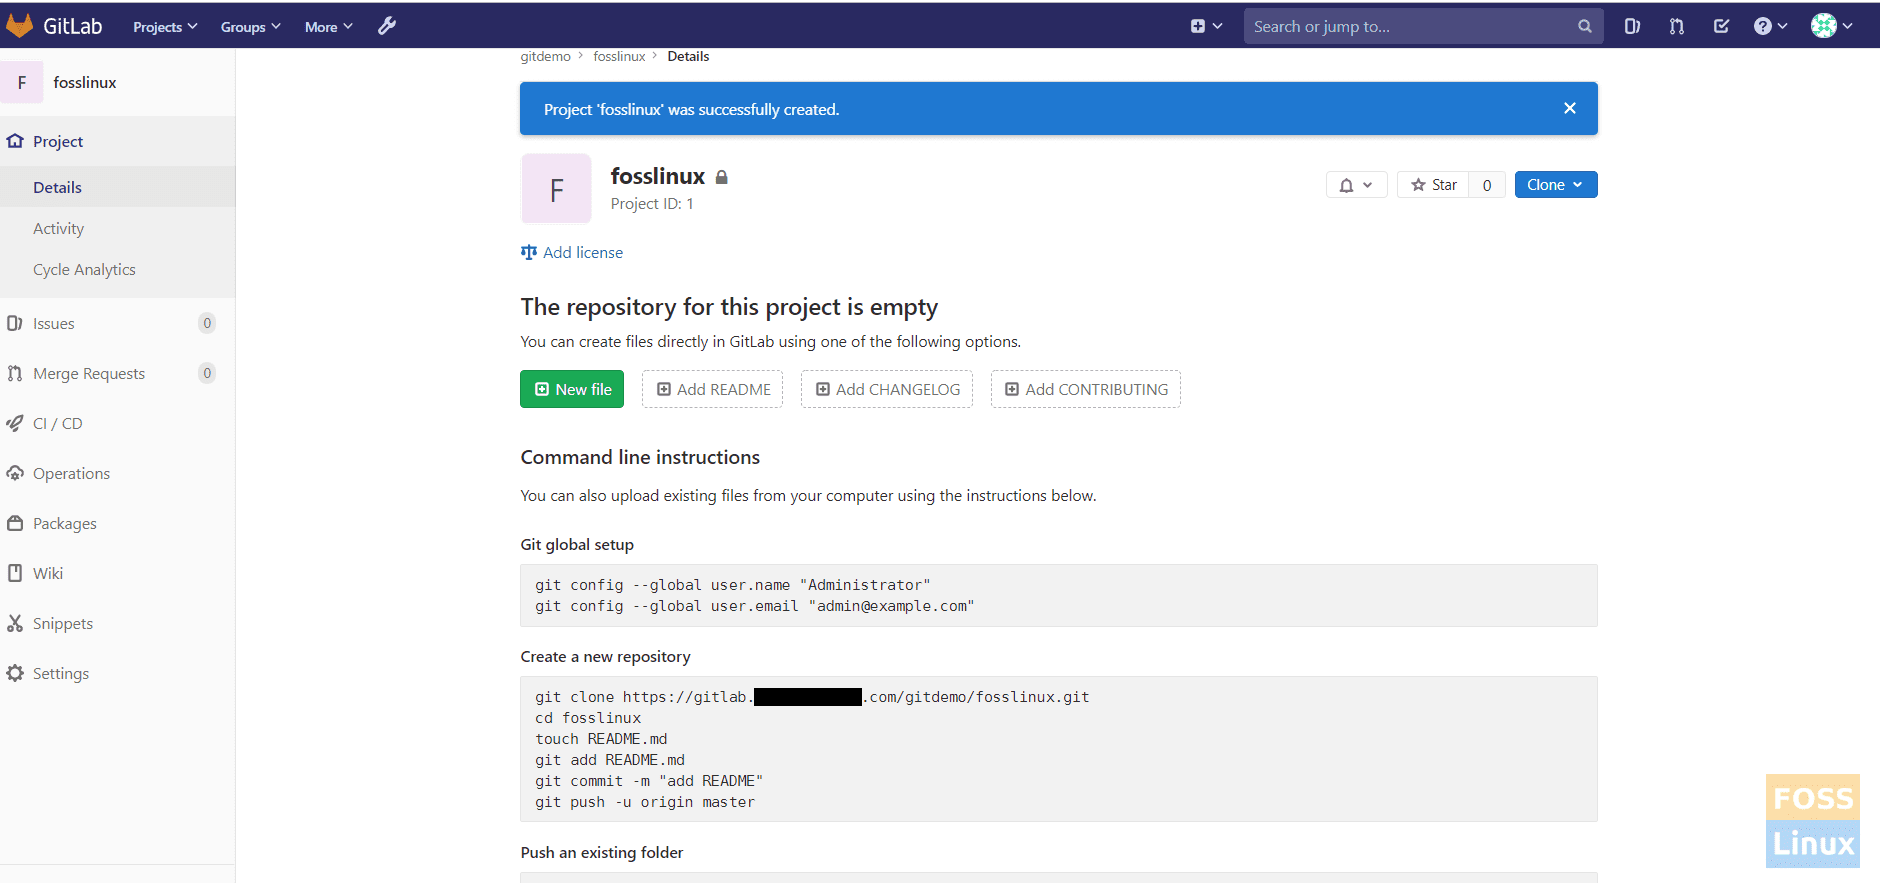
New Project
Give a name for the project. Select the previously created group for the project.
After creating a Project, you can add a sample file to the repository.
3. Enable container registry for project
Go to Project settings -> General and then expand Visibility, Projet Features, Permissions.
Then enable the Container registry.

Enable Registry For Project
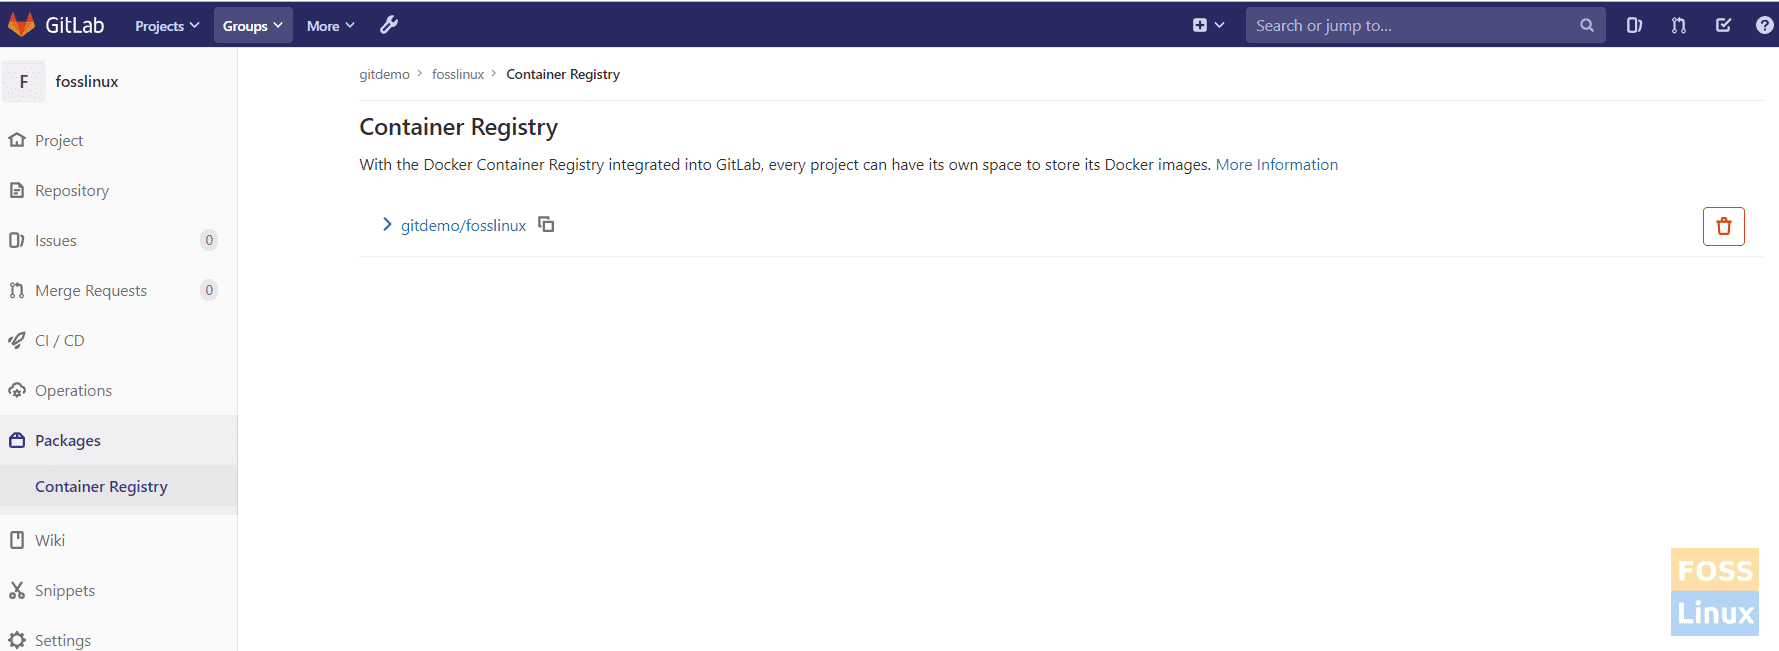
Now go your project, and you can see the container registry under the packages section.
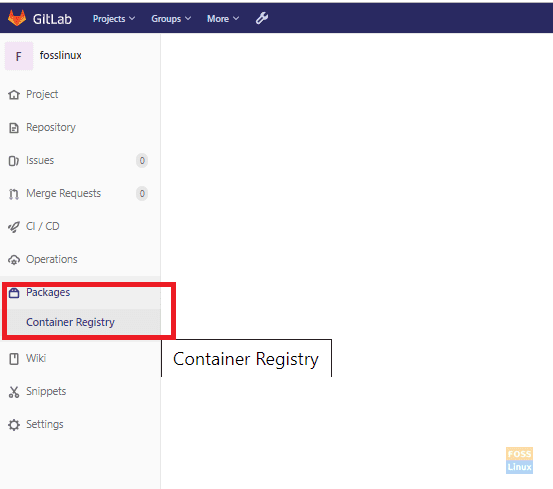
Added To Sidebar
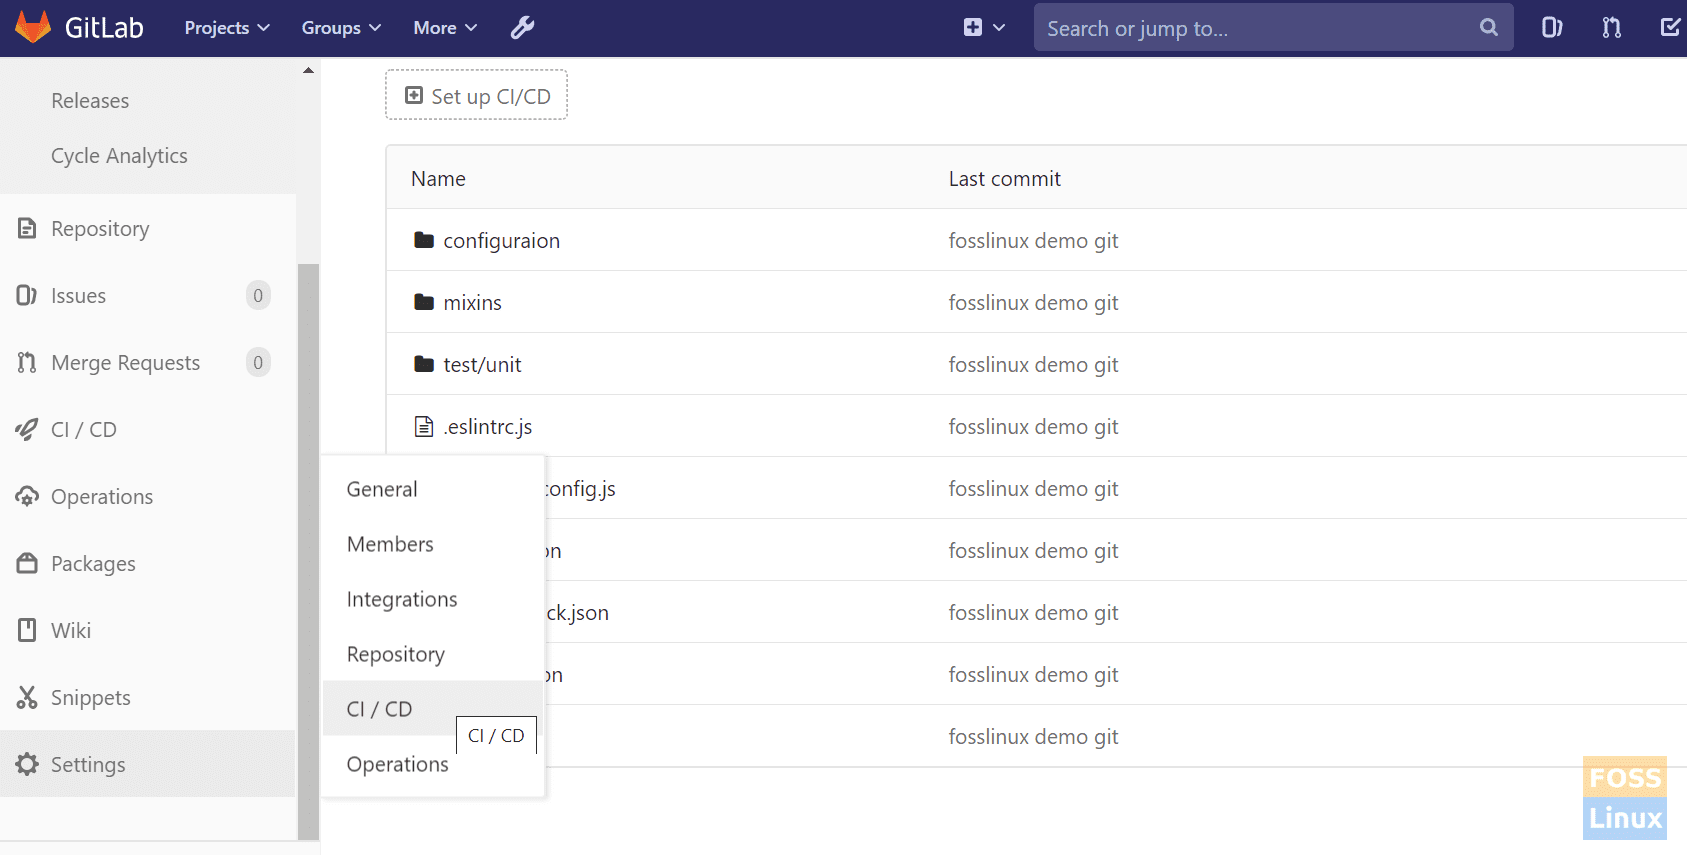
4. Disable AutoDevops
Go to your project -> Settings -> CICD
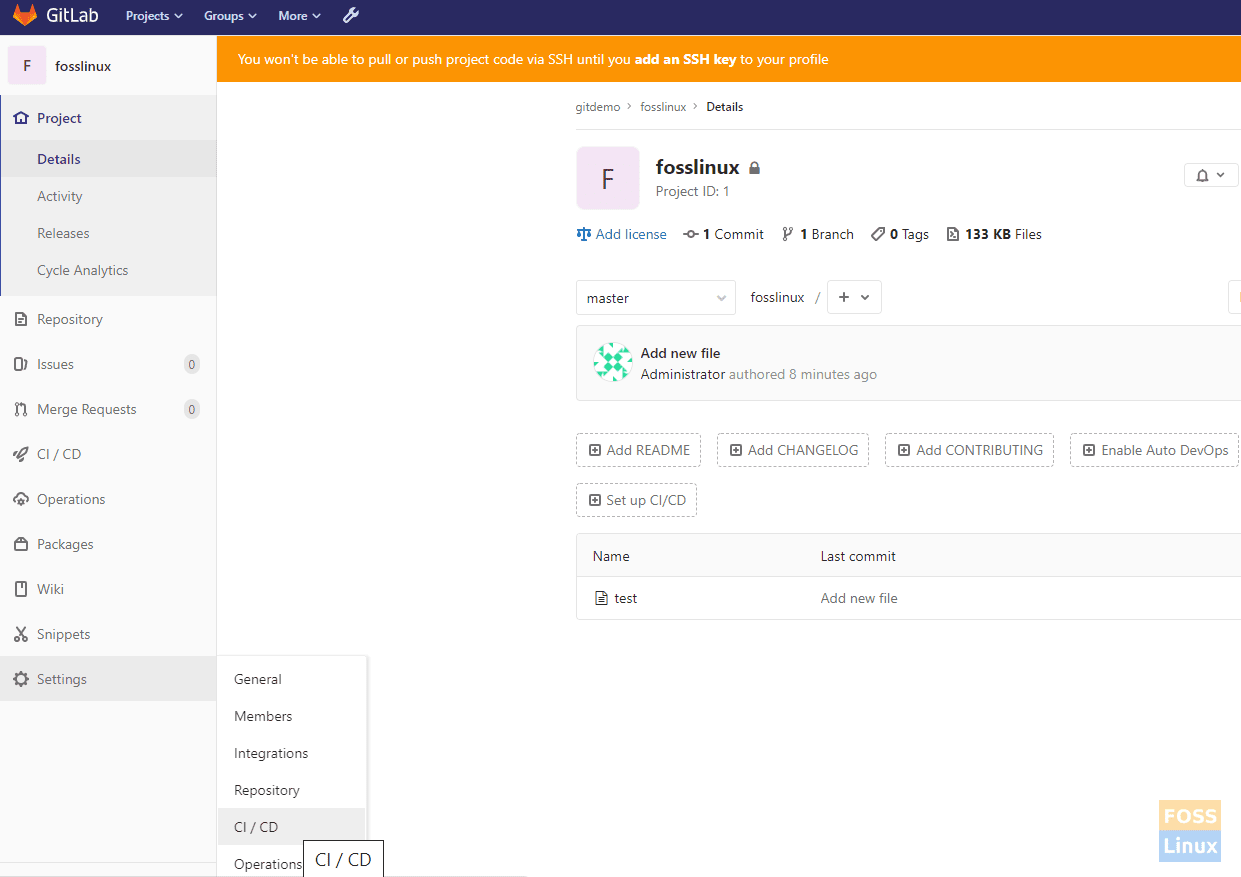
Disable Auto DevOps
Then expand Auto DevOps and unselect “Default to Auto DevOps pipeline.”

Disable Feature
5. Create an SSH Key from the client/developer machine
Here we are going to create ssh key and authenticate with our GitLab. After that, we can push, pull, clone git repositories from our client machine.
a) Run the following the command to generate key:
ssh-keygen -t rsa -b 4096 -C "darshana@fosslinux.com"
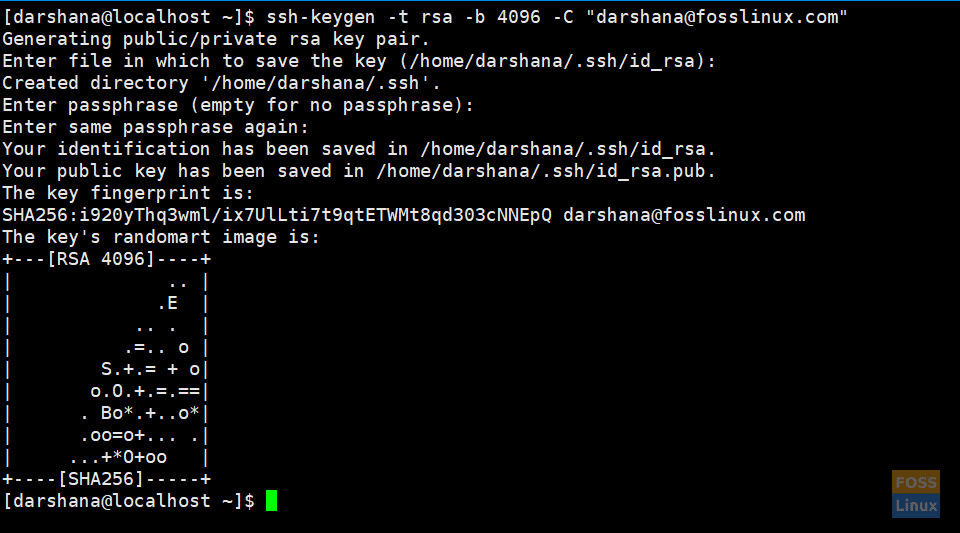
Create Key
b) Copy public key:
cat ~/.ssh/is_rsa_pub

Get Key
Now login to the GitLab server. Go to Profile -> SSH Keys
c) Add Copied key to key section and save.
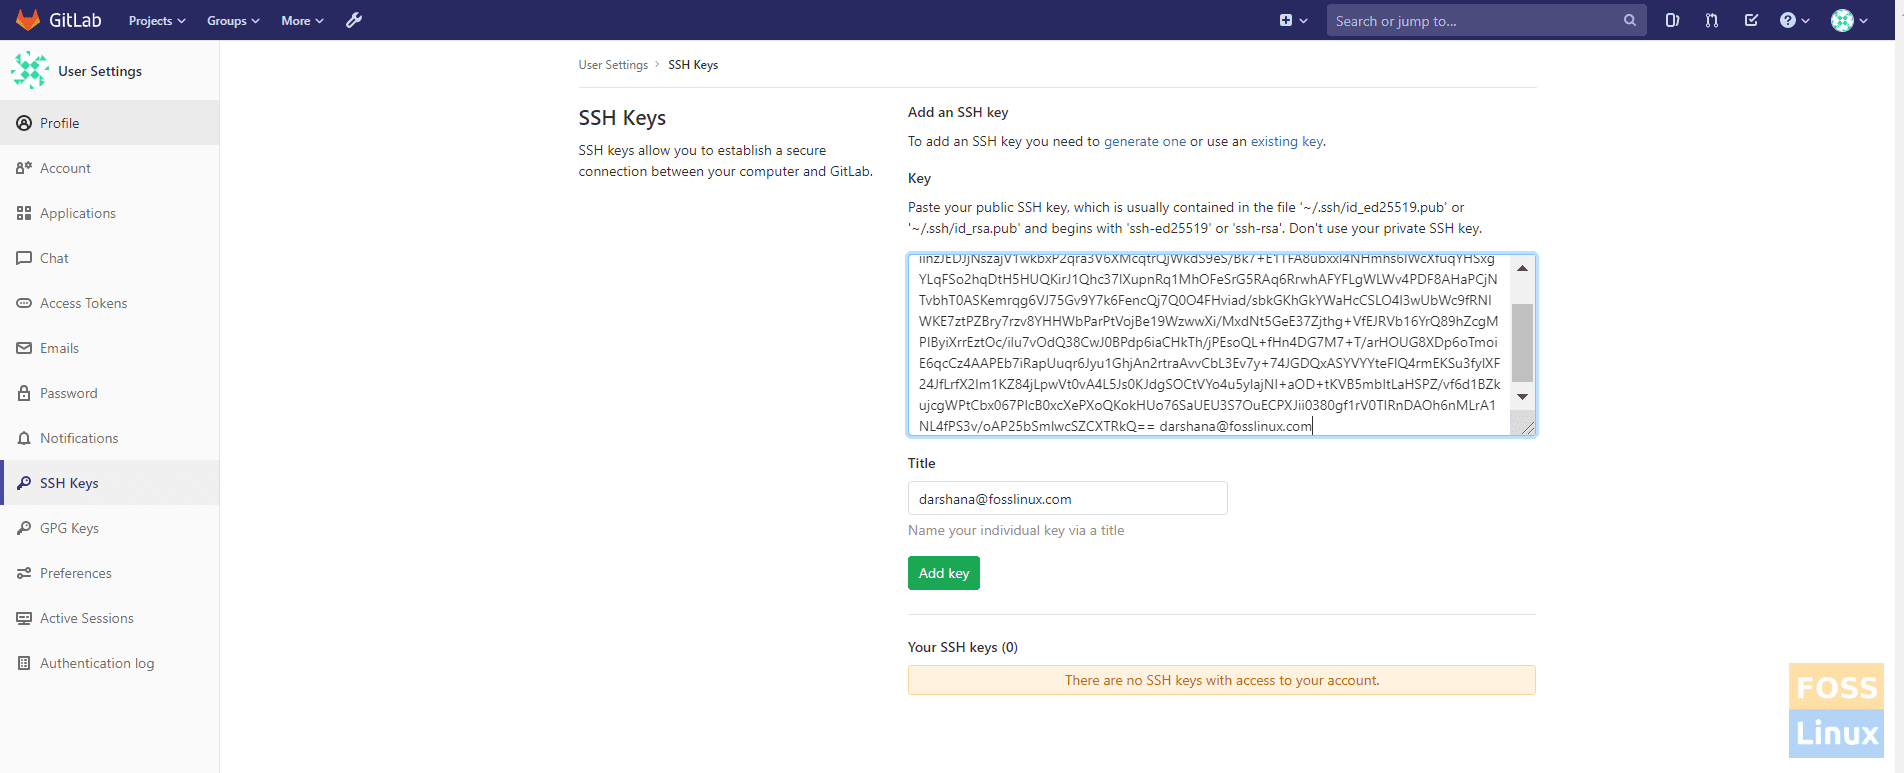
Add Key GitLab
d) Now we need to get Url for Clone repo using SSH.
Go to your project -> Clone.
Copy clone with ssh URL.

Clone Repo
Before we are going to clone the repository to our machine, we need to install “git ”
Install git on client-server:
yum install git -y
Now we are going to Clone the repository and push our code to the Gitlab repository.
Git global setup
git config --global user.name "Darshana"
git config --global user.email "darshana@fosslinux.com"
Run the following command to clone the repository:
git clone git@git.fosslinuxcom:gitdemo/fosslinux.git
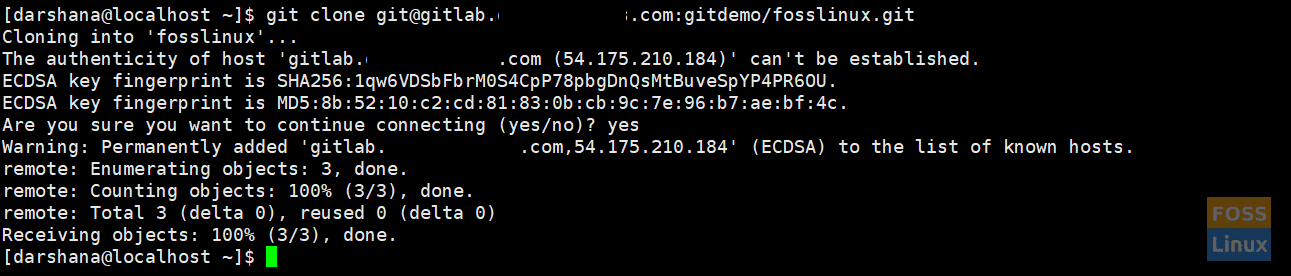
Clone Repository
Copy your source code to the cloned folder.
Go to the cloned folder:
cd fosslinux
Now push code to the repository:
git add .
git status
git commit -m "demo Project files"
git push
6. Install GitLab Runner
It is recommended to install GitLab Runner on a server separate from where GitLab is installed. You can install it on the same server, too, if you still want it that way.
Here we are going to use Docker executor; therefore, we should install Docker before using the Runner.
a) The Docker executor
GitLab Runner can use Docker to run jobs on user-provided images due to the use of Docker executor.
The Docker executor, when used with GitLab CI, connects to Docker Engine and runs each build in a isolated container using the predefined image that is configured in the Gitlab CI file. We will see the Gitlab CI file when we discuss the Pipeline.
Install repository:
curl -L https://packages.gitlab.com/install/repositories/runner/gitlab-runner/script.deb.sh | bash
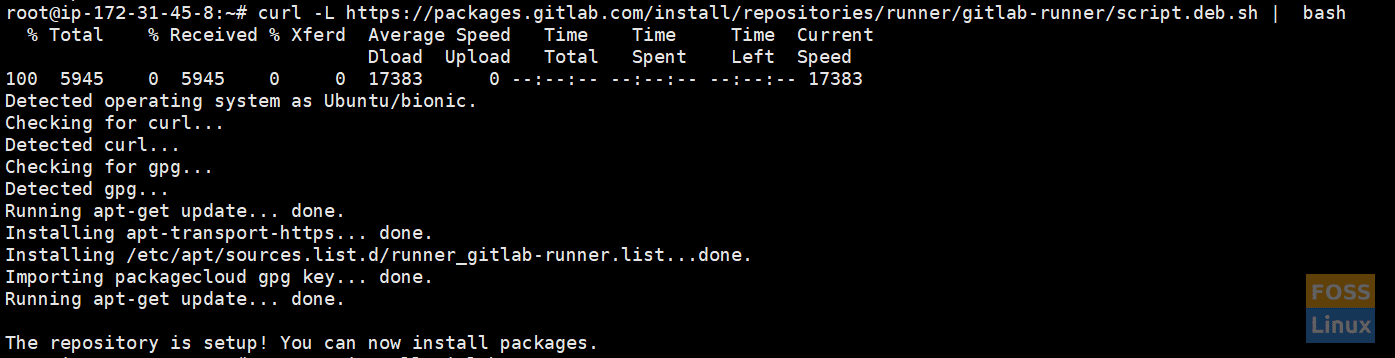
Runner Repo
Install Runner:
apt-get install gitlab-runner
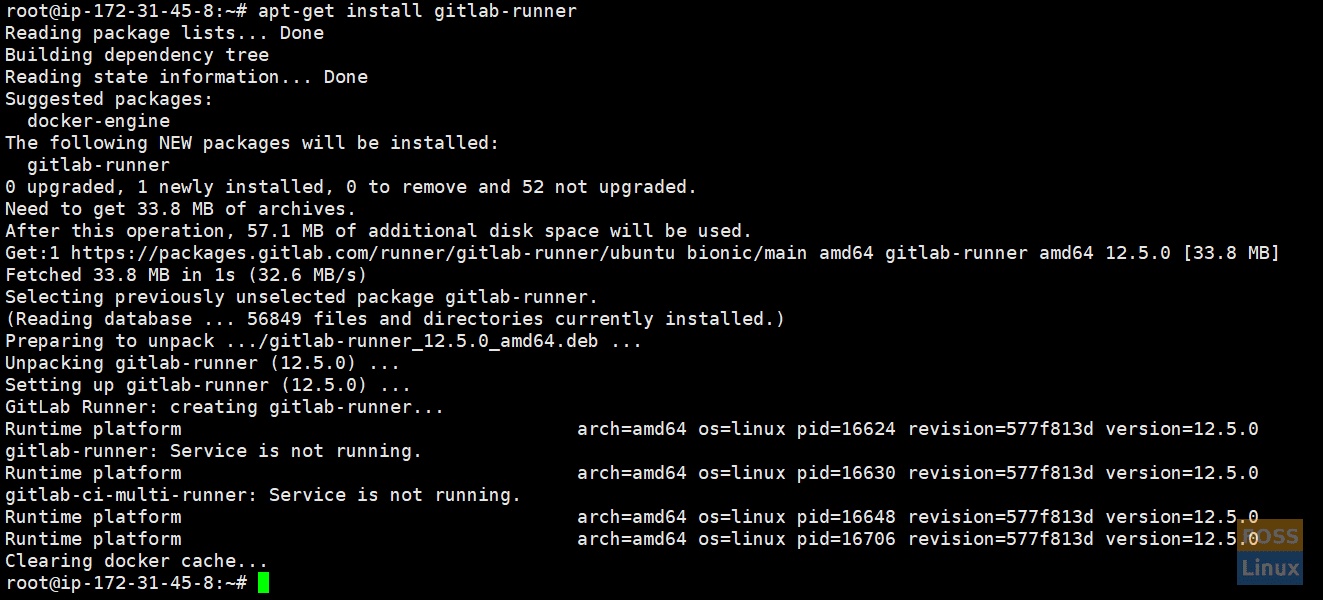
Install Runner
Check Runner status:
gitlab-runner status

Runner Status
Register Runner
Here we are going to add a shared Runner. Go to Admin Area -> Runners.
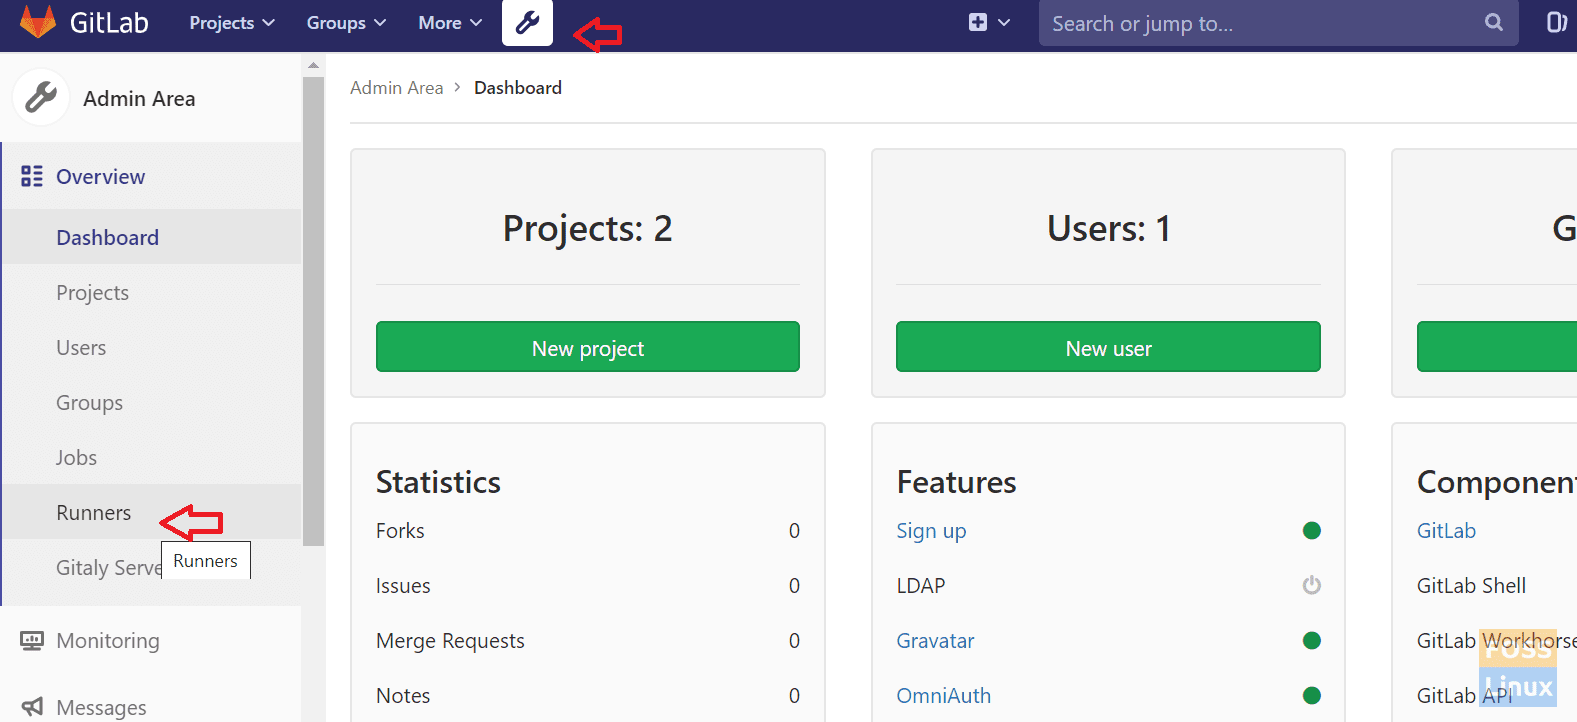
Shared Runner
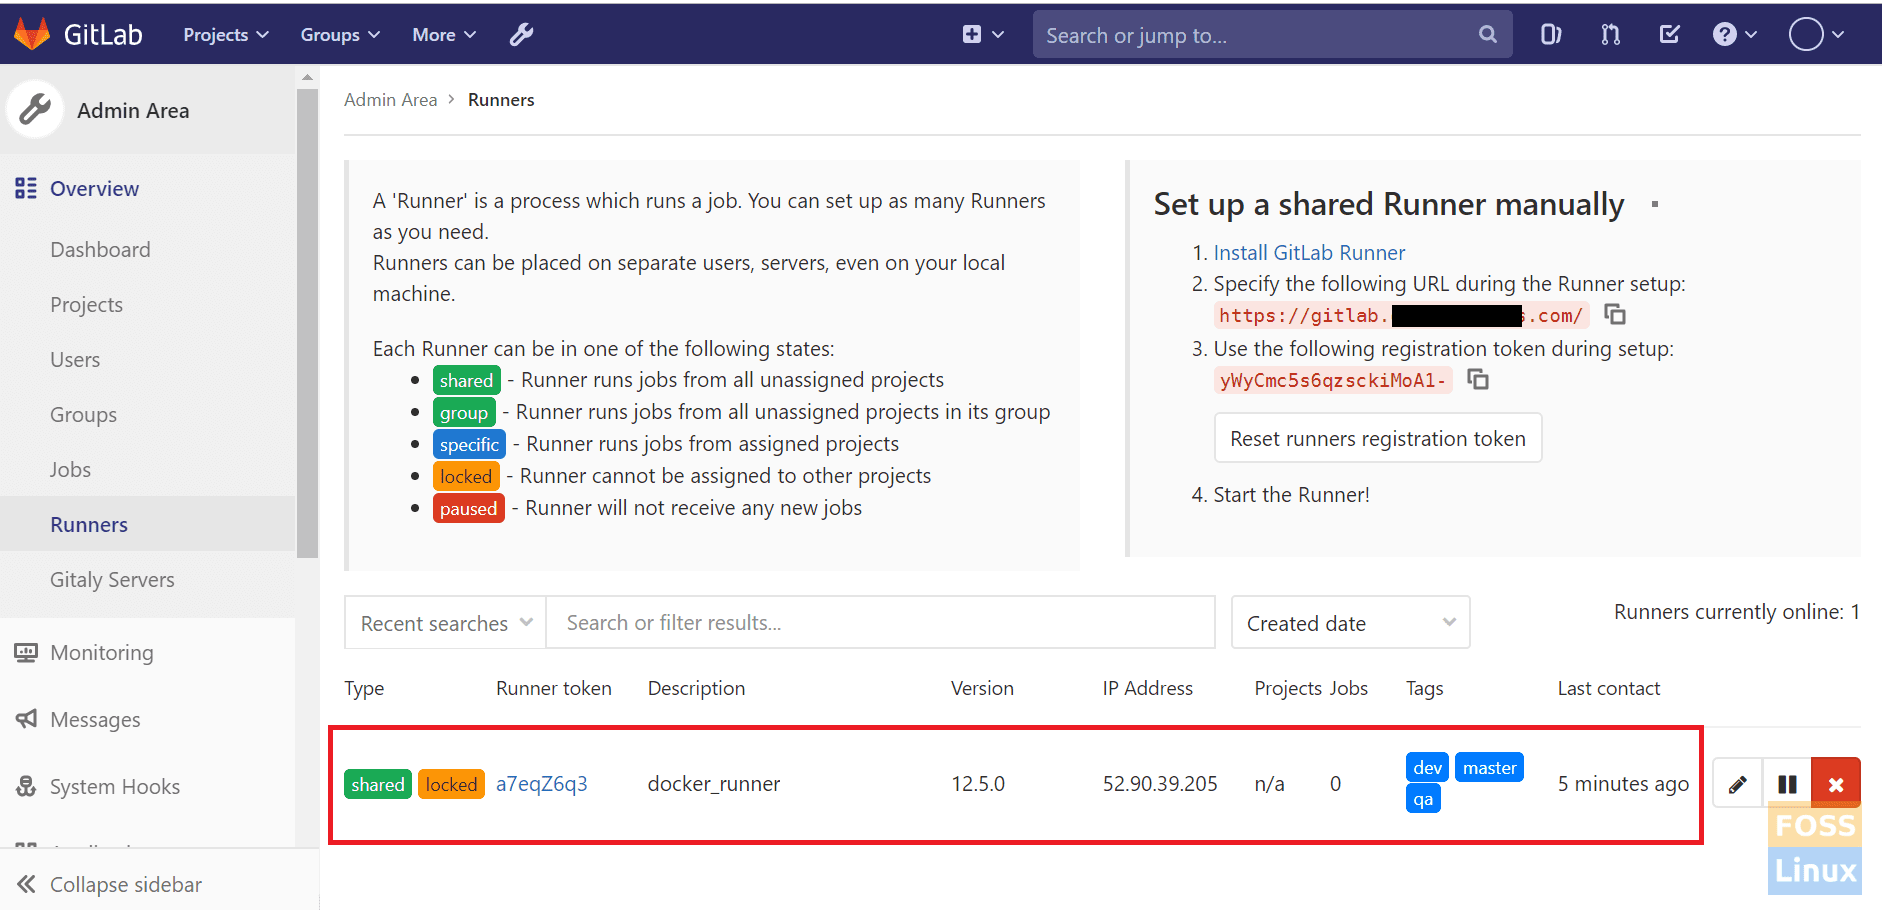
Then you can see Set up a shared Runner manually section. We need our Gitlab Url and token for the registered Runner.
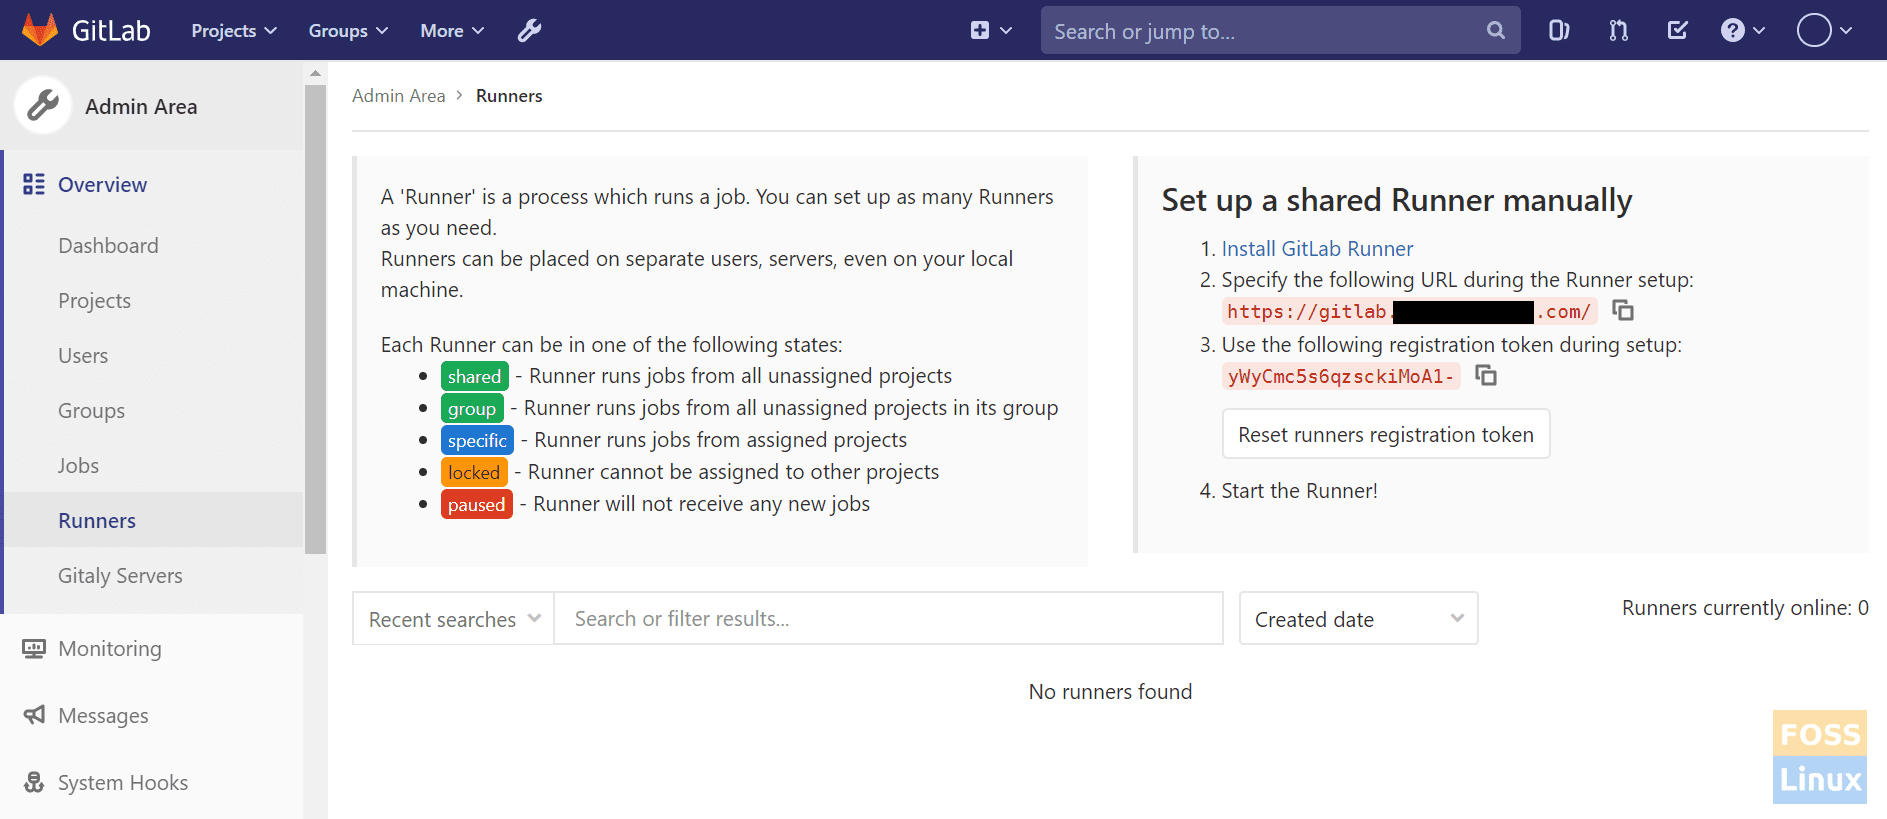
Runner Token
Run Register Runner
Run the following command to register the Runner.
gitlab-runner register

Register Runner
It should ask a few questions. Answer the following questions.
a) Enter your GitLab instance URL:
Please enter the gitlab-ci coordinator URL (e.g. https://gitlab.com )
https://gitlab.fosslinux.com
b) Enter the token you obtained to register the Runner:
Please enter the gitlab-ci token for this runner
xxxxxxxxxxxxxxxxxxxxxxx
c) Enter a description for the Runner; you can change this later in GitLab’s UI:
Please enter the gitlab-ci description for this runner
[hostname] Docker-runner
d) Enter the tags associated with the Runner; you can change this later in GitLab’s UI:
Please enter the gitlab-ci tags for this runner (comma separated):
master,dev,qa
e) Enter the Runner executor:
Please enter the executor: ssh, docker+machine, docker-ssh+machine, kubernetes, docker, parallels, virtualbox, docker-ssh, shell:
docker
f) If you chose Docker as your executor, you’d be asked for the default image to be used for projects that do not define one in .gitlab-ci.yml:
Please enter the Docker image (eg. ruby:2.6):
alpine:latest
Now Runner registered successfully.
Restart Runner
gitlab-runner restart
Now refresh the Runners page (Admin Area -> Runners). You can see the newly added Runner.
Newly Added Runner
We need to modify some settings for the Runner. So click on the token.

Shared Runner Setting
Then select “Run untagged jobs” and save changes.
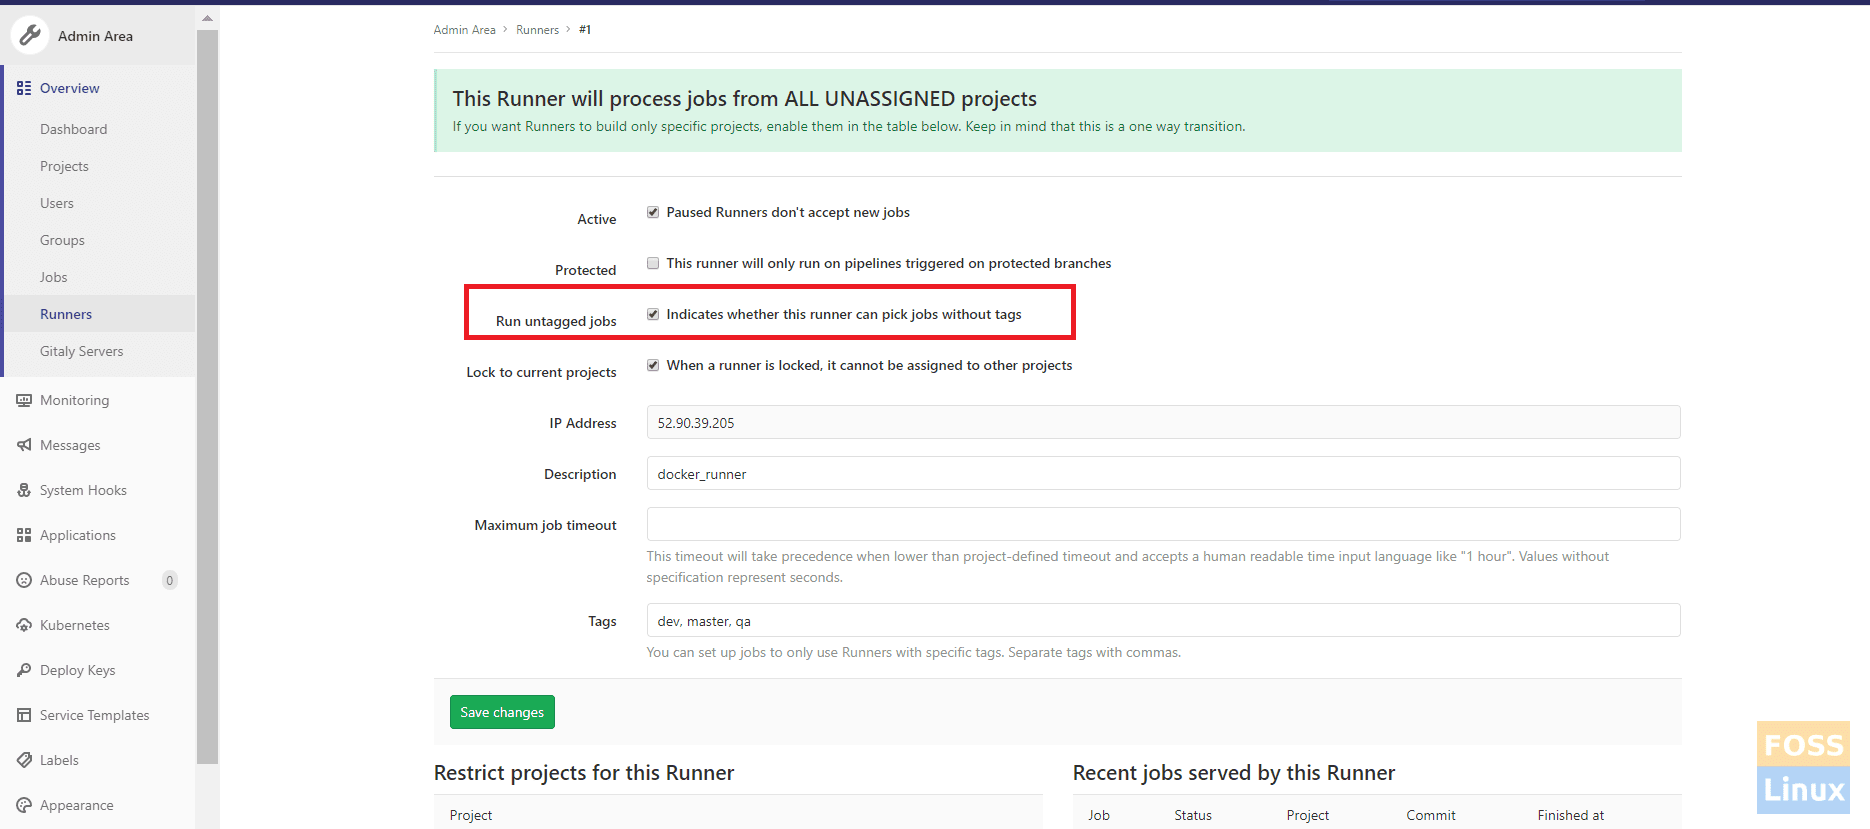
Untagged Projects
Change Gitlab runner configurations
We are going to use docker-in-docker (dind) mode in the GitLab pipeline, So we have to use privileged = true in our Docker containers. Therefore we are going to enable privileged mode.
Edit configuration file:
vim /etc/gitlab-runner/config.toml
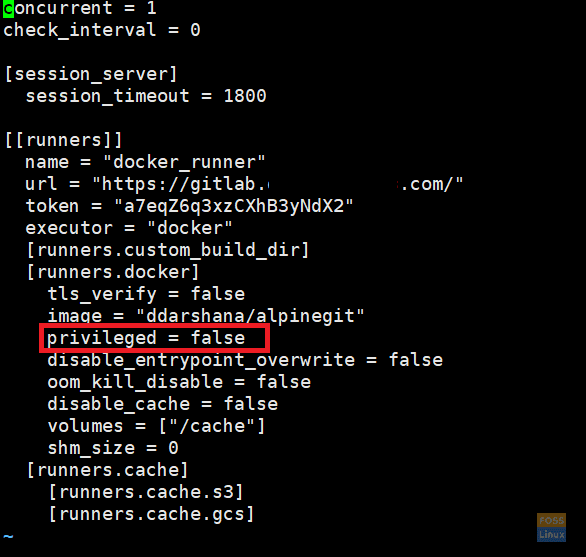
Runner Mode
Change the “privileged” section.
privileged = true
After modification, you can see a file similar to this.
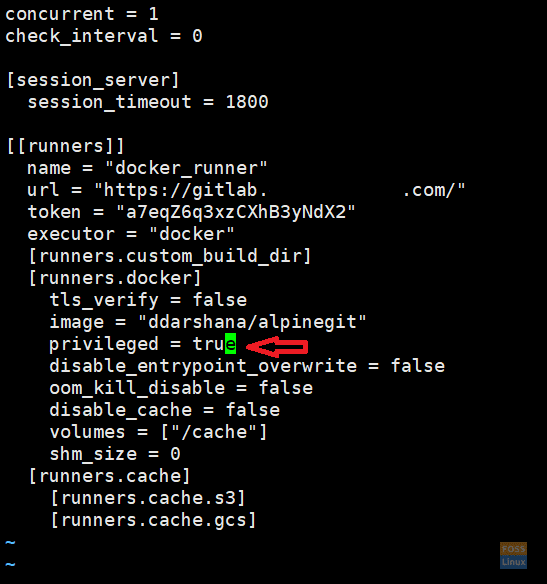
Modified Runner
Then restart Runner.
gitlab-runner restart
7. Configure variables for GitLab PipeLine
Add container registry variables
Click on project -> Settings ->CICD -> Variables (click on Expand).
Variables
Add the following to the key and add value.
CI_REGISTRY_USER

CI_REGISTRY_PASSWORD
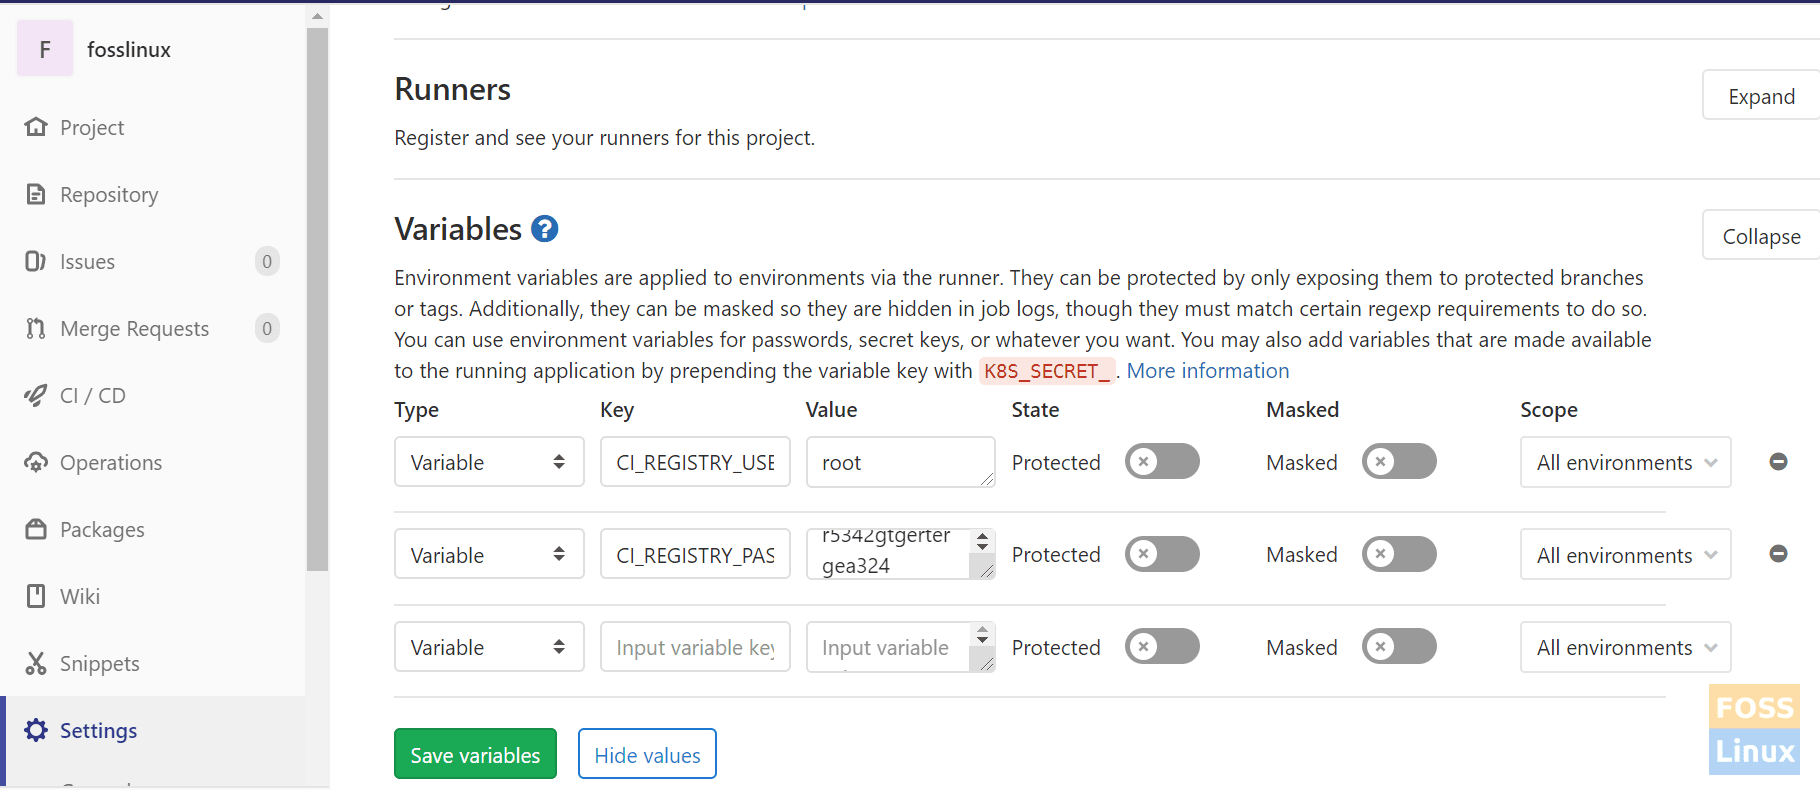
Adding Variable Values
Here you need to add GitLab login and password.
Integrate with SonarQube Server
Get SonarQube token and add it to GitLab. Login to SonarQube Server.
Go to Administration > click on Security > Users > Click on Tokens
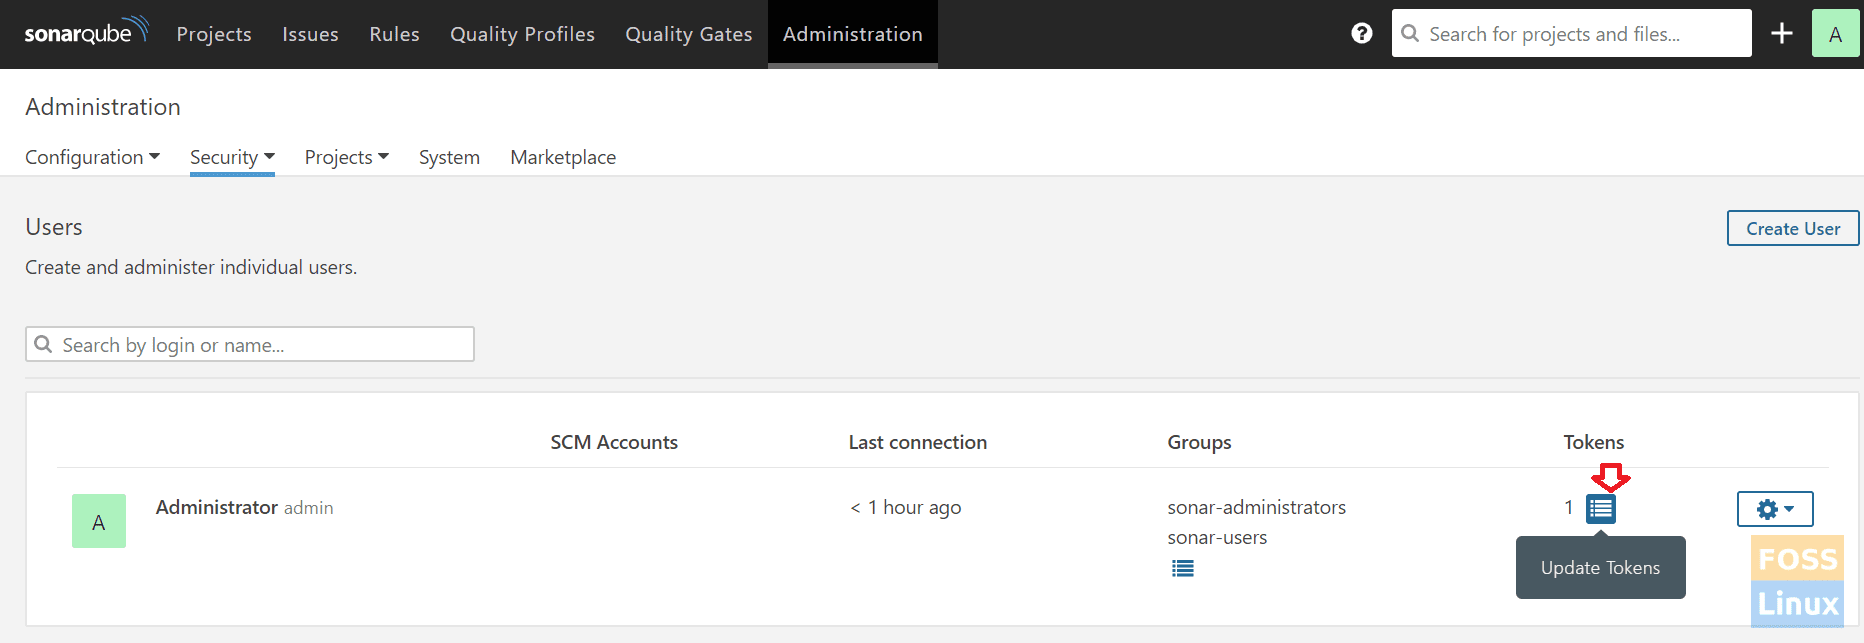
Sonar Token
It should open a token Window.

Generate Token
Generate token with any name -> Copy the token.

New Token
Copy token and go to GitLab again. Click on project -> Settings ->CICD -> Variables
Add a new variable.
SONARQUBE_TOKEN
Paste sonar token to “SONARQUBE_TOKEN” value.
8. Create a Pipeline
Following files should be in the repository folder
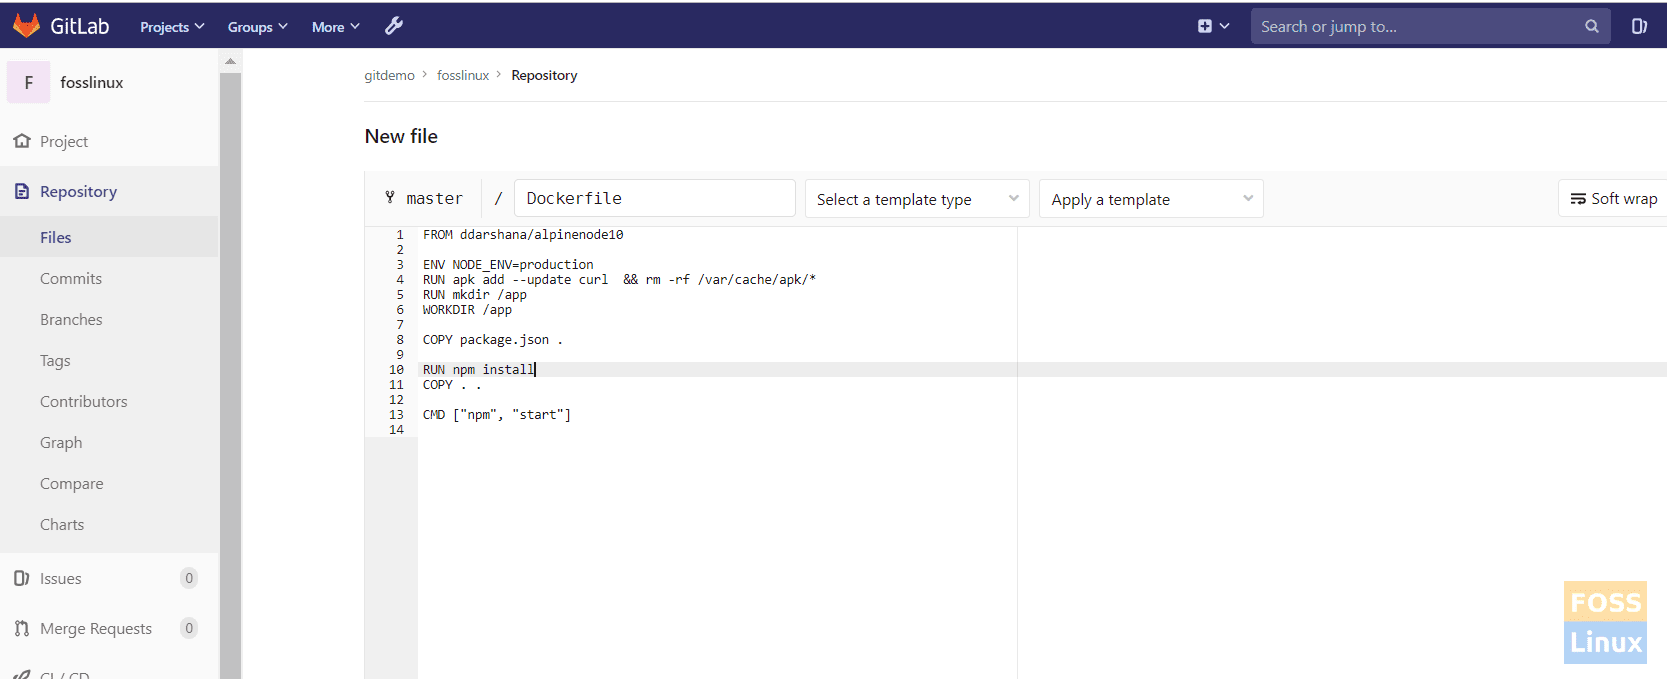
a) Dockerfile
We need a docker file to build our image. Follow our docker file guide.
Here is our docker file:
FROM ddarshana/alpinenode10

ENV NODE_ENV=production
RUN apk add --update curl && rm -rf /var/cache/apk/*
RUN mkdir /app
WORKDIR /app

COPY package.json .

RUN npm install
COPY . .

CMD ["npm", "start"]
Go to your project and create a new file called “Docker File.”
Add Docker File
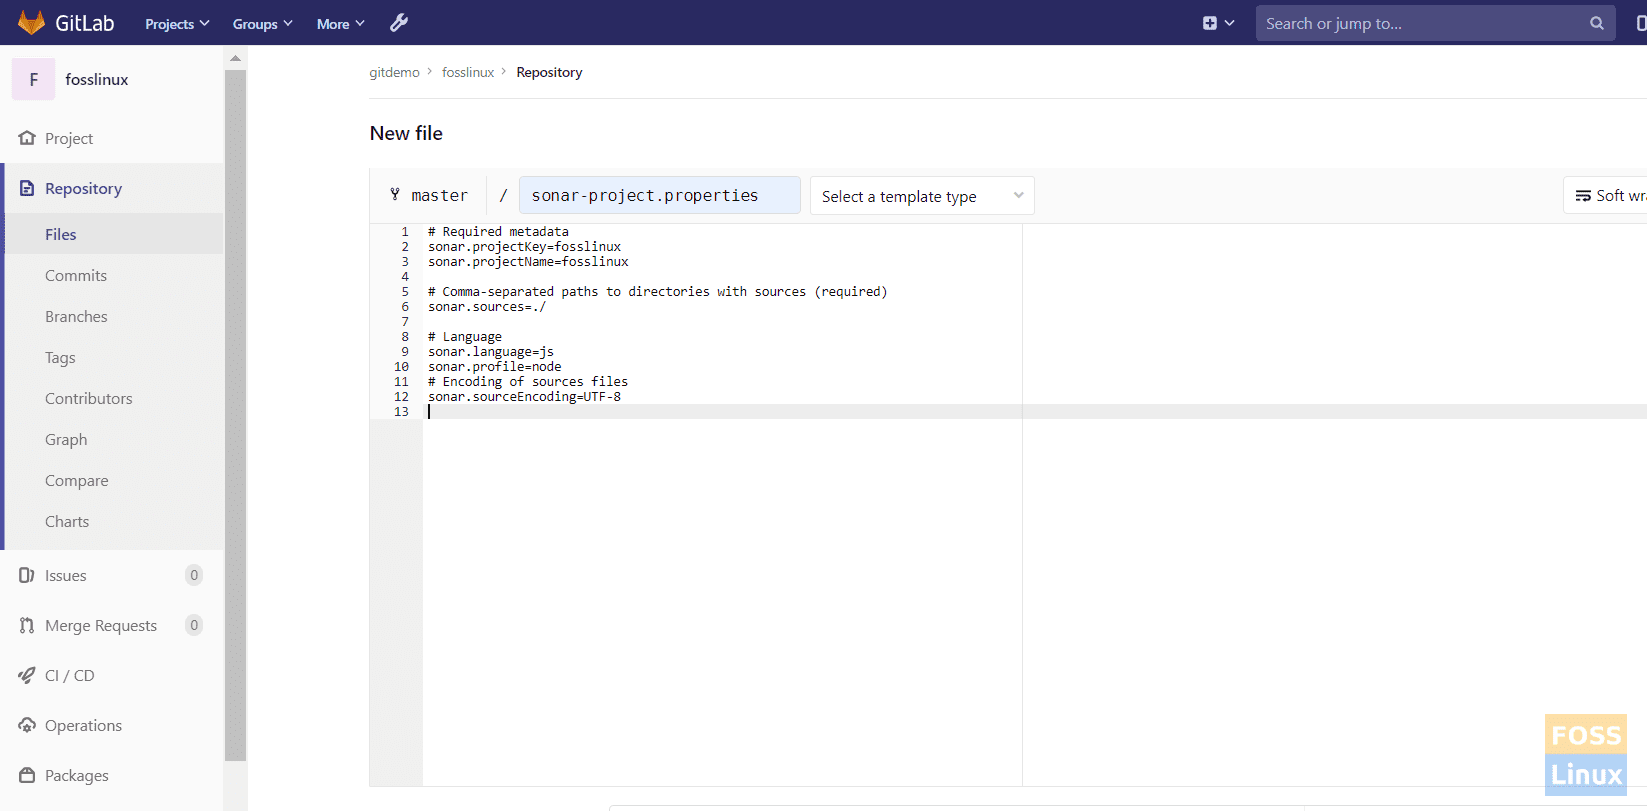
b) Add sonar-project.properties
Sonar property file should be in our source code root directory to send scan data to SonarQube Server.
Here is our file:
# Required metadata
sonar.projectKey=fosslinux
sonar.projectName=fosslinux

# Comma-separated paths to directories with sources (required)
sonar.sources=./

# Language
sonar.language=js
sonar.profile=node
# Encoding of sources files
sonar.sourceEncoding=UTF-8
Go to your project and create “sonar-project.properties.”
Add Sonar Property File
I. Create a GitLab-CI file
Go to your project and create a file called “.gitlab-ci.yml.”
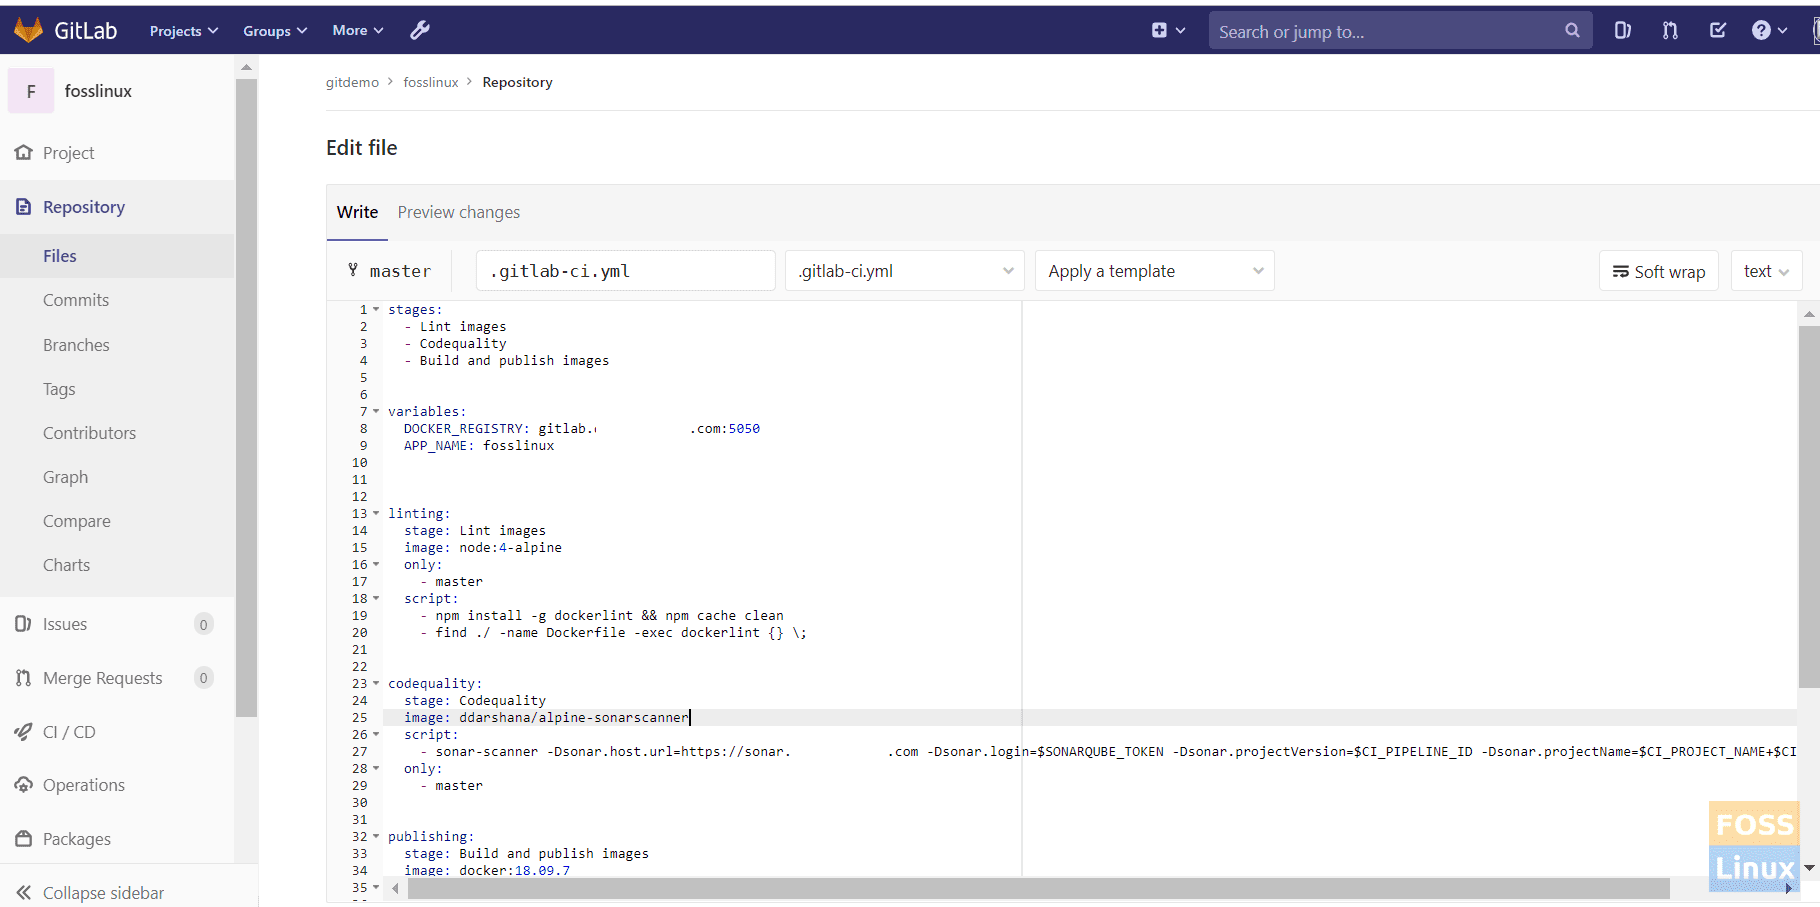
Pipeline File
This is our file.
stages:
- Lint images
- Codequality
- Build and publish images

variables:
DOCKER_REGISTRY: gitlab.fosslinux.com:5050
APP_NAME: fosslinux

linting:
stage: Lint images
image: node:4-alpine
only:
- master
script:
- npm install -g dockerlint && npm cache clean
- find ./ -name Dockerfile -exec dockerlint {} \;

codequality:
stage: Codequality
image: ddarshana/alpine-sonarscanner
script:
- sonar-scanner -Dsonar.host.url=https://sonar.fosslinux.com -Dsonar.login=$SONARQUBE_TOKEN -Dsonar.projectVersion=$CI_PIPELINE_ID -Dsonar.projectName=$CI_PROJECT_NAME+$CI_BUILD_REF_NAME
only:
- master

publishing:
stage: Build and publish images
image: docker:18.09.7
services:
- docker:18.09.7-dind
only:
- master

script:

- docker login -u $CI_REGISTRY_USER -p $CI_REGISTRY_PASSWORD $DOCKER_REGISTRY
- docker build . -t $DOCKER_REGISTRY/gitdemo/$APP_NAME:$CI_PIPELINE_ID
- docker push $DOCKER_REGISTRY/gitdemo/$APP_NAME:$CI_PIPELINE_ID
- echo "pushed image $APP_NAME:$CI_PIPELINE_ID"
- docker logout $DOCKER_REGISTRY
Here we have defined three stages for our Pipeline:
stages:
- Lint images
- Codequality
- Build and publish images
Variables are set for the docker registry and Application name.
variables:
DOCKER_REGISTRY: gitlab.fosslinux.com:5050
APP_NAME: fosslinux
Once you commit changes to the master branch, the Pipeline should start.
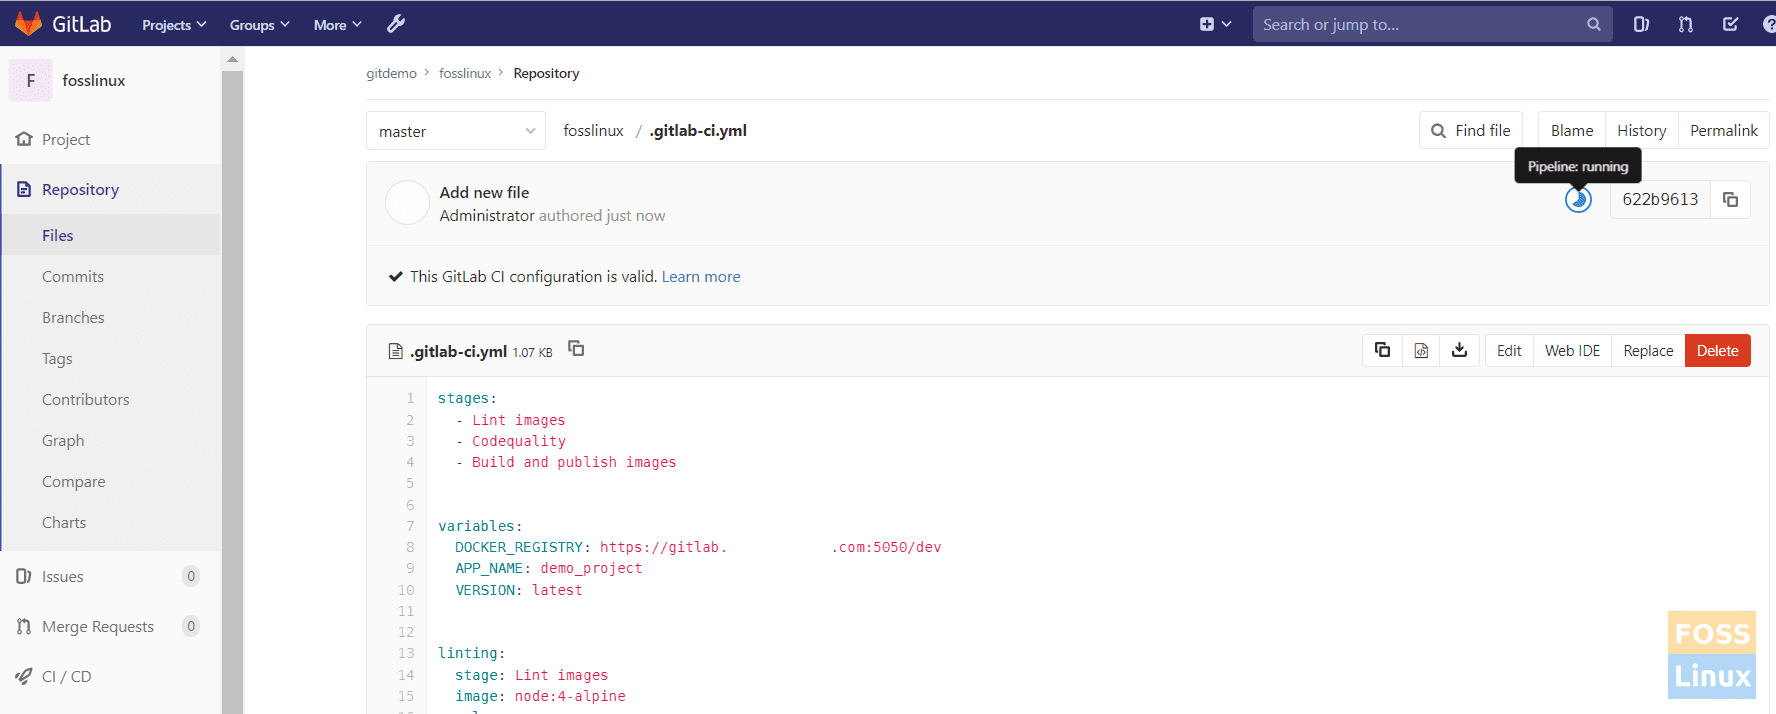
Pipeline Started
As you see, the Pipeline is running. You can see the stages of the Pipeline.
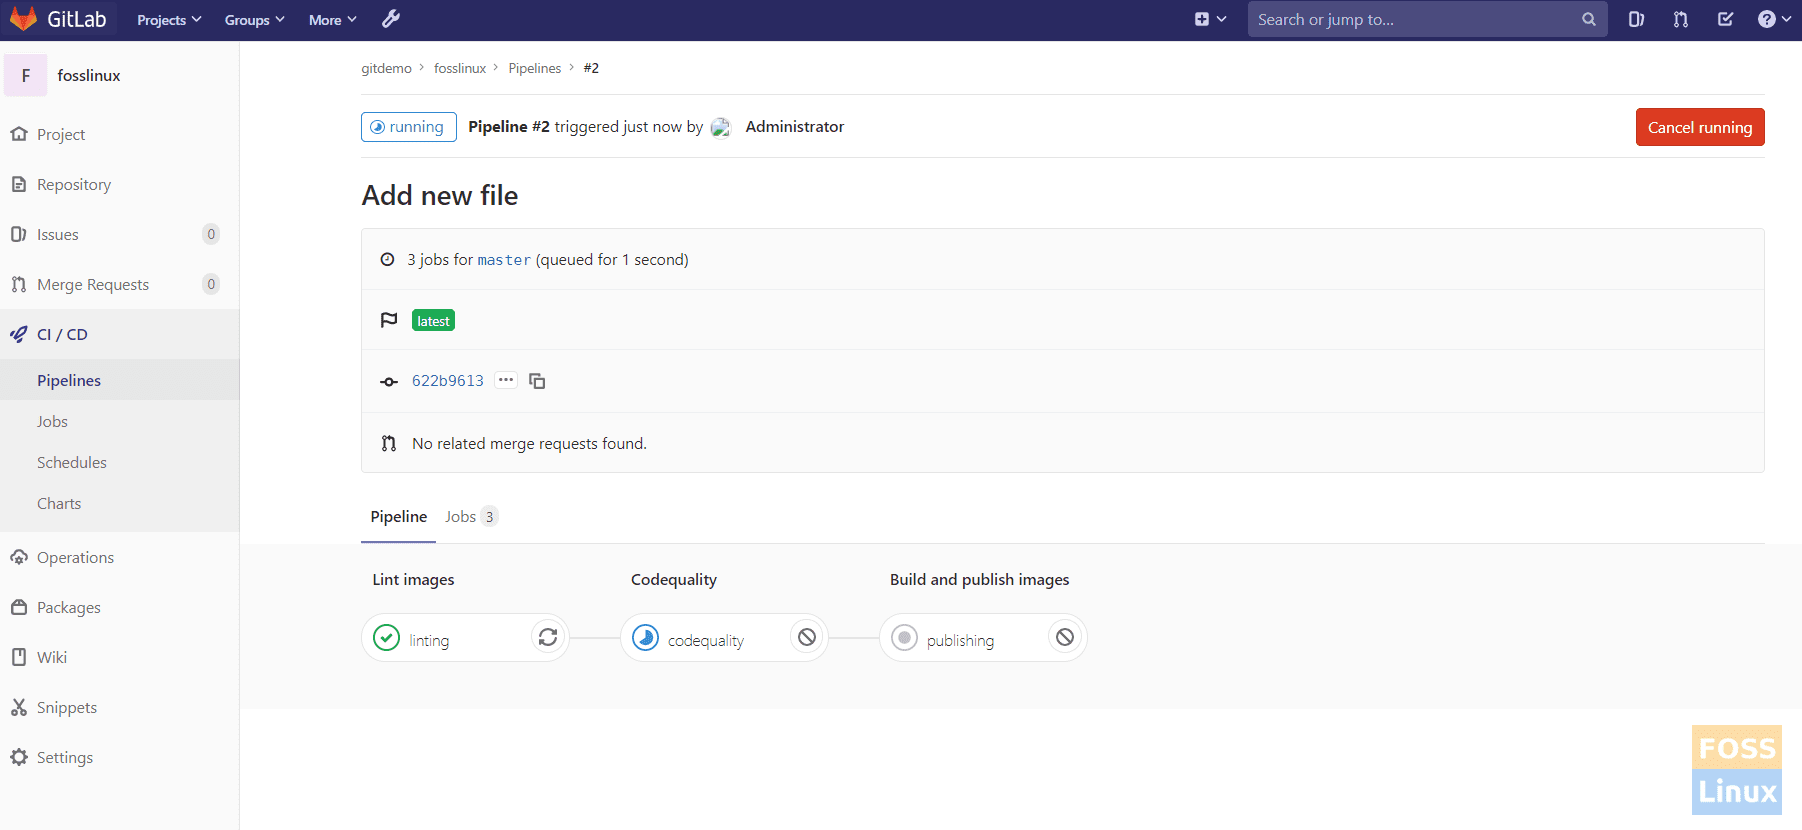
Pipeline
If all stages are a success, you can see the output as follows.
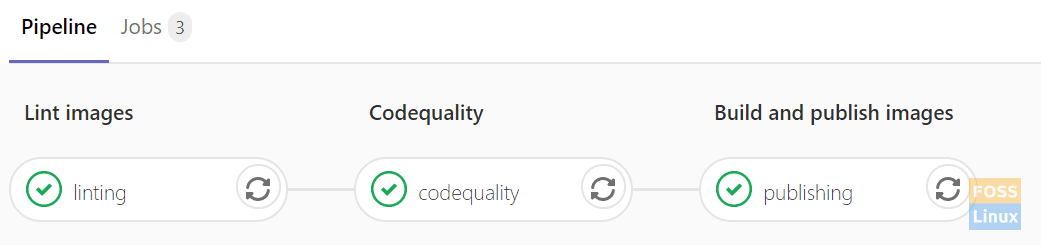
Completed Pipeline
You can click on any stages and see their logs.
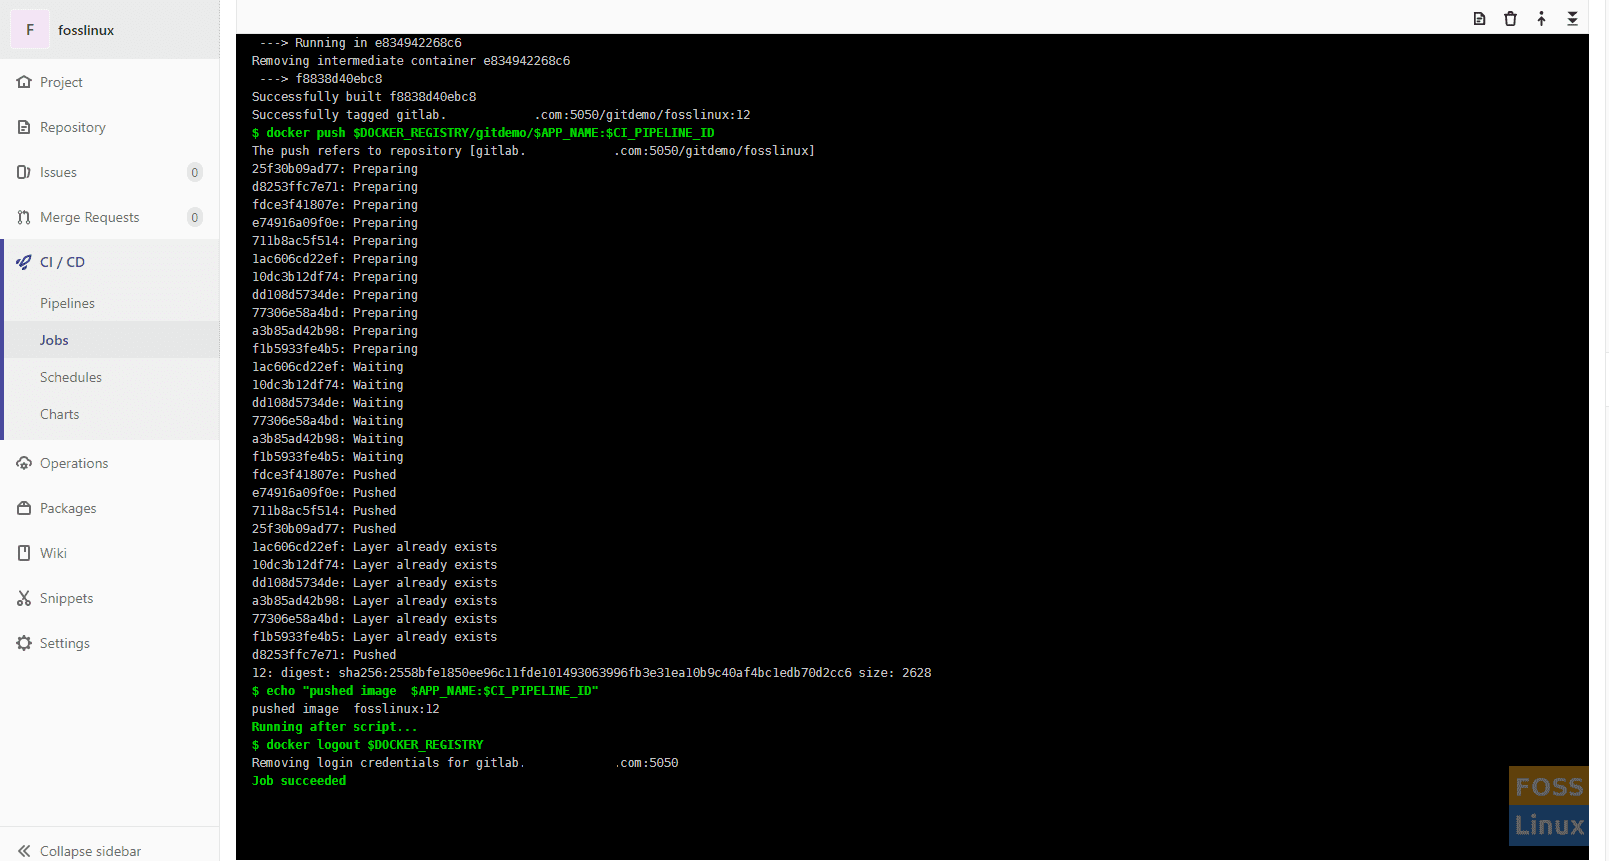
Output Of Stage
a) Check the container registry.
Project -> Packages -> container registry
Pushed Image
Then you can see our image.
b) Check Sonar report
Login to SonarQube, and you can see the report for our project.

Sonar Report
That’s all about creating a GitLab pipeline with GitLab container service and Sonarqube integration.
3 comments
Excellent tutorial. Thank you
great tutorial
Hey, very informative article 😀 I have a couple of doubts would be helpful if you can clarify these.
What is the real purpose of container registry here? can we store the docker image of SonarQuebe in the GitLab container registry and pull it from there during the pipelines, if so how?
Thanks in advance.